Good News for Ubuntu fans ,after all the wait canonical has released its latest and stable version of Ubuntu 18.04 LTS on 26th April 2018. Code name for this release is “Bionic Beaver” and it has come up with various interesting features. In this article, we will be looking about how to install Ubuntu 18.04 LTS in a desktop with screenshots.
Ubuntu 18.04 LTS – New Features:
Ubuntu 18.04 LTS has been released with a lot of new features and improvements, some of the important features are listed below:
- Support and Updates of Ubuntu 18.04 LTS for next 5 Years (April 2023)
- New latest and stable Linux Kernel version 4.15
- Installer offer a new option of “minimal Installation”
- Updated LibreOffice 6.0
- The Bionic Beaver supports attractive and beautiful color emojis
- 18.04 LTS also comes with a new Suru icon theme that will make your desktop much more colorful
- Updated GNOME (3.28) desktop environment
- XORG is the new default display server and replaces Wayland
- Fast and improved boot speed
- Along with other major improvements and bug fixes
Minimum System Requirement for Ubuntu 18.04 LTS (Desktop)
- 2 GB RAM
- Dual Core Processor (2 GH)
- 25 GB free Hard disk space
- Installer Media (DVD or USB)
- (optional) Internet Connectivity if you are planning to download third party software and updates during the installation
Step-by-Step Guide to Install Ubuntu 18.04 LTS on your Laptop or Desktop
Step 1) Download Ubuntu 18.04 LTS ISO File
Please make sure you have the latest version of Ubuntu 18.04 LTS, If not, please download the ISO file from the link here
https://www.ubuntu.com/download/desktop
Since Ubuntu 18.04 LTS only comes in a 64-bit edition, so you can install it on a system that supports 64-bit architecture.
Step 2) Create a Bootable Disk
Once the ISO file is downloaded then next step is to burn the downloaded ISO image into the USB/DVD or flash drive to boot the computer from that drive.
Also make sure you change the boot sequence so that system boots using the bootable CD/DVD or flash drive.
Read More on “How to Create Bootable USB Disk / DVD on Ubuntu / Linux Mint”
Step 3) Boot from USB/DVD or Flash Drive
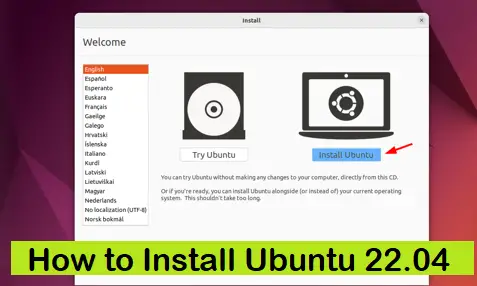
Once the system is booted using the bootable disk, you can see the following screen presented before you with options including “Try Ubuntu” and “Install Ubuntu” as shown in the image below,
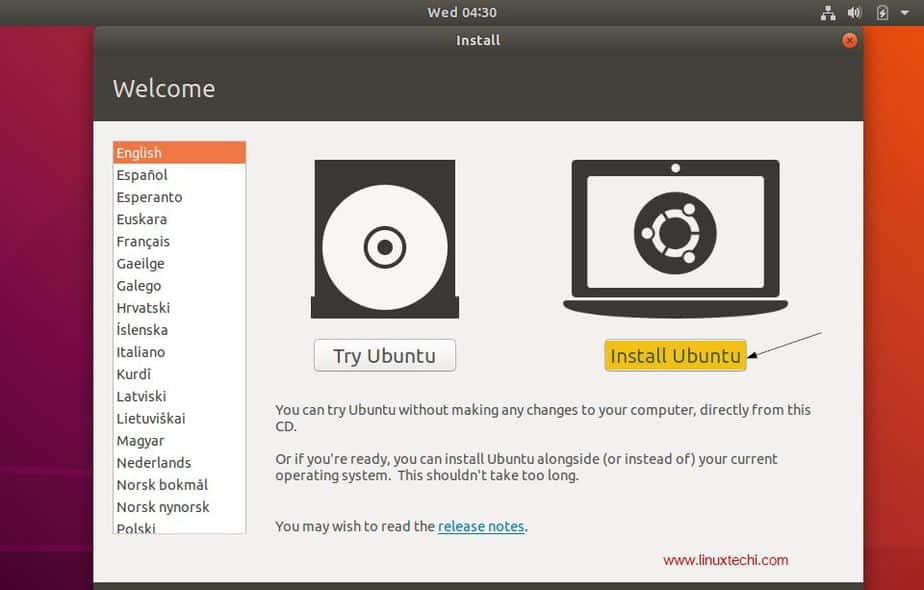
Even though when you click “Try Ubuntu” you can have a sneak peek into the 18.04 LTS without installing it in your system, our goal here is to install Ubuntu 18.04 LTS in your system. So click “Install Ubuntu” to continue with the installation process.
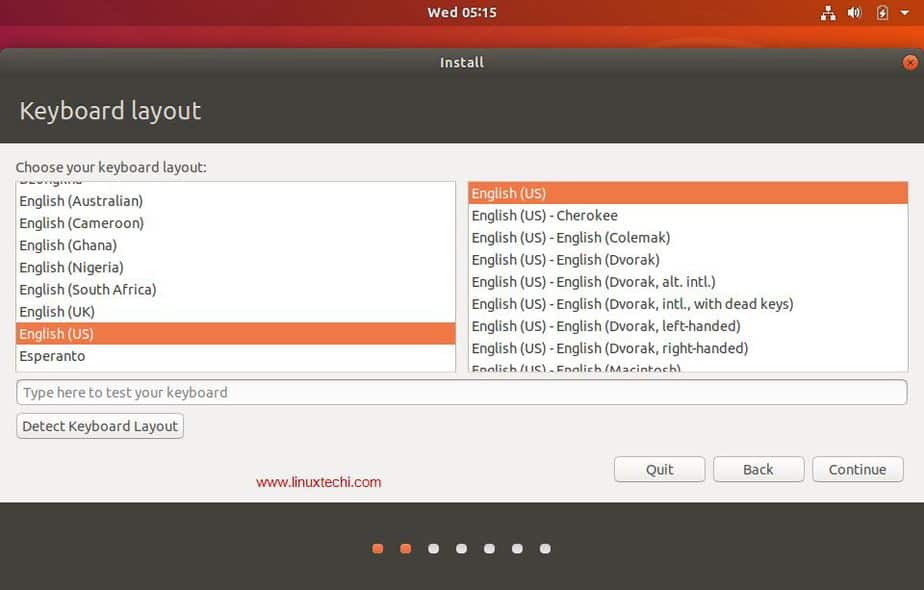
Step 4) Choose your Keyboard layout
Choose your favorite keyboard layout and click “Continue”. By default English (US) keyboard is selected and if you want to change, you can change here and click “Continue”,
Step 5) Preparing to Install Ubuntu and other Software
In the next screen, you’ll be provided following beneath options including:
- Type of Installation: Normal Installation or Minimal installation, If you want a minimal installation then select second option otherwise go for the Normal Installation. In my case I am doing Normal Installation
- Download Updates While Installing Ubuntu (select this option if your system has internet connectivity during installation)
- Install third party software for graphics and Wi-Fi hardware, MP3 and additional media formats Select this option if your system has internet connectivity)
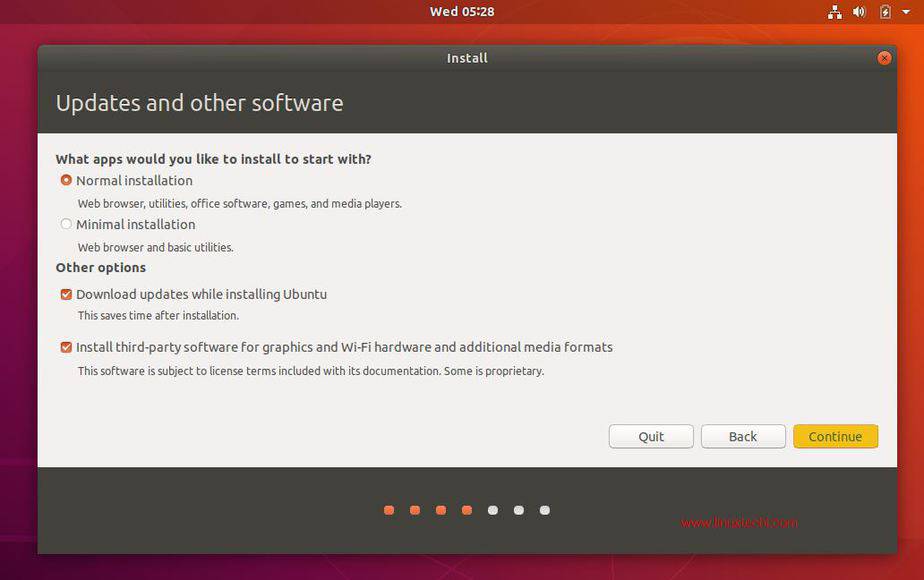
click on “Continue” to proceed with installation
Step 6) Select the appropriate Installation Type
Next the installer presents you with the following installation options including:
- Erase Disk and Install Ubuntu
- Encrypt the new Ubuntu installation for security
- Use LVM with the new Ubuntu installation
- Something Else
Where,
Erase Disk and Install Ubuntu – Choose this option if your system is going to have only Ubuntu and erasing anything other than that is not a problem. This ensures a fresh copy of Ubuntu 18.04 LTS is installed in your system.
Encrypt the new Ubuntu installation for security – Choose this option if you are looking for extended security for your disks as your disks will be completely encrypted. If you are beginner, then it is better not to worry about this option.
Use LVM with the new Ubuntu installation – Choose this option if you want to use LVM based file systems.
Something Else – Choose this option if you are advanced user and you want to manually create your own partitions and want to install Ubuntu along with existing OS (May be Windows or other Linux Flavor)
In this article, we will be creating our custom partitions on a hard disk of 40 GB and the following partitions are to be created:
- /boot 1 GB (ext4 files system)
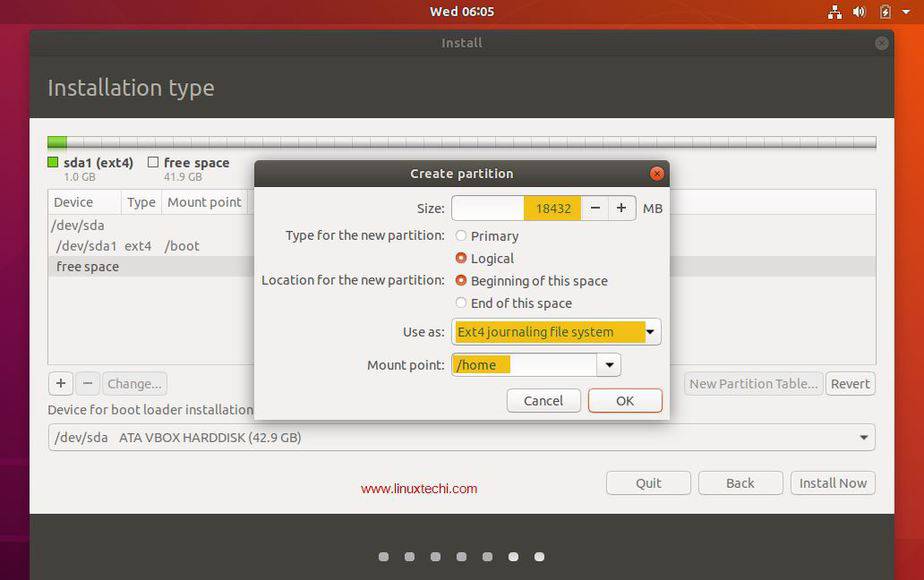
- /home 18 GB (ext4 file system)
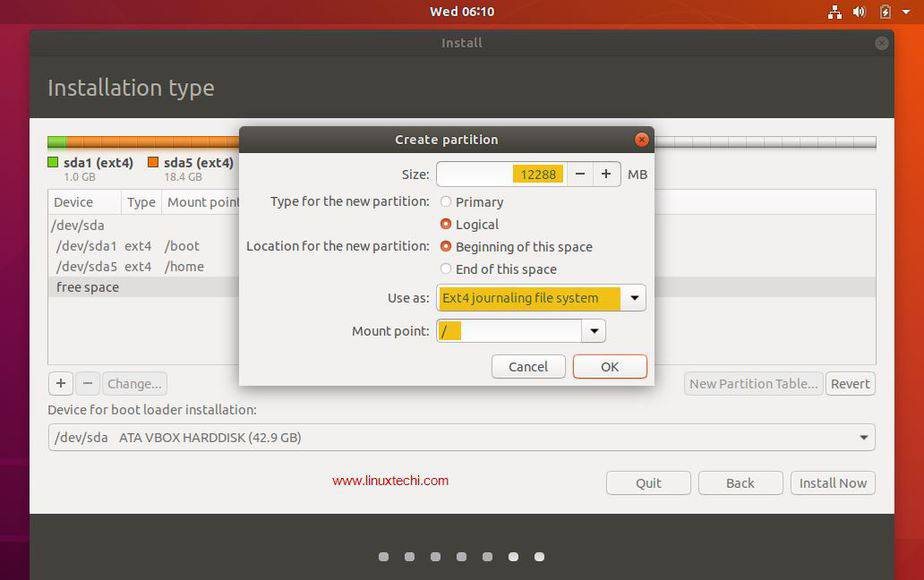
- / 12 GB (ext4 file system)
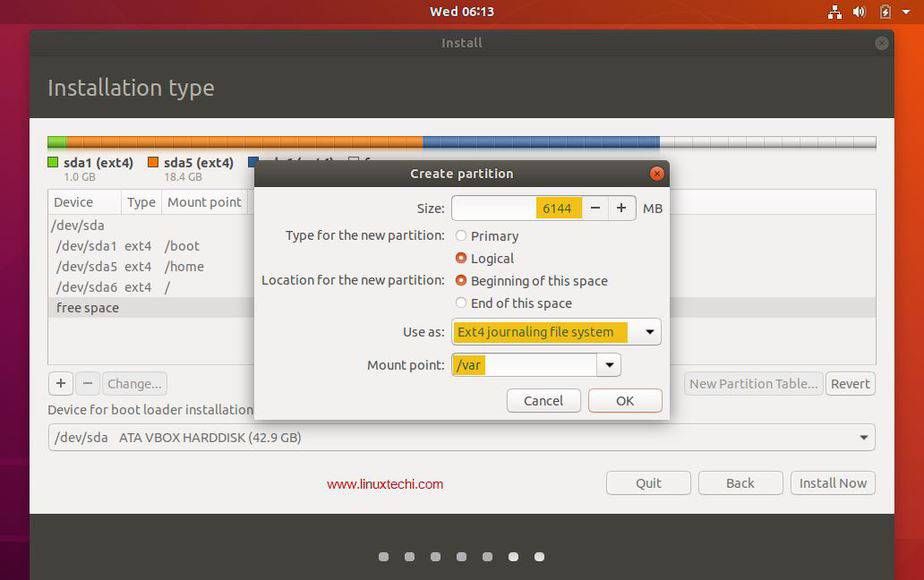
- /var 6 GB (ext4 file system)
- Swap 2 GB
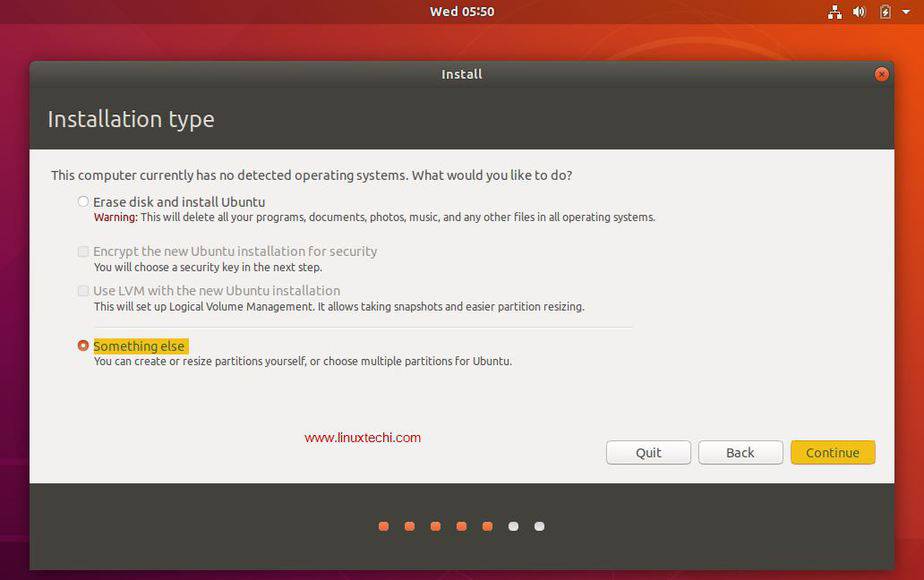
Now, Choose “Something Else” and Click on continue
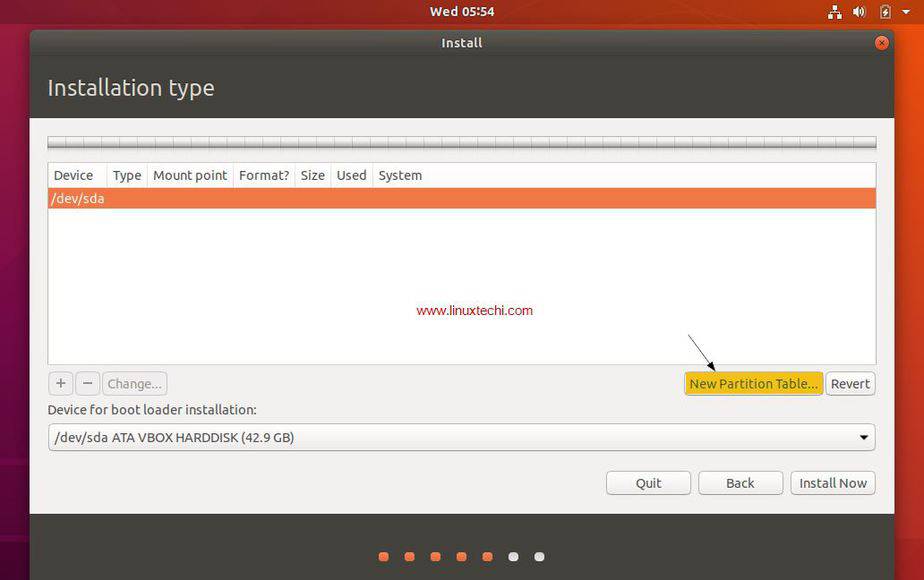
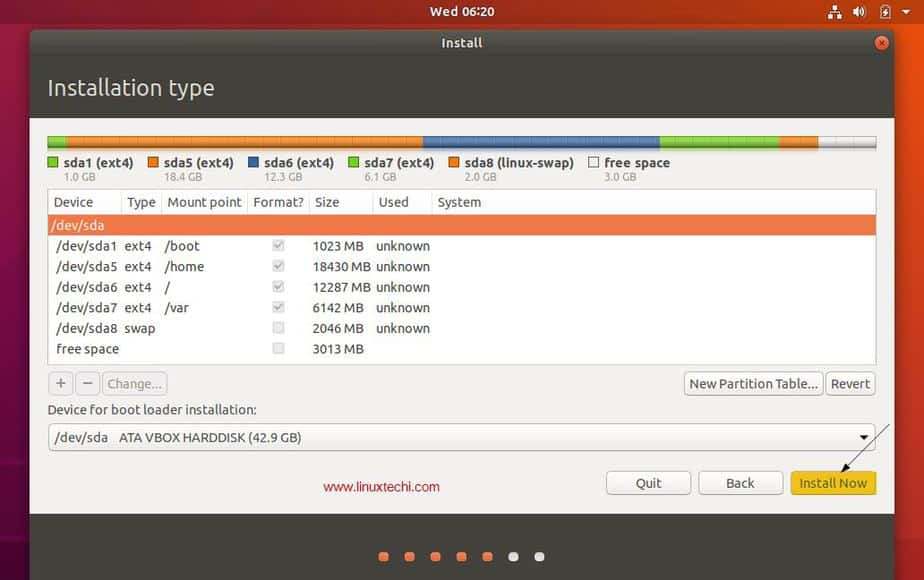
You can see the available disk size for Ubuntu in the next window as shown below:
Now in order to create your own partitions, click on “New Partition Table”
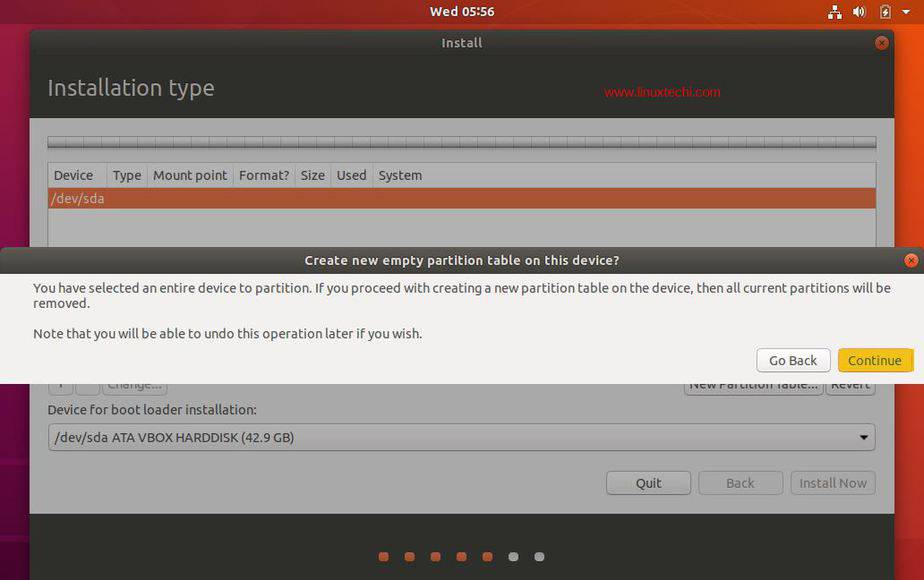
Click on Continue
Create /boot partition of size 1GB, Select the free space and then Click on the “+” symbol to create a new partition
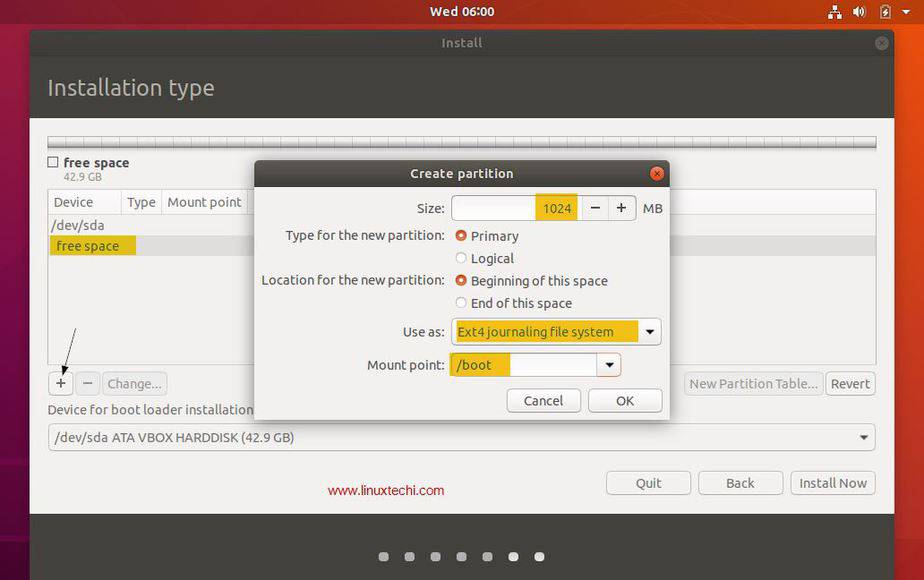
Click on “OK”
Let’s create /home partition of size 18 GB,
In the same way create / & /var file system of size 12 GB & 6 GB respectively
Now create last partition as swap of size 2 GB,
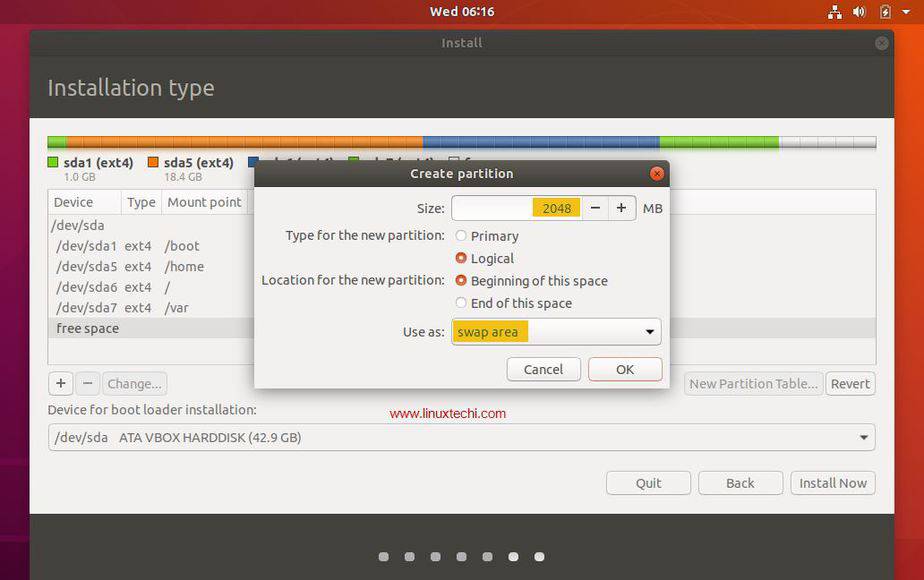
Click on OK
Once you are done with the partition creation task , then click on “Install Now” option to proceed with the installation
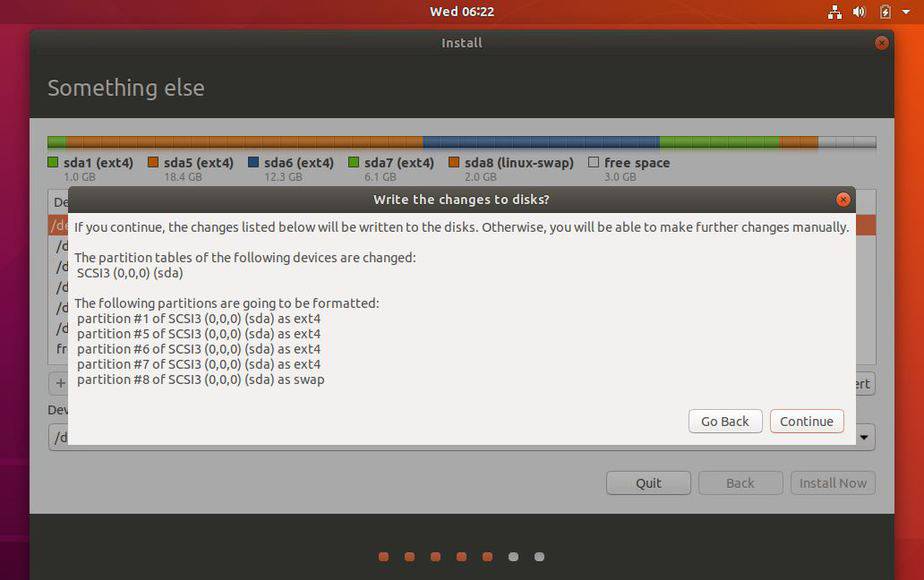
Now click on “Continue” to write all the changes to the disks
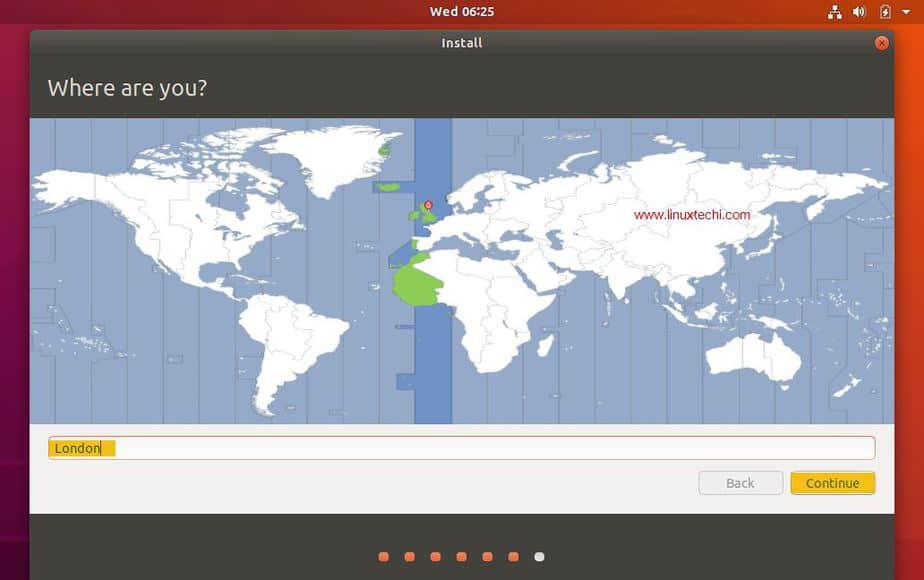
Step 7) Select Your Time zone
Choose your favorite time zone and then click on “Continue”
Step 8) Provide your User Credentials
In the next screen you will be prompted to provide your user credentials. In this screen provide your name, computer name, username and the password to login into Ubuntu 18.04 LTS
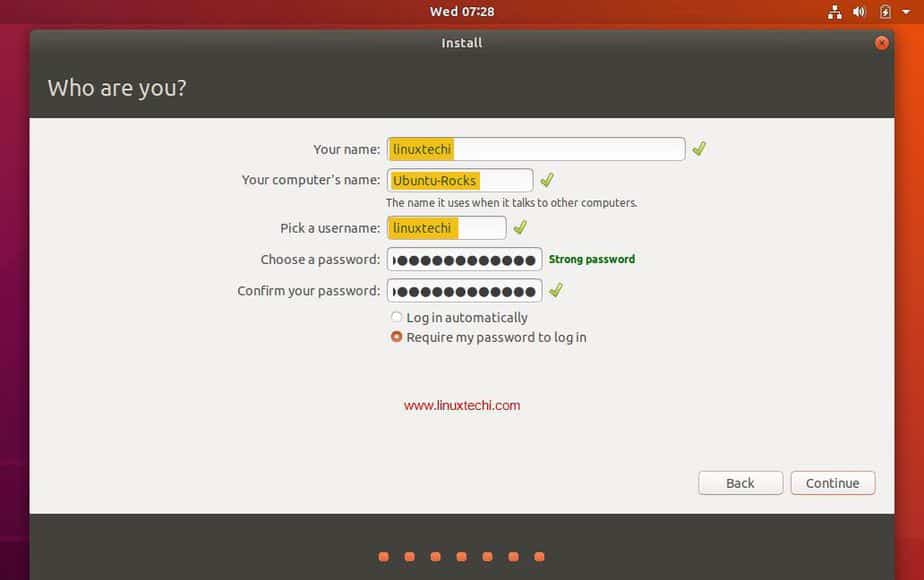
Click “Continue” to begin the installation process.
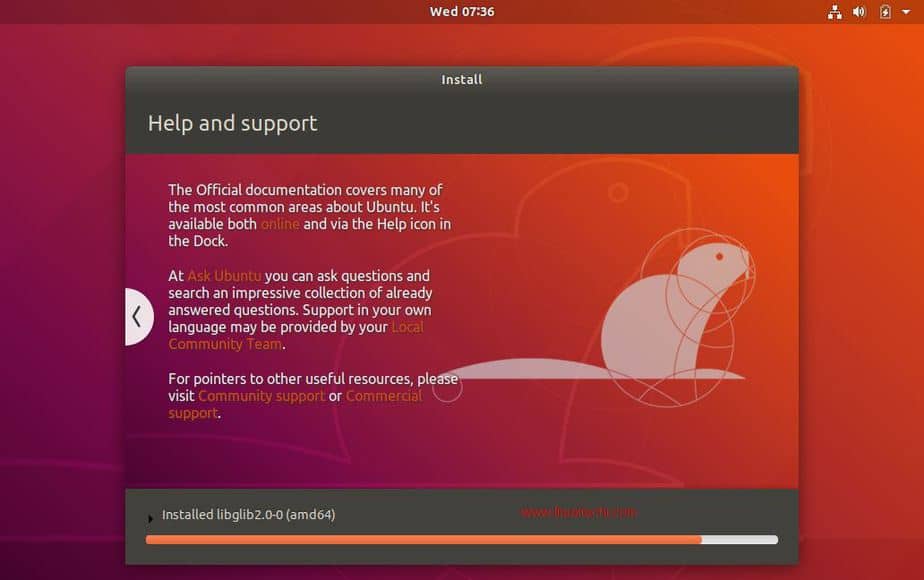
Step 9) Start Installing Ubuntu 18.04 LTS
The installation of Ubuntu 18.04 LTS starts now and will take around 5-10 mins depending on the speed of your computer,
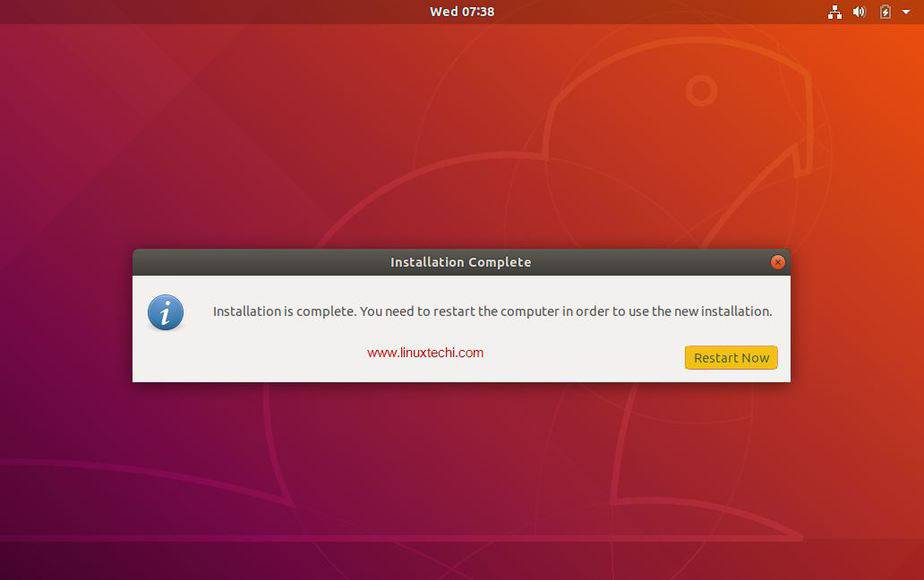
Step 10) Restart Your System
Once the installation is completed, remove the USB/DVD from the drive and Click “Restart Now” to restart your system.
Read More on : How to Install VirtualBox 6.0 on Ubuntu 18.04 LTS / 18.10 / CentOS 7
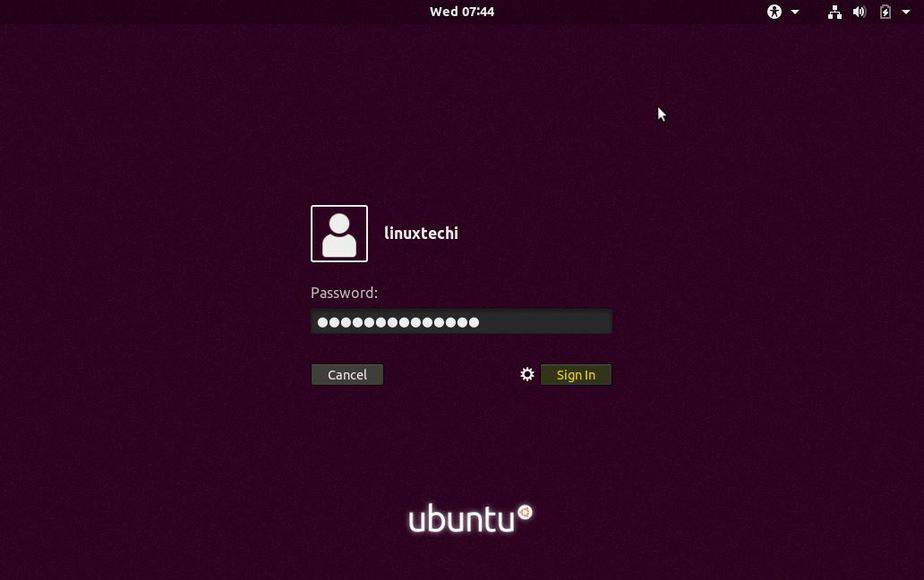
Step:11) Login to Your Ubuntu 18.04 desktop
Once your system has been rebooted after the installation then you will get the beneath login screen, enter the User name and password that you have set during installation (Step 8)
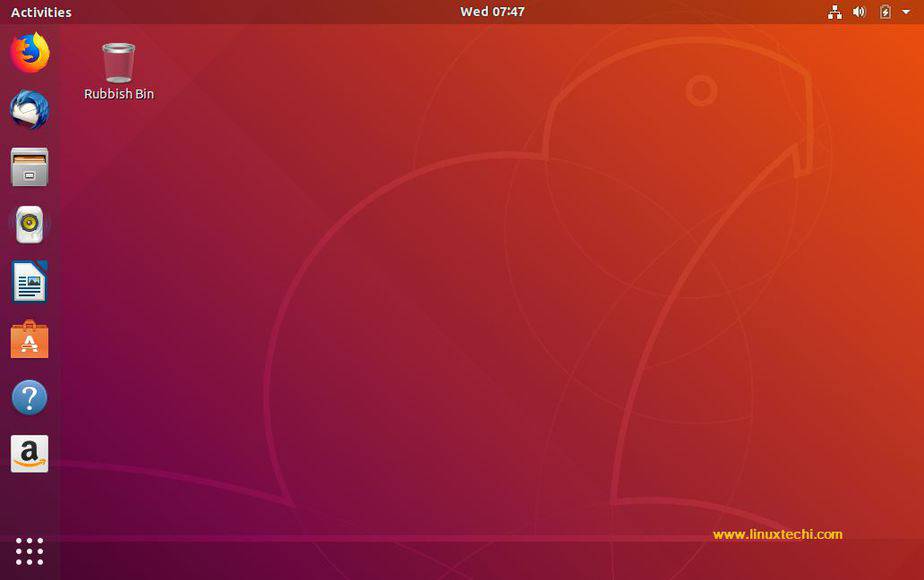
And that concludes our step by step installation guide for Ubuntu 18.04 LTS and it’s all up to you now to explore the exciting features of Ubuntu 18.04 LTS and have fun 🙂
Read Also : Top 10 Things to do After Installing Ubuntu 18.04 LTS Desktop
Read Also :How to Upgrade Ubuntu 18.04 LTS to Ubuntu 20.04 LTS

thanks, step by step guide was very helpful
How do you recommend the install if i want to learn Python 3?
I can’t even get this far. When I try to install, it hangs at the splash screen and cannot continue.
burned a dvd from a windows 10 laptop and did an install on a windows 7 laptop. Windows 7 would never burn the dvd. The install never asked to run trial or install, no language screen, no keyboard layout screen. no installation type, no partitioning. It just did an install on it’s own parameters that I didn’t choose, Ubuntu did launch, mouse works, keyboard doesn’t. Small wonder. What am i missing?
My laptop told me to disable iRST, I have 1 TB SSD and no HDD. can I install ubuntu? or is it not possible/safe to create partitions in SSD?