Hello Geeks, Debian has finally released its stable OS version 11 and It’s code name is ‘bullseye’. Debian 11 is a LTS version which means we will get updates and support till 2025. It has come up with brand new theme ‘Homeworld’ and new Linux kernel 5.10. Apart from this, it also supports 32-bit systems and exFat file system. Other noticeable feature of Debian 11 is that it has updated version of desktop environments like GNOME 3.38, KDE plasma 5.20, Xfce 4.16 and other OS package updates.
In this post, we will demonstrate how to install Debian 11 step by step with screenshots. Before jump into the installations steps, let’s check the minimum system requirements for Debian 11
- 2 GB RAM or more
- Dual Core Processor (or higher)
- 15 GB hard disk space
- Bootable Media (USB / DVD)
- Stable Internet Connection (optional)
Let’s deep dive into Debian 11 installation steps
1) Download Debian 11 ISO File
Use following Debian official web site to download iso file,
Once the file is downloaded then burn it into USB flash drive or DVD to make it bootable and we call it Installation media.
Also Read : How to Create Bootable USB Drive on Ubuntu / Linux Mint
2) Boot System with Installation Media
Reboot the target system on which you want to install Debian 11 and go to its bios settings and change boot medium from Hard disk to bootable media (like USB / DVD).
Once the system boots up with bootable medium, we will get the following screen.
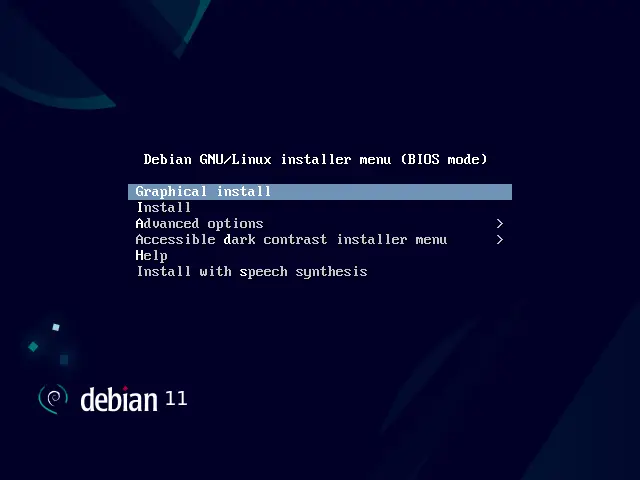
Choose ‘Graphical Install’ option and hit enter.
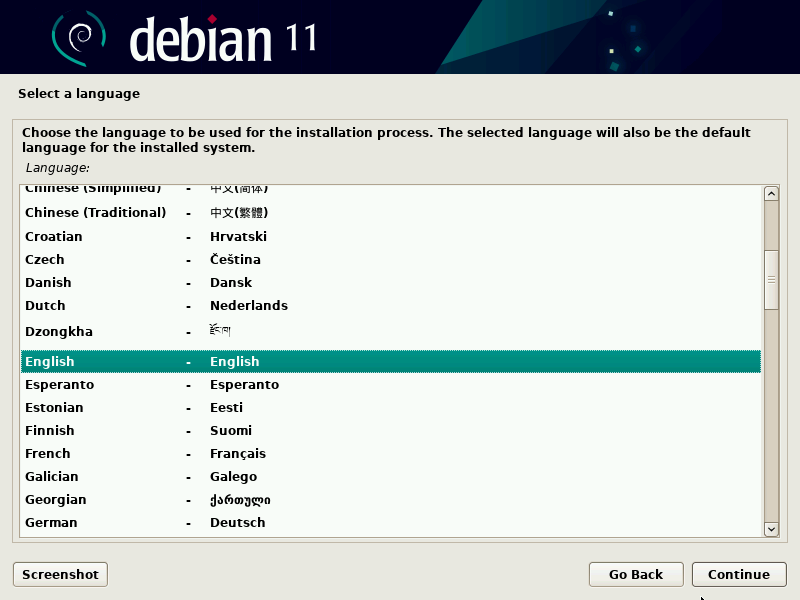
3) Choose Language for Debian 11 Installation
Choose your preferred language and click on continue,
4) Select Preferred Location
Choose your preferred location which will be used to set time zone for your system.
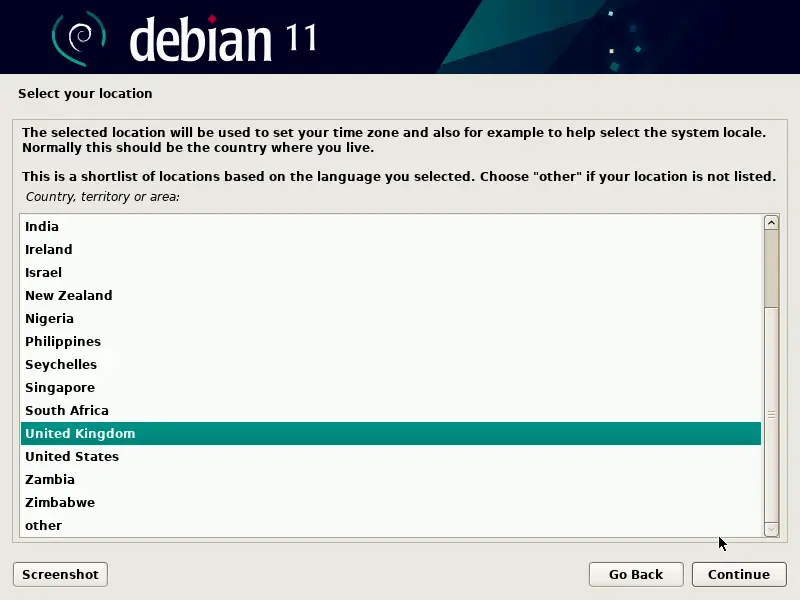
Click on Continue
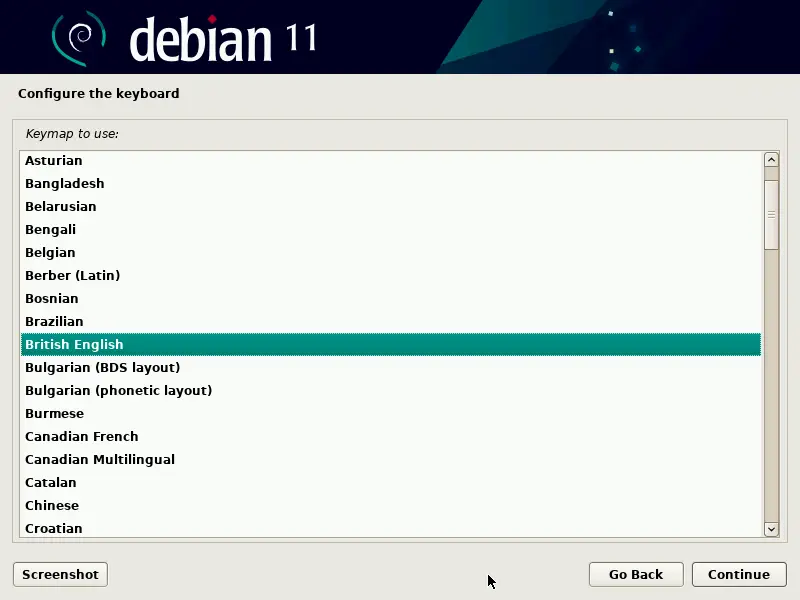
5) Select Keyboard Layout
In this step, choose the keyboard layout and then click on continue to proceed
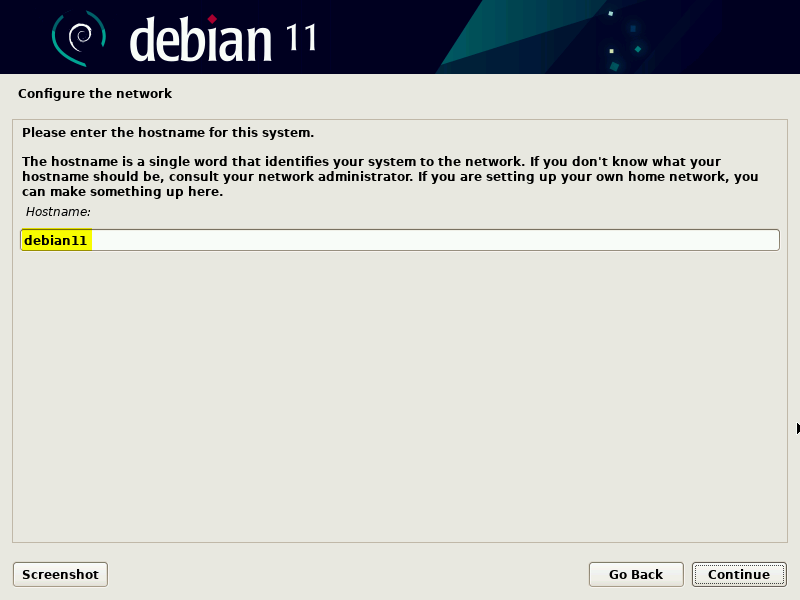
6) Setup Hostname and domain
In this step, installer will prompt you to set hostname, so specify the hostname that you want to configure and then click on continue.
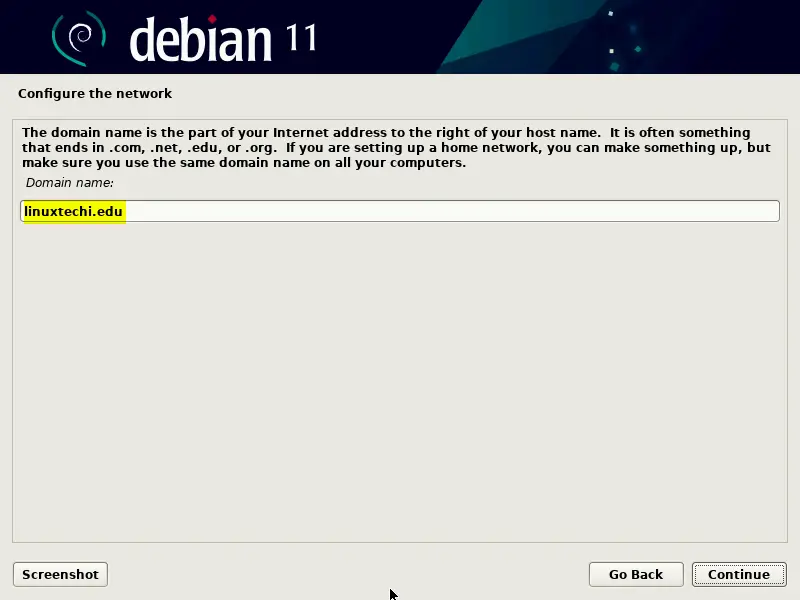
In the next following screen specify the domain name.
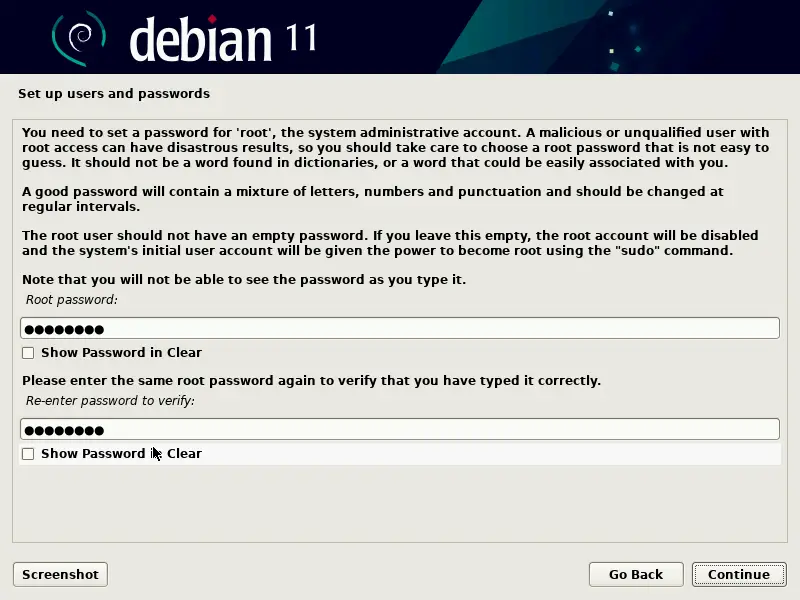
7) Set Root User Password
Specify the password of root user and hit continue to proceed further
8) Create local user and configure its password
Specify the Full Name of your local user,
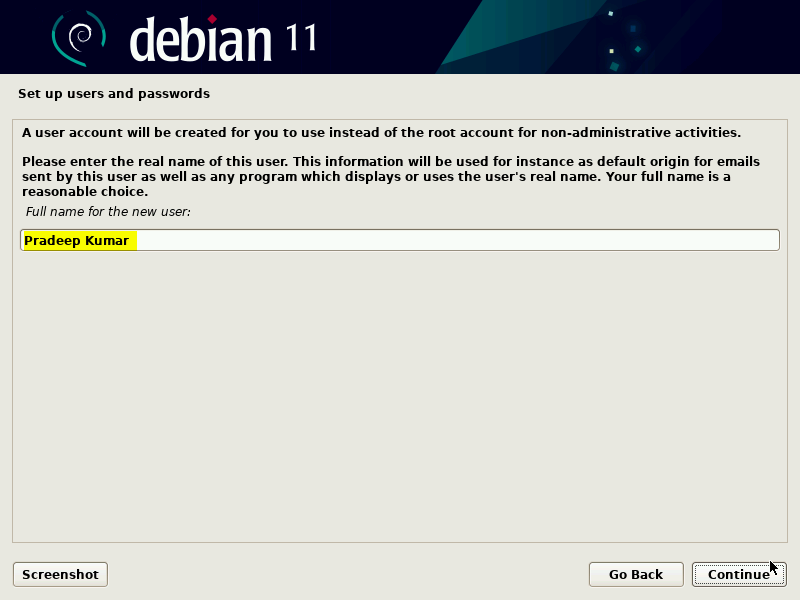
Specify the username, in my case I am using ‘pkumar’ as username.
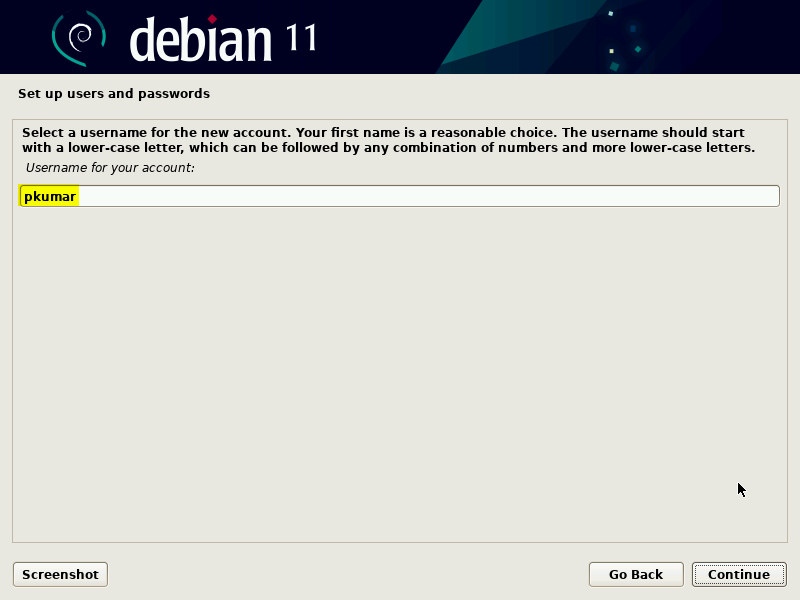
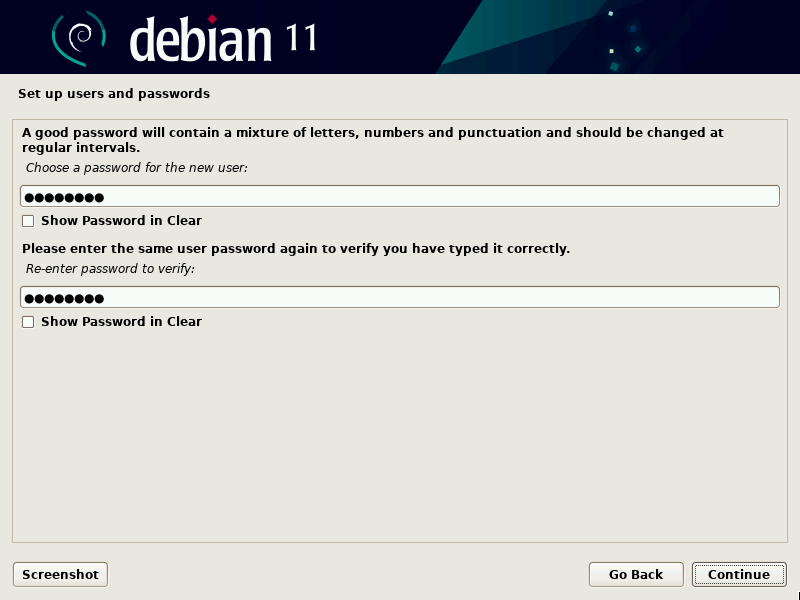
Click on continue and then in the following screen, specify the password of local user.
9) Choose Partitioning Method
In this step, Installer will prompt to choose partitioning method.
- Guided – use entire disk (It will create partition automatically on entire disk)
- Guided – use entire disk and setup LVM (It will create LVM based partition automatically on entire disk)
- Guided – use entire disk and set up encrypted LVM (It will create LVM based partitions and will encrypt the disk)
- Manual – It will allow to create own custom partitions.
Choose the option that suits to your installation, in this post I am going with 2nd option. It will create the LVM based partitions on the entire disk.
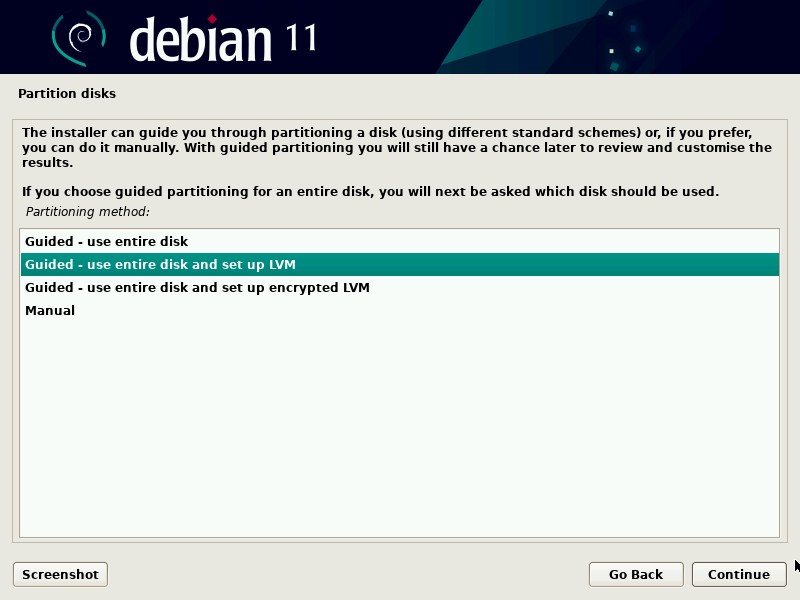
Click on Continue to proceed further,
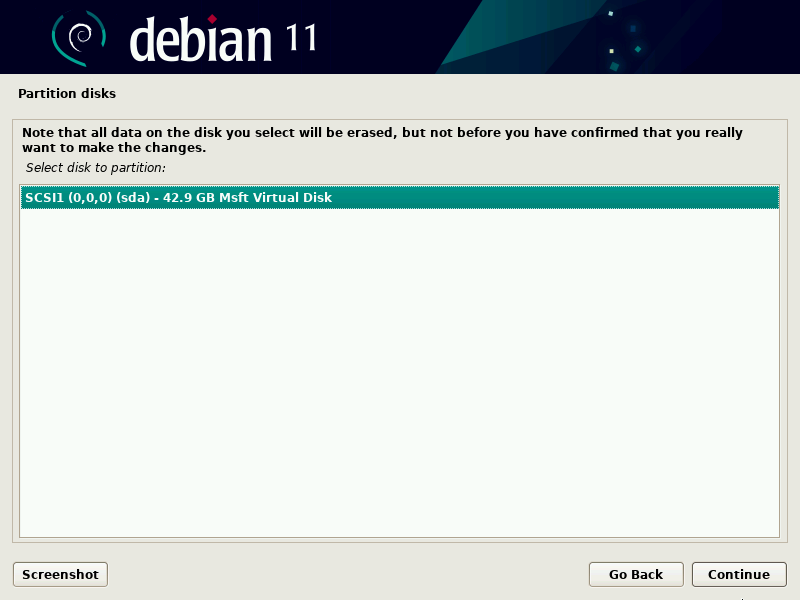
In following screen, choose the disk on which partitions will be created for Debian 11.
In the next following screen, we must choose partition scheme. Based of disk size and requirement choose parttions scheme accordingly.
For the demonstration purpose, I am going with last option ‘Separate /home, /var, and /tmp partition’.
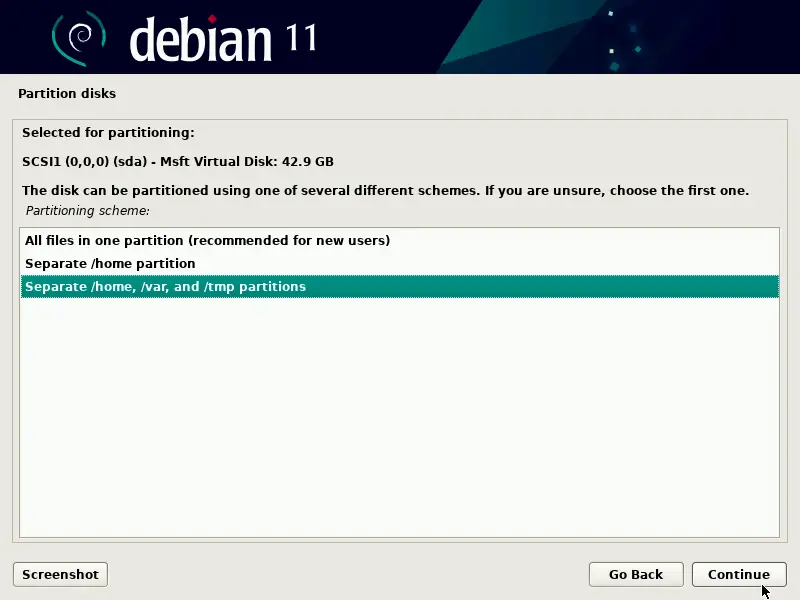
Choose ‘Continue’ to proceed further.
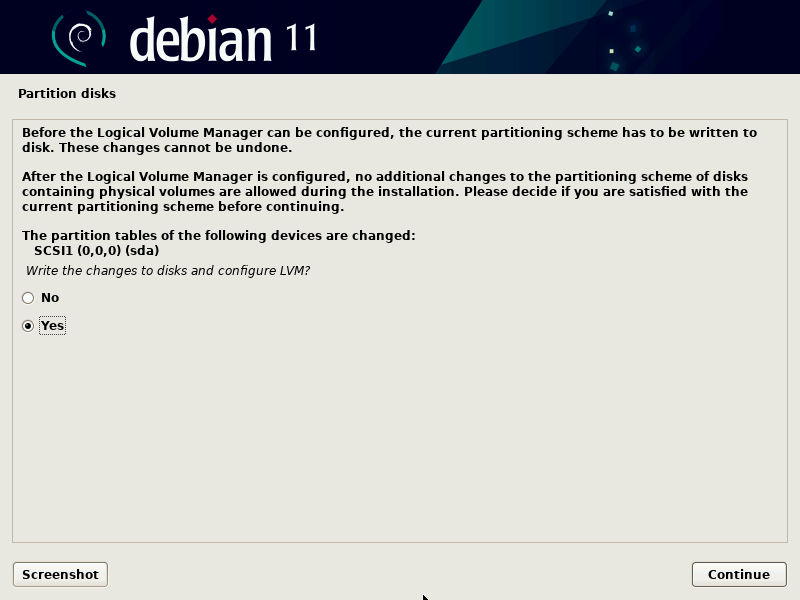
Choose ‘Yes’ to write changes to disk and then click on Continue
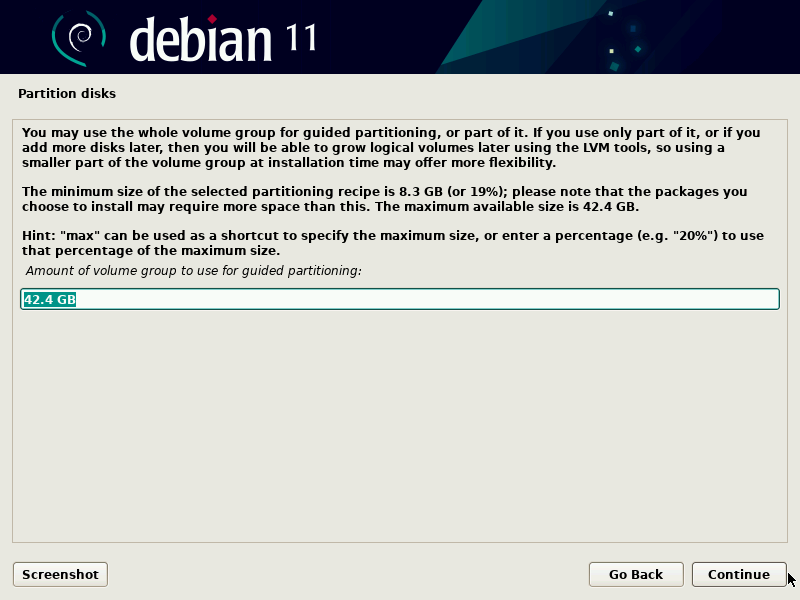
In the following screen specify the disk size that want to use for Debian 11 partitions, by defaults it takes whole disk size. In my case I am going with default disk size.
In the next screen, we will get the partitions summary, verify it and choose ‘Yes’ to write changes to the disk.

Click on Continue to initiate the installation.
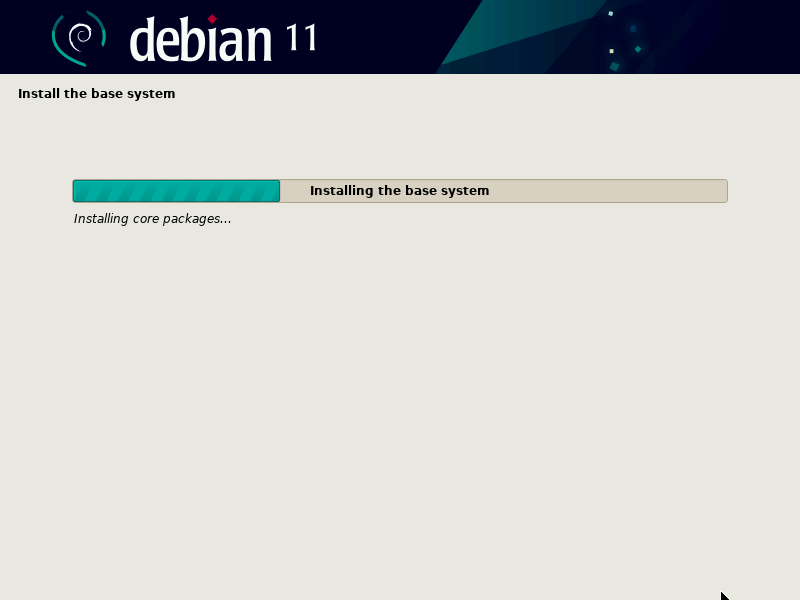
10) Installation Started
In this step, actual installation of Debian 11 is started,
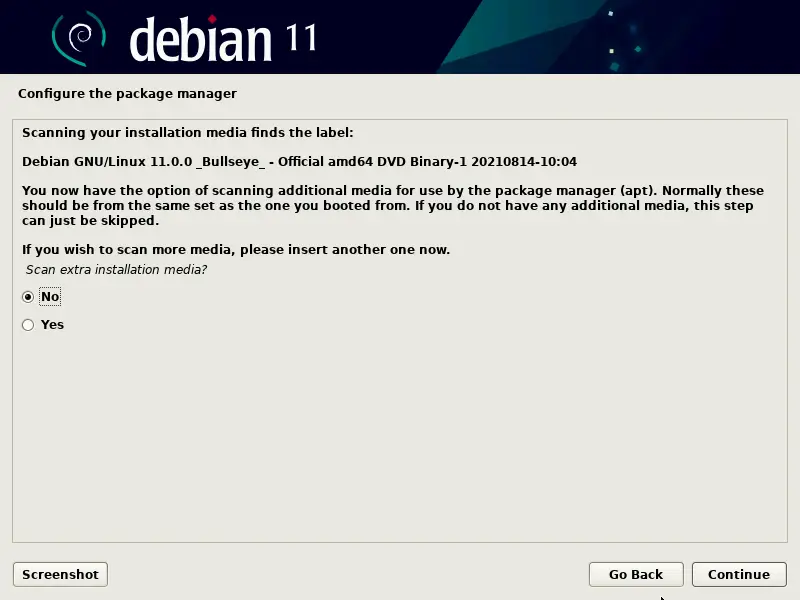
After couple of minutes, It will prompt to scan installation media, Choose ‘No’ and the click on continue to proceed with installation.
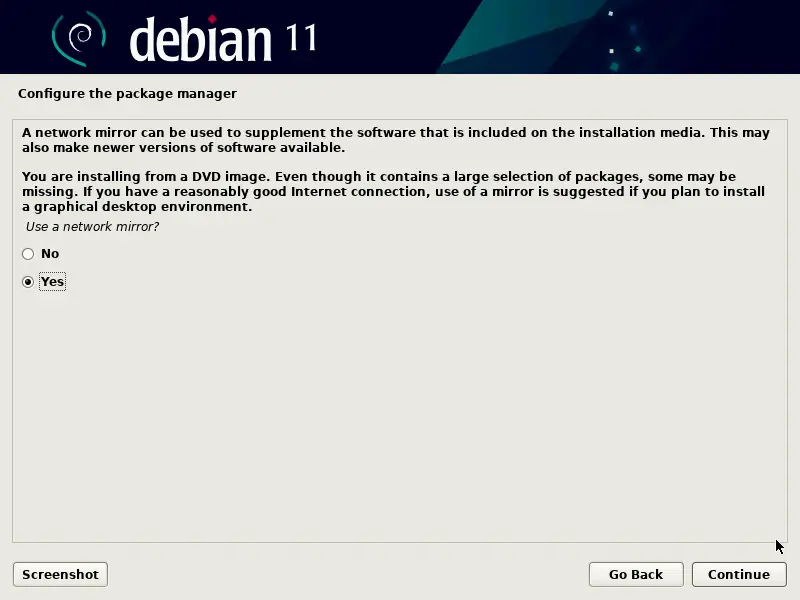
In the Next screen, choose ‘Yes’ to configure network mirror.
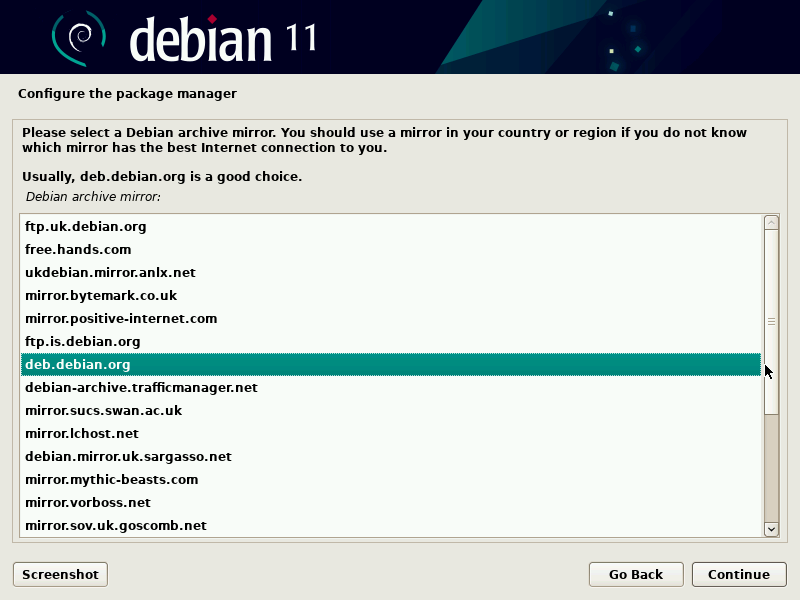
Choose ‘Debian archive mirror country’ and click on continue

In the following screen, click on Continue if your system is not using any proxy server. In case you are using it then specify details and then proceed further.
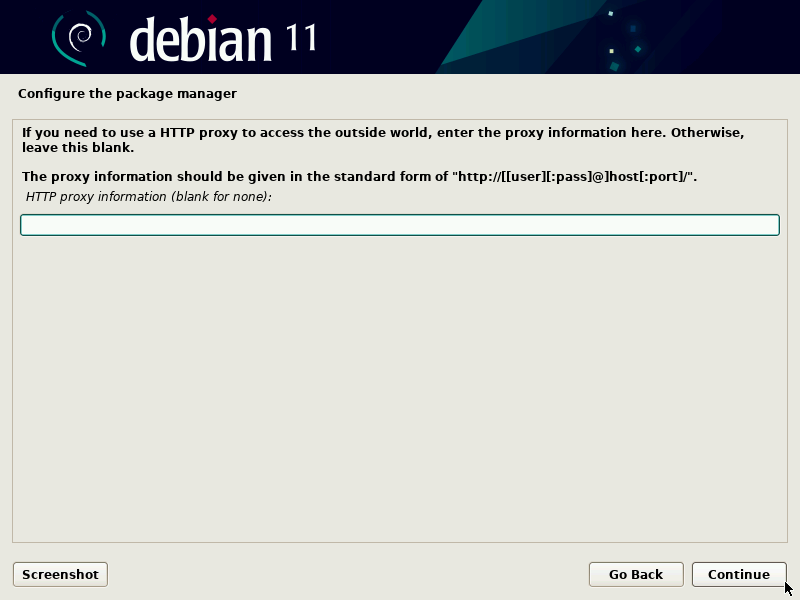
Click on Continue to proceed further with installation.
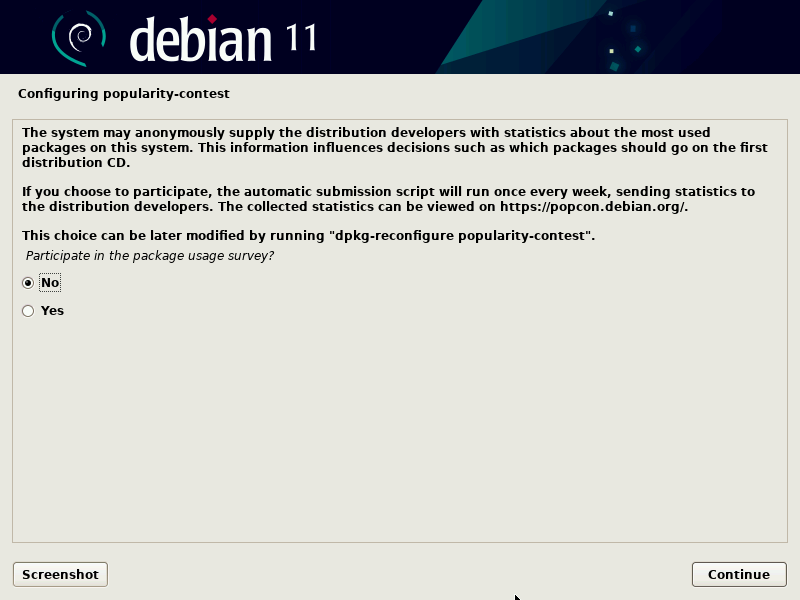
In the following screen you will be asked to participate in package survey, choose ‘No’ and then click on continue.
Now choose the software that you want to install like Desktop environment and servers etc. So make the selection which suits to your installation.
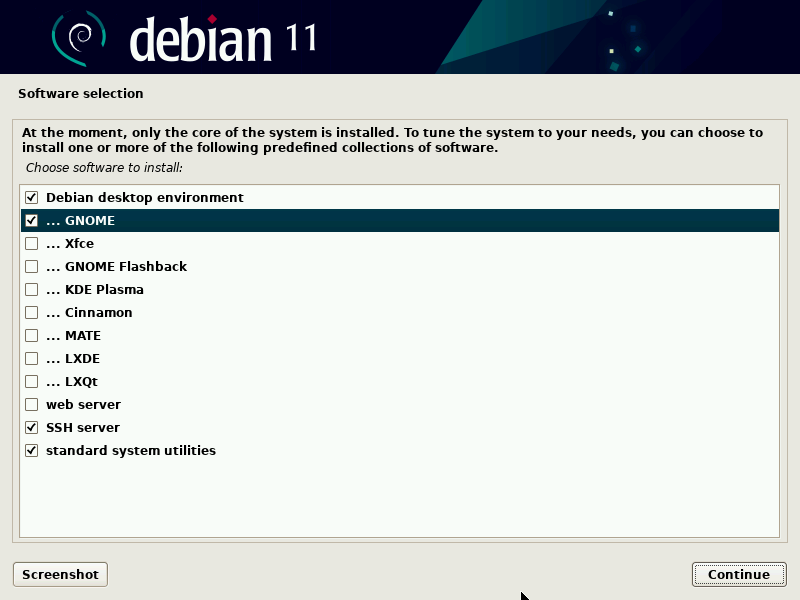
Click on the Continue to proceed further with installation.
In the next screen, choose ‘Yes’ to install Grub bootloader on primary hard drive.
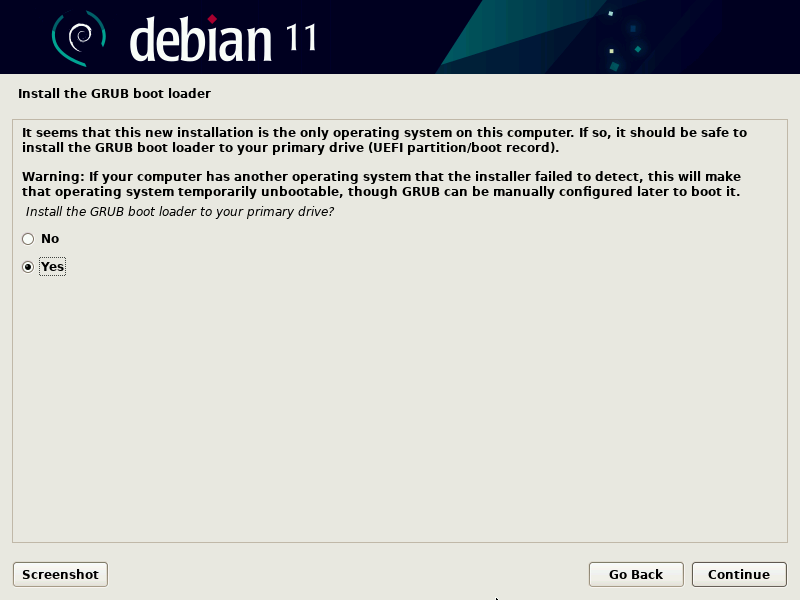
Click on Continue.
In the next window choose the disk on which grub loader will installed,
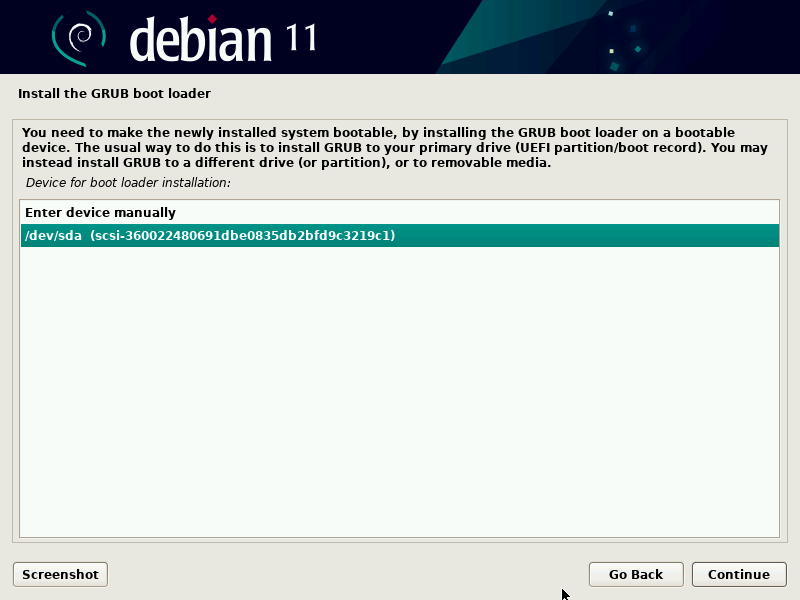
Choose Continue and hit enter to finish the installation.
Once the installation is completed then installer will prompt to reboot the system once.
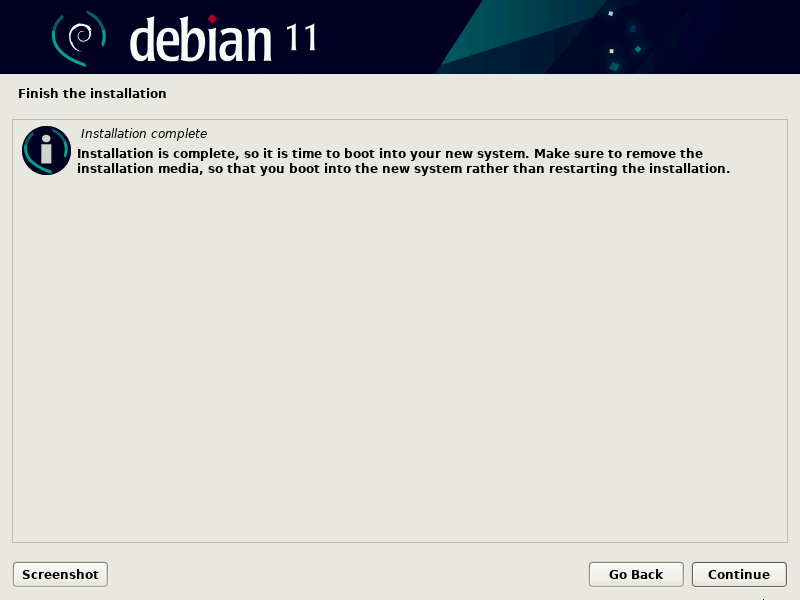
Click on ‘Continue’ to restart the system and don’t forget to change boot medium from installation media to hard disk.
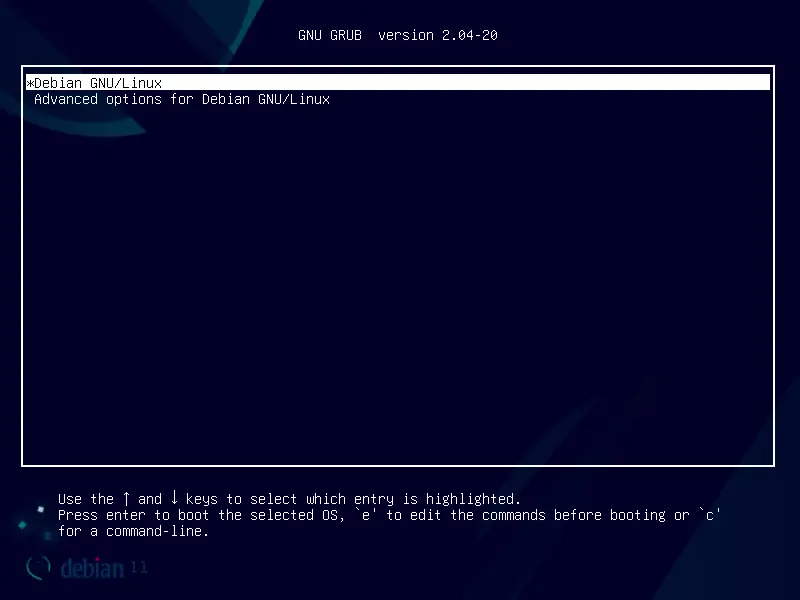
11) Login and Desktop screen after installation
Once the system is rebooted after Debian 11 successful installation then we will following grub screen , choose first option and hit enter.
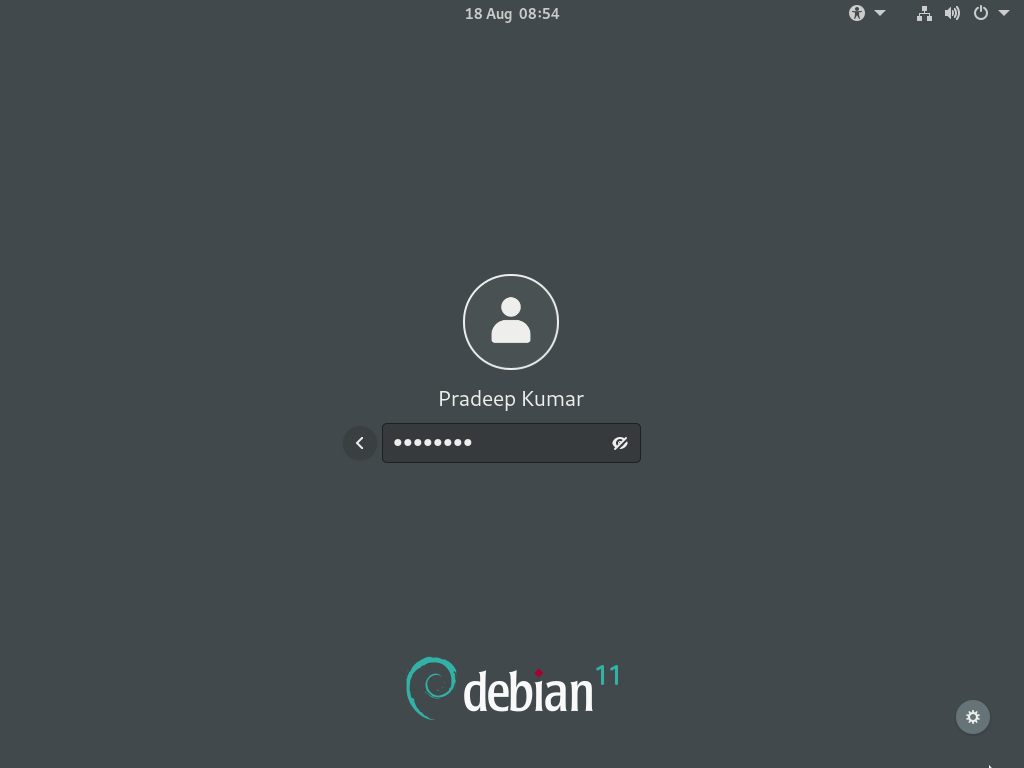
When the system boots up, we will get the following login screen, use same local user and its credentials that we have created during the installation.
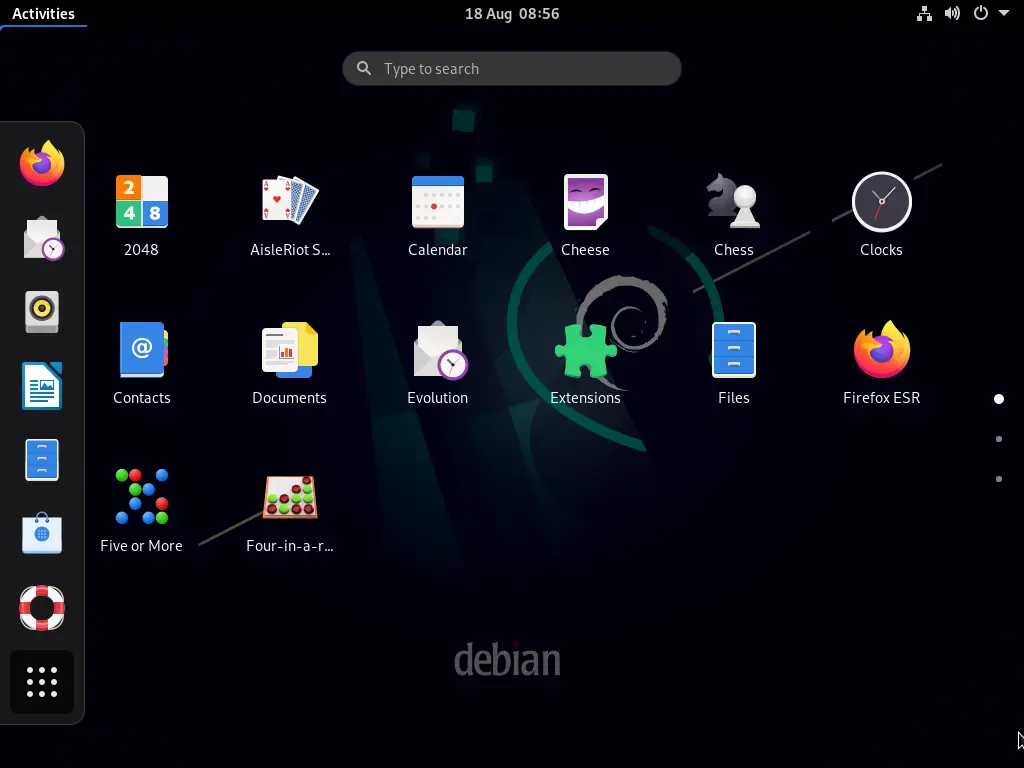
Perfect, above confirms that Debian 11 has been installed successfully. That’s all from this post, I hope you have found it informative. Please do share your queries and feedback in below comments section.
on step 11 I presented with ‘Minimal BASH-like line editing is supported. For the first word, TAB list possible commands..
and grub>
i am sure I selected desktop enviroment and gnome as on above. how to start gui?
Hi Dimitri,
It appears like boot loader was not installed properly on your system that’s why you are getting the grub prompt.
I suspect you might have to re-install the system.
Oh dear, Thanks I will try later.
Dennis
NO Desktop environment and servers etc found only standard system