In this guide, we will learn how to install Atom Text Editor on Ubuntu 22.04 LTS (Jammy Jellyfish).
Atom is a free and open-source text editor for Linux, Windows and MacOS operating system.It is based on Electron (CoffeeScript /Javascript/HTML) and can also be be used as IDE (integrated development environment). Atom is developed and maintained by GitHub Inc. and is also known as “hackable text editor“.
Features of Atom Text Editor
- Support Cross Platform Editing – Atom is platform independent so we can use it on MacOS, Windows and Linux
- Smart Auto-completion – It helps us to develop the code faster with smart and flexible autocomplete feature
- Built-in Package Manager – We can install new package and can create our own packages with in the Atom
- File system Browser – From atom window we can easily browse a file, project or multiple projects.
- Find and Replace – Atom supports easy way to find, preview and replace text in a file or across all your projects.
- Support Multiple Panes – We can easily split atom interface into multiple panes to compare and to edit code across the files.
Without any further delay, let’s dive into Atom installation steps.
Installing Atom from Command line
Atom package is not available in the default Ubuntu 22.04 repositories. So, first configure its official repository.
Open the terminal and run the following apt command to install atom dependencies,
$ sudo apt install curl libcanberra-gtk-module dirmngr ca-certificates software-properties-common gnupg gnupg2 apt-transport-https -y
Run following commands to configure Atom repository
$ curl -fsSL https://packagecloud.io/AtomEditor/atom/gpgkey | gpg --dearmor | sudo tee /usr/share/keyrings/atom.gpg > /dev/null
$ echo "deb [arch=amd64 signed-by=/usr/share/keyrings/atom.gpg] https://packagecloud.io/AtomEditor/atom/any/ any main" | sudo tee /etc/apt/sources.list.d/atom.list
Now, run beneath apt commands to install atom text editor
$ sudo apt update
$ sudo apt install -y atom
Alternate Way to Install Atom on Ubuntu and Linux Mint
We can also easily install atom text editor using snap utility, steps are shown below:
$ sudo apt install snapd
$ sudo snap install atom --classic
Installing Atom Text Editor From GUI
Login to Desktop environment and start Ubuntu software center,
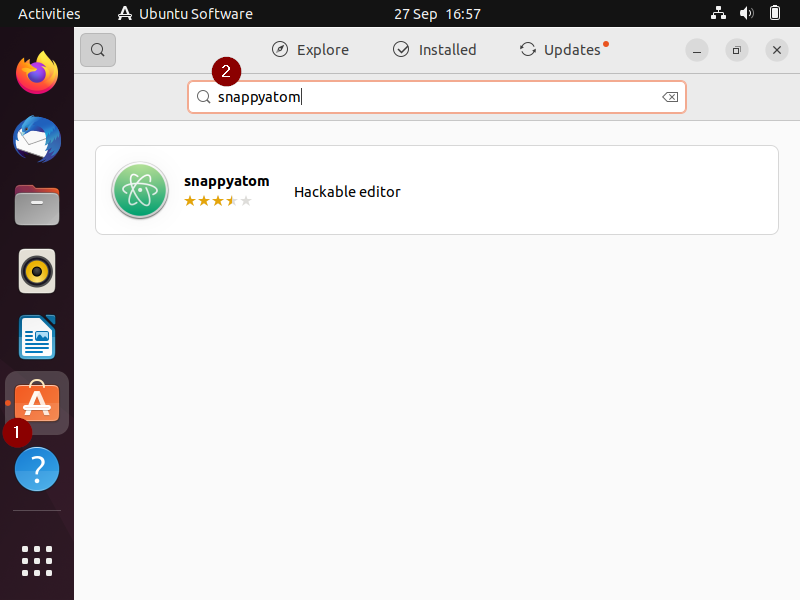
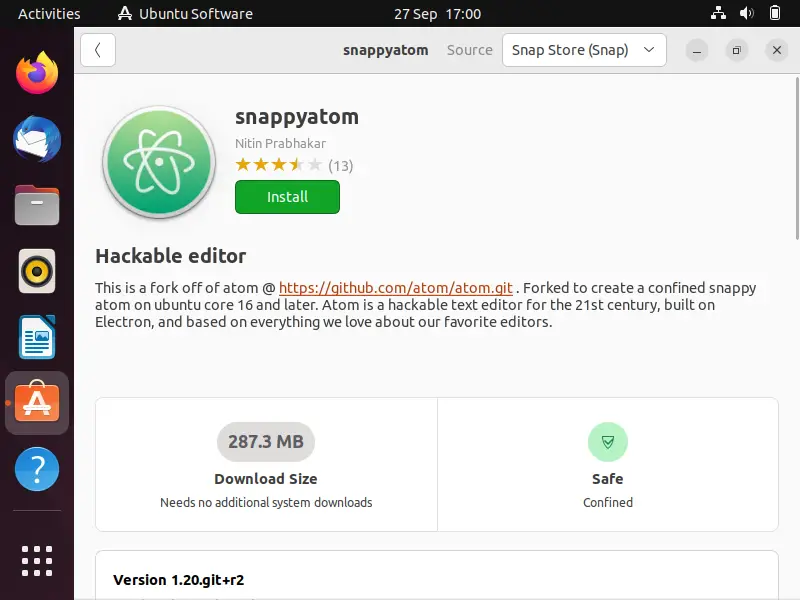
click on ‘snappyatom‘ icon and then click on ‘Install‘
It will prompt you to enter your user credentials,
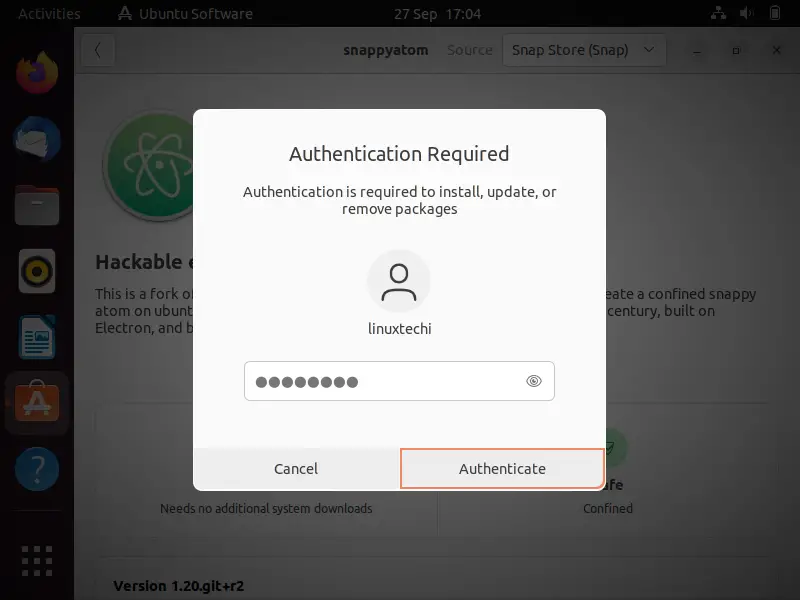
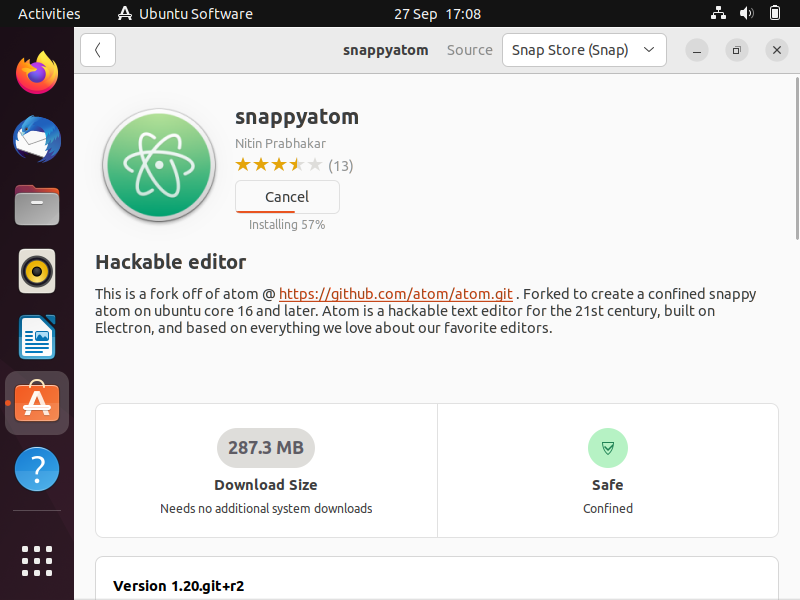
After entering the credentials installation will start,
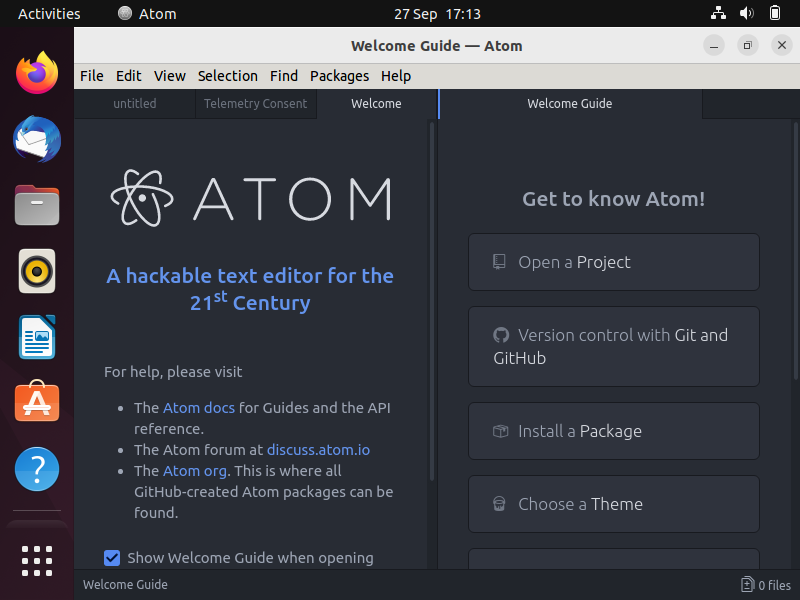
Once the installation is completed, access Atom Text Editor.
Search ‘atom‘ from Activity as shown below,
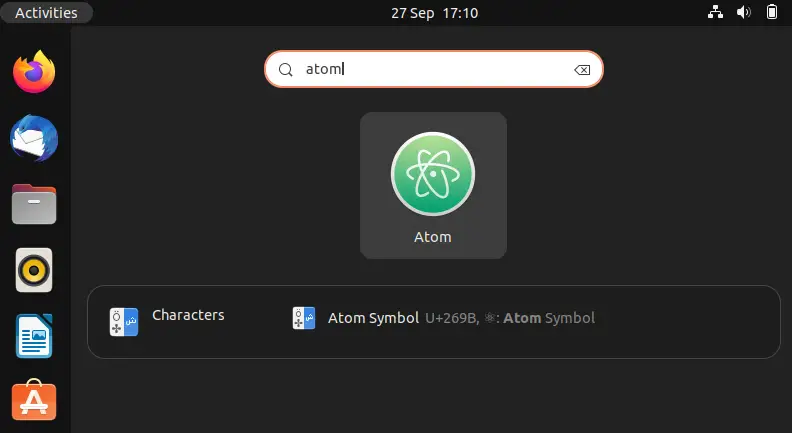
click on ‘Atom’ icon
Uninstall Atom Text Editor
To uninstall atom text editor from the command line, run
$ sudo apt autoremove atom -y
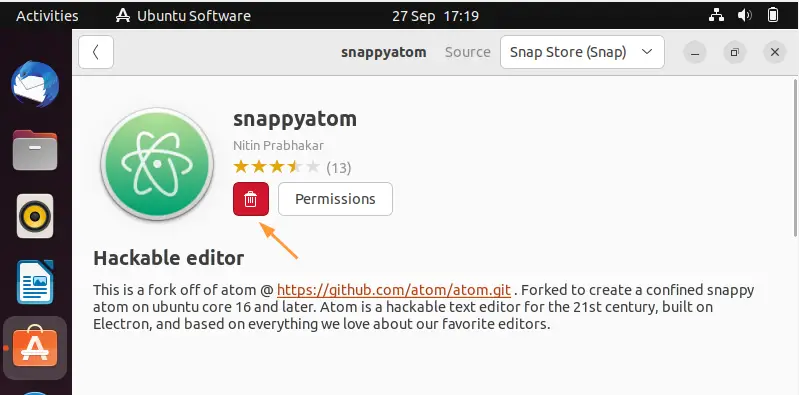
To uninstall atom text editor from GUI, search snappyatom in ‘Ubuntu Software’ Center and click on ‘Delete’ icon
That’s all from this guide, I hope you have successfully installed Atom Text Editor on your Ubuntu 22.04 LTS system. kindly do post your queries and feedback in below comments section.
Read Also : Top 10 Text Editors For Ubuntu Desktop
Exactly what I needed. Thank you!
Thanks it works
wow thanks, it works well