In this guide, we will explore how to upgrade Ubuntu 22.04 to Ubuntu 24.04 LTS step by step.
Ubuntu 24.04 has finally been released. It’s the latest LTS release and comes after years of hard work and dedication from the open-source community. It packs new features, upgraded software versions, and performance improvements to enhance the overall user experience.
Step 1: Backup Ubuntu 22.04
Before anything else, ensure you have a backup of all your crucial files and directories. This ensures in the case of any eventuality such as a failed upgrade, you can still access your files. You can use a variety of backup tools including Timeshift backup. Check out a comprehensive list of open-source backup tools in Linux.
Step 2: Upgrade the system
With the backup in place, the next step is to upgrade the system to the latest Ubuntu 22.04 release. To do so, access your terminal and first update the local cache repository.
$ sudo apt update
Next, upgrade the installed packages to their latest versions.
$ sudo apt upgrade -y
Next, reboot your system to complete the system upgrade.
$ sudo reboot
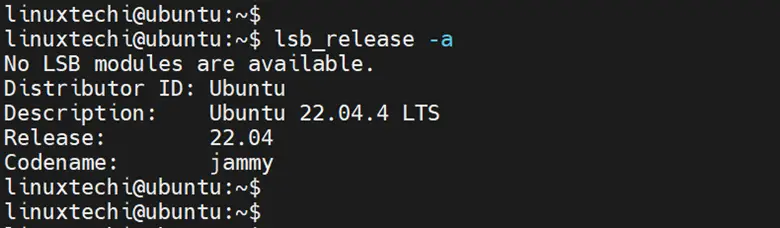
To check if your system is running with latest Ubuntu 22.04.
$ lsb_release -a
From the output, you can see that we are running Ubuntu 22.04 version 4
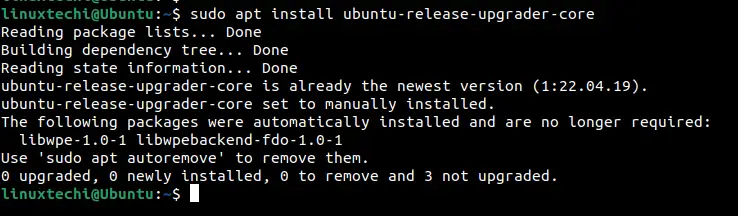
Step 3: Install Ubuntu Release Upgrader Core
Once the system is up to date, it’s time to begin the migration to Ubuntu 24.04. To proceed, ensure that you have the ubuntu-release-upgrader-core package in place. This is a package that manages distribution upgrades and facilitates the upgrade process.
To install it, run the command:
$ sudo apt install ubuntu-release-upgrader-core -y
Once the package is installed, make sure Prompt is set as lts in the file /etc/update-manager/release-upgrades
$ sudo vi /etc/update-manager/release-upgrades
Prompt=lts
save and close the file.
Step 4: Upgrade Ubuntu 22.04 to Ubuntu 24.04 LTS
Note : Ubuntu 24.04 LTS upgrade is scheduled on August 2024 for all the systems, till that time we need to follow below work around. This work around will not be applicable post 15th Aug 2024.
a) Set the Parameter “Prompt=normal” in /etc/update-manager/release-upgrades file.
b) Run below command
$ sudo do-release-upgrade
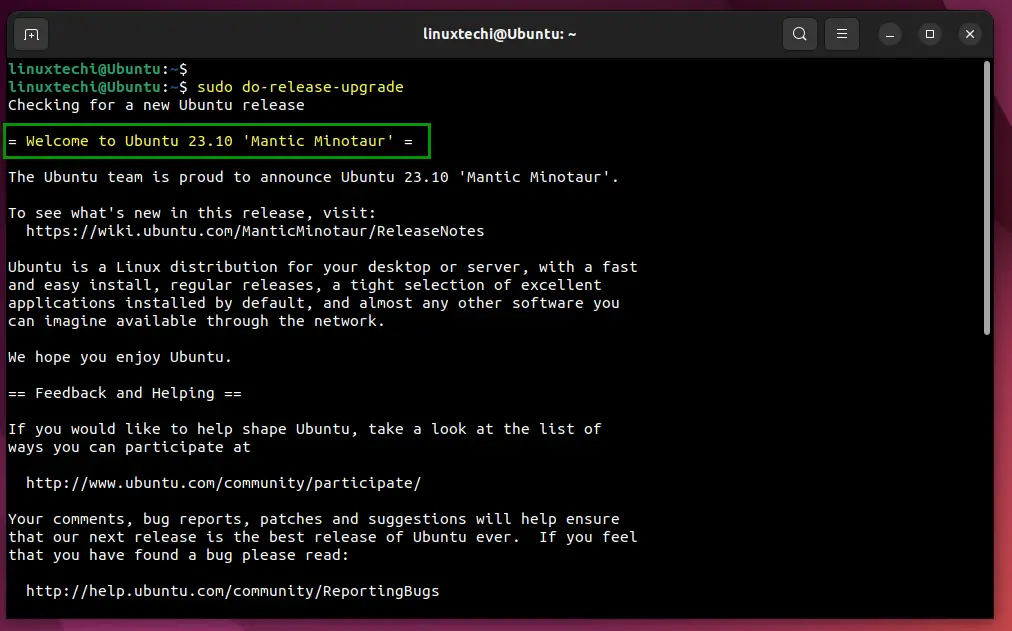
This will upgrade your Ubuntu 22.04 LTS to Ubuntu 23.10. Follow the screen instructions to complete the upgrade. Once the upgrade is completed, reboot your system.
$ sudo reboot
c) Set the Parameter “Prompt=lts” in /etc/update-manager/release-upgrades file
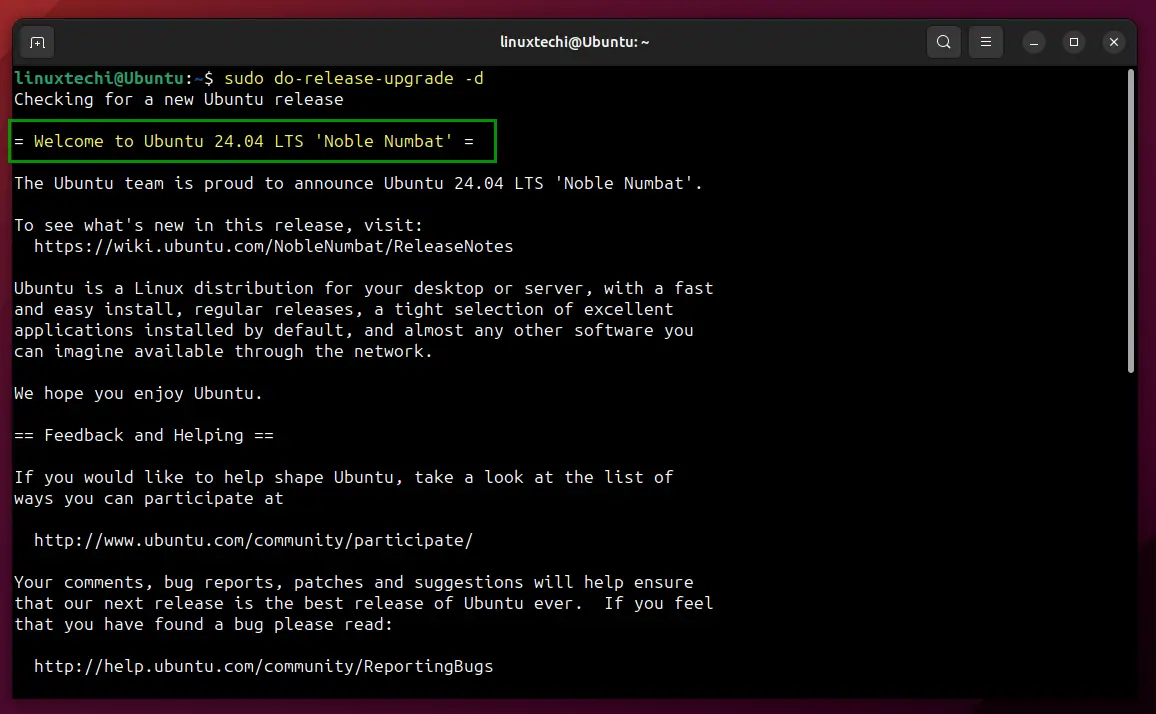
So now, we can commence the upgrade to Ubuntu 24.04. To do so, run the do-release-upgrade command with the -d flag as follows. This command upgrades Ubuntu to the latest LTS release, in this case, Ubuntu 24.04
d) Run “do-release-upgrade” command
$ sudo do-release-upgrade -d
The upgrade tool will acknowledge the availability of a new LTS release, in this case, Ubuntu 24.04 code name, Noble Numbat.
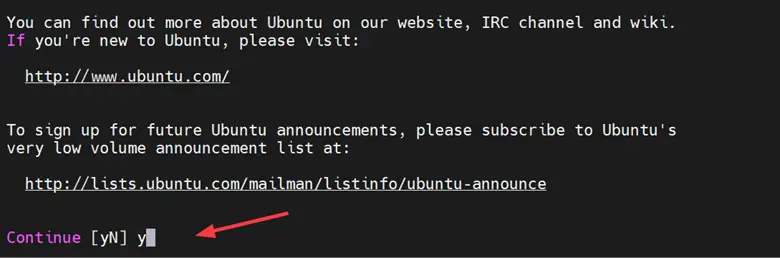
To proceed, scroll and type ‘Y’ and press ENTER.
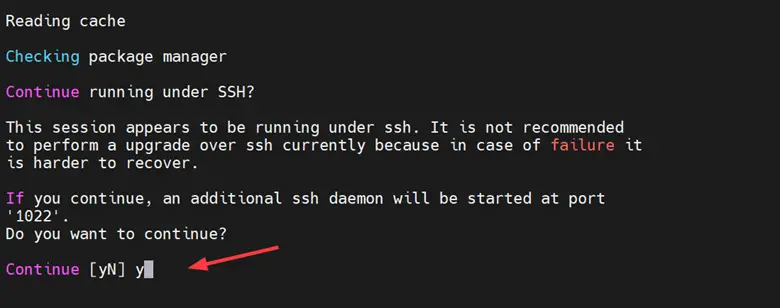
If you are performing an upgrade over SSH, an additional SSH daemon will be started on port 1022 in case port 22 is blocked during the upgrade. Therefore, if you are running a UFW firewall, allow SSH traffic on that port as shown.
$ sudo ufw allow 1022/tcp
$ sudo ufw reload
If you are not behind any firewall, just press ‘Y’ and hit ENTER to continue.
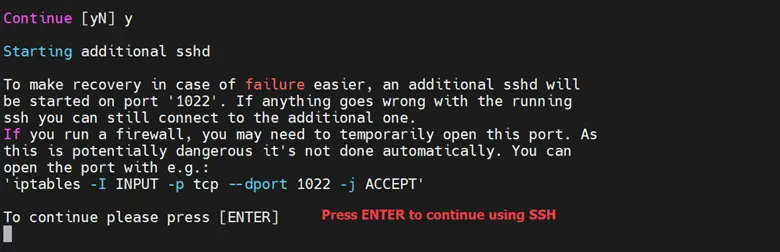
Once again, you will be prompted to temporarily open port 1022 for SSH access since it will not be opened automatically. You can open it using Iptables or on the UFW firewall. So just press ENTER.
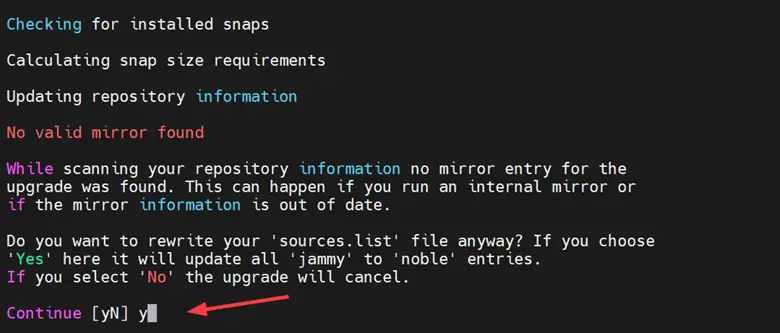
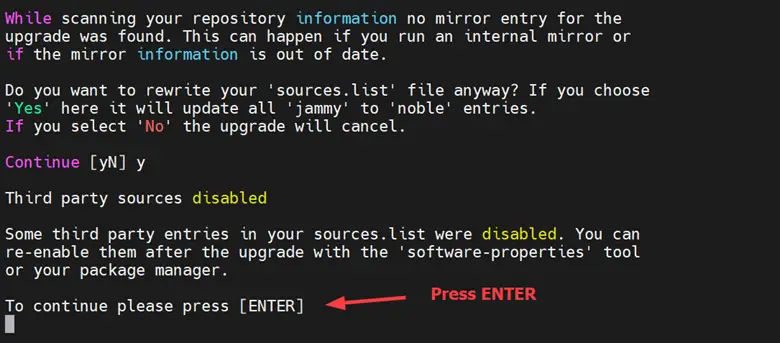
Next, you will be prompted to rewrite the entries in the `sources.list` file with new ones from Ubuntu 24.04. All ‘jammy’ entries will be updated to ‘noble’’ entries. Once again, press ‘Y’ on the keyboard and hit ENTER.
The upgrade will require third-party sources to be disabled. So, press ENTER
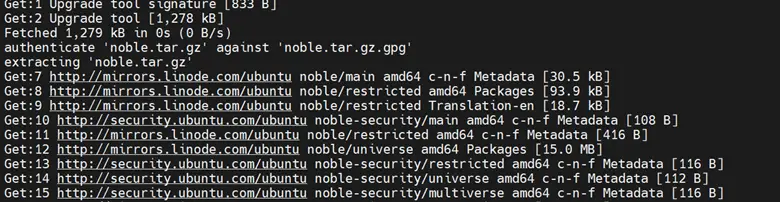
Thereafter, the updater will update the local package index and replace all ‘jammy’ entries with ‘noble’ ones.
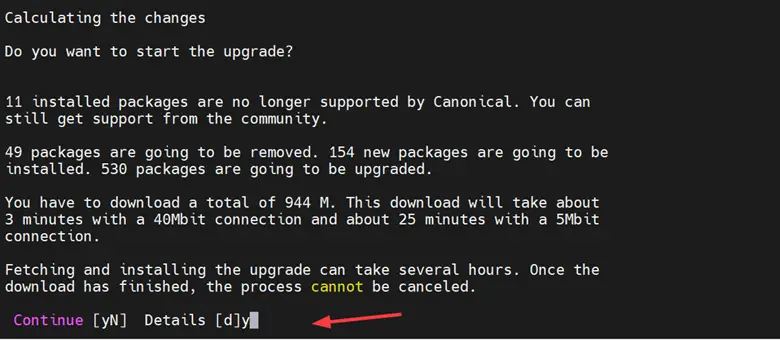
You will get a summary of the packages to be removed, new packages to be installed and those to be upgraded. In addition, the upgrade tool provides information about the total download size and the time taken for the download to complete.
To continue, press ‘Y’ on your keyboard.
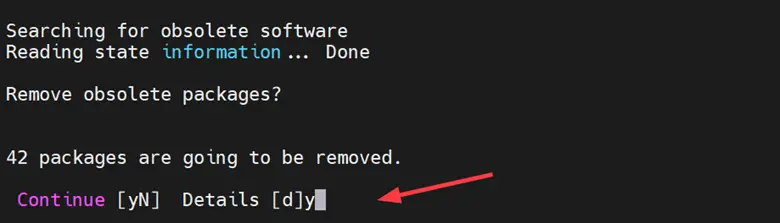
Next, you will be required to remove obsoleted packages, so once again, press ‘Y’ on the keyboard.
The upgrade takes quite some time depending on your internet connection and the number of installed packages. If you are using a Cloud VPS, this will be much faster depending on the bandwidth that your Cloud provider accords you.
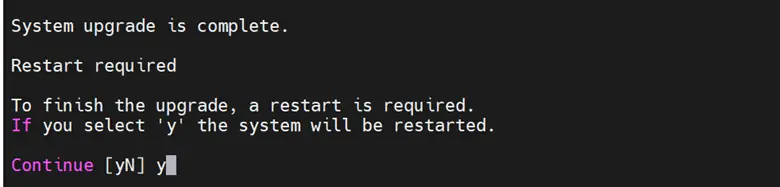
After a successful upgrade, you will be required to reboot your system. So press ‘Y’ and hit ENTER.
Step 5: Verify the version of Ubuntu 24.04
Once the system has restarted, you can check the version of Ubuntu using the command:
$ lsb_release -a
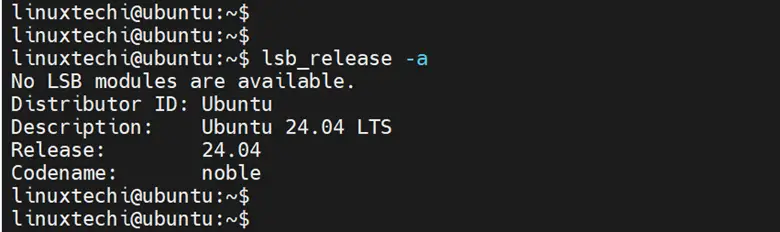
From the output, you can see that we have successfully upgraded to Ubuntu 24.04 LTS.
Conclusion
And that’s it. In this guide, we have covered how to upgrade Ubuntu 22.04 to Ubuntu 24.04 LTS via command line. We do hope that you were able to perform the upgrade on your end. Feel free to post your queries and feedback in below comments section.