In this blog post, we will cover how install Java on RHEL 9 step-by-step.
Java is a hugely popular object-oriented language initially released in 1995 and currently owned by Oracle. Approximately 3 billion devices run on Java: from PCs to gaming consoles, cellphones to IoT devices and even on Cloud.
Java has two main implementations: OpenJDK and Oracle Java. Both are built on the same code, but OpenJDK is fully open source while Oracle Java is proprietary. Regardless of whichever implementation you choose, most Java applications will still work fine.
Prerequisites
To follow along, ensure that you have the following in place:
- An instance of RHEL 9 server with an active subscription
- A sudo user configured on the server.
- Internet Connectivity
Method 1: Install JAVA on RHEL 9 via Default Repositories
Installing Java from the default RHEL 9 repositories is the easiest approach to install Java.
The default RHEL repositories provide prebuilt OpenJDK JRE and JDK packages which you can easily install using the dnf package manager. For RHEL 9, DNF is the default package manager.
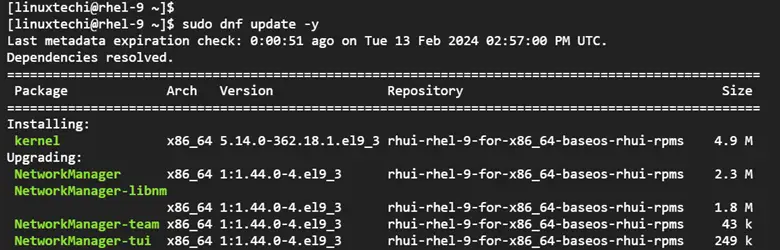
First, update the system as shown. The command will upgrade all the packages.
$ sudo dnf update -y
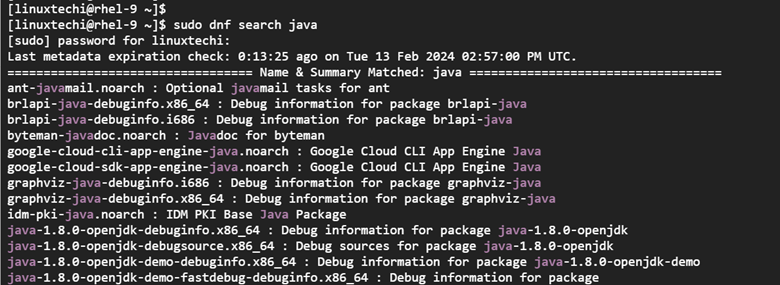
There are various versions of Java hosted on the repository. To list them, run the command:
$ sudo dnf search java
This yields the following output. Feel free to scroll down to check out the various version of Java available.
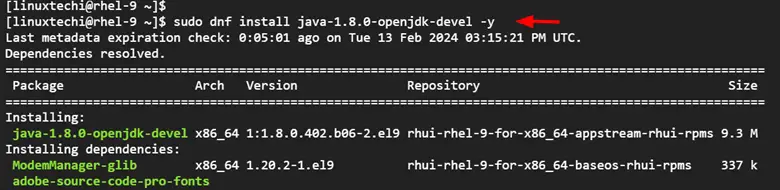
You can install Java using OpenJDK. To do this, run the command.
$ sudo dnf install java-1.8.0-openjdk-devel -y
The command installs Java alongside other dependencies.
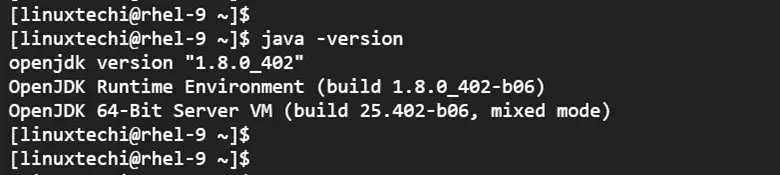
Once the installation is complete, you can check the version of Java by running the command:
$ java -version
In addition, you can install other newer versions of OpenJDK that are listed on the search output. For example, to install OpenJDK 21, which is the current release on the repository at the time of writing this post, run the command:
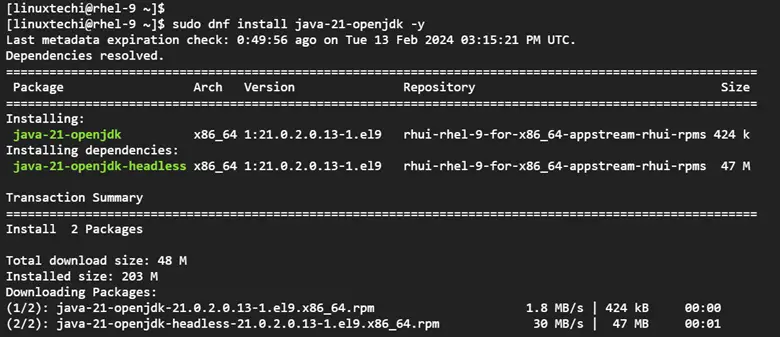
$ sudo dnf install java-21-openjdk -y
To install OpenJDK 17, run the command:
$ sudo dnf install java-17-openjdk -y
Method 2: Install JAVA on RHEL 9 from Oracle
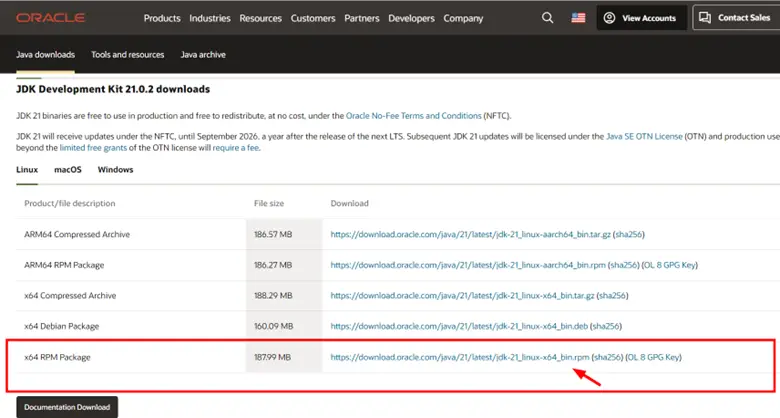
The other approach is to install Java from Oracle which is a giant software Tech company that currently maintains it. So, head over to the official Oracle Java downloads page and select your preferred JDK development kit. Scroll down and locate the x64 RPM package option. Right-click on the link and select `Copy link address`.
Using the copied link, use the wget command to download the RPM Oracle Java binary file as follows.
$ wget https://download.oracle.com/java/21/latest/jdk-21_linux-x64_bin.rpm
Next, install Oracle Java by running the RPM file as follows.
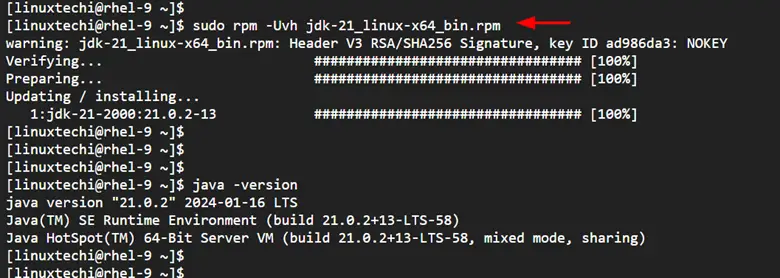
$ sudo rpm -Uvh jdk-21_linux-x64_bin.rpm
Once installed, the version of Java installed from Oracle becomes the default version. You can confirm this by checking the version once again.
$ java -version
Configure the default Java Version
You can have as many default versions of Java installed, although one will work just fine. But still, you may prefer to configure a certain version as the default Java version.
To set the default version of Java, run the following command:
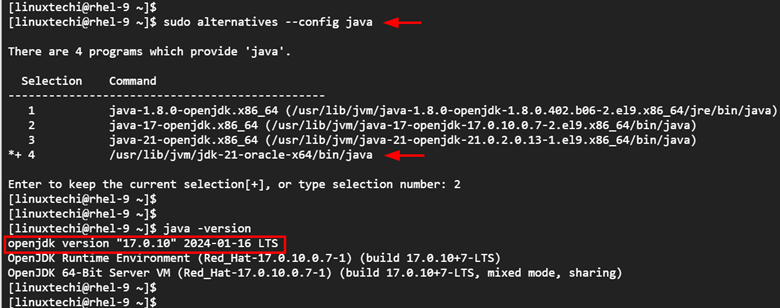
$ sudo alternatives --config java
The output displays all the installed versions of Java with the current version bearing an asterisk and a plus sign. From the output below, Oracle Java 21 is the default version.
Below that, you will be prompted to select your preferred selection as the default Java version. In this case, we will switch to OpenJDK 17, and therefore, we will type 2 which corresponds to it, and hit ENTER.
To confirm that the default version has changed, check the version of Java once again.
$ java -version
The output confirms that we have successfully switched from Oracle Java 21 to OpenJDK 17.
Test Java Installation
To test out our Java installation, we will create a sample Java program that sums up two numbers and prints the output to standard output. Use your preferred text editor. Here, we are using vim.
$ vim sample_program.java
Paste the following lines of code.
class SumOfNumbers
{
    public static void main(String args[])
    {
        int x = 75, y = 25, sum;
        sum = x + y;
        System.out.println("The sum of two numbers is: "+sum);
    }
}
Save and exit. To run the code, execute the command:
$ java sample_program.java
The following output will be printed, confirming that the code run just as expected.

Conclusion
And that’s it for this post. We have demonstrated various ways of installing JAVA on RHEL 9. Your feedback is highly appreciated.