In this guide, you will learn how to Upgrade to Linux Mint 21 (Vanessa) from Linux Mint 20.3 (Ulyana).
Linux Mint 21 is a long-term support (LTS) release that will get support and updates until 2027. It is based on Ubuntu 22.04 LTS and packs with numerous improvements and enhancements such as :
- New Linux Kernel 5.15
- Blueman for managing Bluetooth device
- Updated and Improved thumbnails
- Improved Sticky Notes
- Introduction of Process Monitor to detect automatic updates and system snapshots.
- XApps improvements
Prerequisites
- Sudo User with Admin rights
- 20 GB or more free disk space of root file system.
- Stable Internet Connectivity
Note: You can’t directly upgrade Linux Mint 20.1 or 20.2 to Linux Mint 21. First you need to upgrade your system to reach 20.3. Run following commands to reach 20.3
$ sudo apt update
$ sudo apt upgrade
Once your system is on the version 20.3 then refer the following steps.
Upgrading to Linux Mint 21 from Linux Mint 20.03
Back up your files
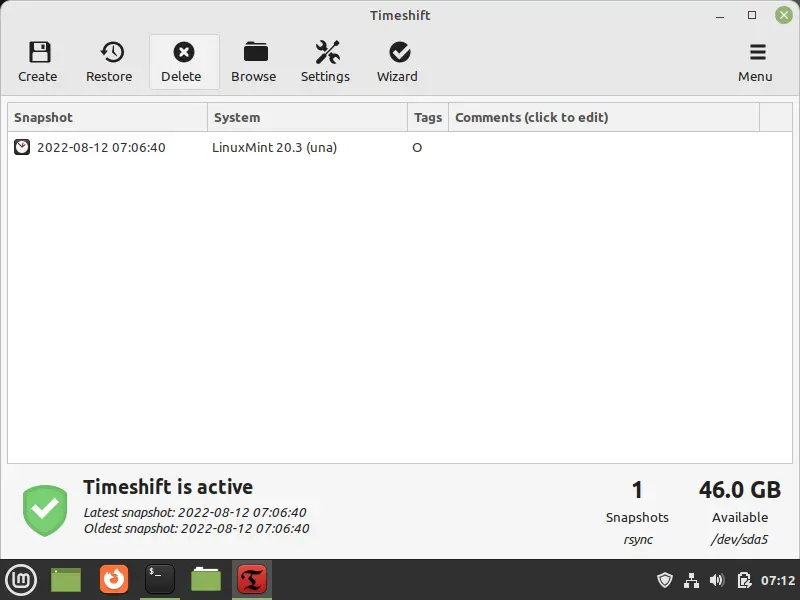
Before you get started with upgrading your system, it’s highly recommended that you backup all your files and folders so that you will be in a safe place should the upgrade fail. Additionally, you can backup and restore the entire system using the TimeShift utility. Once you have backed up all your files, you can safely proceed to upgrade your system.
For the upgrade, we would be using mintupgrade utility.
Step 1) Install Updates
Run following command to install all available updates,
$ sudo apt update
$ sudo apt upgrade -y
Reboot the system, once all the updates are installed.
$ sudo reboot
Step 2) Install Mintupgrade Utility
Open the terminal and type following apt command,
$ sudo apt update
$ sudo apt install mintupgrade -y
Step 3) Check for Linux Mint 21 Upgrade
Run the following mintupgrade command, it will start the GUI of Upgrade tool.
$ sudo mintupgrade
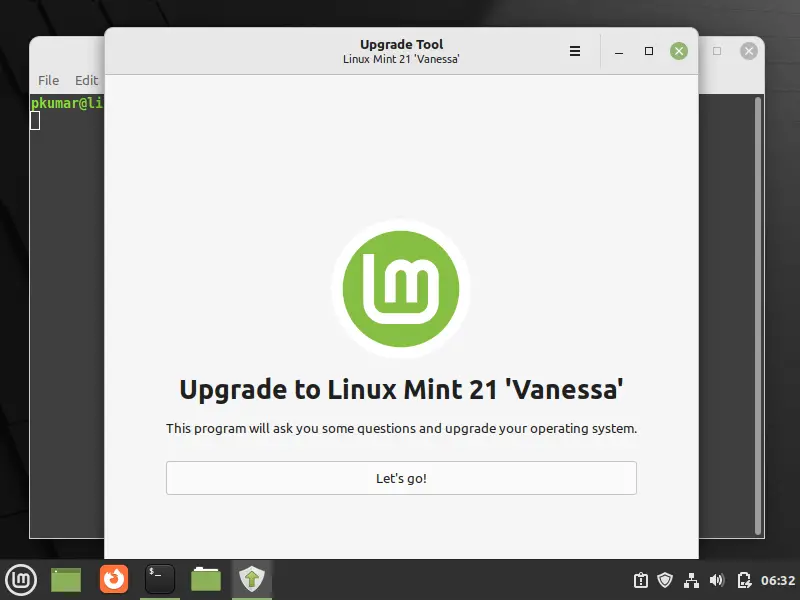
As you can see above, upgrade is available. Click on ‘Let’s go!‘ option to proceed.
Step 4) Begin Upgrade Process
Preparation is the first phase of Upgrade, in this is phase multiple tests will be performed.
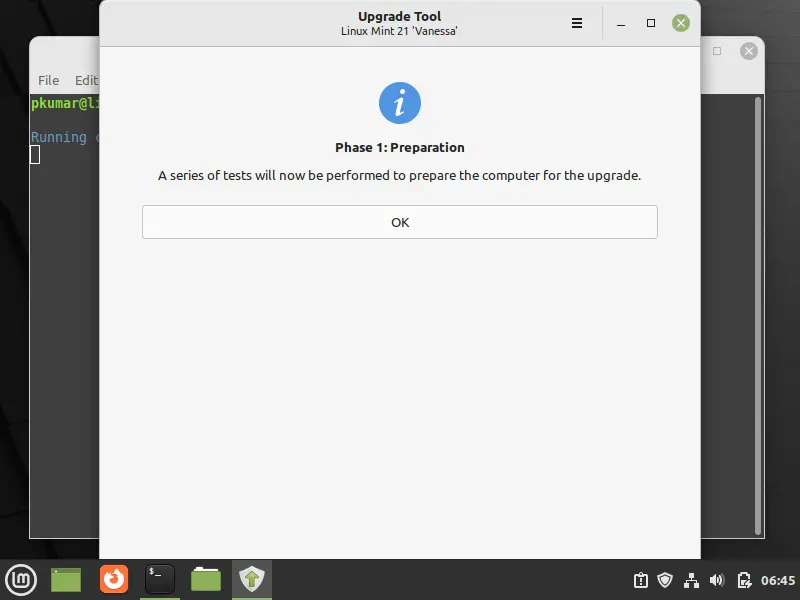
click on OK
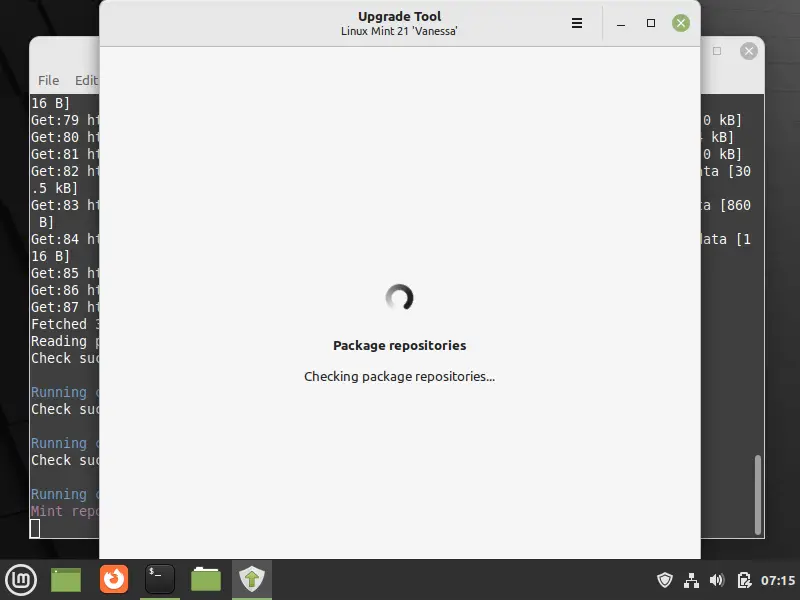
In phase 1, system snapshots will be checked along with package repositories. If the system snapshots not found then it will prompt you to take the snapshot using timeshift tool. Once all the tests are completed successfully the you will get Phase 2 screen.
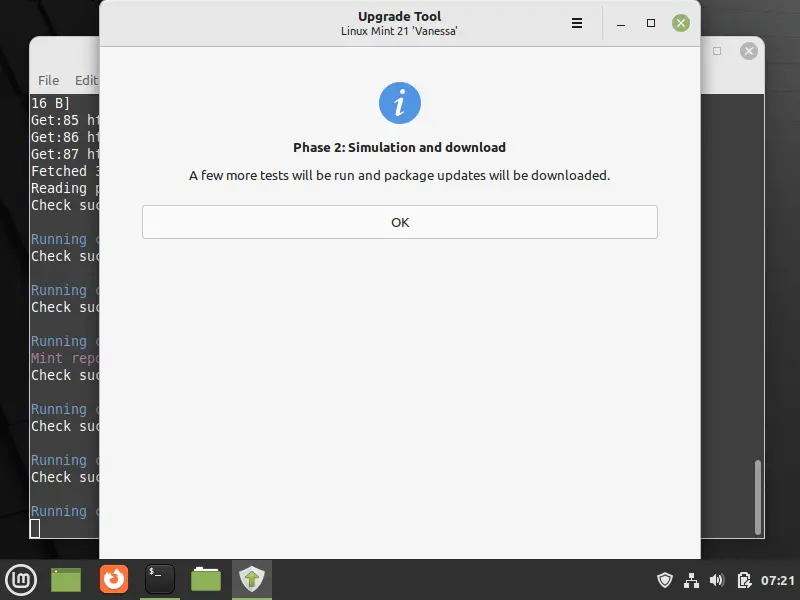
Click on OK to proceed further. In phase 2, all the package updates will be downloaded.
Choose OK to start downloading the packages required for upgrade.

It may take twenty minutes or so depending upon your internet speed.
Once all the packages are downloaded then we will be presented following phase 3 screen, where package installation and upgrade will start.
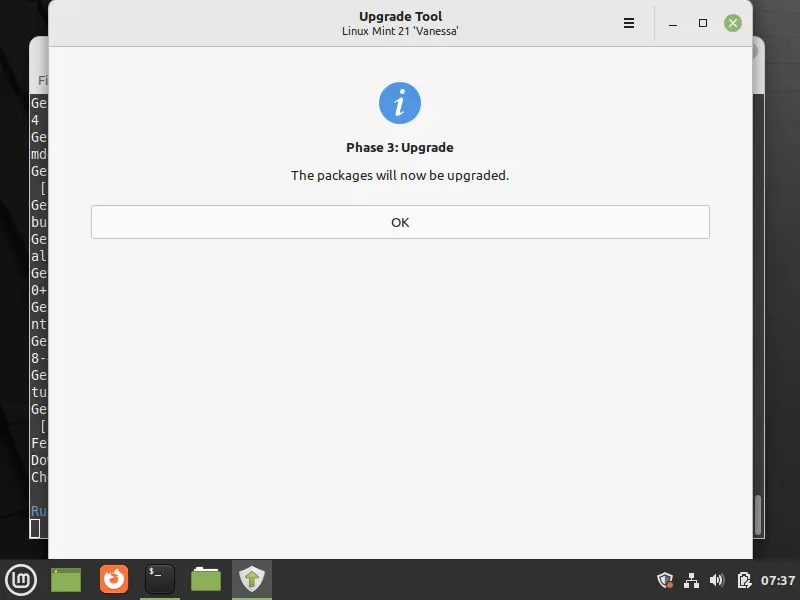
Click OK to start actual system upgrade
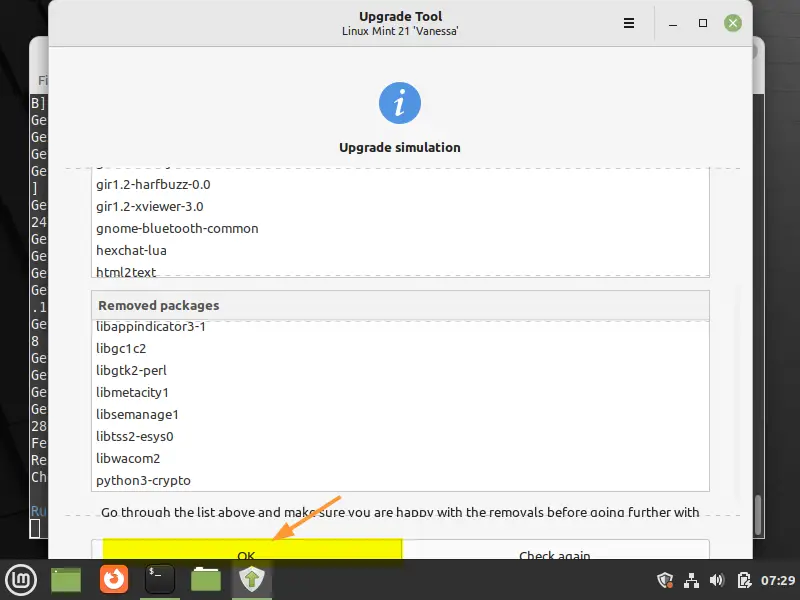
During the upgrade phase, you will be prompted whether to keep orphan packages,
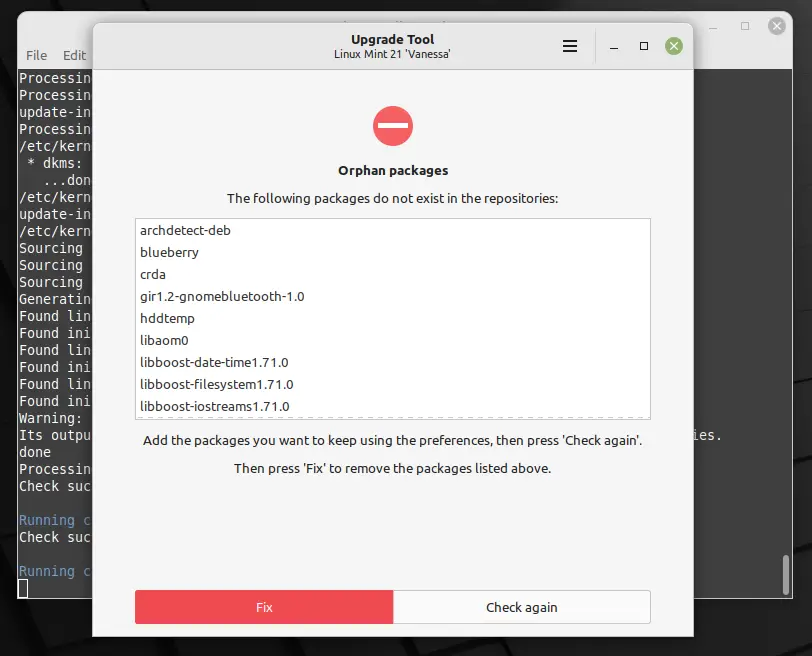
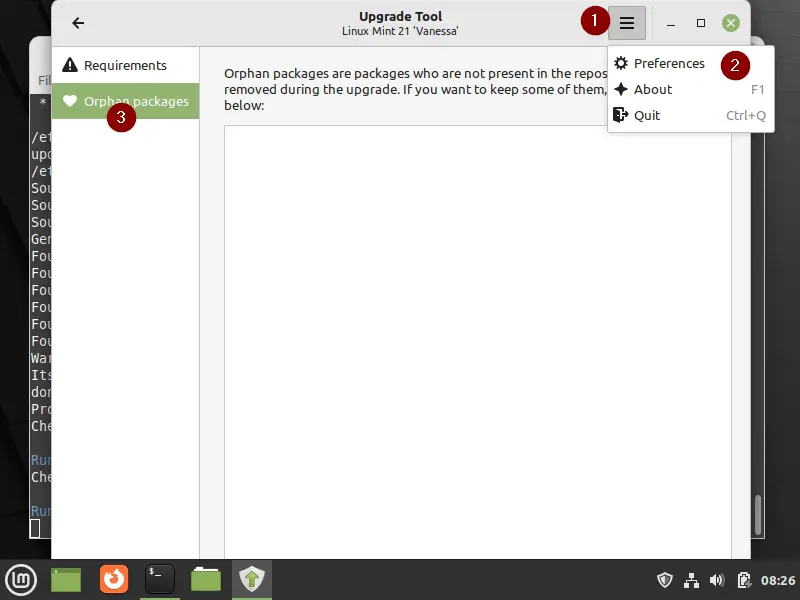
If you want to keep any orphan package then, then you need to manually add it in orphan package list,
Once done, click on ‘Fix‘ to proceed further
When the upgrade is completed successfully, we will get the following screen,

Perfect, above screen confirms that upgrade was successful. Now, reboot the system for all changes to take effect.
$ sudo reboot
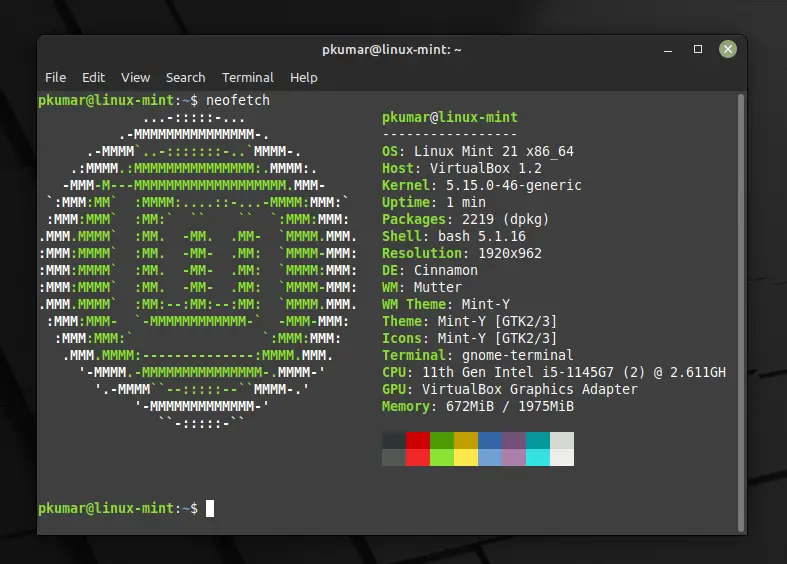
When the system boots up after the upgrade, open the terminal and run neofetch command to view the system details.
$ neofetch
If you have come this far, you have successfully upgrade Linux Mint 21 (Vanessa) from Linux Mint 20.3 (Ulyana). You can enjoy the look and feel and tons of enhancements and improvements that come with the new release.
Also Read : How to Boot Linux Mint 20 in Rescue / Emergency Mode
I tried it twice. In the second attempt I fixed the mistakes from the first (foreign PPAs). THe mintupdate check had no flags and it proceeded as described. When I rebooted, Cinnamon crashed, dozens of unmet dependencies (all seemingly related to python3), and none of the system windows (Control, Preferences, Update Manager, etc) would open. From CLI, apt did not work (missing apt_pkg module) and dpkg fixes failed.
I restored from timeshift via CLI.
I love 19.3 and I am happy to ignore the upgrade, unless the fix for this is known. Anybody?
sorry, but why are you intend to upgrade LM 21 from LM 19.3????. As I understand the upgrademint tool works only for upgrades from LM 20.3.
Thanks buddy for this detailed go through.