Are you looking for an easy guide for Linux Mint 21 Installation?
The step-by-step guide on this page will show you how to install Linux Mint 21 Xfce Edition along with screenshots.
The much-awaited Linux Mint 21 operating system has been released, this is a LTS release (Long Term Support) and will get support and updates until 2027. Vanessa is the code name for Linux Mint 21, it is based on Ubuntu 22.04 and comes with three different desktop environments like Cinnamon, Mate and Xfce.
Linux Mint 21 Features & Updates
- New Linux Kernel 5.15
- Introduction of Blueman for connecting Bluetooth devices
- Improved Thumbnails
- Artwork Improvements
- Sticky notes support duplicate notes
- Timeshift is maintained as XApp.
System Requirements for Linux Mint 21
- 2 GB RAM or more
- 20 GB free hard disk space or more
- 64-bit Dual core processor or more
- Bootable Media (USB Stick)
- Internet Connectivity (Optional)
Without any further delay, let’s jump into Linux Mint 21 Xfce Edition installation steps.
Step 1) Download Linux Mint 21 Xfce Edition ISO file
Use the following official web portal to download ISO file.
Once ISO file is downloaded, make a bootable USB stick using the ISO file. On Linux desktop use following to create bootable USB,
On windows system, use Rufus software to make bootable USB using ISO file.
Step 2) Boot System using Bootable USB Stick
Reboot the system on which you want to install Linux Mint 21, change the boot medium from hard disk to USB from it’s bios settings.
When the system boots up with bootable USB stick, we will get following beneath screen.
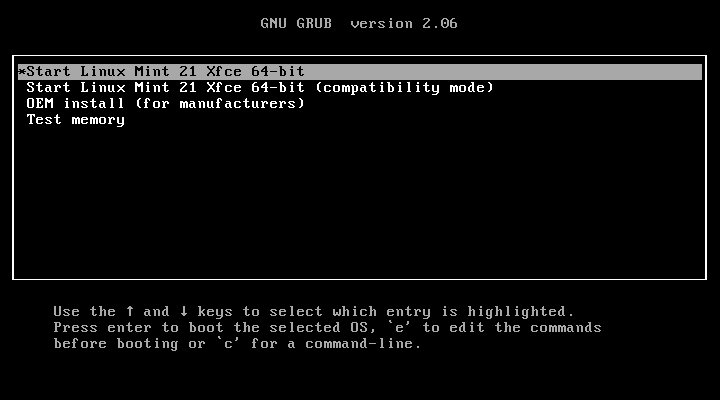
Select the first option ‘Start Linux Mint 21 Xfce 64-bit’ and press enter then we will be presented the following screen,
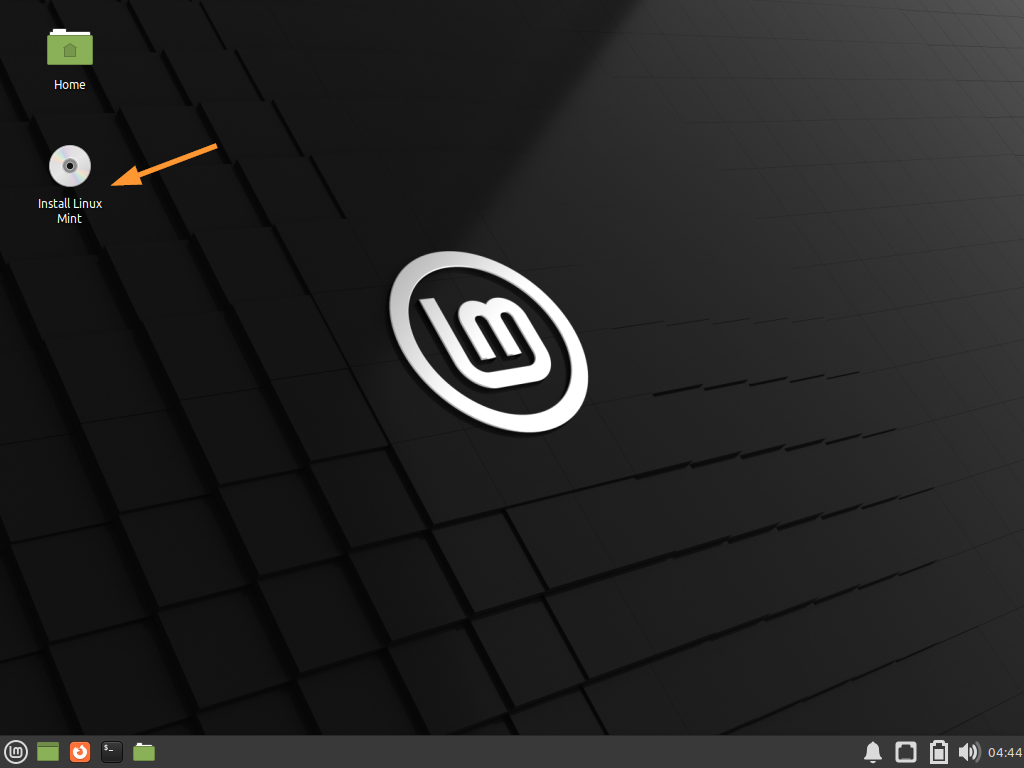
Double Click on ‘Install Linux Mint’
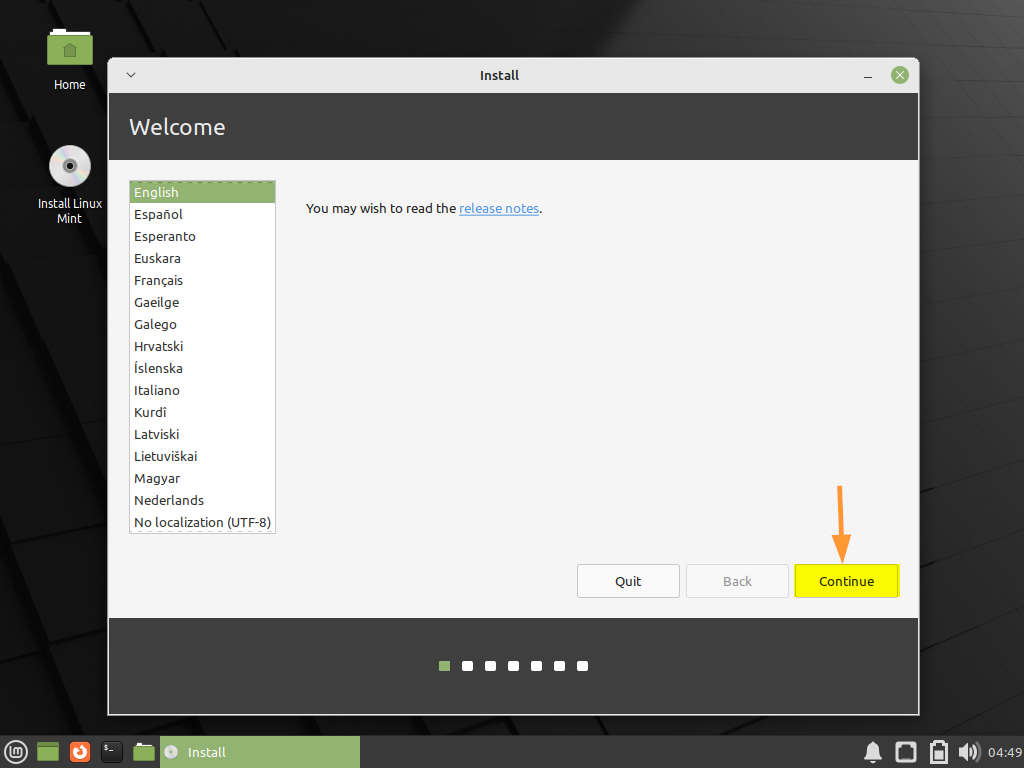
Step 3) Choose Language for Installation
Choose your preferred language and click Continue
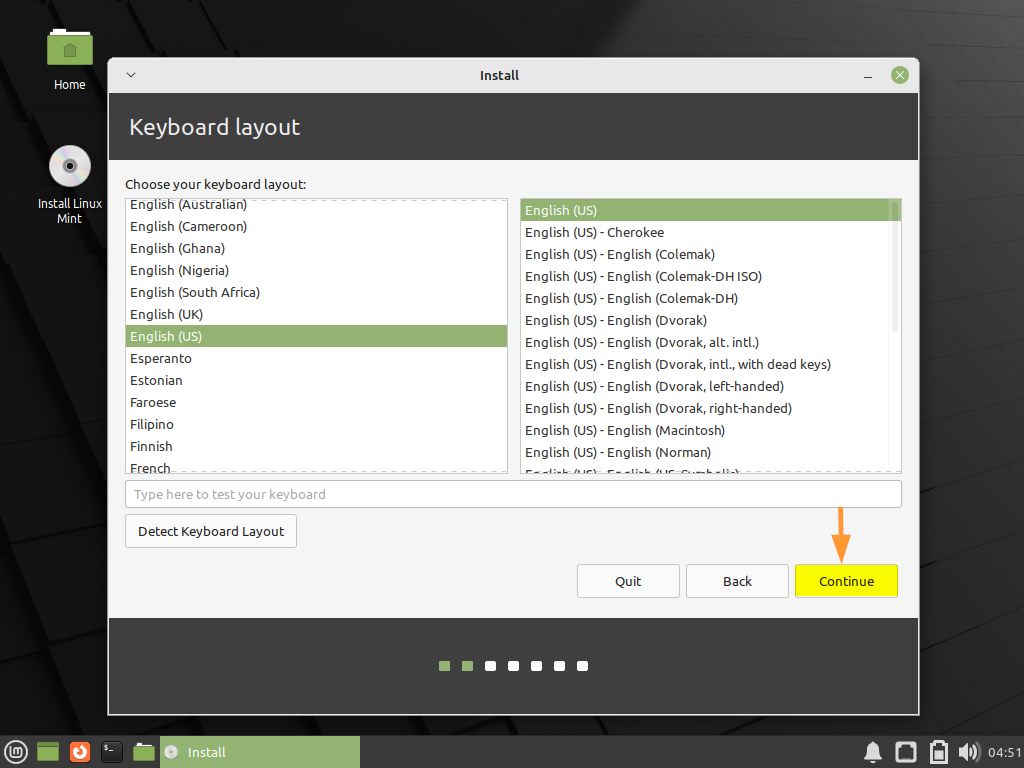
Step 4) Select Keyboard Layout
Select the keyboard layout as per your setup and then click on Continue
Step 5) Install Multimedia Codecs
This step is optional if you want to install multimedia codecs and system is connected to internet then click on the checkbox, else you can skip it.
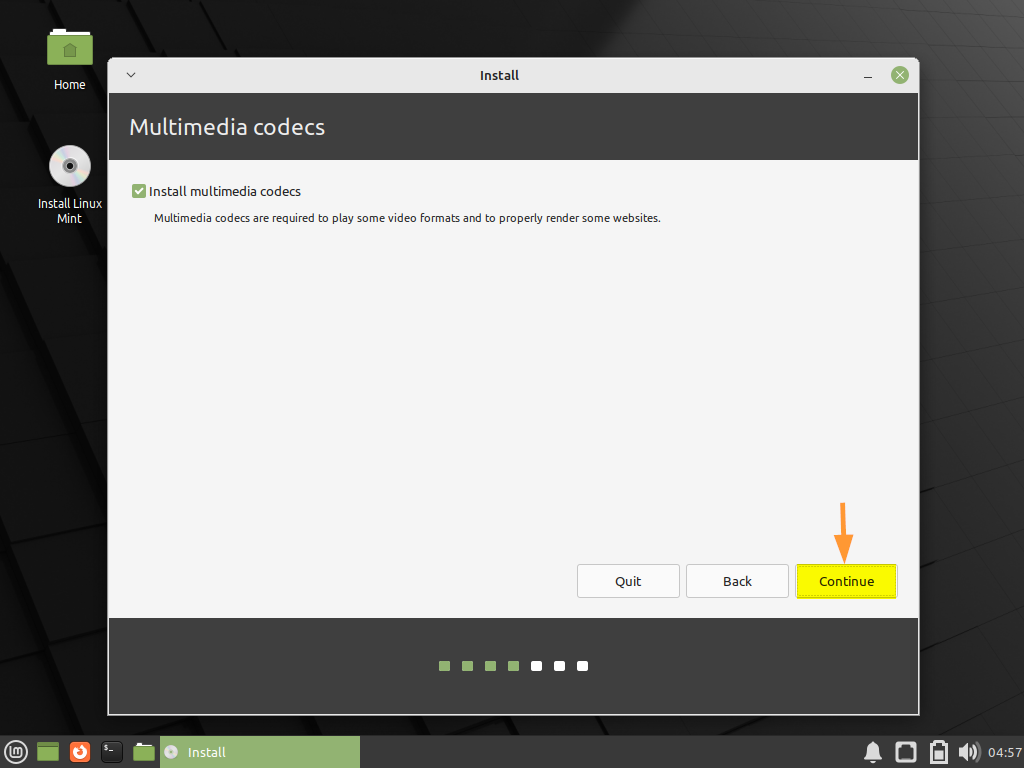
Click on Continue to proceed further
Step 6) Choose Installation Type
On this step, you are required to choose the installation type, basically there are two types,
- Erase disk and Install Linux Mint: In this type, installer will erase all the data on disk and will create partitions automatically for you.
- Something else: Using this, we can create manual partitions as per our need.

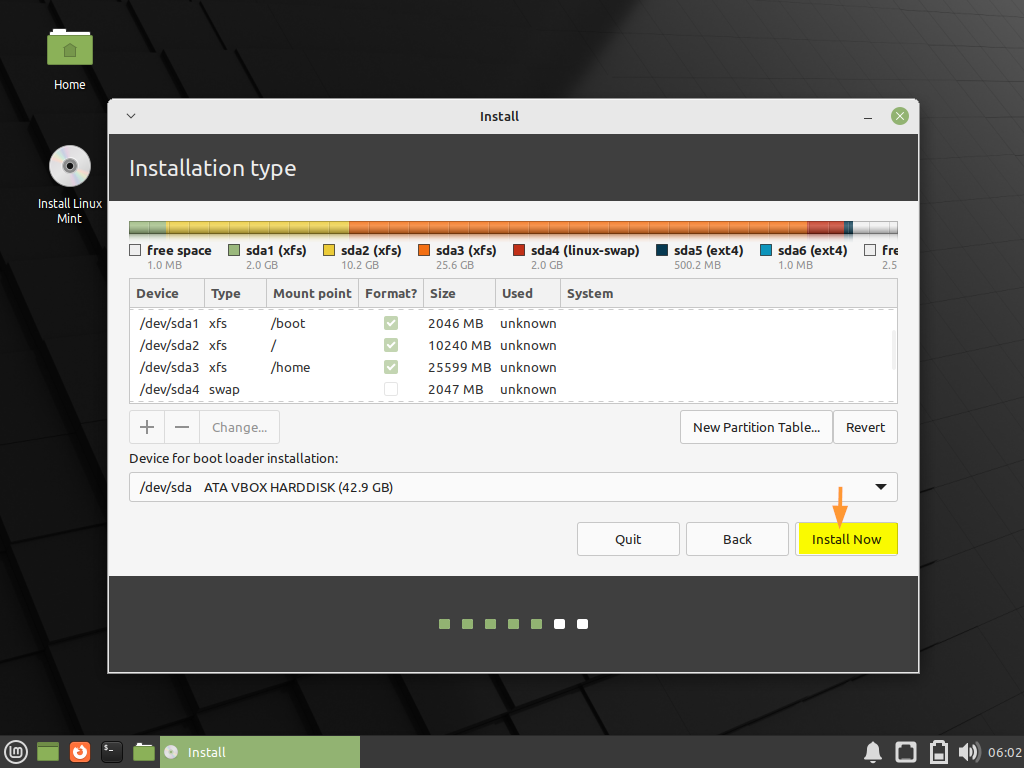
In this guide, we will go with something else option and will create following partitions on 40 GB hard disk.
- /boot : 2 GB (xfs file system)
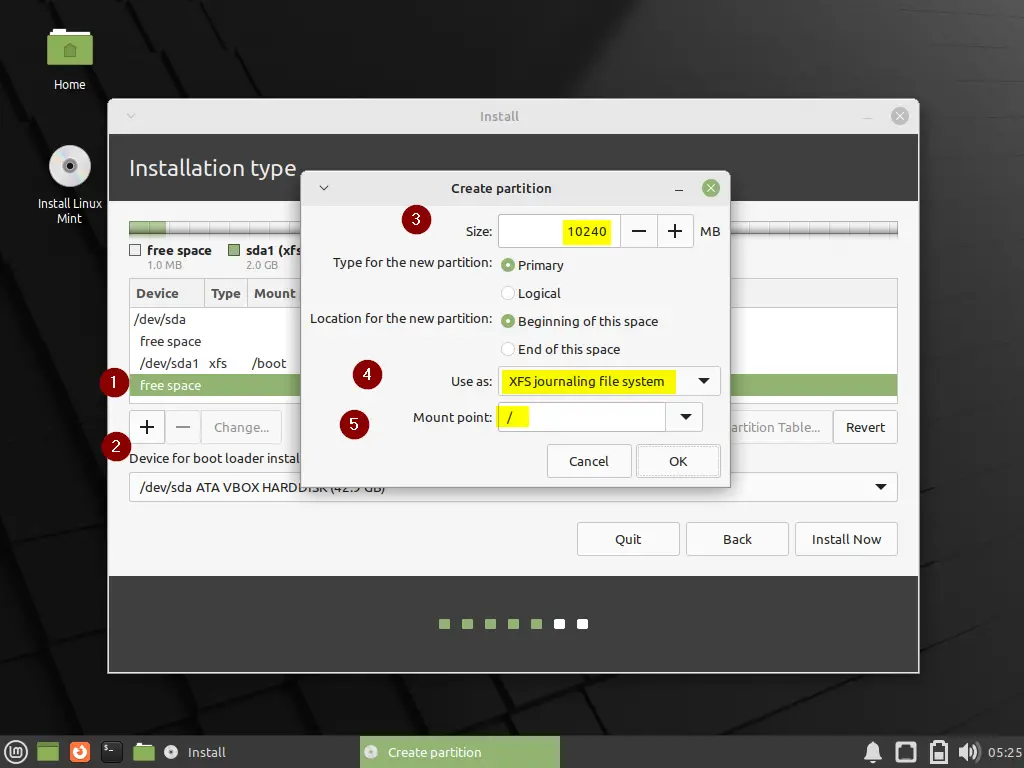
- / : 10 GB (xfs file system)
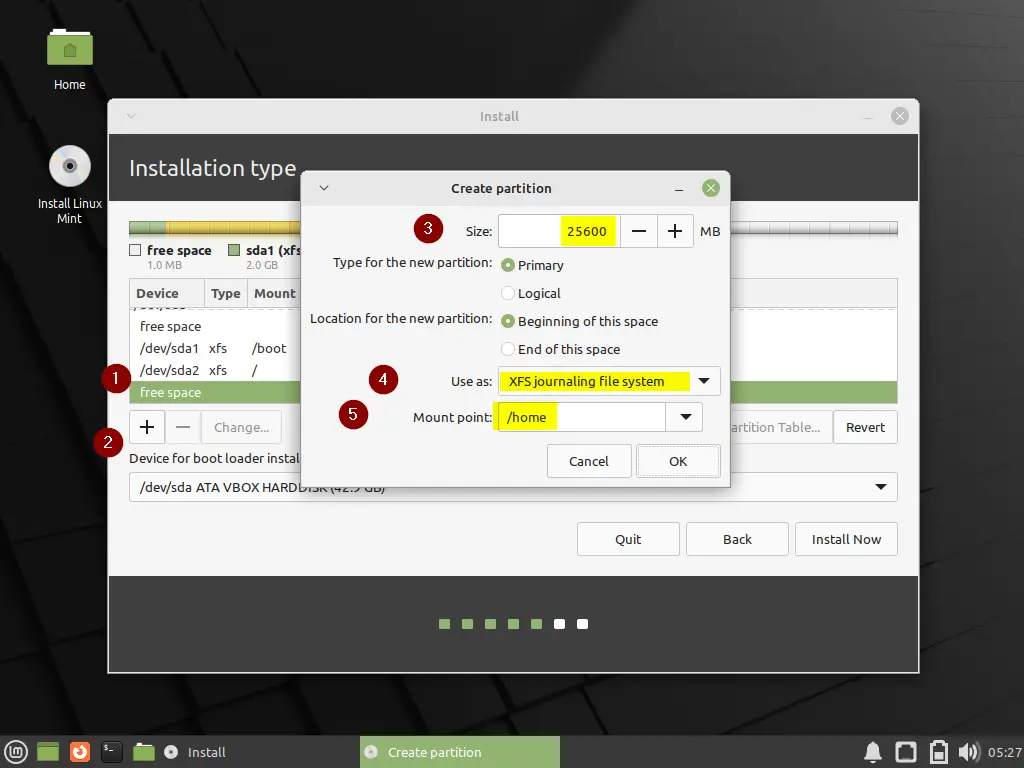
- /home : 25 GB (xfs file system)
- Swap : 2 GB
Before start creating partitions, first create a partition table,
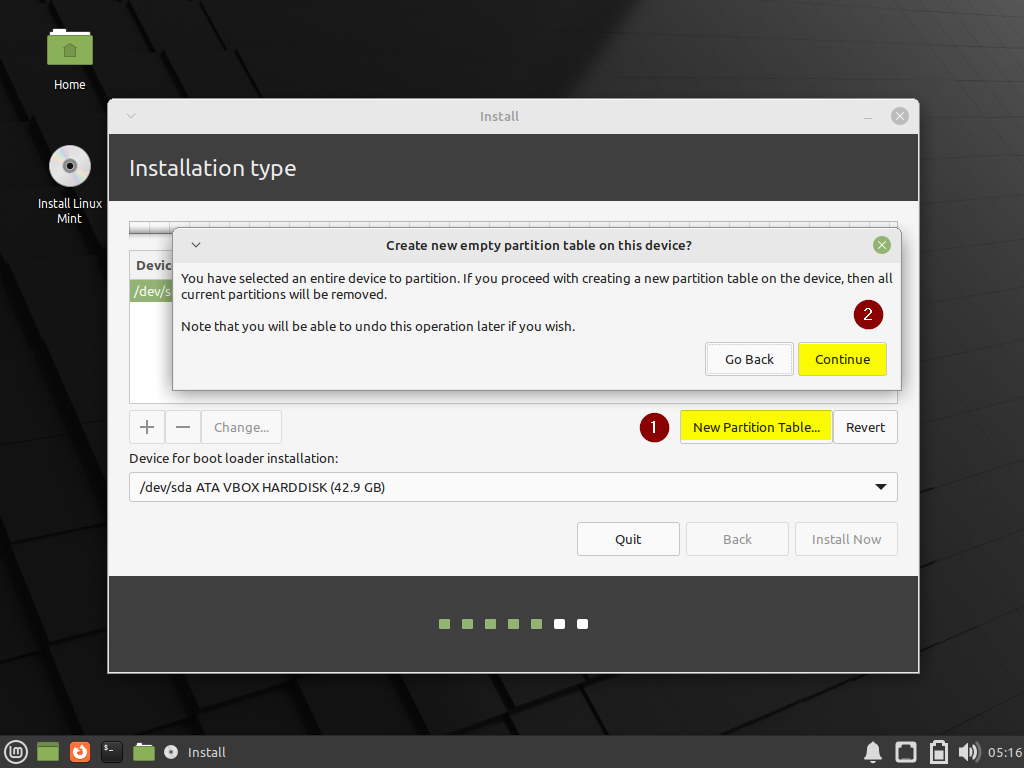
First click on ‘New Partition Table’ and then click Continue
Now start creating first partition as /boot, select the free space and then click on ‘+’ symbol.
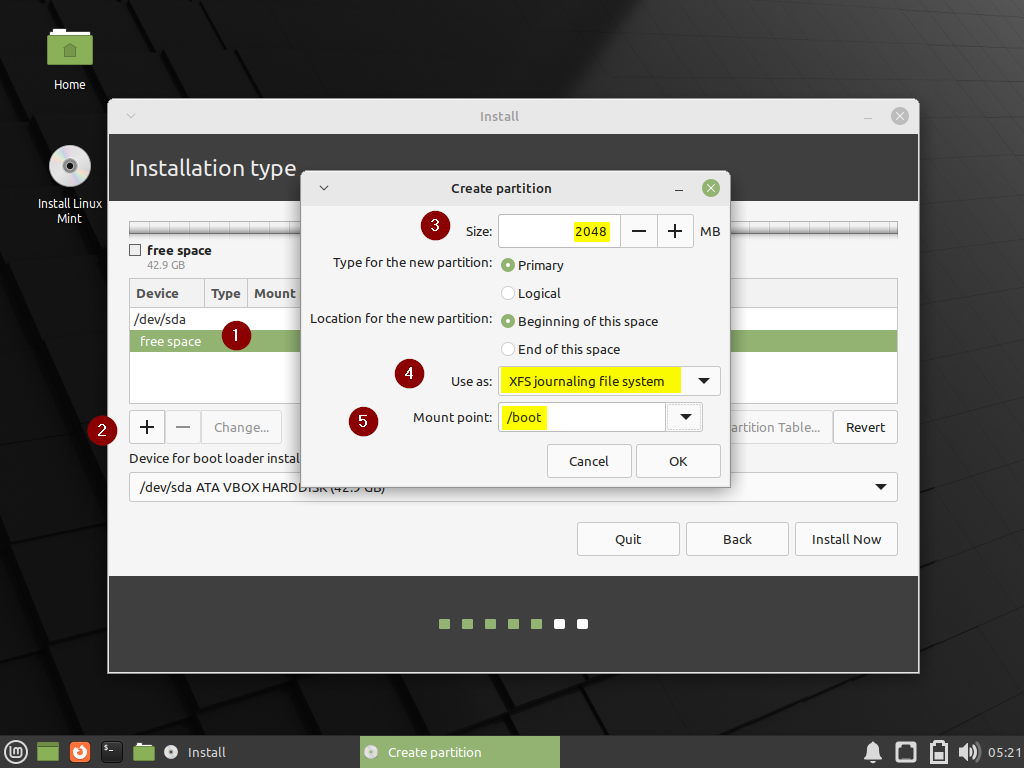
Click on OK to finish /boot partition creation.
In the same way, create next two partitions / and /home of 10G and 25G respectively.
Create Swap partition of size 2G
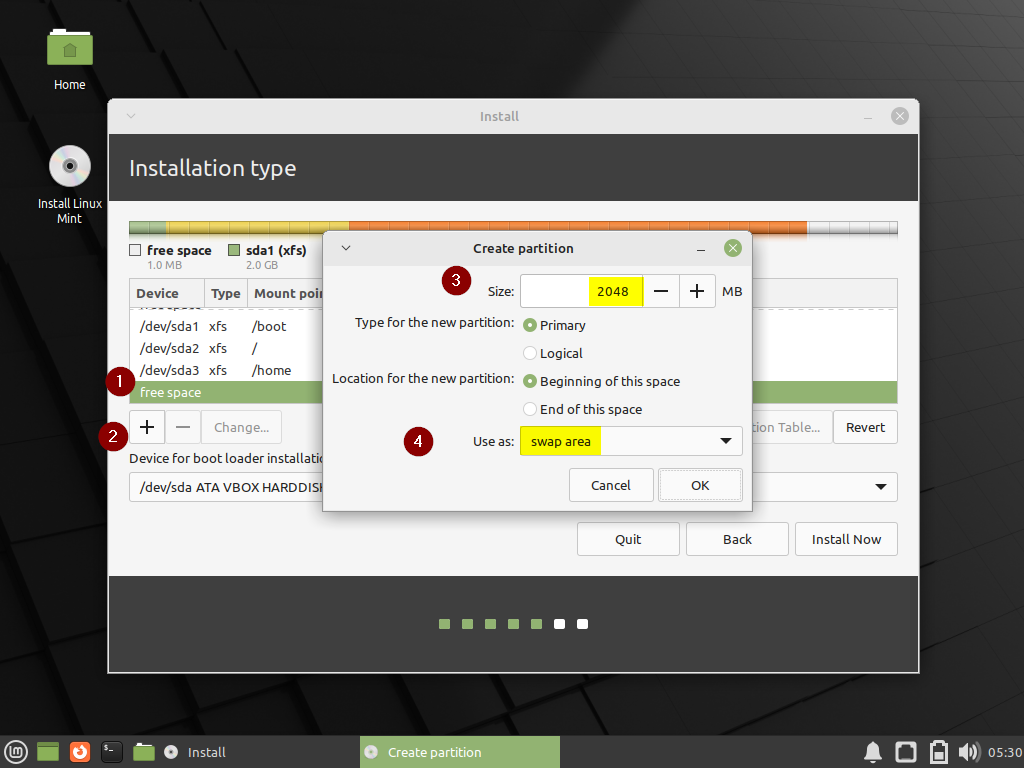
Click on Ok,
Note : When you are using UEFI mode then you must create following two additional partitions:
- EFI System Partition: 100 – 550 MB
- Reserved BIOS Boot Area: 1 MB (This is used to store bootloader code)
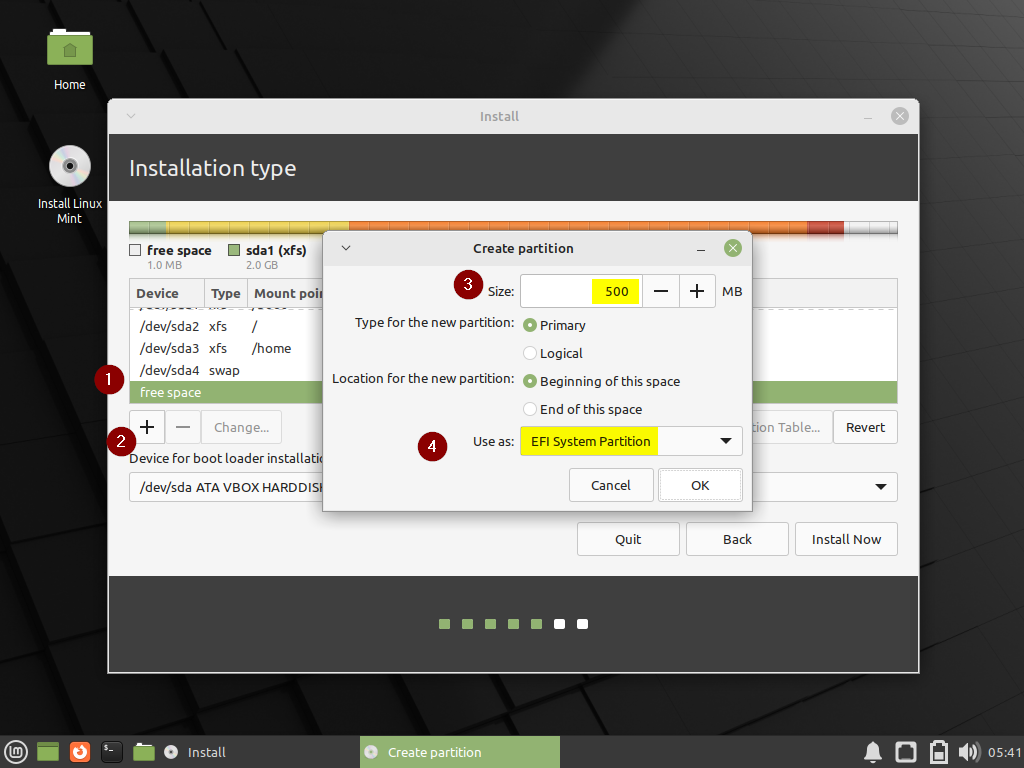
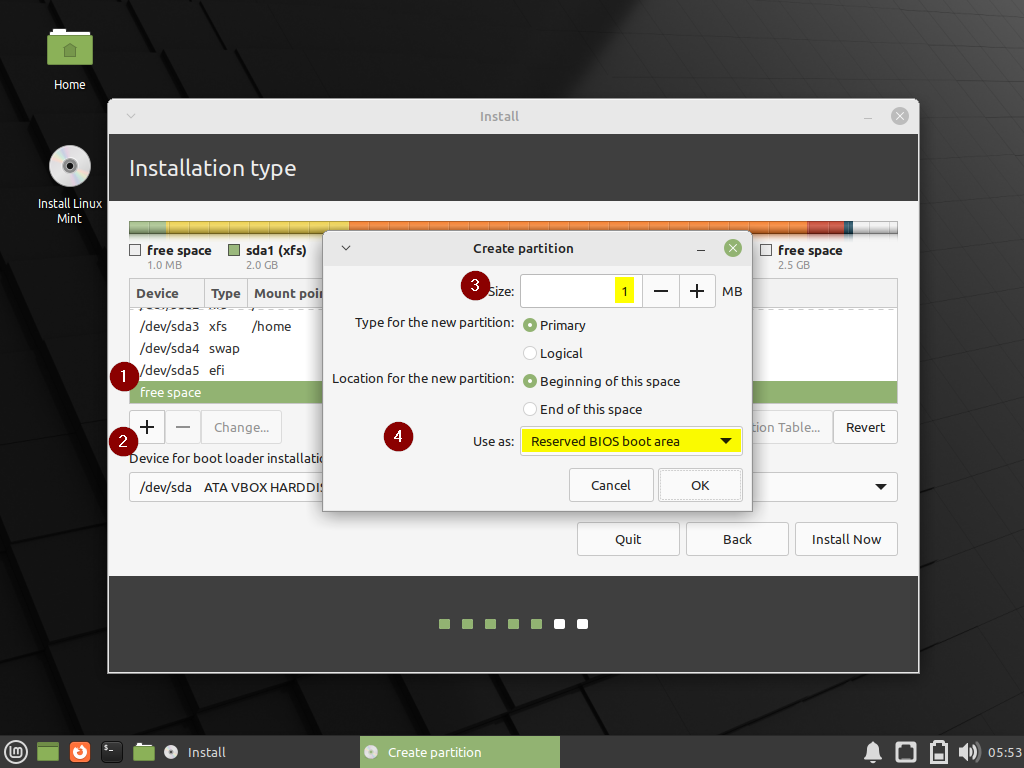
Click on OK.
Once you are done with manual partitions then click on ‘Install Now’
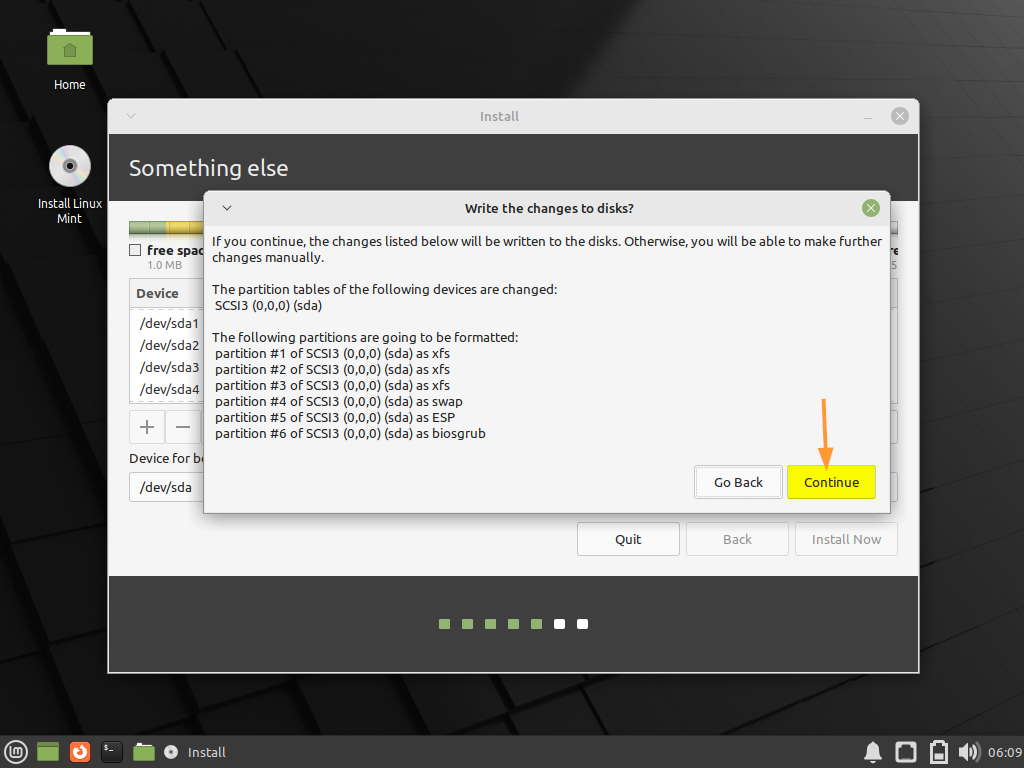
Click Continue to write changes to disk and to proceed further with installation.
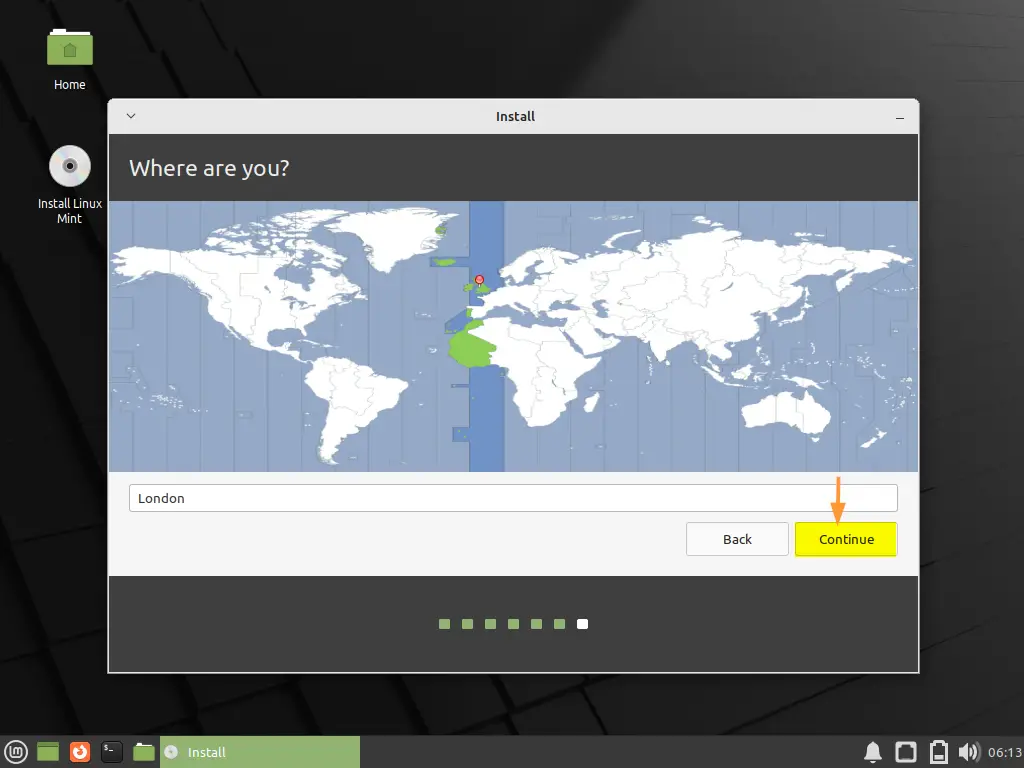
Step 7) Choose Your Preferred Timezone
As per geographical location of your system choose the location and click continue
Step 8) Enter Local User Details
In this step, you are requested to enter local user details along with hostname of your system. So, fill in the details as per requirements,
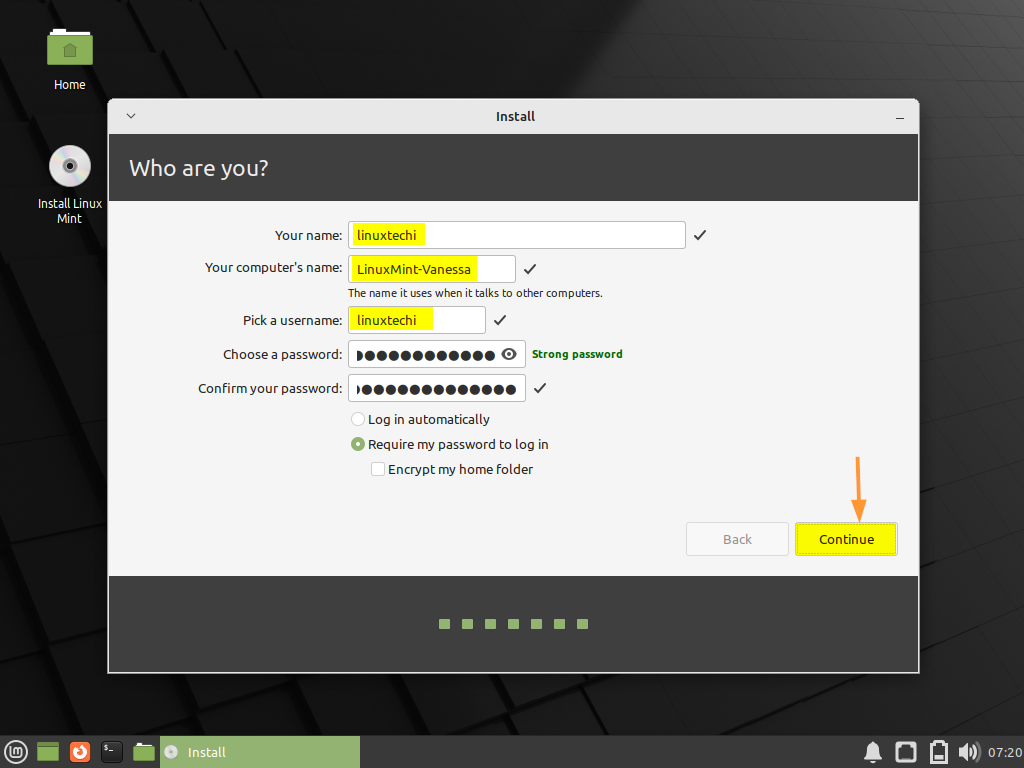
Click Continue to begin the actual installation.
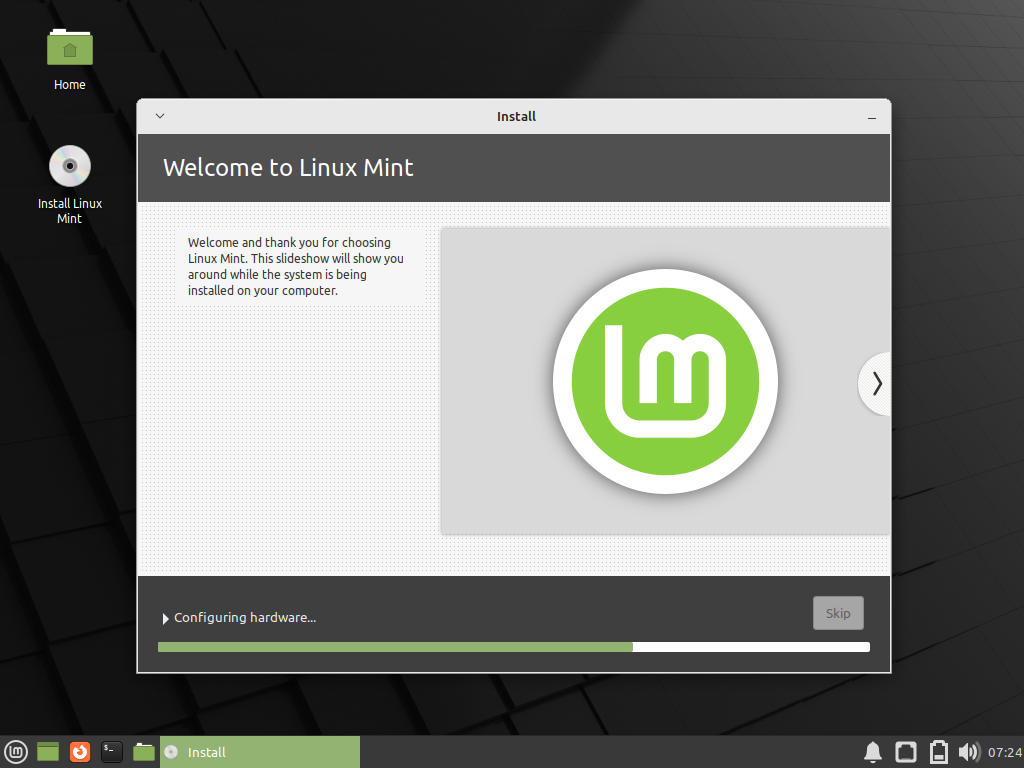
Step 8) Linux Mint 21 Installation Started
As we can see that Linux Mint 21 installation is started and is in progress,
Once the installation is completed then installer will instruct you to reboot the system.
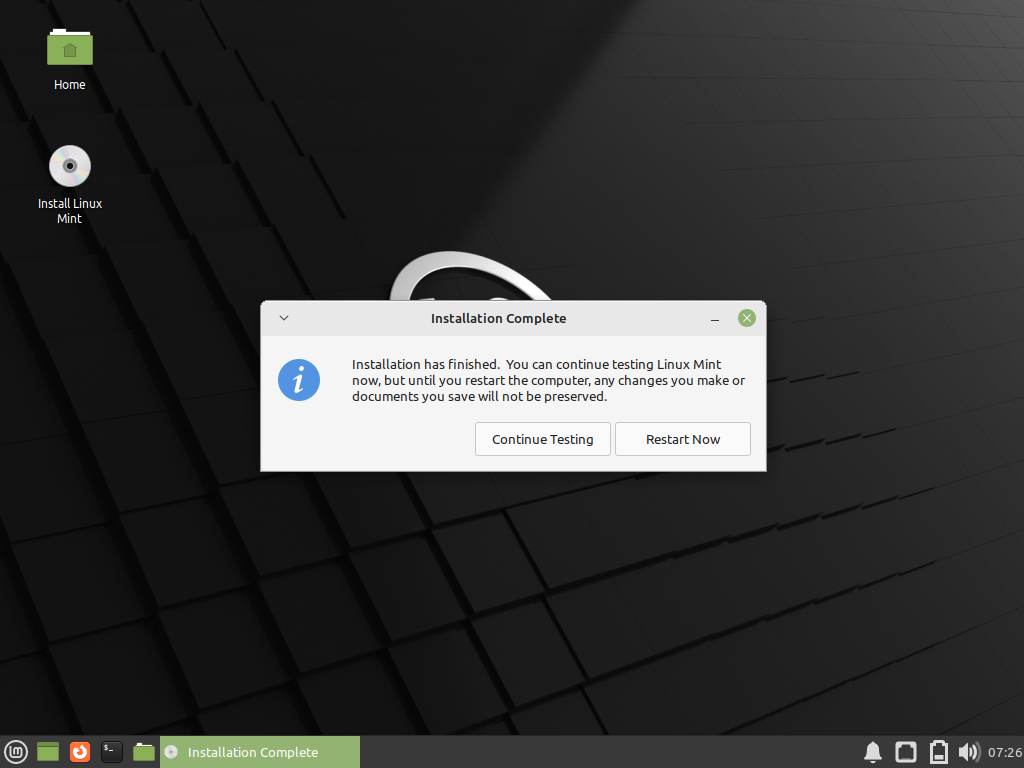
Click on “Restart Now”
Note : During the reboot don’t forget to change boot medium from USB to hard disk via bios settings.
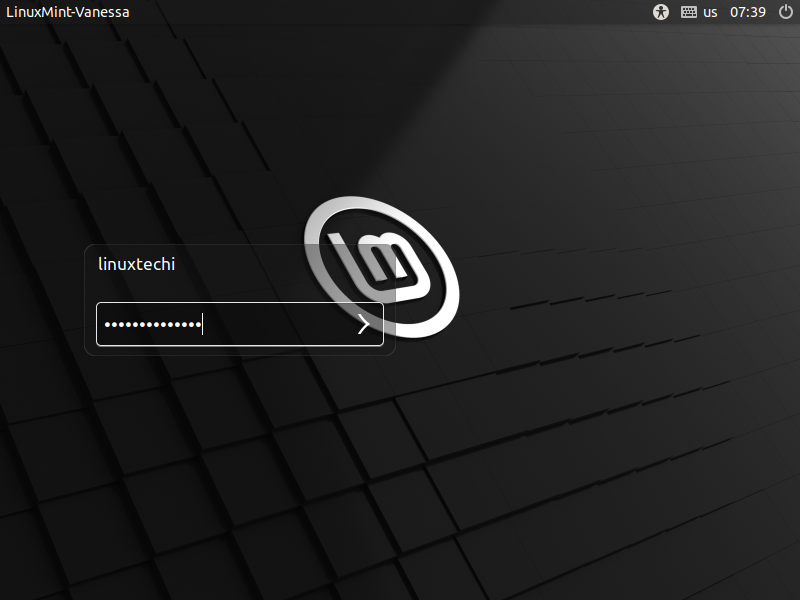
Step 9) Login Screen and Desktop Environment
When the system rebooted post installation then we will get following login screen. Use the same user credentials that you have created during the installation.
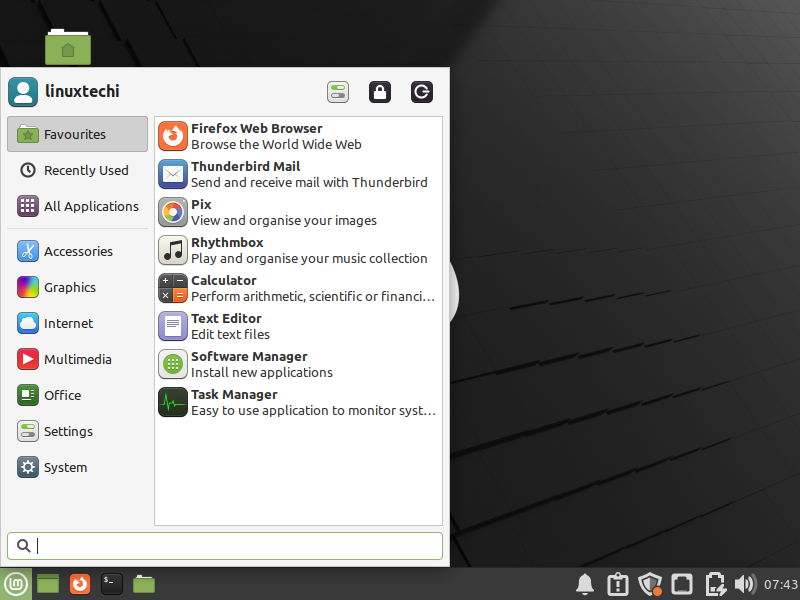
After entering the credentials, following desktop environment screen will appear,
Open the terminal and run neofetch command to verify the installation.
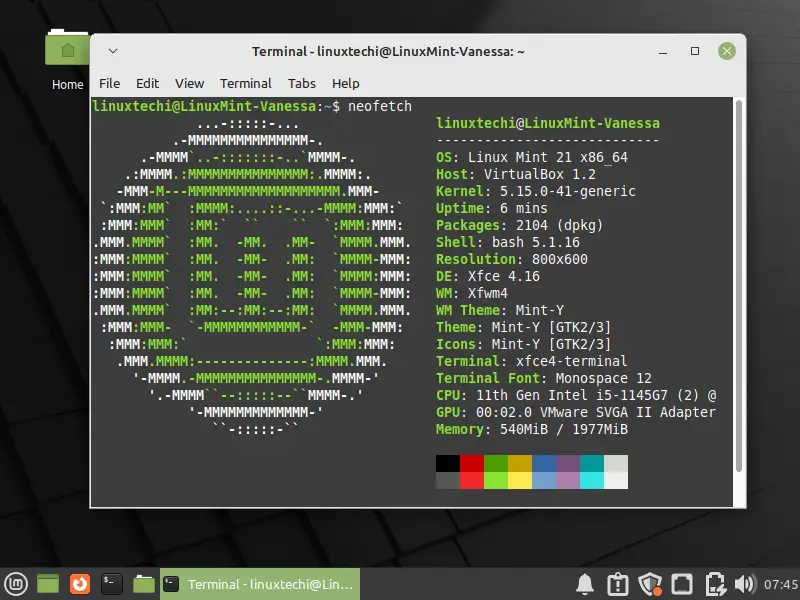
Great, above output confirms that we have successfully installed Linux Mint 21 Xfce Edition.
That’s all from this guide, kindly post your queries and feedback in below comments section.