Have you ever wondered how you can backup and restore your Ubuntu or Debian system ? TimeShift, a powerful backup and restore utility. TimeShift allows you to create system snapshots, providing an easy way to revert to a previous state in case of unexpected issues or system malfunctions. You can create a snapshot using either RSYNC or BTRFS.
With that. let’s delve in and install Timeshift. For this tutorial, we shall install timeshift on Ubuntu 22.04.
Installing TimeShift on Ubuntu / Debian Linux
Timeshift is package is available in the default package repository (Universe) of Ubuntu and Debian system. So to install it, open the terminal and run following apt commands,
$ sudo apt update
$ sudo apt install timeshift -y

Preparing a Backup Storage Device
Best practice demands that we save the system snapshot on a separate storage volume, aside from the system’s hard drive. For this guide, we are using a 16 GB flash drive as the secondary drive on which we are going to save the snapshot.
# lsblk | grep sdb

For the flash drive to be used as a backup location for the snapshot, we need to create a partition table on the device. Run the following parted command:
# parted /dev/sdb  mklabel gpt
# parted /dev/sdb  mkpart primary 0% 100%
# mkfs.ext4  /dev/sdb1

After creating a partition table on the USB flash drive, we are all set to begin creating filesystem’s snapshots!
Creating Ubuntu / Debian System Backup
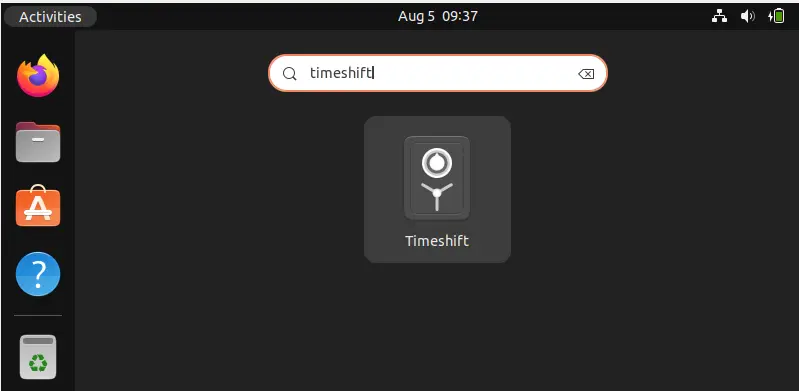
To launch Timeshift, search timeshift from Activities,
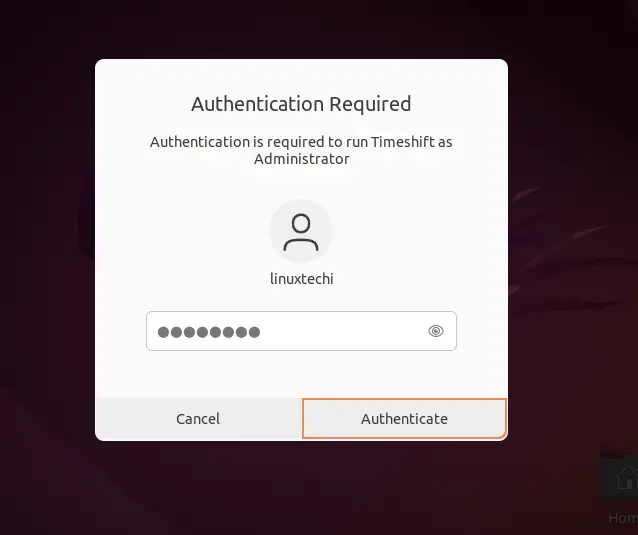
Click on the Timeshift icon and the system will prompt you for the Administrator’s password. Provide the password and click on Authenticate.
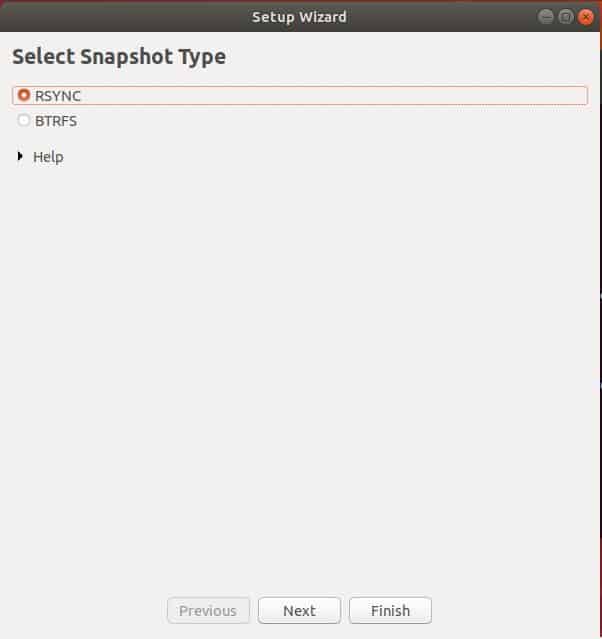
Next, select your preferred snapshot type.
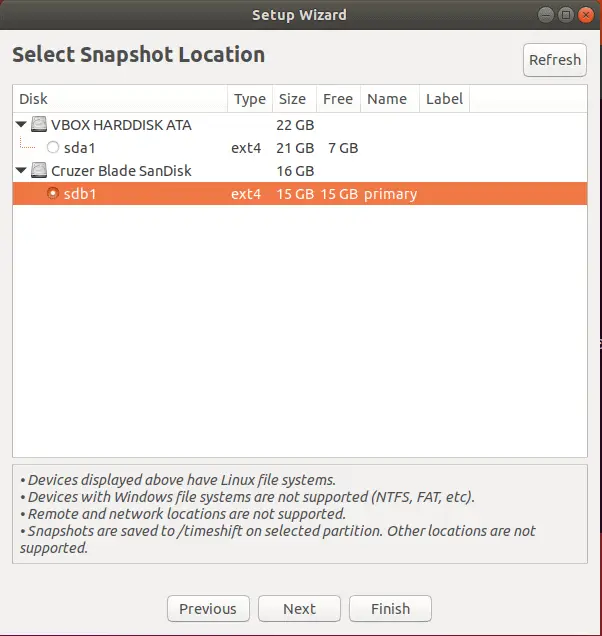
Click ‘Next’. Select the destination drive for the snapshot. In this case, my location is the external USB drive labeled as /dev/sdb
Next, define the snapshot levels. Levels refer to the intervals during which the snapshots are created. You can choose to have either monthly, weekly, daily, or hourly snapshot levels.
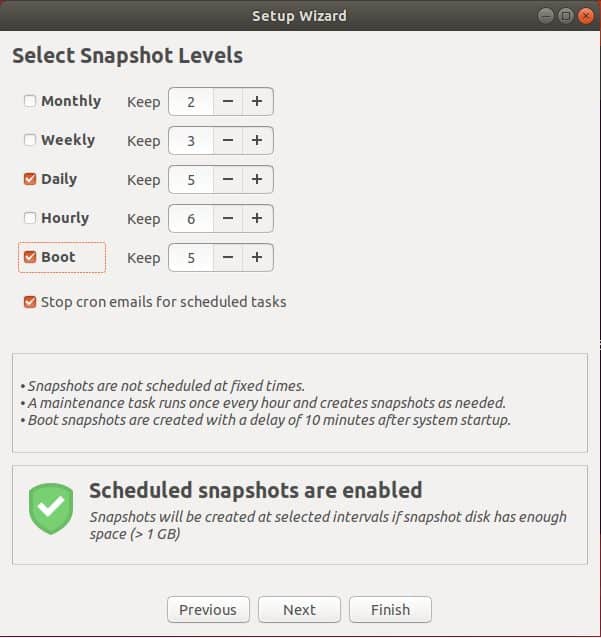
Click ‘Finish’
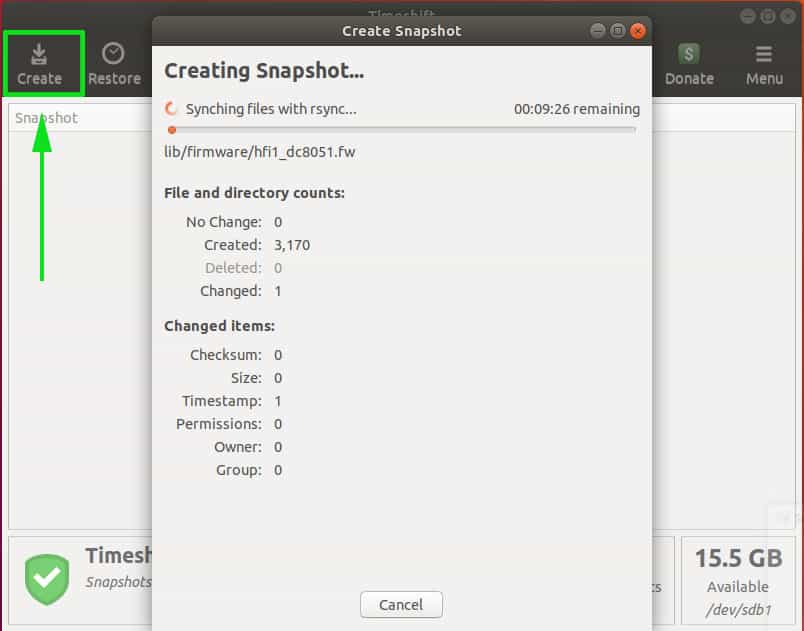
On the next Window, click on the ‘Create’ button to begin creating the snapshot. Thereafter, the system will begin creating the snapshot.
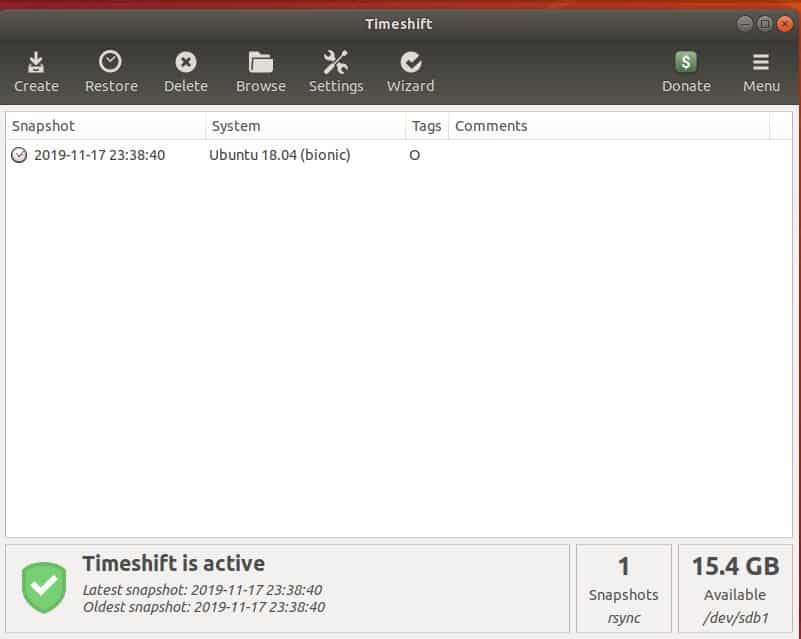
Finally, your snapshot will be displayed as shown
Restoring Ubuntu / Debian from a Snapshot
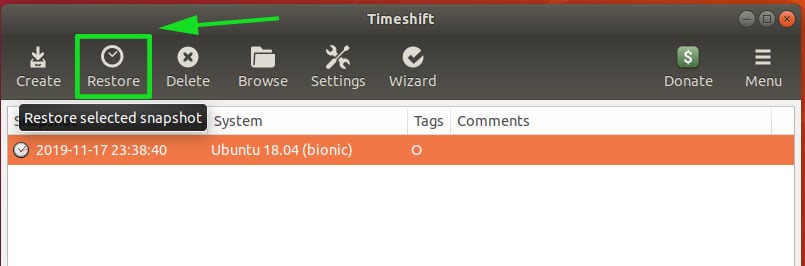
Having created a system snapshot, let’s now see how you can restore your system from the same snapshot. On the same Timeshift window, click on the snapshot and click on the ‘Restore’ button as shown.
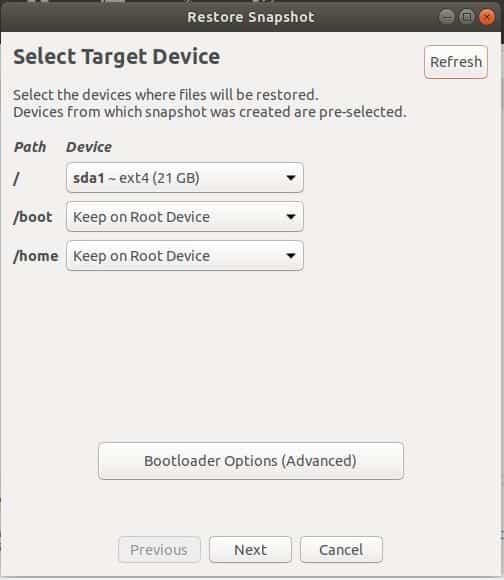
Next, you will be prompted to select the target device. leave the default selection and hit ‘Next’.
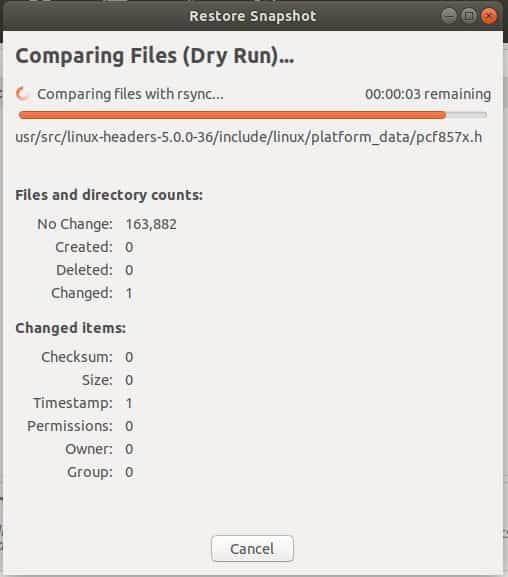
A dry run will be performed by Timeshift before the restore process commences.
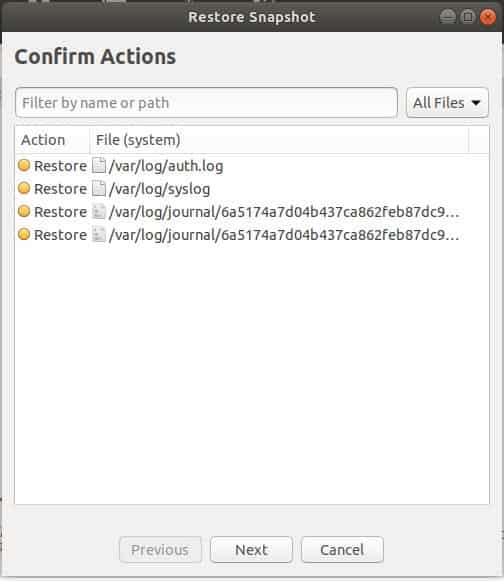
In the next window, hit the ‘Next’ button to confirm actions displayed.
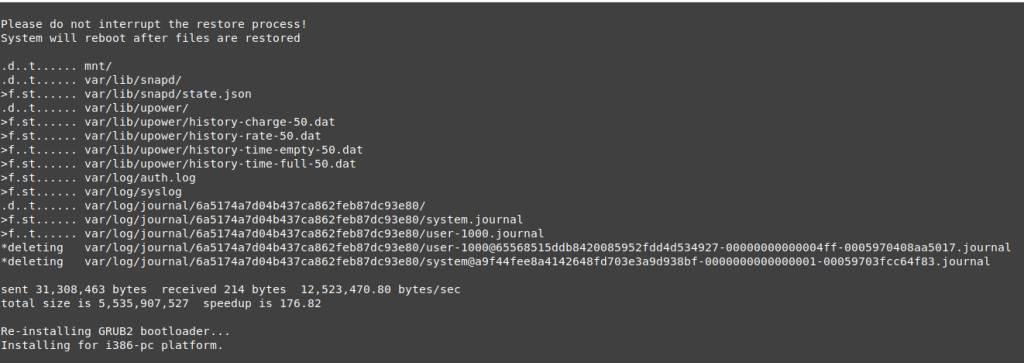
You’ll get a warning and a disclaimer as shown. Click ‘Next’ to initialize the restoration process.
Thereafter, the restore process will commence and finally, the system will thereafter reboot into an earlier version as defined by the snapshot.
Conclusion
As you have seen it quite easy to use TimeShift to restore your system from a snapshot. It comes in handy when backing up system files and allows you to recover in the event of a system fault. So don’t get scared to tinker with your system or mess up. TimeShift will give you the ability to go back to a point in time when everything was running smoothly.
Timeshift by default does not backup the user /Home directory. You can enable that, but did not see that in your screenshots. Also for a full reinstall to a new disk it does not always get boot correct. It is awesome when it works as designed.
It doesn’t do that for a good reason. It’s meant as a system backup so that you can restore your system in the event something goes wrong but you still want to retain your personal data because it’s fine. The author recommends you not use it to backup your personal files but instead use another backup program.
no support for external storage.
Read the “Preparing a backup storage device” part of this article?
Missing: Suppose the system running TimeShift is unbootable. How to restore? This situation is an important use of the TimeShift snapshot.
The advice written above implies it is OK to run TimeShift on a broken OS. Kindly explain if that was the intent.
Expected: A full discussion for how to restore to a new bootable disk. If TimeShift does this reliably, then explain how.
For clean install, disaster recovery, use Clonezilla to create an image of your system drive/partition after configuration of Timeshift. Use Timeshift and store your Timeshift backups on a different disk. If you crash your OS drive, restore from Clonezilla image and use Timeshift to bring OS back to latest working version.
Hi I’m a LInux newbie, I moved from Windows 10 to PopOS.
Question: When I use the commands:
# parted /dev/sdb mklabel gpt
# parted /dev/sdb mkpart primary 0% 100%
# mkfs.ext4 /dev/sdb1
Will that delete the drive I use? I have stuff on the drive I want to keep. Should I be using a empty from for the backup location?
Thank much
Nope they are using the parted, a partition app, to partition the usb drive. No need to worry about your current drive.
How to select a snapshot that is not made on this machine and is stored on an extern device ? That is impossible.
Thanks buddy had some issues using the terminal but all is fine