In this guide, we will focus on how to install VMware Work Station Pro on Ubuntu 22.04 | 20.04.
VMware Workstation is a type 2 hypervisor designed for Windows and Linux systems. It allows you to create and manage virtual machines in either Windows or Linux environments.
Vmware Workstation is broadly categorized into two products: VMware Workstation Player and VMware Workstation Pro.
VMware Workstation Player is free for personal use whereas VMware Workstation Pro requires a license. The former is a non-commercial tool and provides just basic functionalities whereas Workstation Pro is a professional and more advanced virtualization solution. Both run on Linux and Windows systems and have virtually the same installation requirements. In addition, both run on x86-based architecture with 64-bit Intel and AMD CPUs.
1) Download VMware Workstation PRO
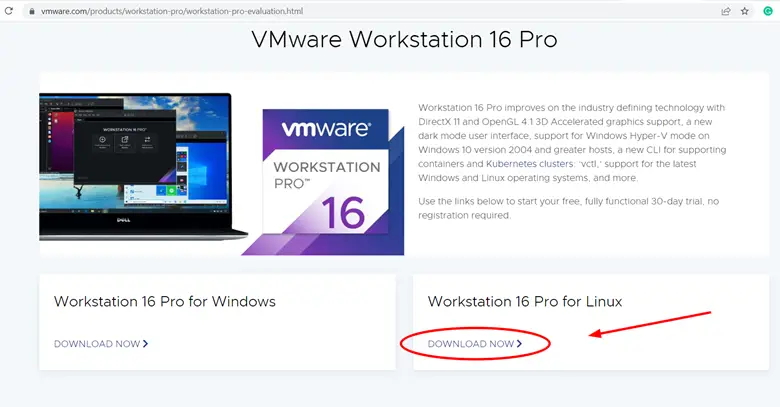
VMware Workstation Player is not officially hosted on Ubuntu 22.04 & 20.04 repositories. To install VMware Workstation on Ubuntu 22.04, visit the Official VMWare download Page and download the installation bundle as indicated below.
At the time of writing this guide, the latest version is VMware Workstation Pro 16, and the download size is slightly above 500MB.
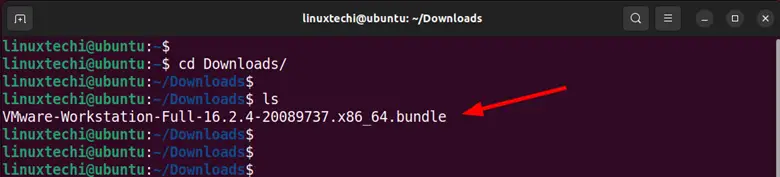
The installation bundle gets downloaded in the Downloads folder that is located in your home directory. You can confirm this using the ls command as follows.
$ ls Downloads
2) Install VMware Workstation
Before starting the installation, let’s first install the prerequisites using beneath apt command,
$ sudo apt update
$ sudo apt install -y build-essential
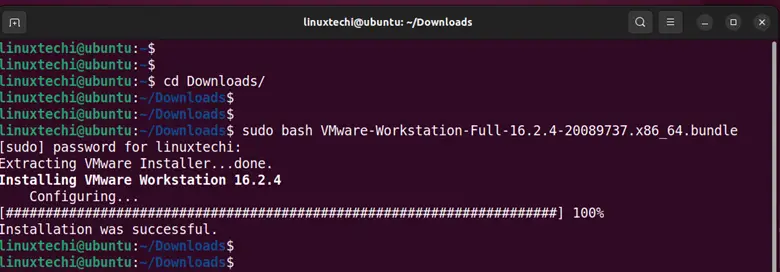
To install VMware Workstation, run the following bash command. Kindly note that the VMware Workstation installation file name will be different from yours if a newer version will be made available.
$ sudo bash VMware-Workstation-Full-16.2.4-20089737.x86_64.bundle
The command extracts the Vmware installer and installs VMware on your system. This takes roughly 5 minutes, so just be patient. At the very end, you will get confirmation that the installation was successful.
3) Install required additional kernel modules
For VMware workstation to work seamlessly, some additional kernel modules are required. As such, install them as follows.
$ sudo vmware-modconfig --console --install-all
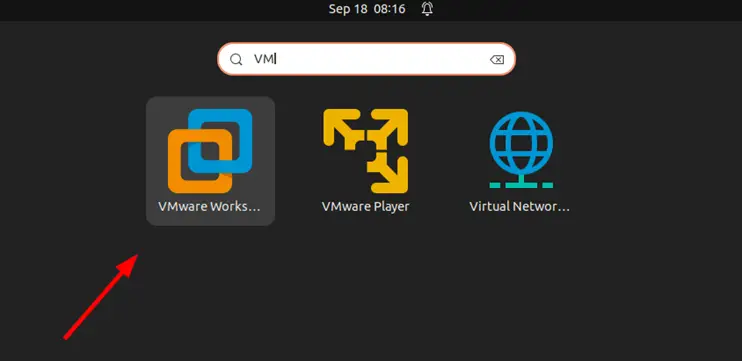
4) Launch VMware Workstation
The final step in the installation process is to launch VMware Workstation and complete the setup. So, click the ‘Activities’ tab and then click the icon shown below.
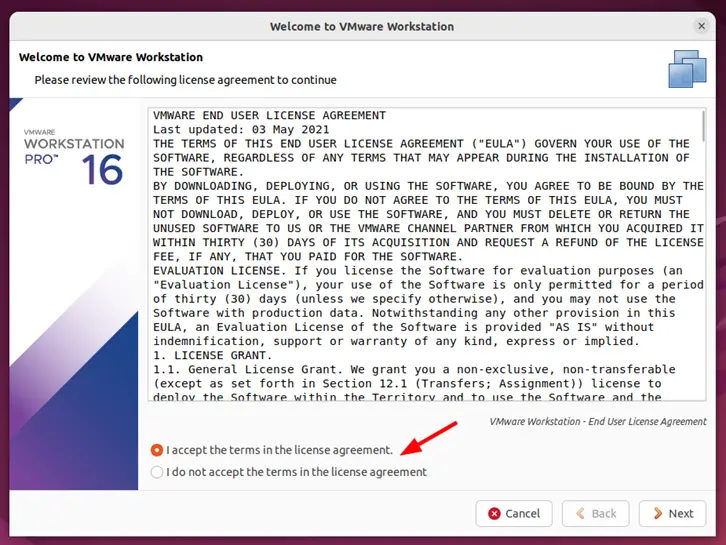
The following window will pop up. Be sure to read through the End User License Agreement and accept the terms. Then click ‘Next’ to proceed to the next step.
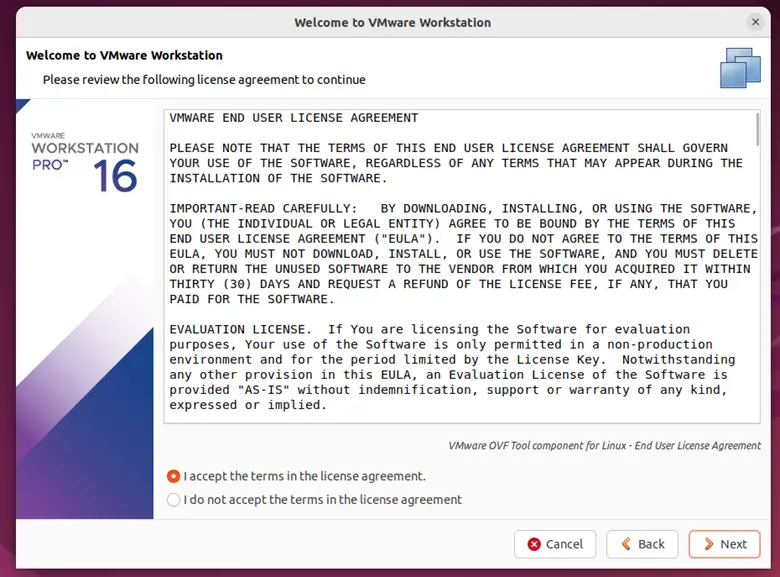
Similarly, accept the next set of license agreement terms and click ‘Next’.
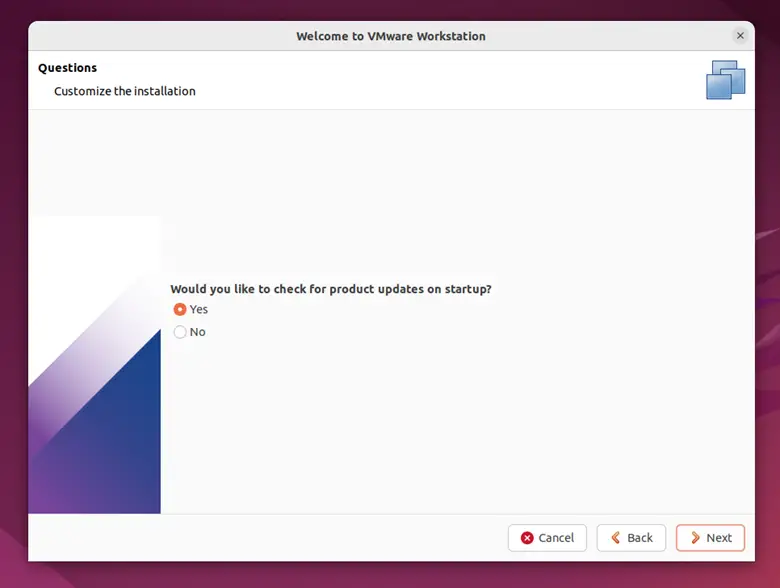
Next, you can choose whether to check for any updates upon launching VMware Workstation. This is all up to you to decide and once you have made your choice click ‘Next’.
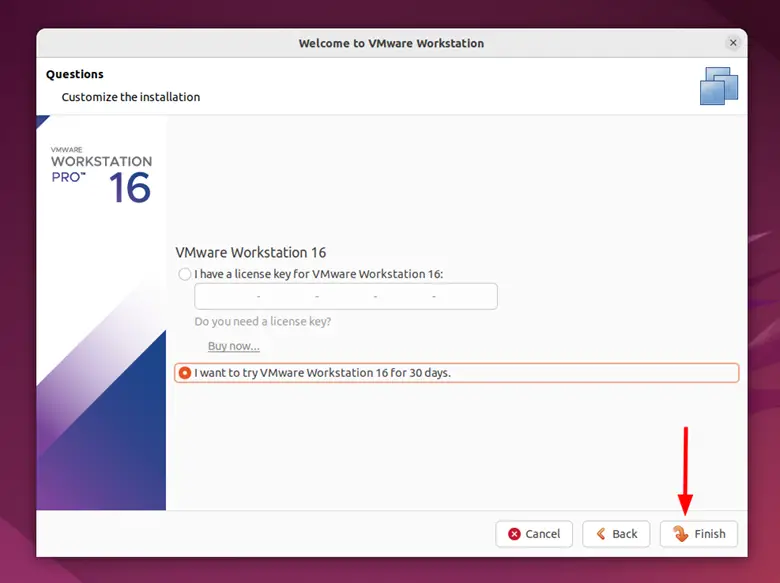
Next, enter a license Key if you have purchased VMware Workstation. Alternatively, if you don’t have one you can opt to evaluate the application for 30 days. Once you have made your choice, click ‘Finish’.
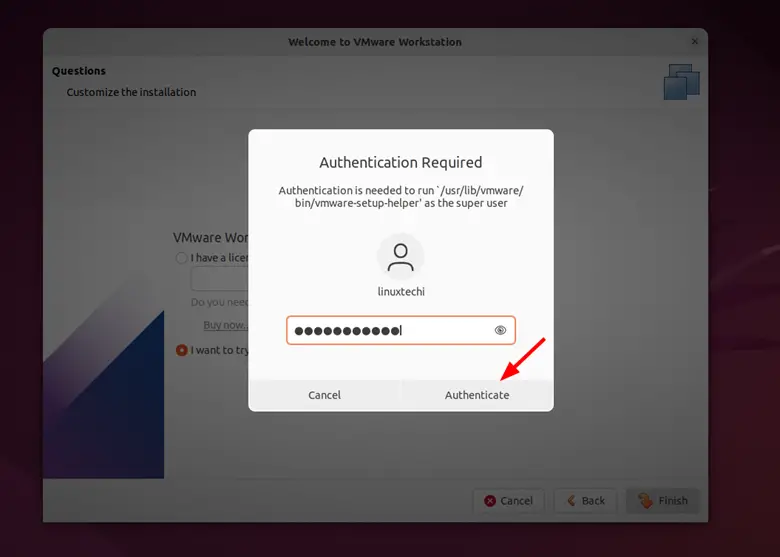
Once you click the ‘Finish’ button, you will be required to authenticate, and therefore, provide your password and click the ‘Authenticate’ button.
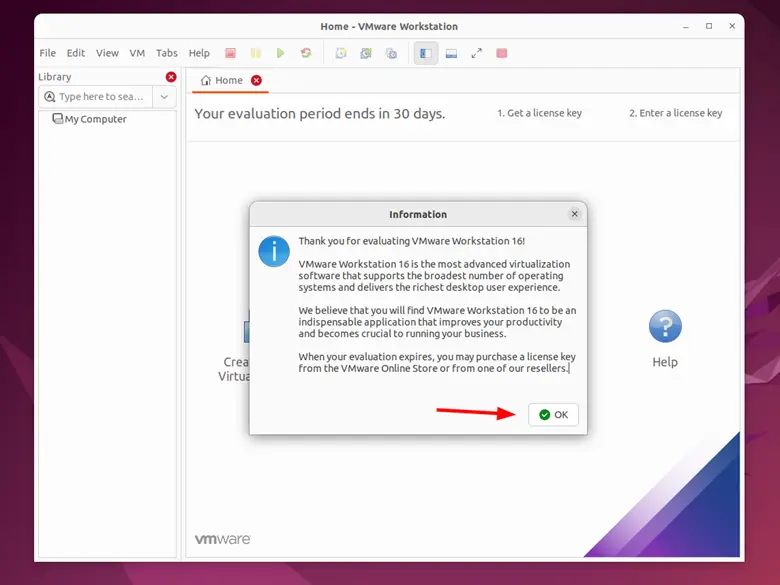
Finally, the VMware Workstation will come to view. Click ‘Ok’ on the pop-up window that appears.
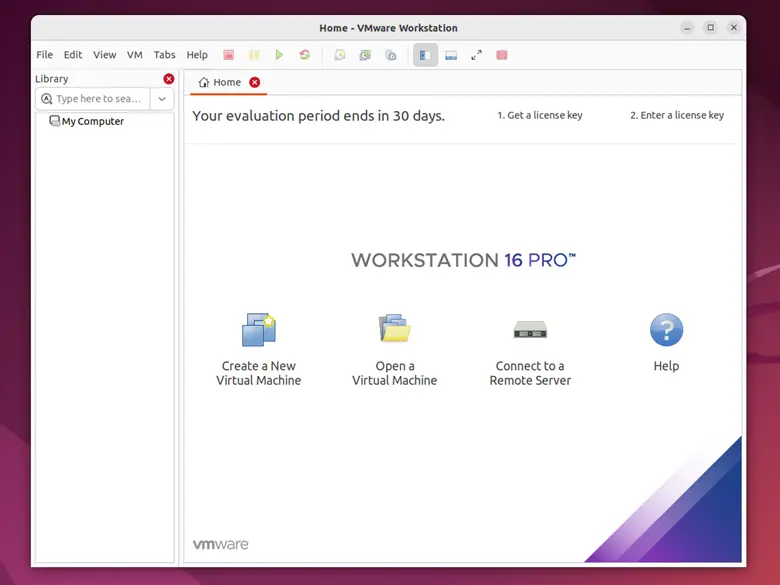
From here you can create and manage your virtual machines.
Conclusion
This wraps up this guide on how to install VMware Workstation on Ubuntu 22.04 & 22.04.You can now leverage its virtualization capabilities to run and test your favorite operating systems with ease including Linux, Windows, and even UNIX varieties such as BSD. All the best as you get started out with VMware Workstation Pro.
Also Read: How to Configure Static IP Address on Ubuntu 22.04 LTS
Thanks a lot for valuable guidance!!!!!
Here are few / Universal License Keys //
VV7XU-F6DDQ-485DZ-X4M7T-PF8ZD
ZG75H-FZF83-M8DLZ-4ZW5E-NP0W0
AV518-09FD0-48D1P-EMQEX-Z72C6
GG7W0-DAY5Q-0858Q-6GWZ9-W7RT8
CV512-FAW91-085NP-DMXQX-QLHAF
AA7DU-APW15-H848Q-P5ZGZ-PCRC2
VU1N2-6DE5N-M8DLQ-AEMEV-XA2Z4
UV3NR-AMZ17-08EZP-9YQQE-MZAY8
GC75U-21E50-M8D5Q-K6YQX-W28V8
1F04Z-6D111-7Z029-AV0Q4-3AEH8
CZ7E2-2FY5P-08DUP-6XNXG-WPKE8
Hope this will help to others
Hi,
Thank you for this guide. I installed successfully the workstation. But, it’s doesn’t work.
I have this message: Before you can run vmware, several modules must be compiled and loaded into the running kernel. I click on install but the vm doesn’t run.
For more details the vmware-root directory doesn’t open. I’m running Ubuntu 14.04 TLS.
Is there any patch ton install?
How to compile the vm?
Thank you for your help.
Excellent thank you very much, very understandable.
thank you very useful
i have error—> Unable to start services.
See log file /tmp/vmware-root/vmware-7031.log for details.
bro installed succesfully but caanot open