In this guide, we will show you how to install git on Ubuntu 24.04 (Noble Numbat) and provide a hands-on example of creating a project folder and pushing changes to a GitHub repository.
What is Git?
Git is a distributed version control system designed to track changes in source code during software development. It enables multiple developers to collaborate on a project, ensuring a structured and organized development process.
Key Concepts:
- Repository (Repo): A repository is a storage space for your project’s files and the entire history of changes.
- Commit: A commit is a snapshot of your project at a specific point in time, preserving changes and allowing you to revert if needed.
- Branch: Branches allow you to work on different features or bug fixes independently, preventing conflicts in the main codebase.
- Merge: Merging combines changes from different branches into a single branch, ensuring a cohesive codebase
Prerequisites
- Pre-Install Ubuntu 24.04
- Sudo User with Admin rights
- Github Account
Without any further delay, let’s jump into Git installation steps.
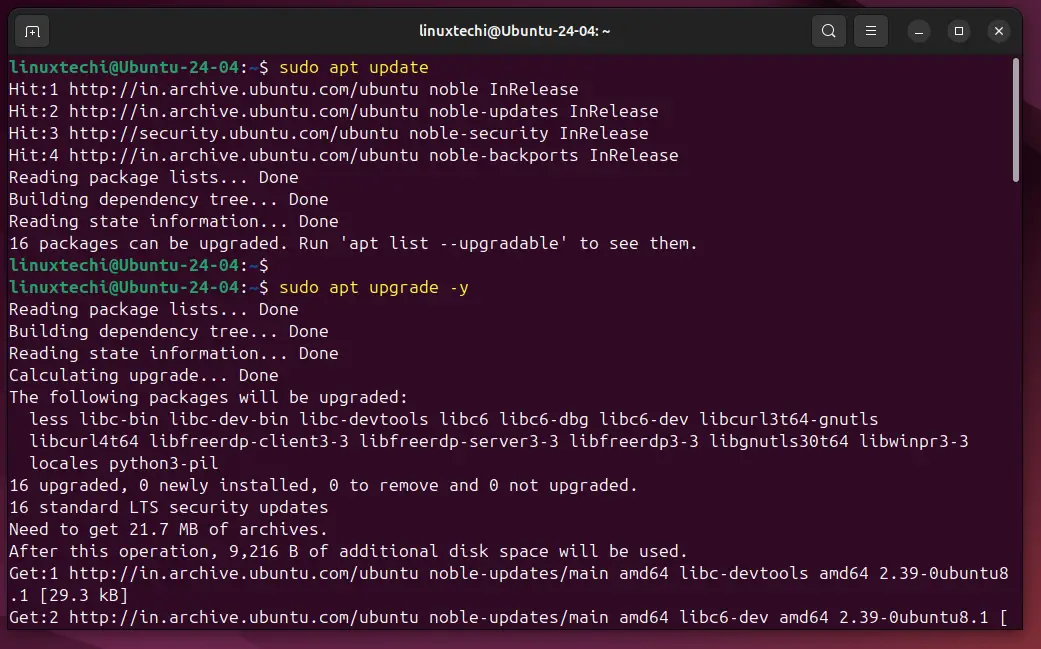
1) Update System
Open the terminal and run following apt command to update your Ubuntu 24.04 system.
$ sudo apt update
$ sudo apt upgrade -y
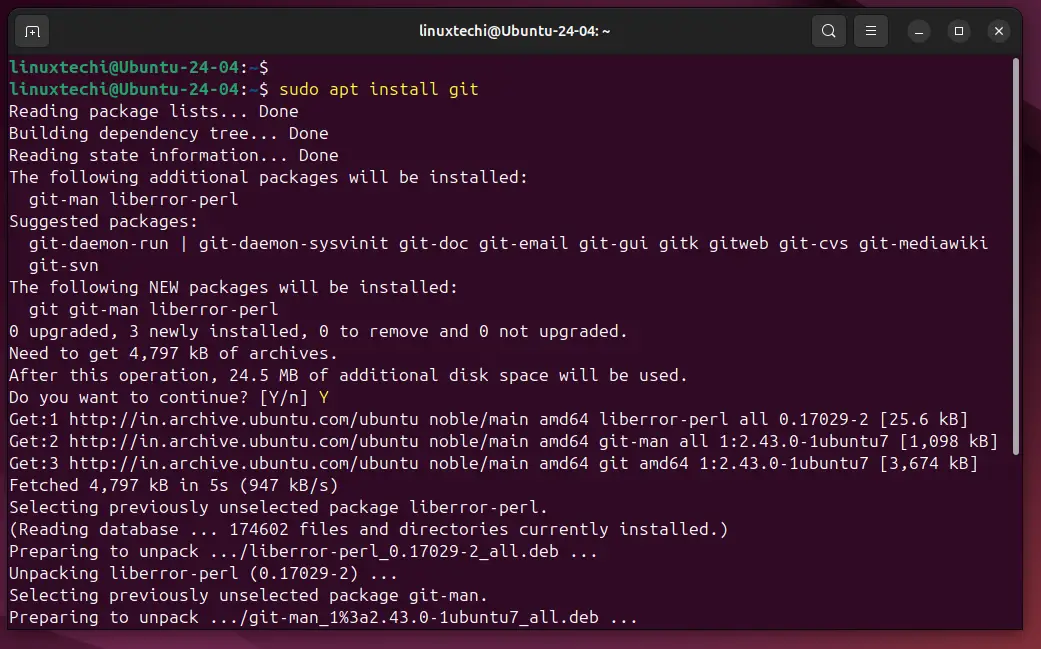
2) Install Git on Ubuntu 24.04
Now that your system is up to date, let’s proceed with the installation of Git. Use the following command to install Git on Ubuntu 24.04,
$ sudo apt install git
Press ‘Y’ when prompted to confirm the installation, and the system will automatically download and install Git on your system.
Once git and its dependencies are installed then confirm git version by running following command.
$ git --version
git version 2.43.0
$
You should see the installed Git version displayed on your terminal.
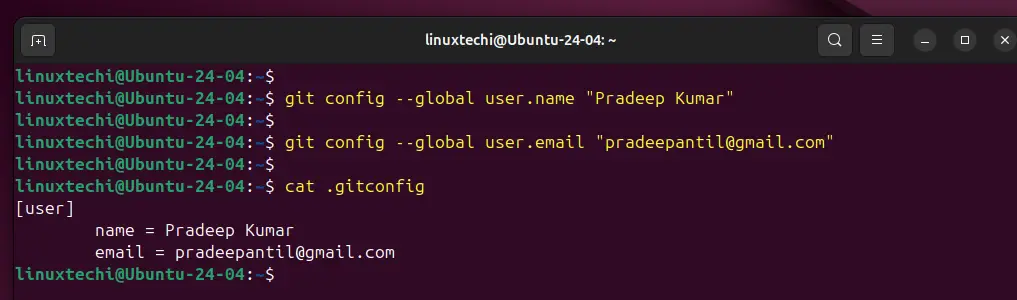
3) Configure Git
In order to use git, it is recommended to configure your identity first. Replace the “Name” and “email address” in below git commands as per your setup.
$ git config --global user.name "Pradeep Kumar"
$ git config --global user.email "[email protected]"
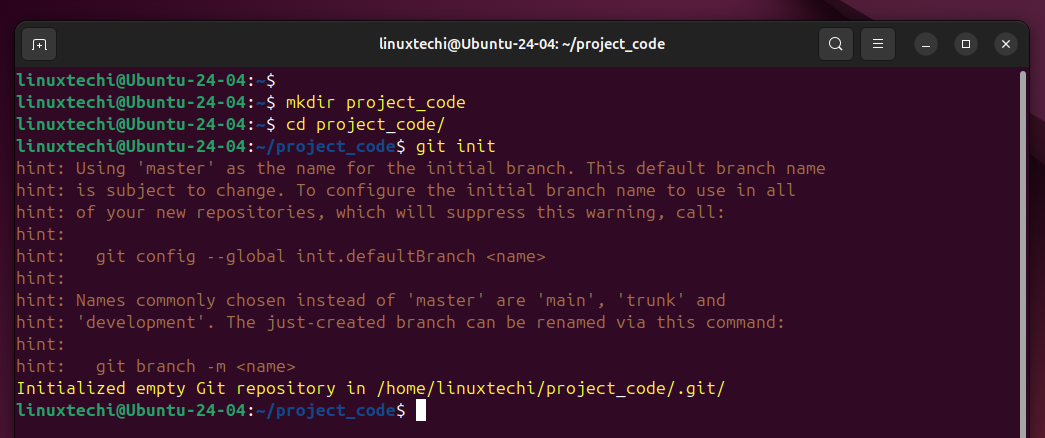
4) Create a Folder and Initialize a Git Repository
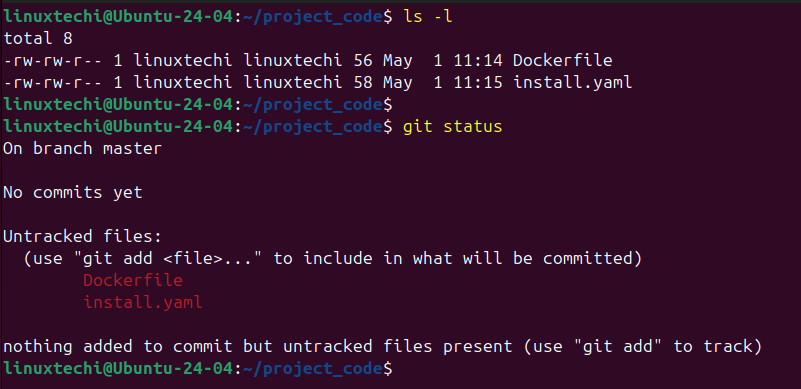
Now, let’s create a new folder for your project and initialize a Git repository. Navigate to the directory where you want to create your project folder and run the following commands:
$ mkdir project_code
$ cd project_code
$ git init
This will create a new folder called “project_code” and initialize a Git repository inside it. Here initialize git repository means git will start tracking the changes in project_code folder.
5) Make Changes and Commit
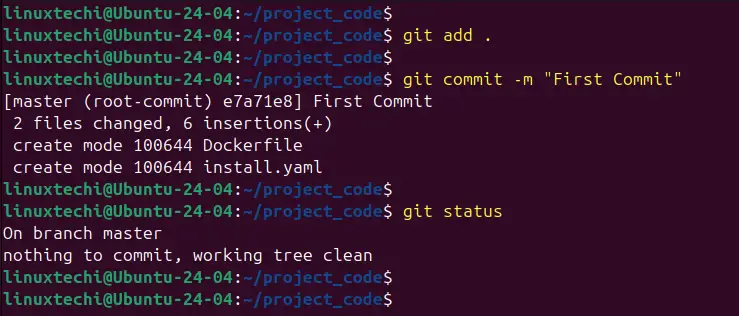
Add some files to your project folder or modify existing ones.
Once you’ve made your changes, it’s time to commit them to the Git repository:
$ git add .
$ git commit -m "First Commit"
This command stages all changes (using `git add .`) and commits them with a message describing the changes.
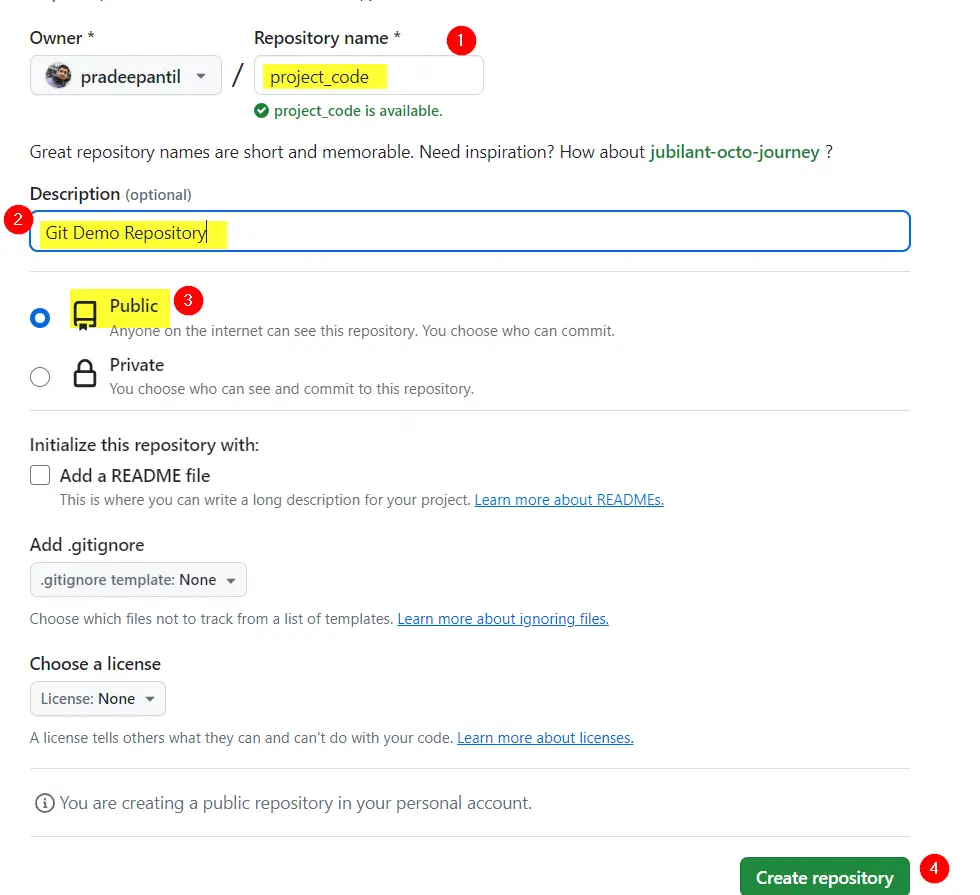
6) Create a GitHub Repository
Login to your account on github account (https://github.com), Click on the “new” sign in the upper left corner. Follow the instructions to create a new repository on GitHub as shown below:
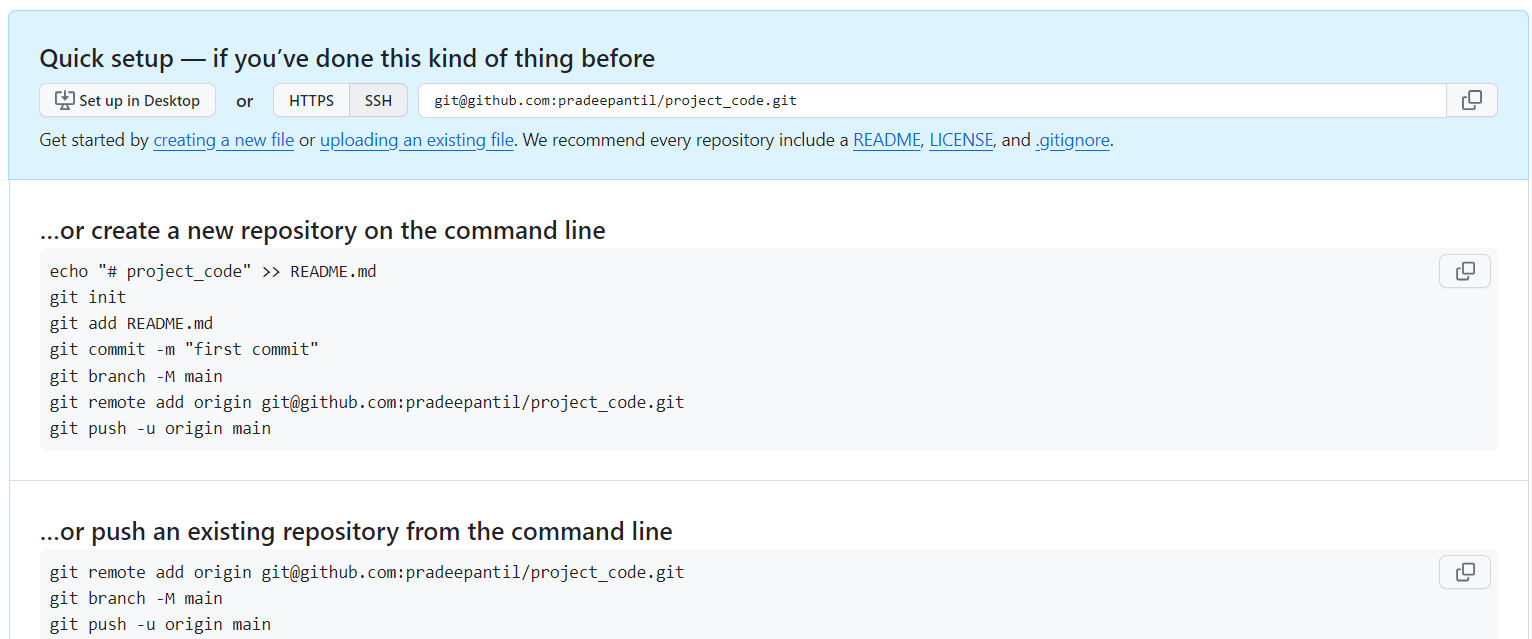
Once we click on “Create repository”, we will get following set of instruction for the repository.
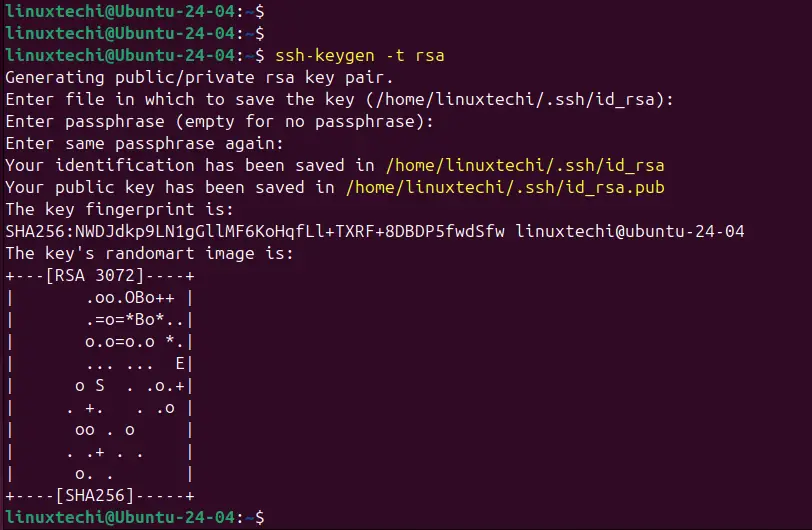
Next generate ssh keys from your Ubuntu 24.04 system and upload it on your GitHub account.
Run ssh-keygen command from the terminal.
$ ssh-keygen -t rsa
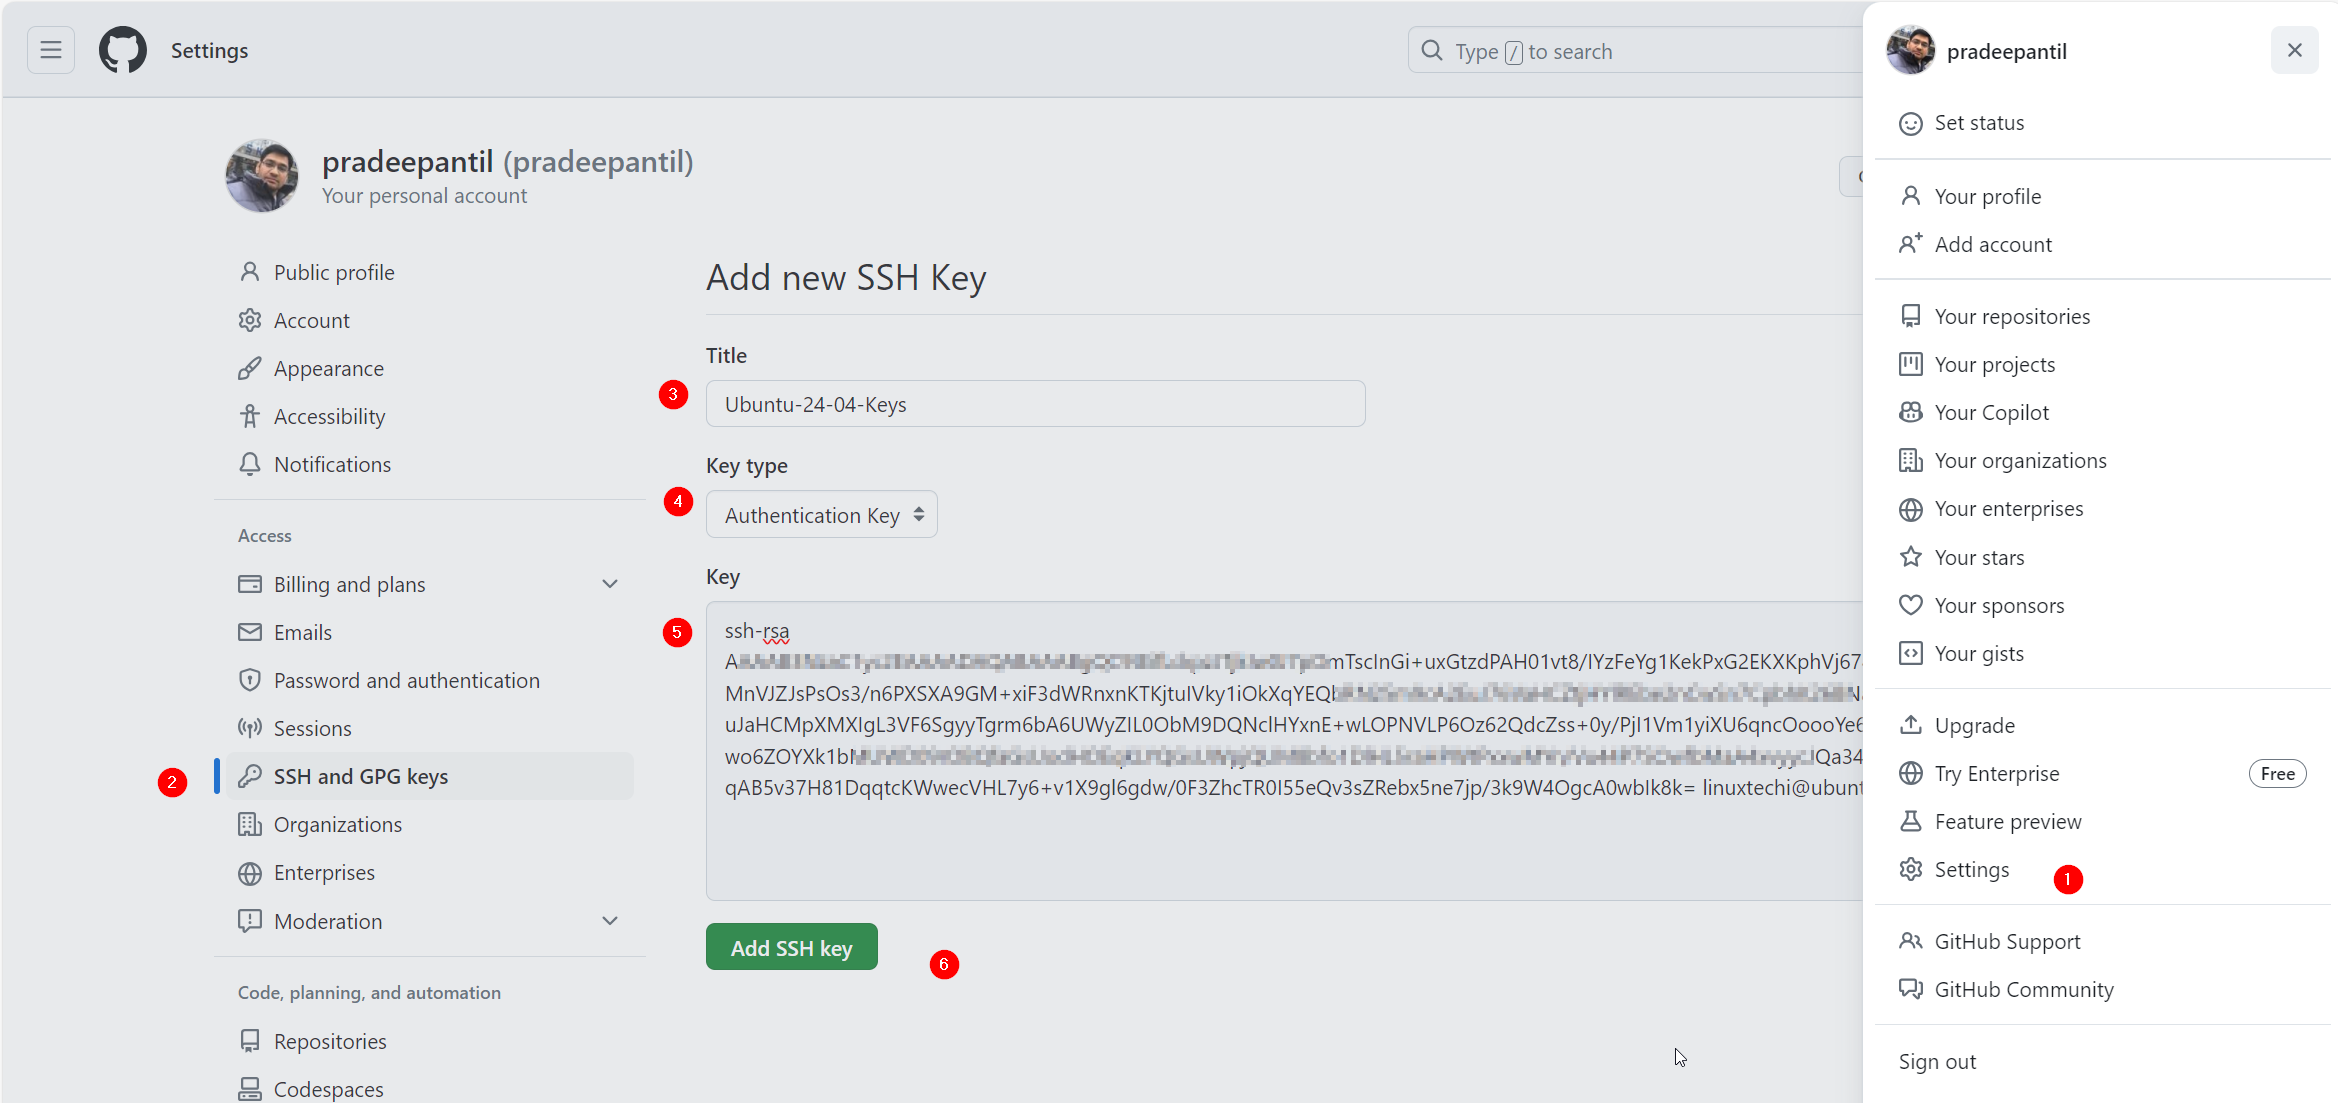
Now copy the content of your public key, run below cat command.
$ cat ~/.ssh/id_rsa.pub
Paste it on your github account for authentication as shown below:
After creating the GitHub repository and ssh keys, follow the instructions provided on the repository page to connect your local repository to the remote GitHub repository. This typically involves adding a remote URL:
$ git remote add origin [email protected]:pradeepantil/project_code.git
$ git remote -v

7) Push Changes to GitHub Repository
Finally, push your local changes to the GitHub repository, run “git push” command.
$ git push -u origin master
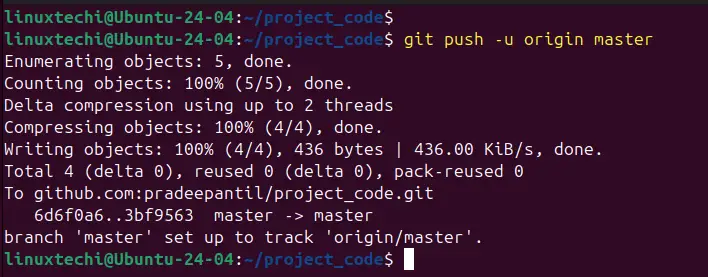
Output above shows that local changes from repository are pushed to remote GitHub repository.
Verify the changes from remote GitHub Repository. Head back to your account and go to project_code repository, you should the files and folders which are pushed using above command.

Perfect, this confirms that local changes are there on github repository. That’s all from this guide, we hope you have found it informative and useful. Feel free to post your queries and feedback in below comments section.
Also Read : How to Install Nginx on Ubuntu 24.04 LTS (Step by Step)