In this blog post, we will cover how to install azure cli on Ubuntu 22.04 for Azure management.
In the dynamic world of cloud computing, Microsoft Azure stands out as a leading public cloud platform, offering a comprehensive suite of services for businesses and developers alike. To harness the power of Azure and streamline your management tasks, the Azure Command-Line Interface (AZ CLI) is an invaluable tool.
Prerequisites
- Pre-Install Ubuntu 22.04
- User with Admin Rights
- Azure Subscription (Optinal)
- Internet Connectivity
Step 1) Update Your System
Before jumping into the installation process, install all the available updates on your system. Open a terminal and run the following commands:
$ sudo apt update
$ sudo apt upgrade -y
This will refresh the package list and upgrade existing packages to their latest versions.
Step 2) Install Dependencies
Azure cli has dependencies that need to be installed on your system. Execute the following command to install these dependencies:
$ sudo apt install ca-certificates curl apt-transport-https lsb-release gnupg -y
Step 3) Download and Install the Microsoft Signing Key
To ensure the authenticity of the packages, you need to download and install the Microsoft signing key. Execute the following commands:
$ curl -sL https://packages.microsoft.com/keys/microsoft.asc | gpg --dearmor | sudo tee /etc/apt/trusted.gpg.d/microsoft.gpg > /dev/null
Step 4) Add Azure CLI Apt Repository
Next, add the Azure CLI repository to your system by running the following commands:
$ AZ_REPO=$(lsb_release -cs)
$ echo "deb [arch=`dpkg --print-architecture` signed-by=/etc/apt/trusted.gpg.d/microsoft.gpg] https://packages.microsoft.com/repos/azure-cli/ $AZ_REPO main" | sudo tee /etc/apt/sources.list.d/azure-cli.list

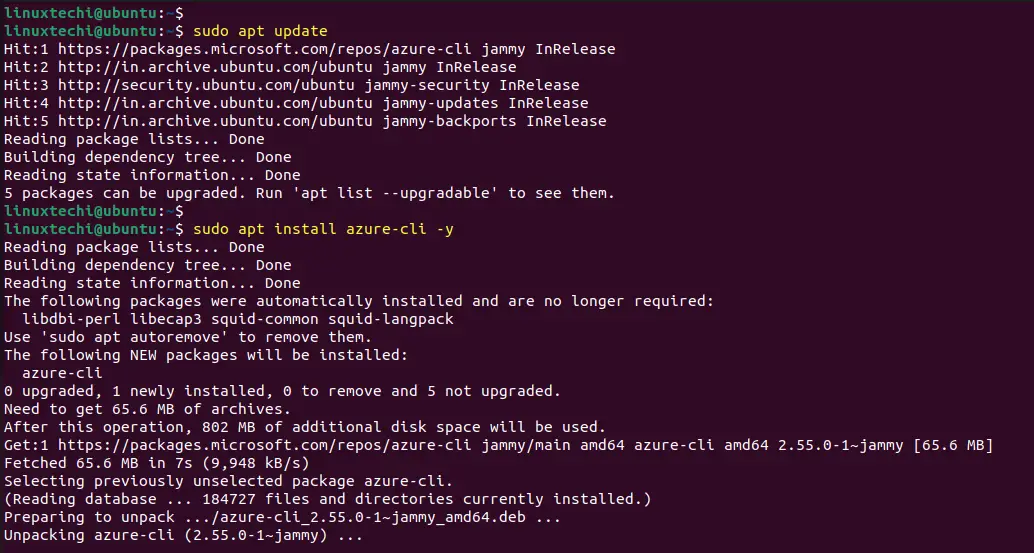
Step 5) Install Azure Cli on Ubuntu 22.04
Now that your system is configured, it’s time to install AZ CLI. Run the following commands:
$ sudo apt update
$ sudo apt install azure-cli -y
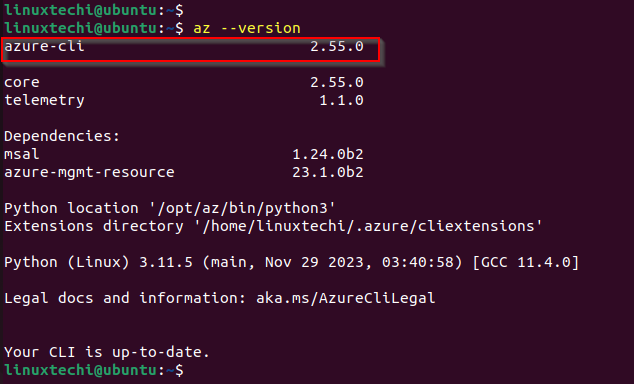
Step 6) Validate Azure Cli Installation
To confirm that AZ CLI is installed successfully, type the following command in the terminal:
$ az --version
This should display the installed version of AZ CLI along with other details.
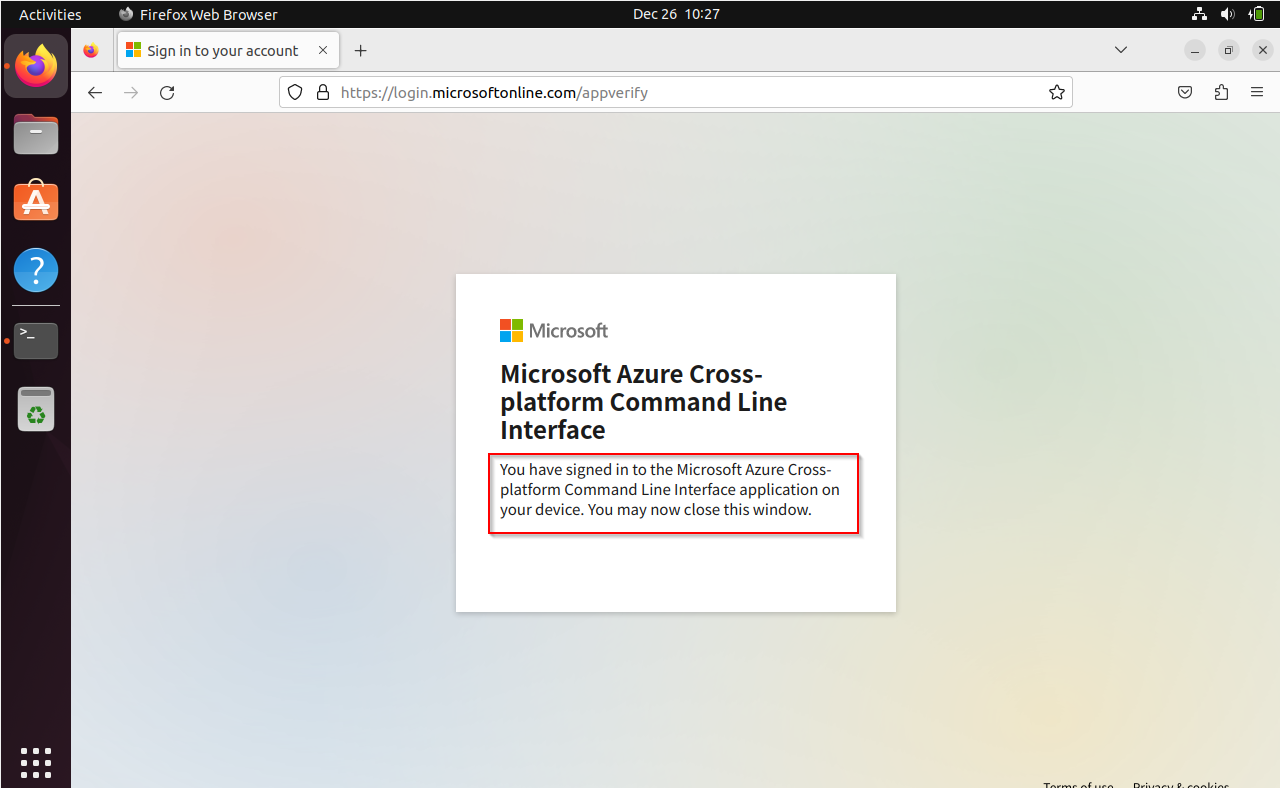
Next, try to interact with your Azure account using az command. Run the following “az login” command
$ az login –use-device-code
Above command will generate the link and code, open the link in web browser and enter code and then follow the screen instructions to login.

Once you done with screen instructions, finally we will get the following screen.
Next, head back to the terminal and run
$ az account list
This will list the subscriptions (IDs) associated with your account.
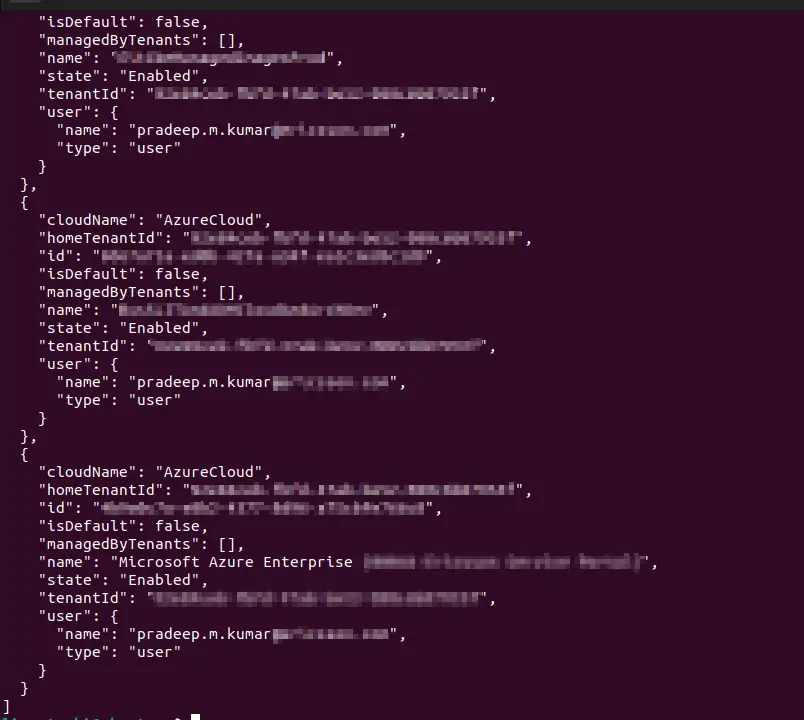
As you can see above, my account is associated with multiple subscriptions. So, in order to work with specific subscription, run below command.
$ az account set --subscription xxxxa71a-ed0b-xxxx-a34f-ea1c3ed3xxxx
Note : Replace the subscription id in above command as per your setup.
Next, run beneath az command to list all available storage accounts for a specific resource group.
$ az storage account list -g demo-rg | grep -i name -A4 -B5
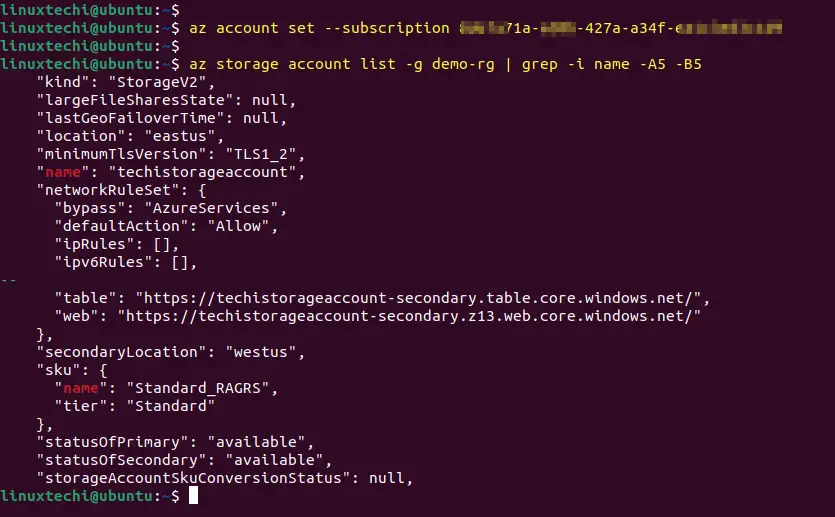
Perfect, output above confirms az retrieves storage account for demo-rg resource group.
That’s all from this guide. I believe you have found it useful and informative. Feel free to post your queries and feedback in below comments section.
Read Also :How to Install MySQL on Ubuntu 22.04 Step-by-Step