Developed in Python & C++ languages, Checkmk is an open-source monitoring server that is an improvement of Nagios operating system with enhanced plugins and monitoring capabilities. Checkmk uses agents to collect and ship remote systems’ metrics to the server. The agents are available for both Linux and Windows systems in 32 & 64-bit architectures.
Checkmk is used in monitoring applications, servers and even cloud infrastructure such as AWS and Azure. In this guide, we will walk you through how to install and configure Checkmk on CentOS 8 and later on, see how you can add both Linux and Windows hosts to checkmk server for monitoring.
We will install Checkmk using the OMD (Open Monitoring Distribution) bundle. This bundle ships with Nagios and all the necessary plugins required for monitoring various services.
Lab Setup details for Checkmk
This will be our set up
- Checkmk Server – CentOS 8
- Host 1 – CentOS 8
- Host 2 – Windows Server 2019
Step 1) Update the system
To start off, it’s always advisable to update your package lists to start on a clean slate. Therefore, log in to the Checkmk server and run the off command below.
$ sudo dnf update -y
Once the update is completed successfully and reboot the system once.
Step 2) Install prerequisite packages
Once the update is complete, you need to install a couple of packages for the installation of Checkmk monitoring tool to go smoothly.
First, you need to install EPEL. This is short for Extra Packages for Enterprise Linux. This is a package repository that provides additional packages that are not present in the default AppStream repositories for CentOS 8. This will prove beneficial as some of the packages required by OMD are contained in EPEL.
To install the EPEL repository, execute the command:
$ sudo dnf install epel-release
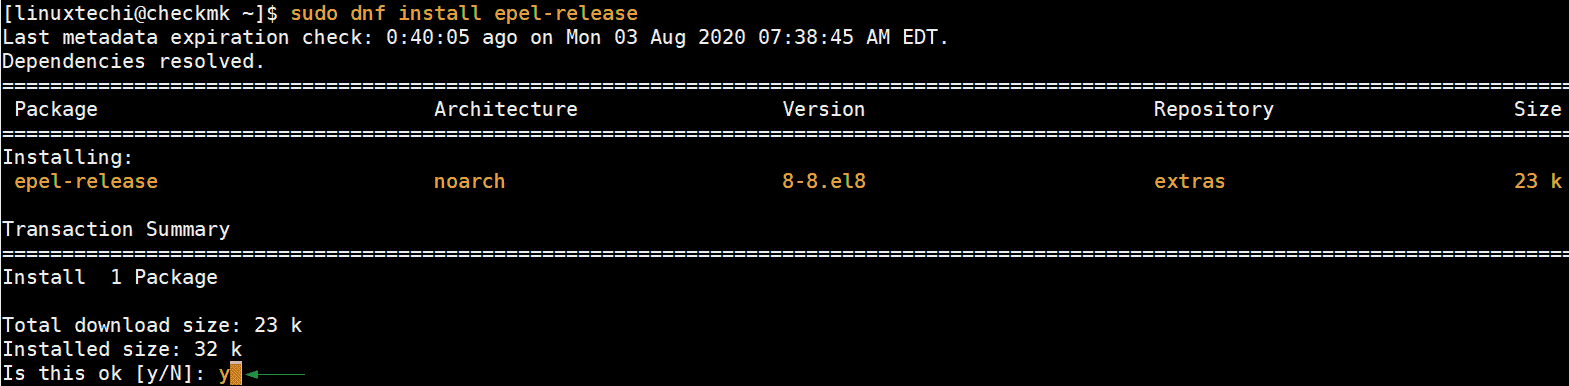
Press ‘y’ on the keyboard and hit ENTER to proceed with the installation.
Next, ensure that you install xinetd and OpenSSL packages. Therefore, run the command:
$ sudo dnf install xinetd openssl -y
Also, ensure that Python 3 is installed (It comes preinstalled by default on CentOS 8). In case it is not installed on your CentOS 8 / RHEL 8 system then run following command to install it,
$ sudo dnf install python3 -y
Run following command to verify the python version
[linuxtechi@checkmk ~]$ python3 -V
Python 3.6.8
[linuxtechi@checkmk ~]$
Don not forget to install ‘graphiz-gd’ package from PowerTools repository, run the following dnf command
$ sudo dnf --enablerepo=PowerTools install graphviz-gd -y
Step 3) Set SELinux and firewall rules for checkmk
SELinux is a kernel security module that enhances the security of your CentOS 8 and RHEL 8 system. Set the following selinux rule to allow web server to access network interfaces,
$ sudo setsebool -P httpd_can_network_connect 1
Now allow http service or its port in firewall, run
$ sudo firewall-cmd --zone=public --add-service=http --permanent
$ sudo firewall-cmd --reload
Note: You can skip this only if Selinux and firewalld is disabled on your system.
Step 4) Installing Checkmk monitoring tool
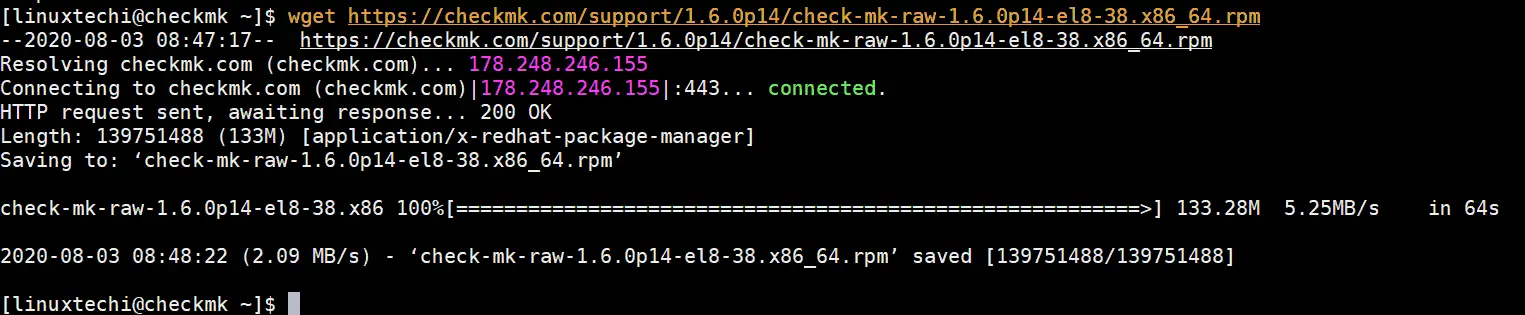
With all the prerequisites out of the way, it’s time now to install Checkmk First, download the RPM package from the Official site.
$ wget https://checkmk.com/support/1.6.0p14/check-mk-raw-1.6.0p14-el8-38.x86_64.rpm
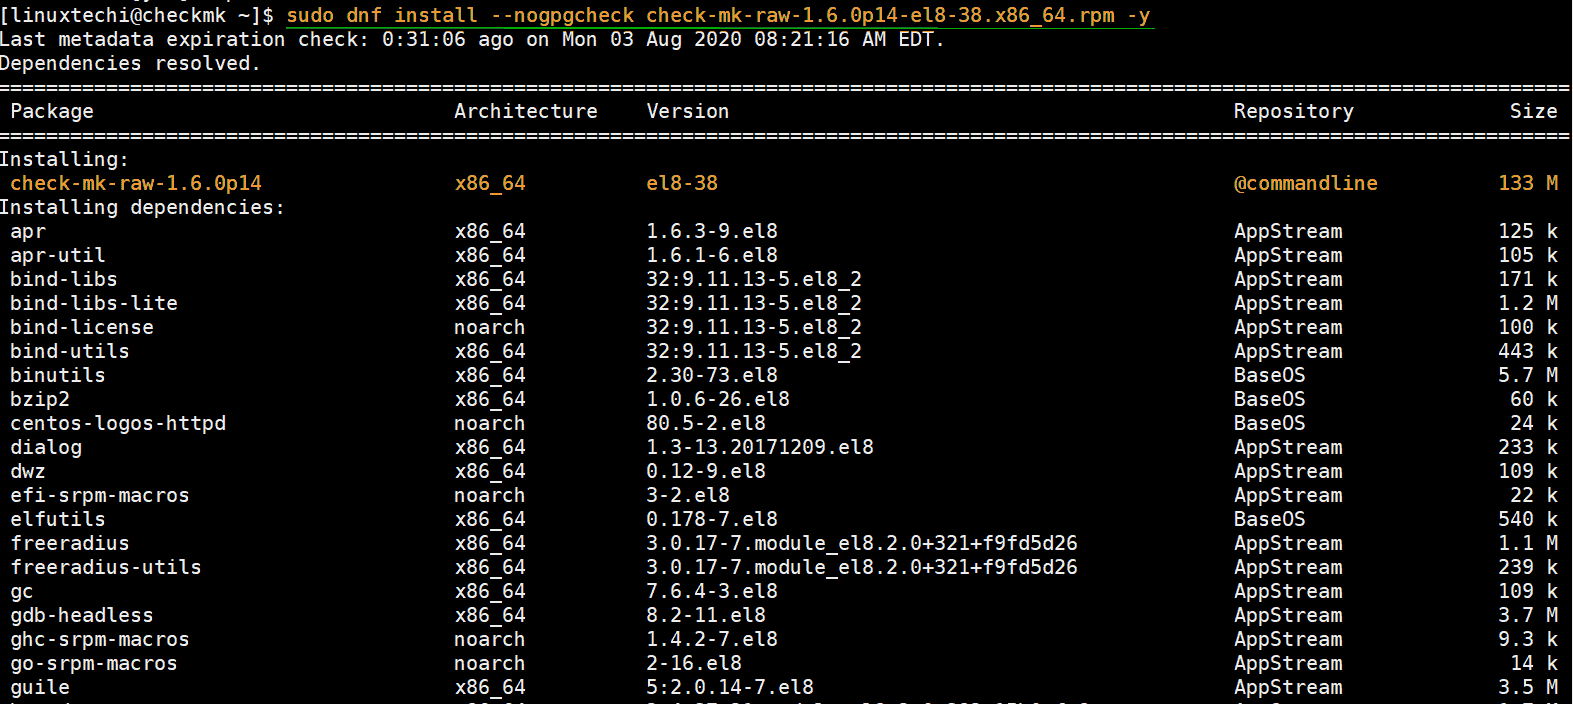
Once downloaded install Checkmk rpm package with –nogpgcheck option to avoid signing of the package which might result in errors later on during the installation process.
$ sudo dnf install --nogpgcheck check-mk-raw-1.6.0p14-el8-38.x86_64.rpm -y
The next thing you need to do is to create an OMD instance. We are going to create one for testing purpose (sandbox).
Note: You can replace the OMD instance name that suits to your setup.
$ sudo omd create sandbox
You should get the output shown below:
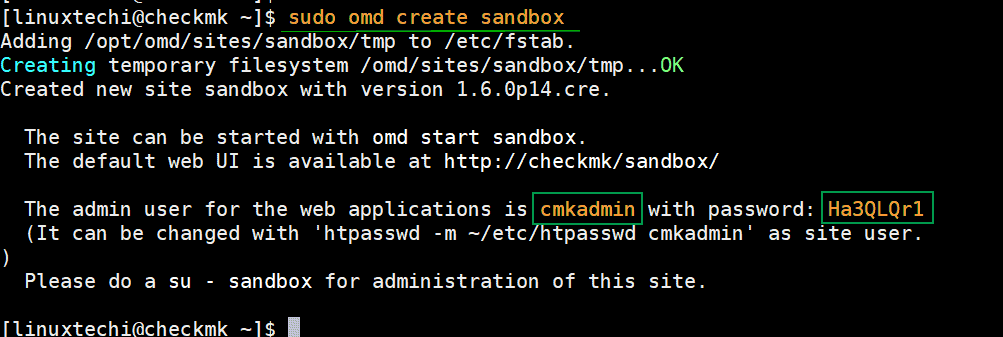
What the command does is that it creates a new omd instance together with a user and a group called ‘sandbox’ alongside the user’s home directory which is created in the ‘/omd/sites/sandbox’ path.
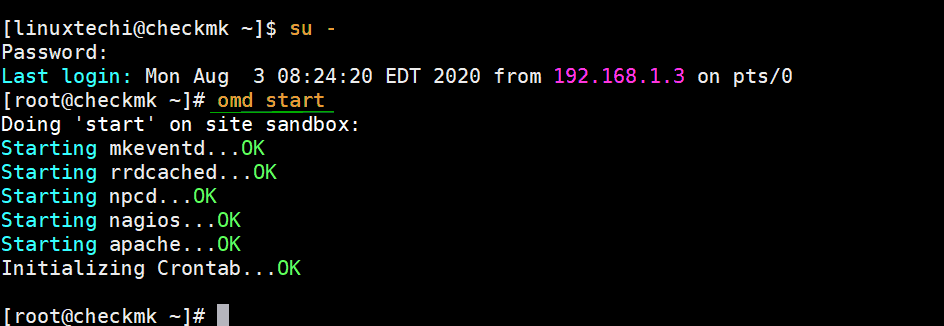
To start the instance, switch to either the omd user or the root user and run the command:
$ omd start
To access the Check_MK front end interface, open your web browser and browser the URL shown:
http://server-IP/sandbox
Sign in using the username cmkadmin and password provided when creating the omd instance, in this case, Ha3QLQr1
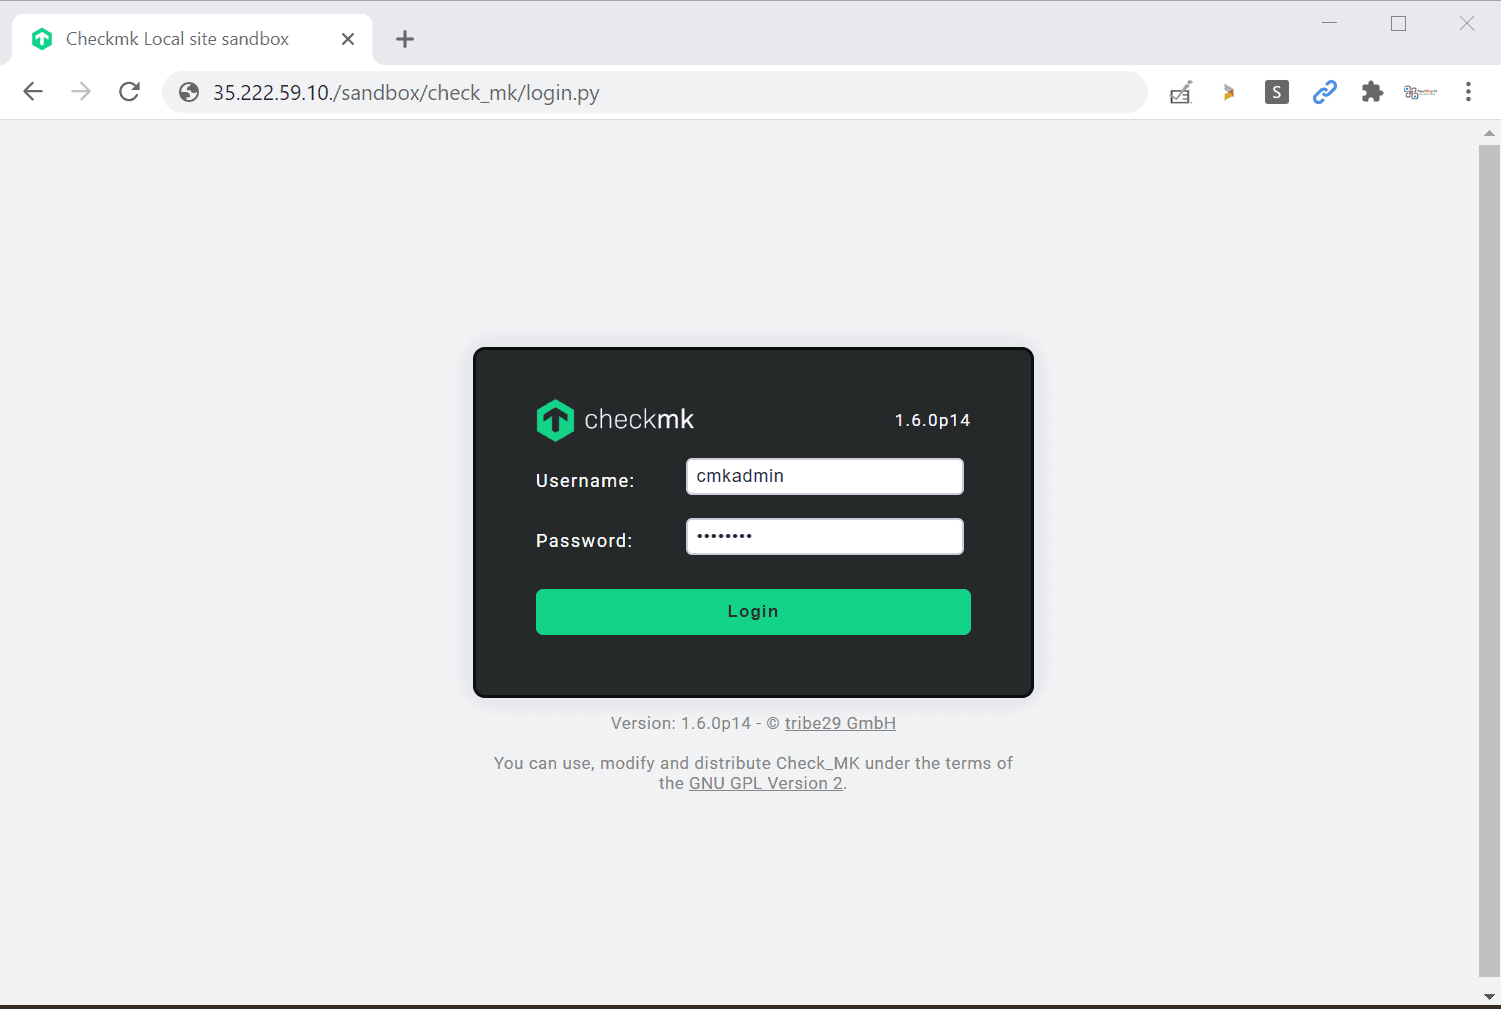
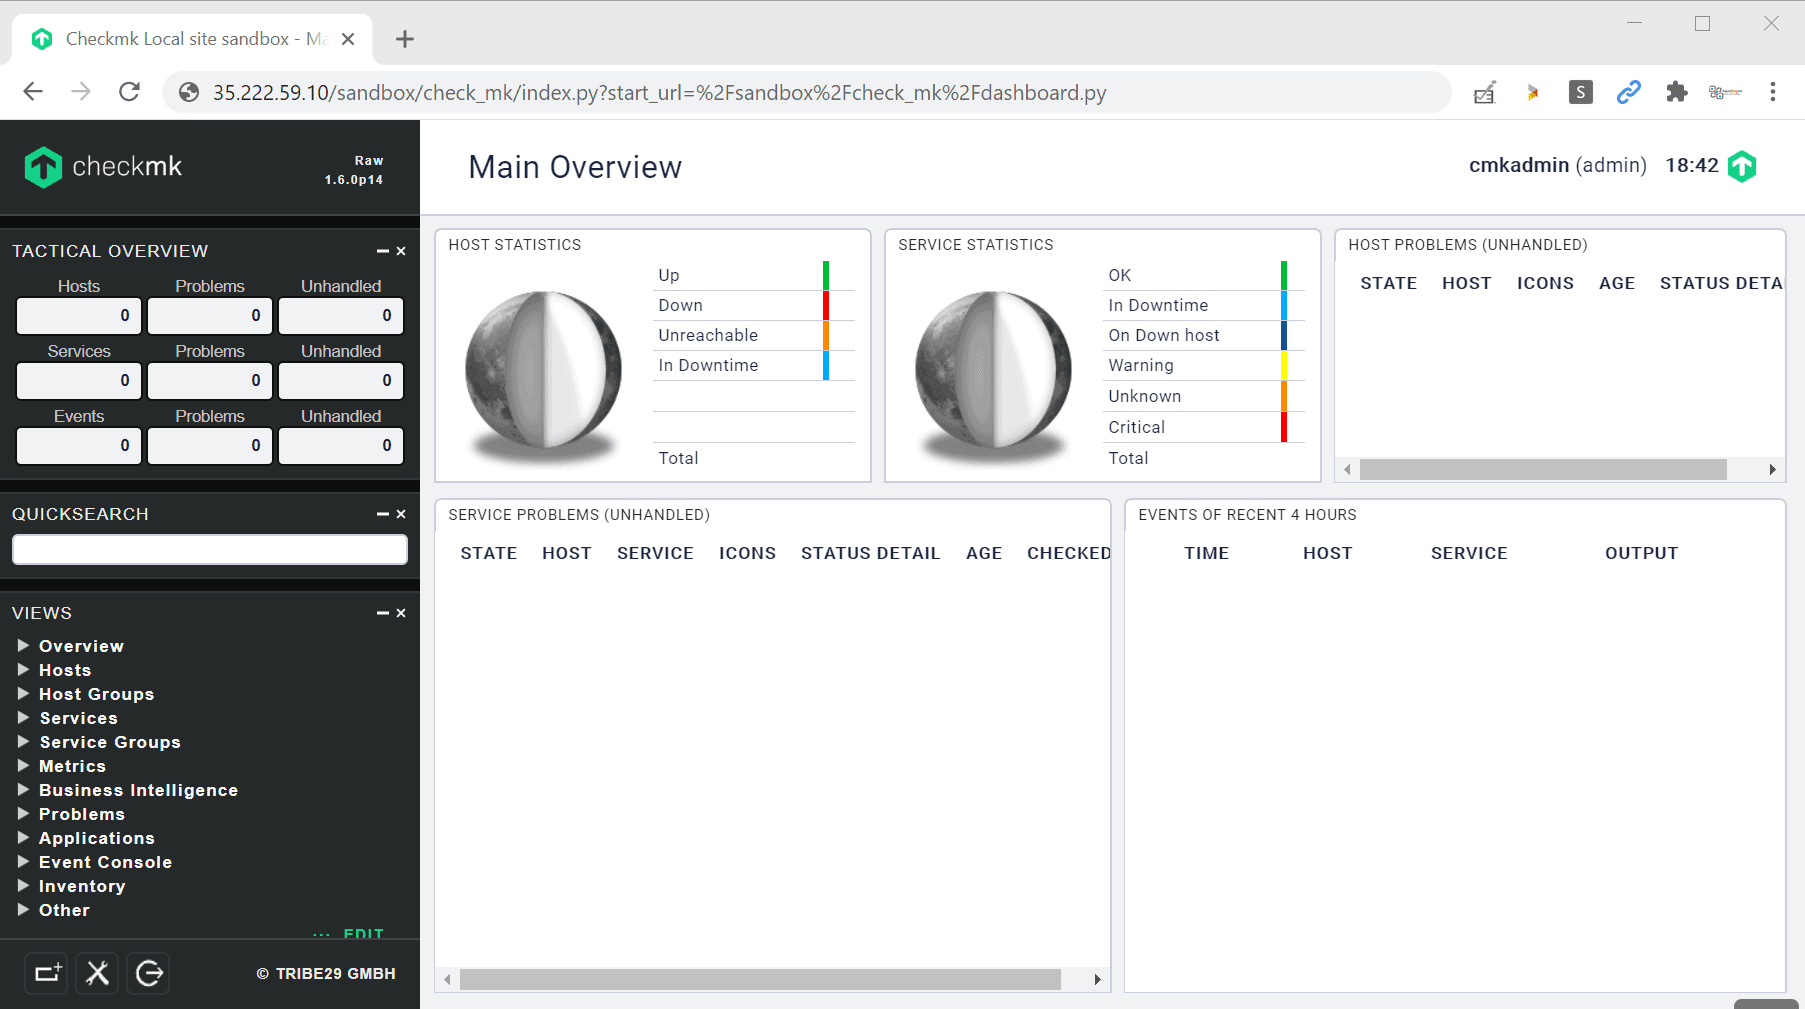
Click the ‘Login’ button to access the dashboard which is shown below.
Step 5) Add a remote Linux host to Checkmk for monitoring
Having successfully installed and set up Checkmk, We are going to demonstrate how you can monitor various hosts. First, we are going to add a Linux host, in this case, a CentOS 8 system, which requires you to install the Checkmk agent.
There are 2 ways to go about this. You can download the Checkmk agent from the server by browsing shown.
http://server-ip/sandbox/check_mk/agents
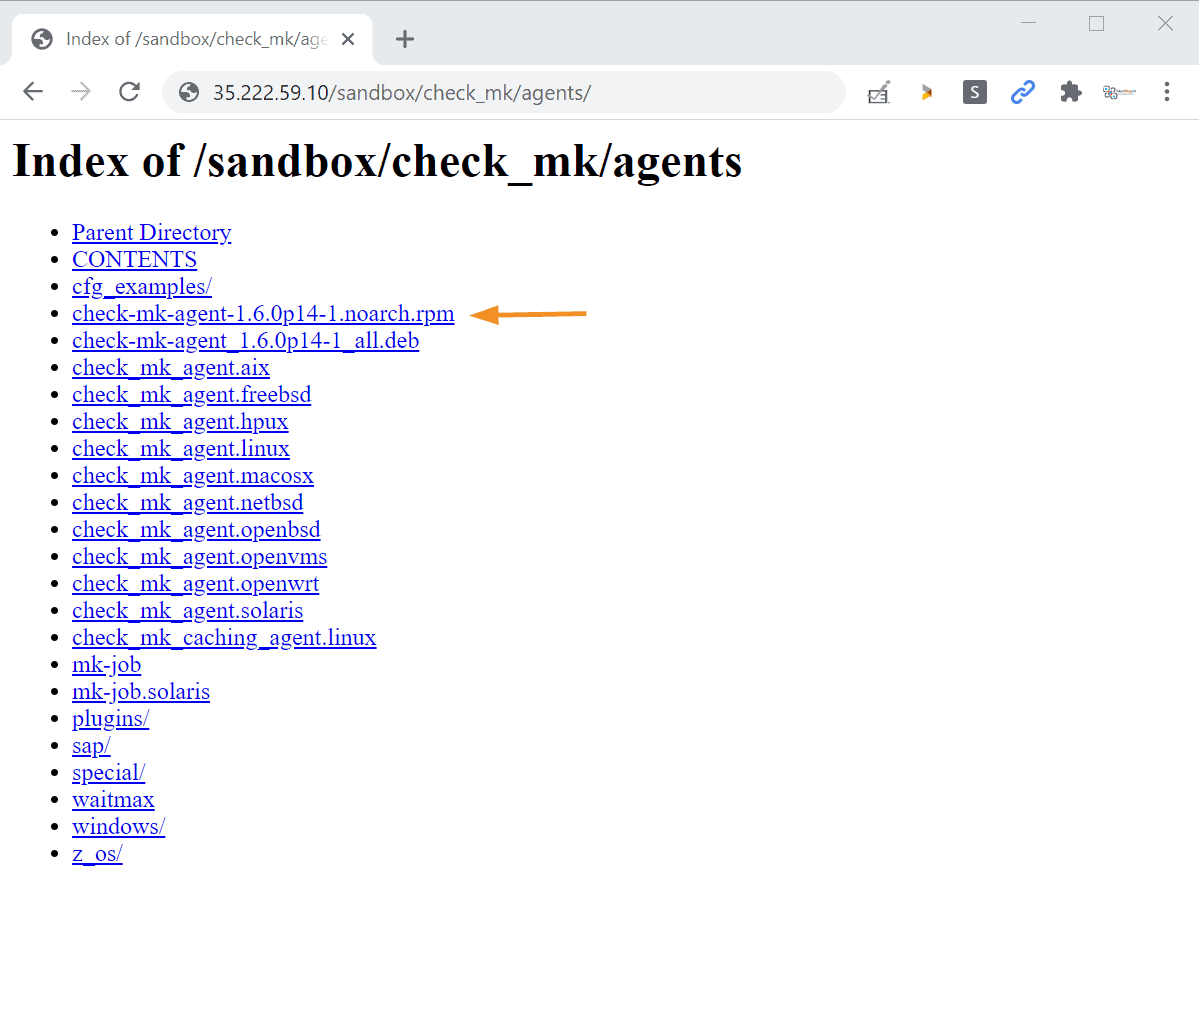
Append the agent’s name to the URL and download using the wget command as shown
$ wget http://server-ip/sandbox/check_mk/agents/check-mk-agent-1.6.0p14-1.noarch.rpm
Replace the server-ip that suits to your setup, in my case it would be ’35.222.59.10’
The other way is to directly download the agent from the official site.
$ wget https://checkmk.com/support/1.6.0p14/check-mk-raw-1.6.0p14-el8-38.x86_64.rpm
Once you have downloaded the agent, install it using the rpm command as shown:
$ rpm -ivh check-mk-agent-1.6.0p14-1.noarch.rpm
Then install xinetd daemon.
$ sudo dnf install xinetd -y
The Checkmk agent listens on port 6556, and so we need to open the port on the firewall so that it can ship the Linux host’s metrics to the Checkmk server.
To open the port and effect the changes on the firewall, run the command:
$ sudo firewall-cmd --permanent --add-port=6556/tcp
$ sudo firewall-cmd --reload
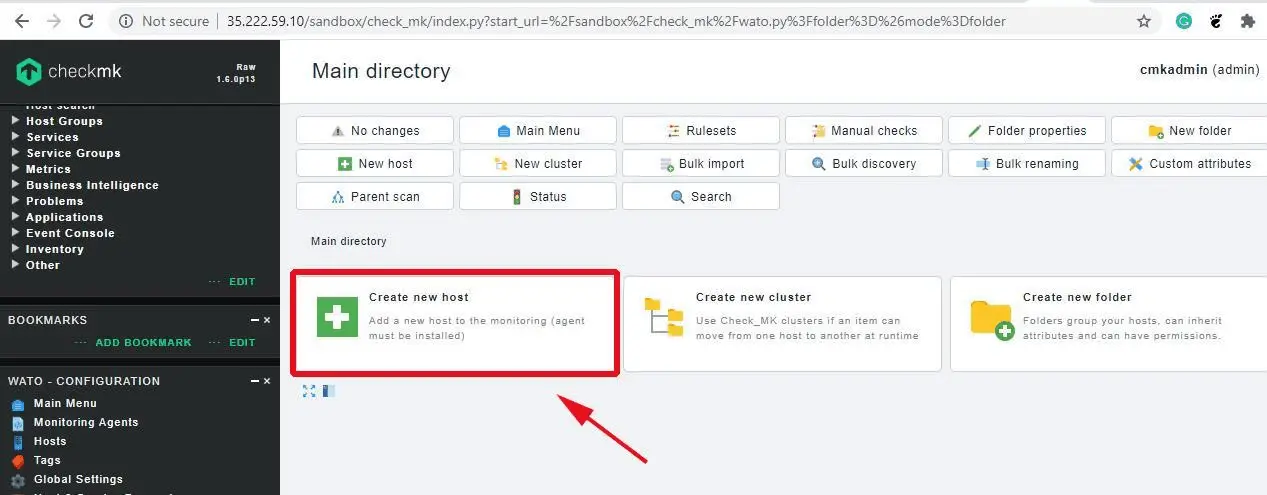
Now head over to the Checkmk dashboard and navigate to ‘WATO Configuration’ –> ‘Hosts’ –> ‘Create New Host’
In the next page, fill out the details of the host such as the hostname, IP address, and remember to check off the checkmk agent checkbox.
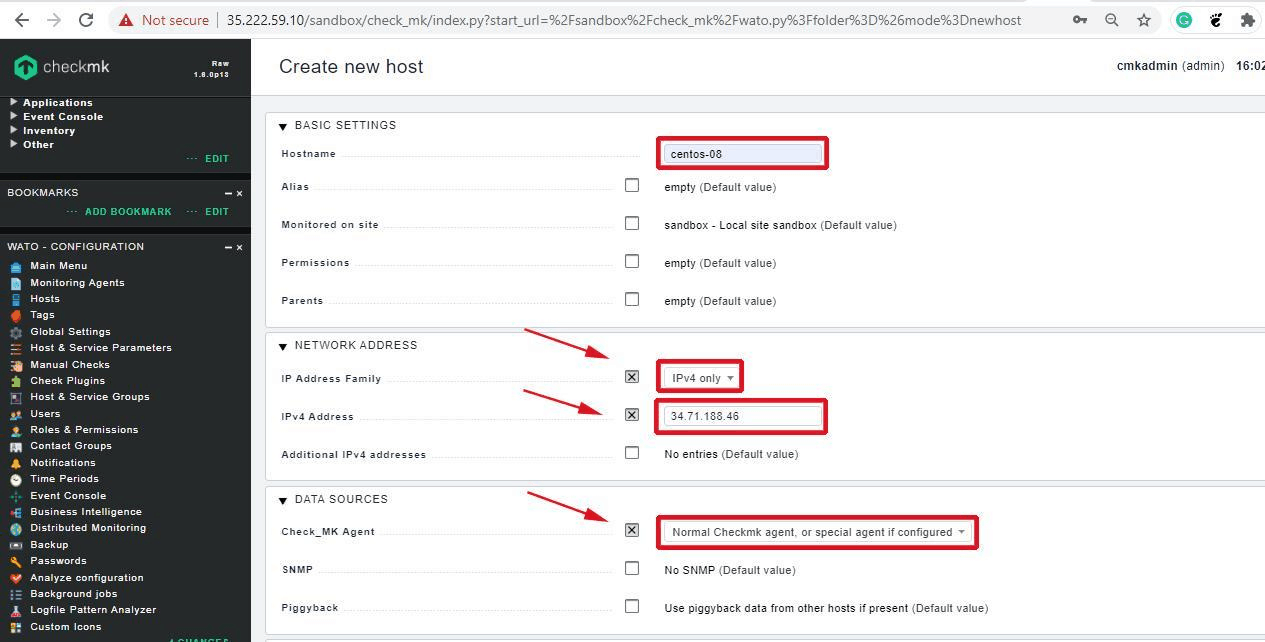
Then click on ‘Save and Finish’

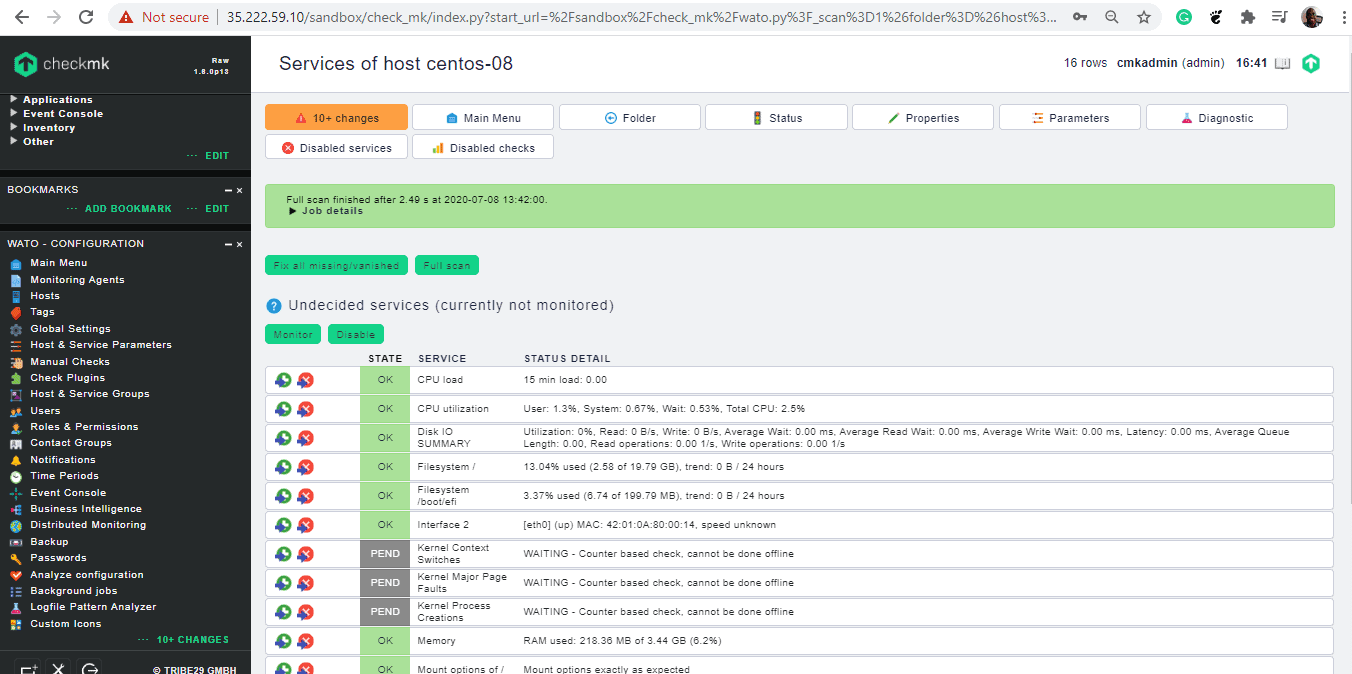
Shortly after, a list of the host’s services will be populated as shown
Let’s now have a look at how you can add a Windows host system.
Step 6) Add a remote Windows host to checkmk for monitoring
Adding a Windows host is very similar to adding a Linux host. To get started, browse the following URL
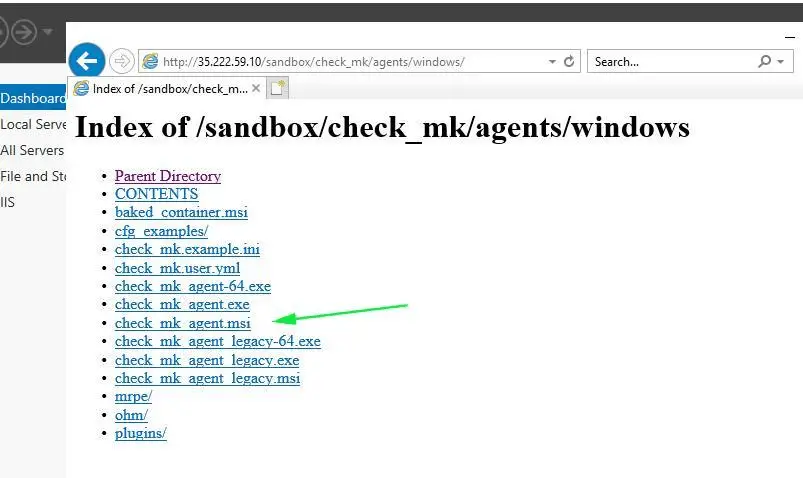
http://server-ip/sandbox/check_mk/agents/windows/
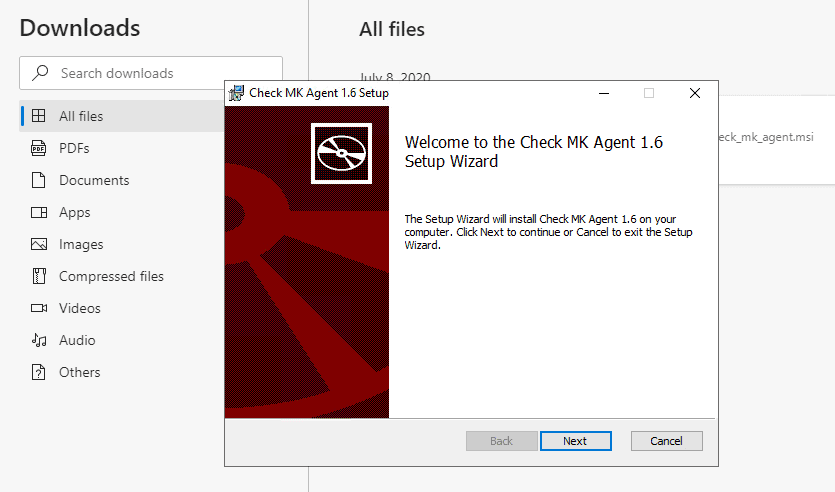
To download the Windows agent, click on either check_mk_agent.msi or check_mk_agent-64.exe package.
Once downloaded, run the installer as shown using the install Wizard.
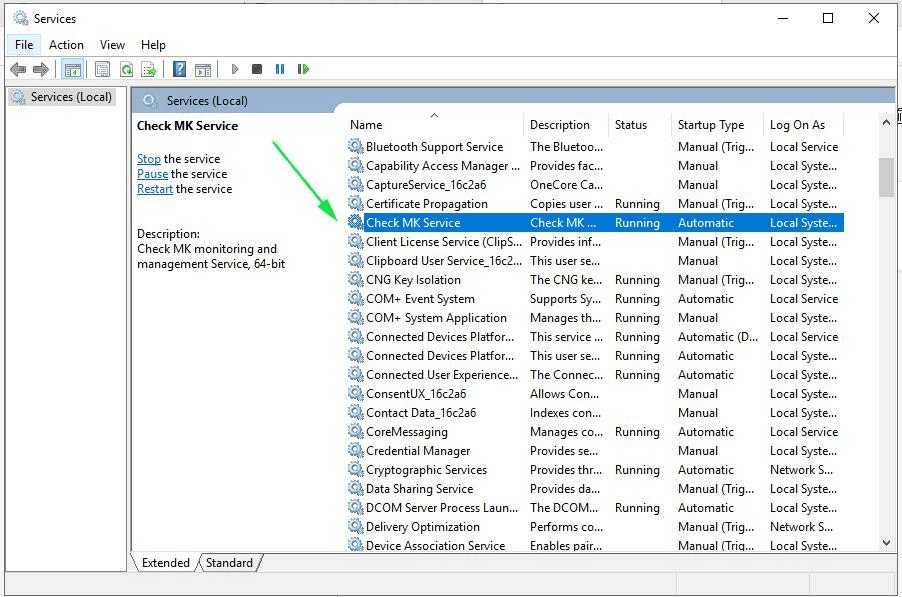
Once done, head over to the services Window and confirm that the agent is running as shown.
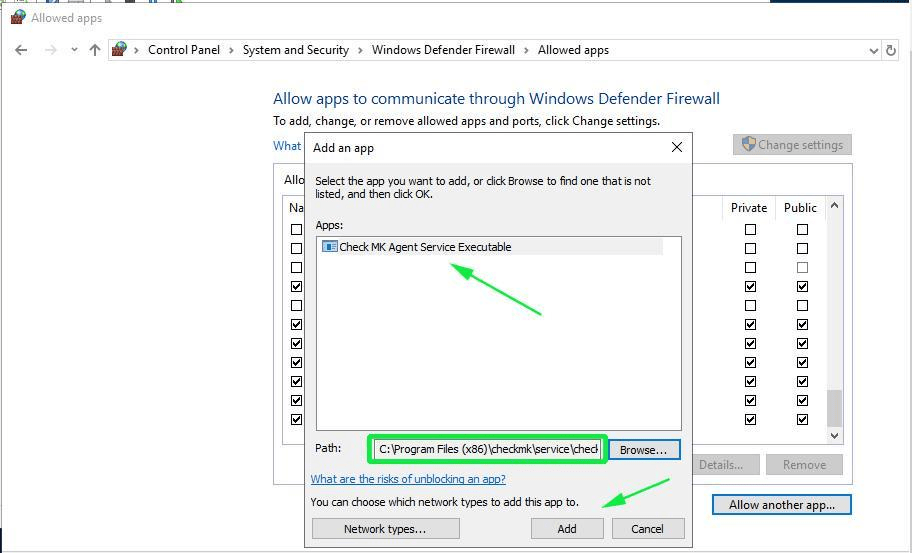
Equally important, ensure that you have allowed the checkmk service across Windows Firewall as shown.
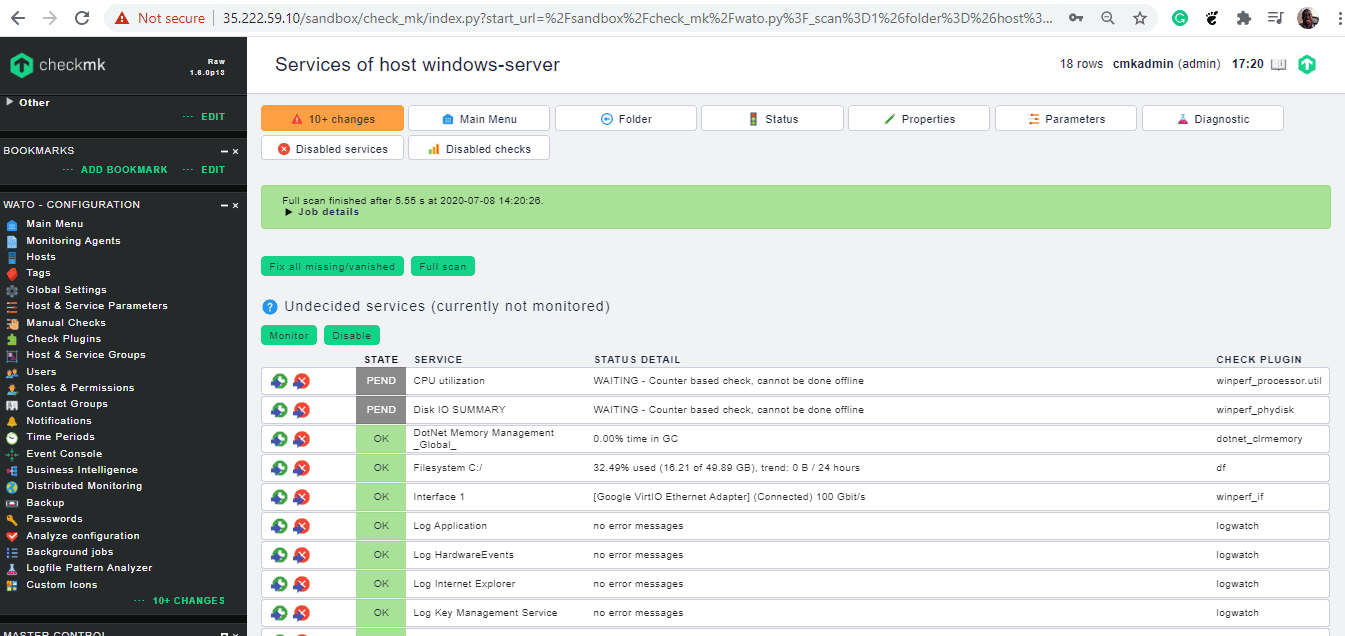
Finally, head over to the Checkmk server and add the Windows host system the same way we added the Linux host. When you are done, the host’s services will be populated as shown,
Awesome! We have managed to install the Checkmk monitoring server and successfully managed to add the Linux and Windows host systems for monitoring. We hope this guide was beneficial. The ball is now in your court. Give it a try and let us know how it went.
Read Also : How to Install Zabbix Monitoring Tool on CentOS 8/RHEL 8


Really Nice One. I searched so many sites finally i got this one . Its cleared all my doubts and successfully installed check mk.