Google Drive is a cloud storage option that provides an excellent backup solution for all your files and folders. We cannot emphasize enough the importance of having backup copies of your files. Anything can happen at any time and when it does, you want to ensure that you are on the safe side and can log in to Google Drive and recover your lost documents.
That said, Having Google Drive sync capability on your Linux PC is of utmost importance. With Google Drive, you will get free 15GB to get you started and thereafter, you will pay according to the amount of space you need to secure your files. In this guide, you will learn different ways that you can use to access Google Drive on your Ubuntu 20.04 LTS Desktop (Focal Fossa).
Mount / Access Google Drive using the Online accounts feature
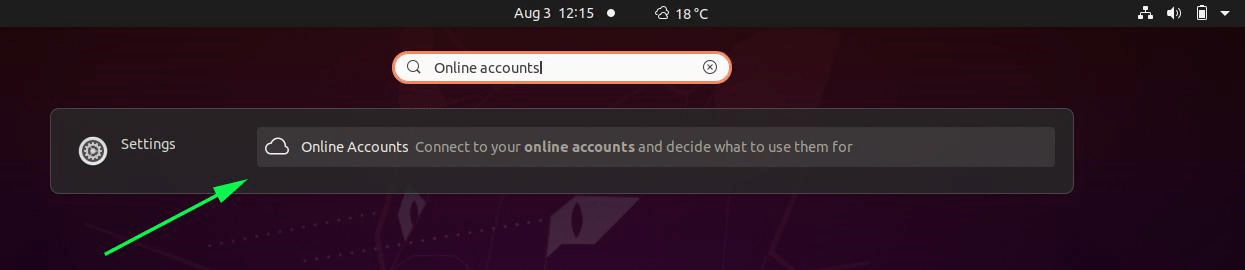
This is by far the easiest way of accessing Google Drive on your system. To start off, search for the ‘Online accounts’ option in the application menu as shown. Then click on the ‘Online Accounts’ option as shown.
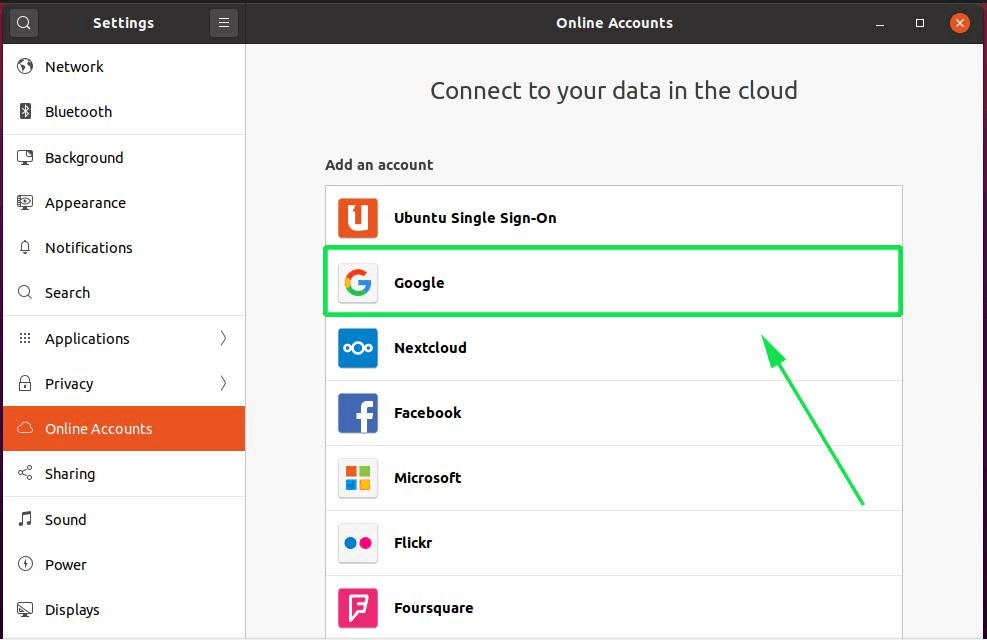
This ushers you to the ‘Online Accounts’ section displaying various options that you can access and connect with. Since we are interested in accessing Google Drive, we will click on the ‘Google’ option as shown:
Next, you will be required to sign into your Google Account, Firstly, provide your Gmail email address.
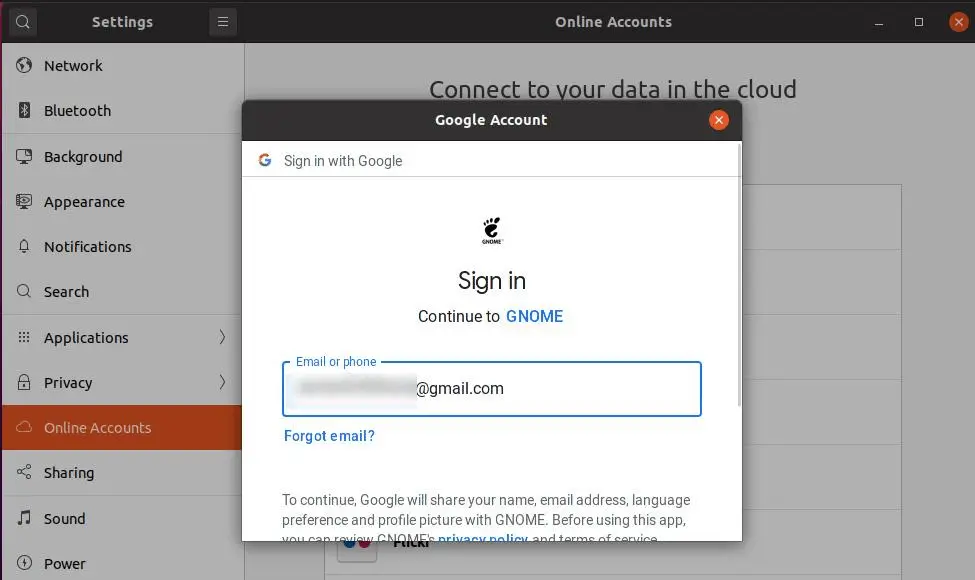
Press the ‘ENTER’ button to proceed to the next step where you will be required to provide your password:
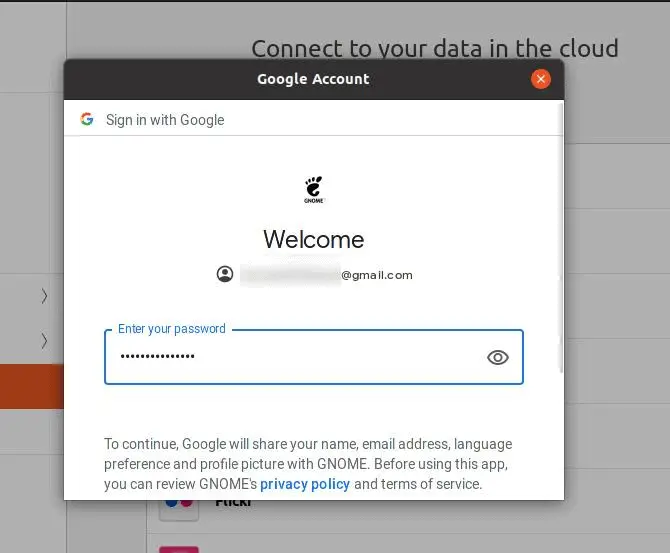
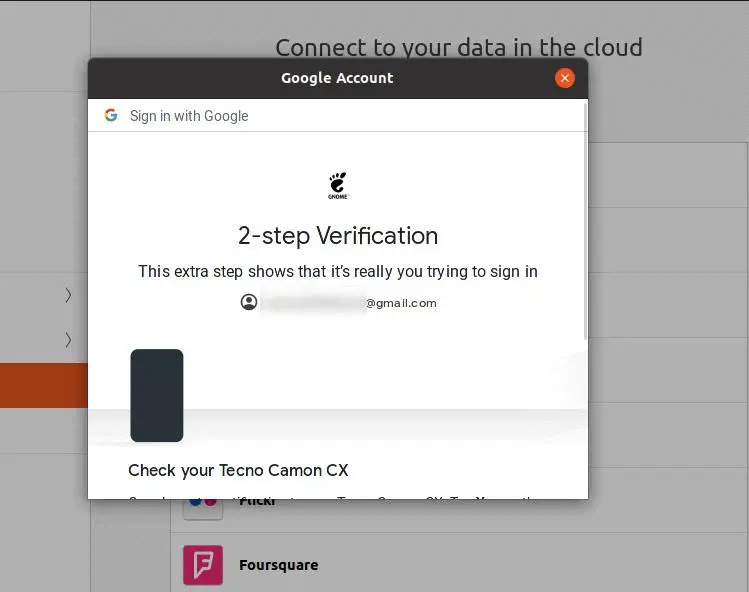
Then press the ‘ENTER’ button. If you have secured your Google Account with a 2-step verification method, you will be required to act accordingly to access your account.
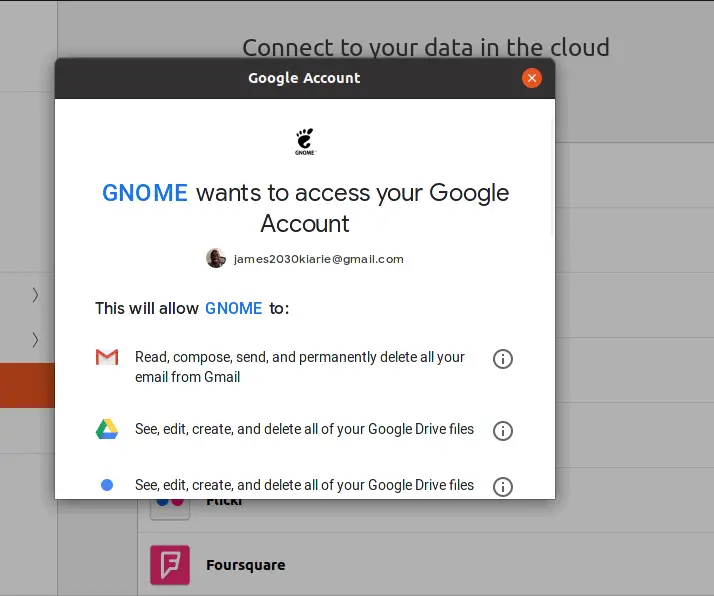
Next, GNOME will request your permission to access your Google Account and gain access to your Gmail account, Google Drive among other things as shown.
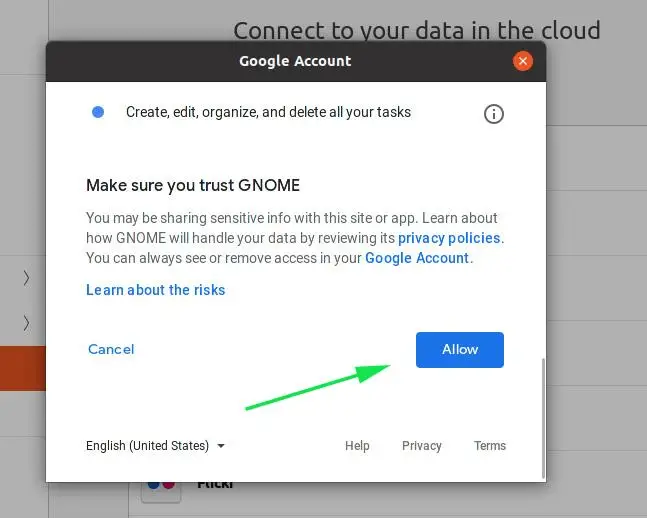
Scroll down and click ‘Allow’
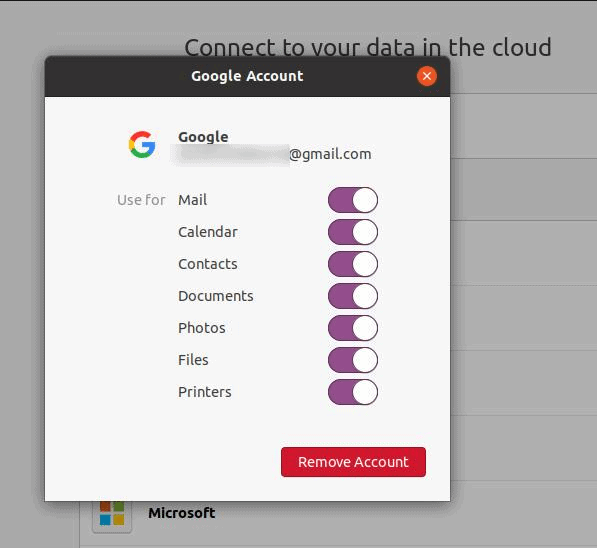
In the next step, you can choose to select the features that you’d want to sync between your PC and your Google account. In this case, I have opted to turn on all the settings.
At this point, your Google account will be attached or associated with this PC. To access your Google Drive directory, head out to the file manager as shown.
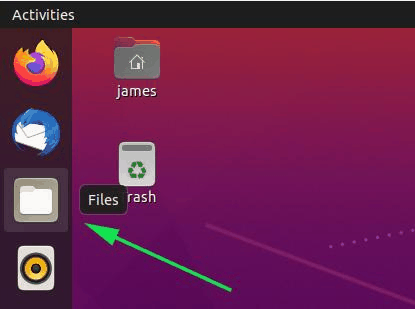
In the ‘Files’ window, scroll down and double-click on the Google Drive icon as shown below to mount the Google Drive folder and access your files and folders.
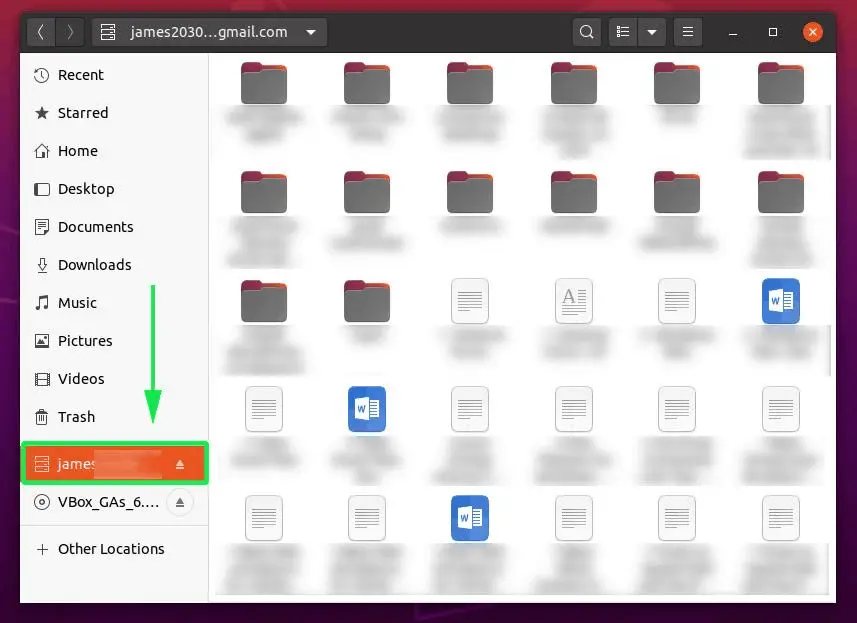
From there, you can copy and paste files to the mounted Google Drive folder and sync with your online Google Drive account. Just place a file on the mounted folder and head over to Google Drive and confirm if it exists.
Access Google Drive using Insyc
Insync is a cross-platform client that allows you to access and manage your Google Drive and OneDrive files and folders straight from your PC. It’s free for 14 days upon which you will be required to pay according to your preferred subscription.
To get started, head out to Insync downloads page
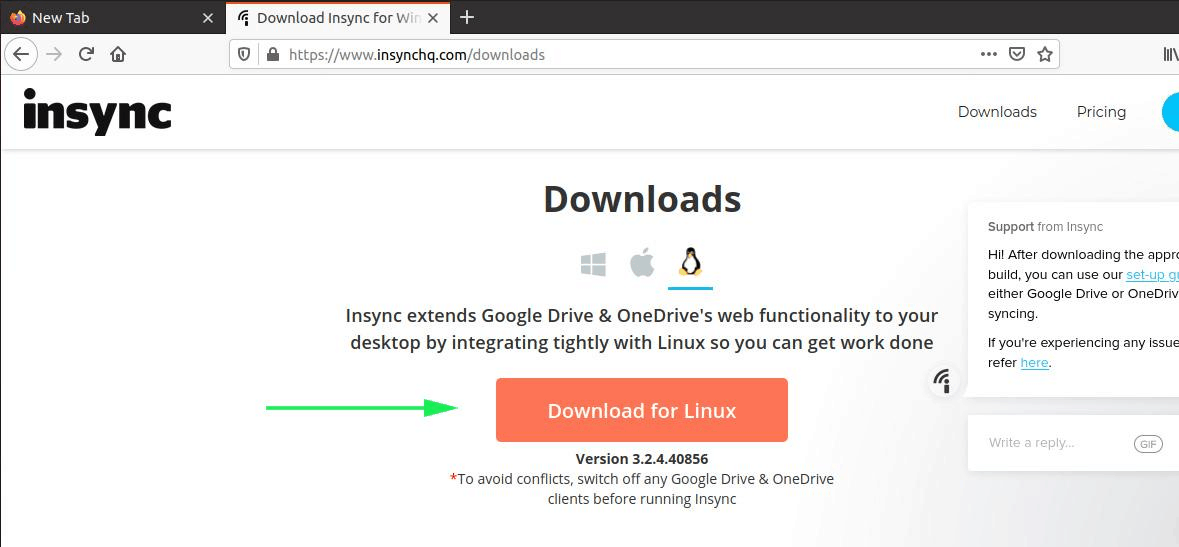
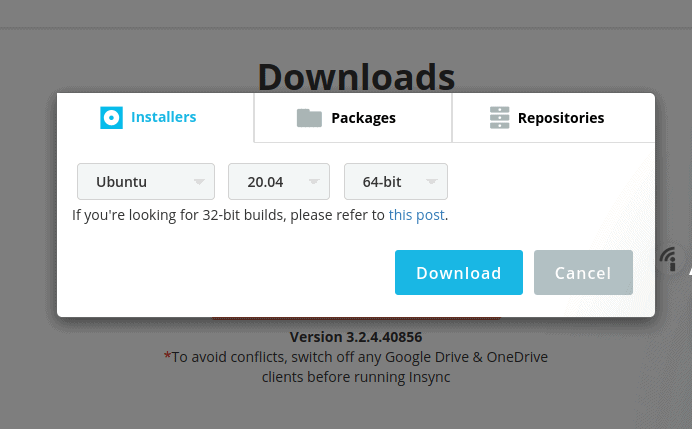
Select to download the Linux Debian package that corresponds to Ubuntu 20.04.
Once you have downloaded the Debian package, install Insync by executing the command shown:
$ sudo dpkg -i isync_3.2.4.40856-focal_amd64.deb

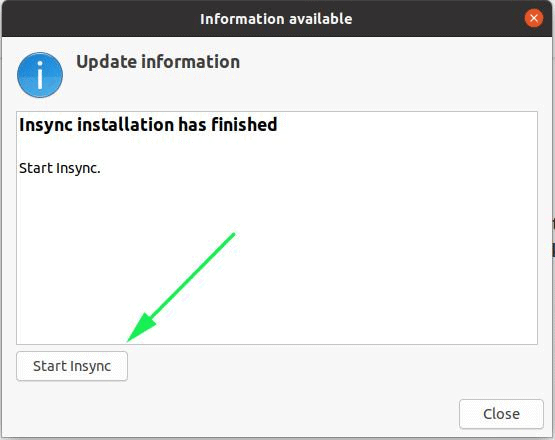
Upon successful installation, the following pop-up will be displayed on your screen. To launch the application, click on the ‘Start Insync’ button.
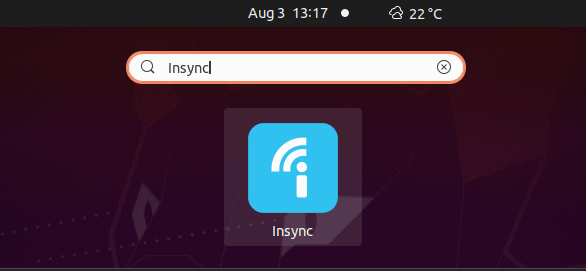
Alternatively, you can search for it using the application menu as shown:
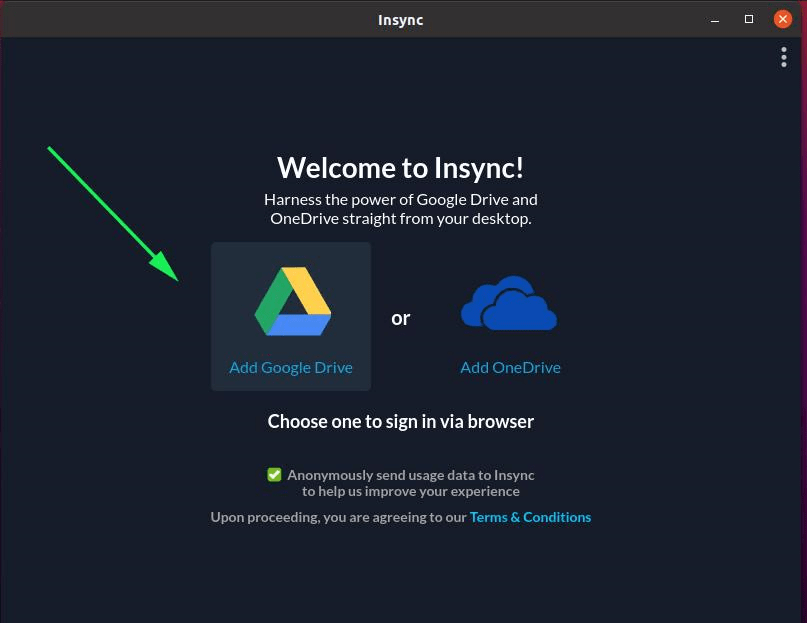
Insync will present you with two options: either to add Google Drive or One Drive. In this case, select ‘Add Google Drive’ option as shown.
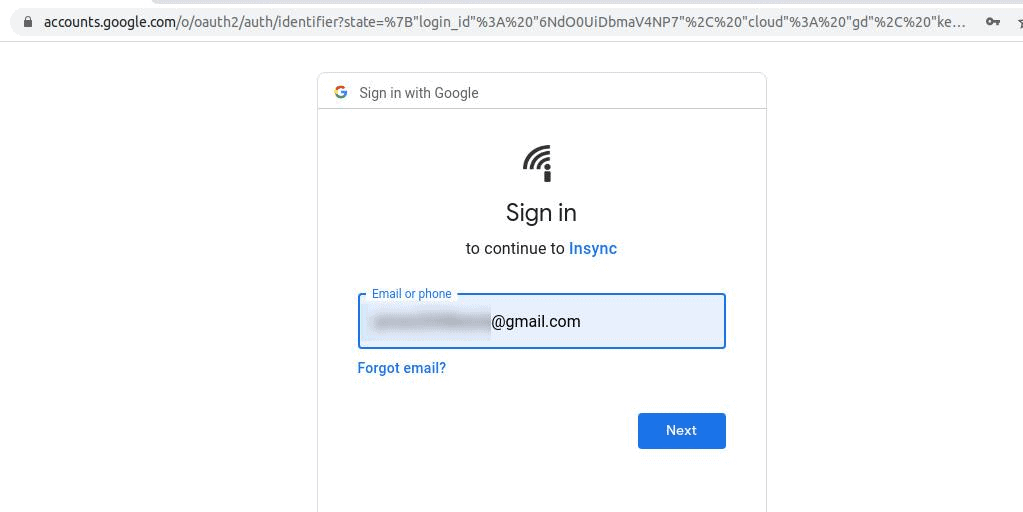
In the next 2 steps, you will be required to sign in to your Gmail account. First, provide your email address and hit ‘ENTER’ or click ‘Next’.
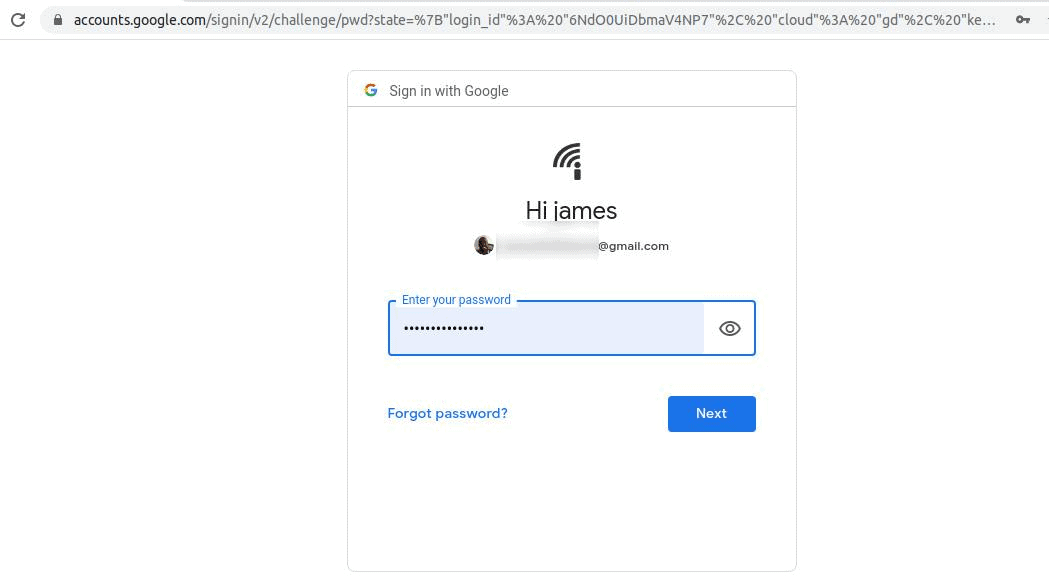
Next, provide the corresponding password to your Gmail account.
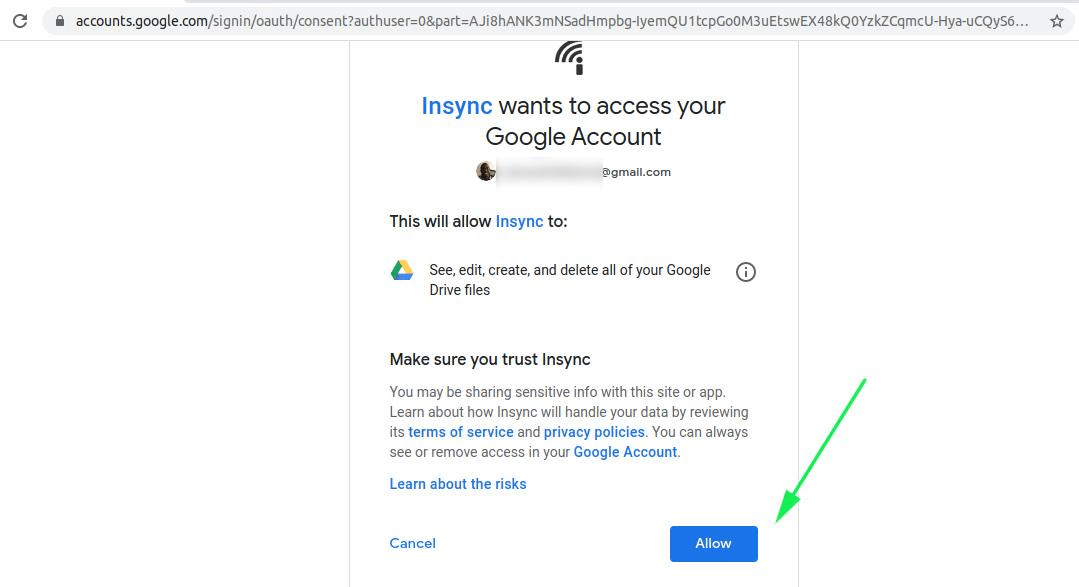
Thereafter, allow Insync to have access to your Google Account by clicking on the ‘Allow’ button.
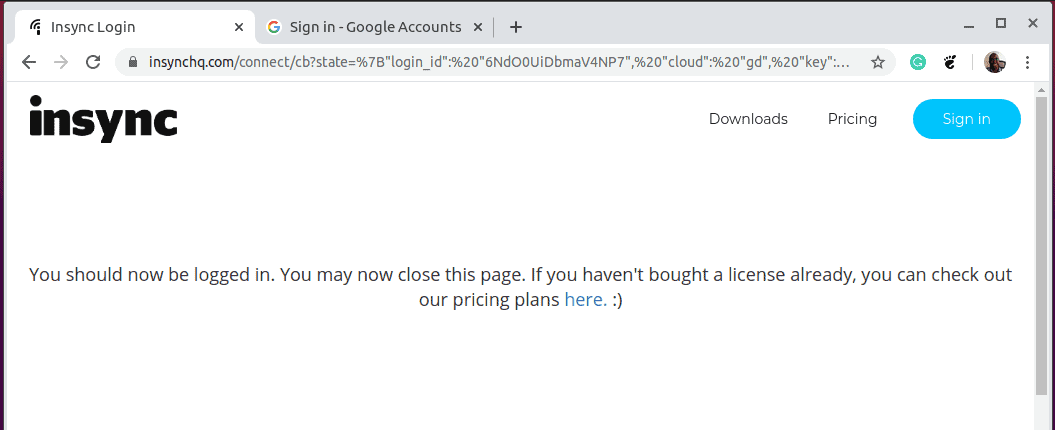
If the credentials are all good, you will get the notification below on your web browser.
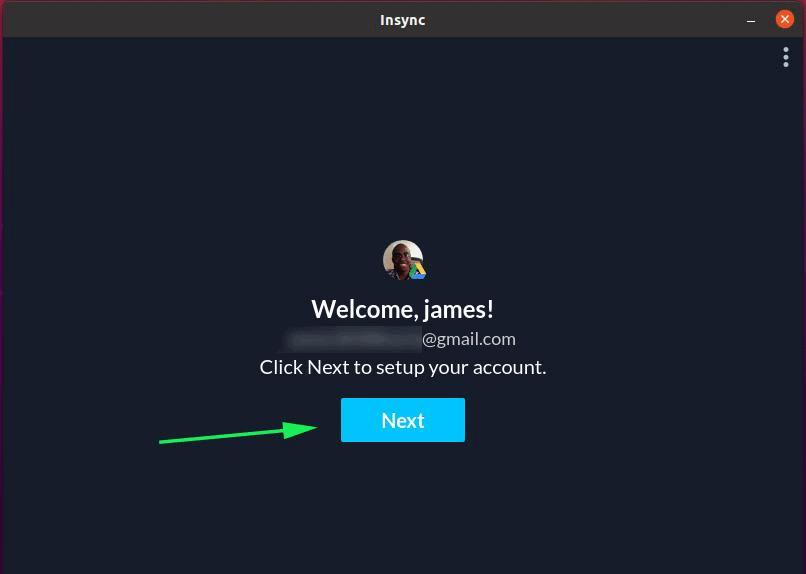
Exit the browser, and head back to Insync client. Click on the ‘Next’ button as shown.
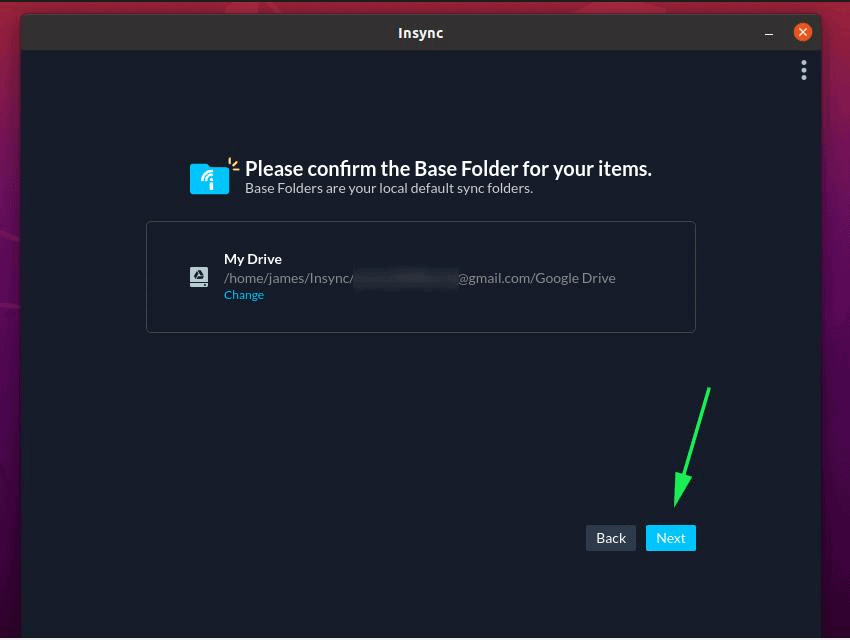
By default, Insync will suggest the base folder for your Google Drive location on your PC. IF you are okay with the default selection, click on the ‘Next’ button. Otherwise, if you prefer to define your own path, click on the ‘change’ button.
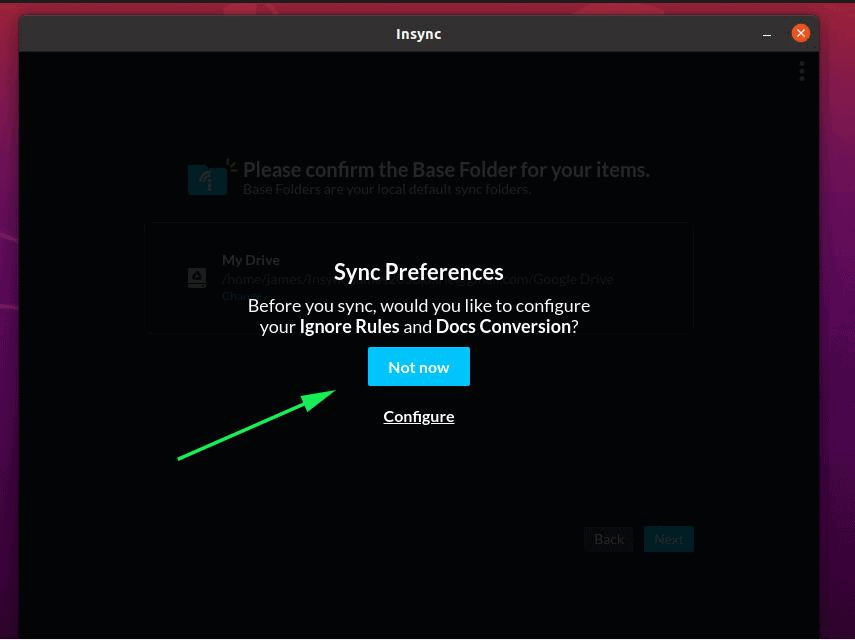
The next selection gives you an option to start syncing your files immediately or to perform additional steps. For now, simply click ‘Not now’
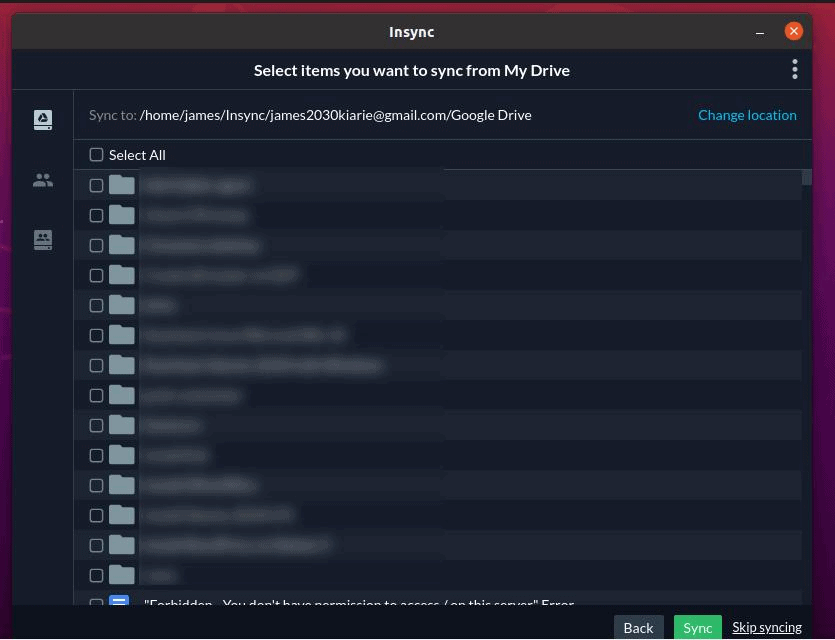
And finally, the Google Drive folder will be attached or mounted to your PC and you will have access to all your files and folders as shown. You can either upload or download files and the changes will be synced on your online Google Drive account.
Final thoughts
As you have seen, mounting Google Drive on your PC is quite an easy and straight forward task and just takes a few steps to have Google Drive mounted on your system. As always, it’s recommended to upload or copy crucial files onto the Google Drive folder for backup purposes such that if your PC crashes, you can always log in to your Google account and retrieve your files.
All method need internet to access the file, not truly sync like Dropbox. Any free method??
You can use FreeFileSync. Not exactly like Dropbox, you need to push a button to syncronize. But gets the work done.