In this guide, we will explain how to install VirtualBox guest additions on Ubuntu 24.04 LTS system.
As we know VirtualBox is a free and open-source virtualization tool for Linux and Windows desktop, in order to enhance the performance and usability of virtual machine (VM), it is recommended to install VirtualBox guest additions.
It offers additional functionalities to your guest VM like seamless shared clipboard, mouse pointer synchronization, and improved display resolution.
Prerequisites
- Pre-Install Ubuntu 24.04 Instance on VirtualBox
- A Local User with sudo rights
- Internet connectivity
Without any delay, let’s jump into the installation steps of VirtualBox guest additions on Ubuntu 24.04.
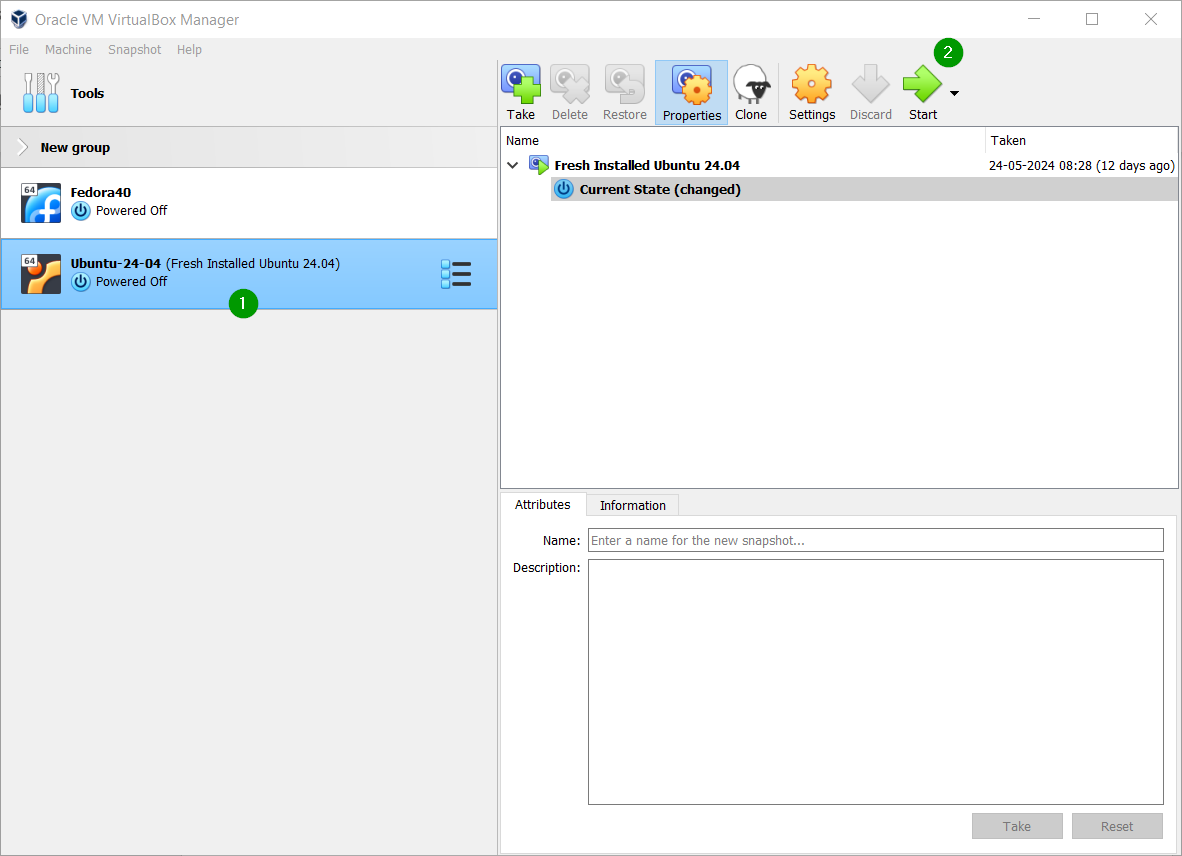
1) Start Your Ubuntu 24.04 VM
From the VirtualBox GUI, start your Ubuntu 24.04 VM as shown below,
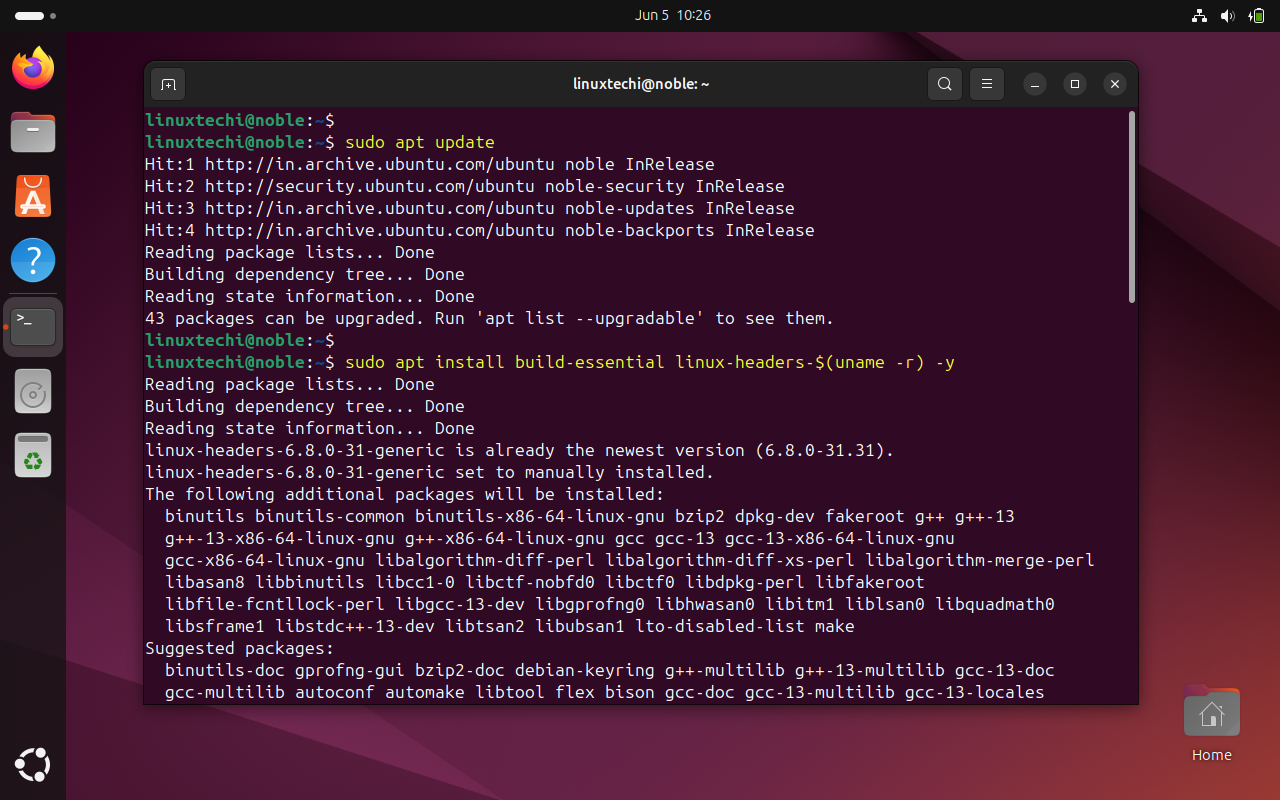
2) Install Required Packages
Login to your Ubuntu system and open the terminal and run following apt commands to install required packages for VirtualBox guest additions.
$ sudo apt update
$ sudo apt install build-essential linux-headers-$(uname -r) -y
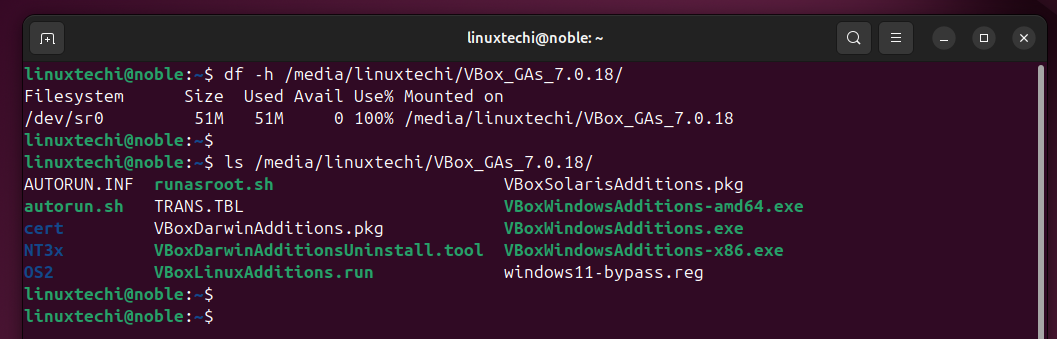
3) Insert Guest Additions CD Image
In VirtualBox GUI, go to the menu bar and select Devices > Insert Guest Additions CD Image.
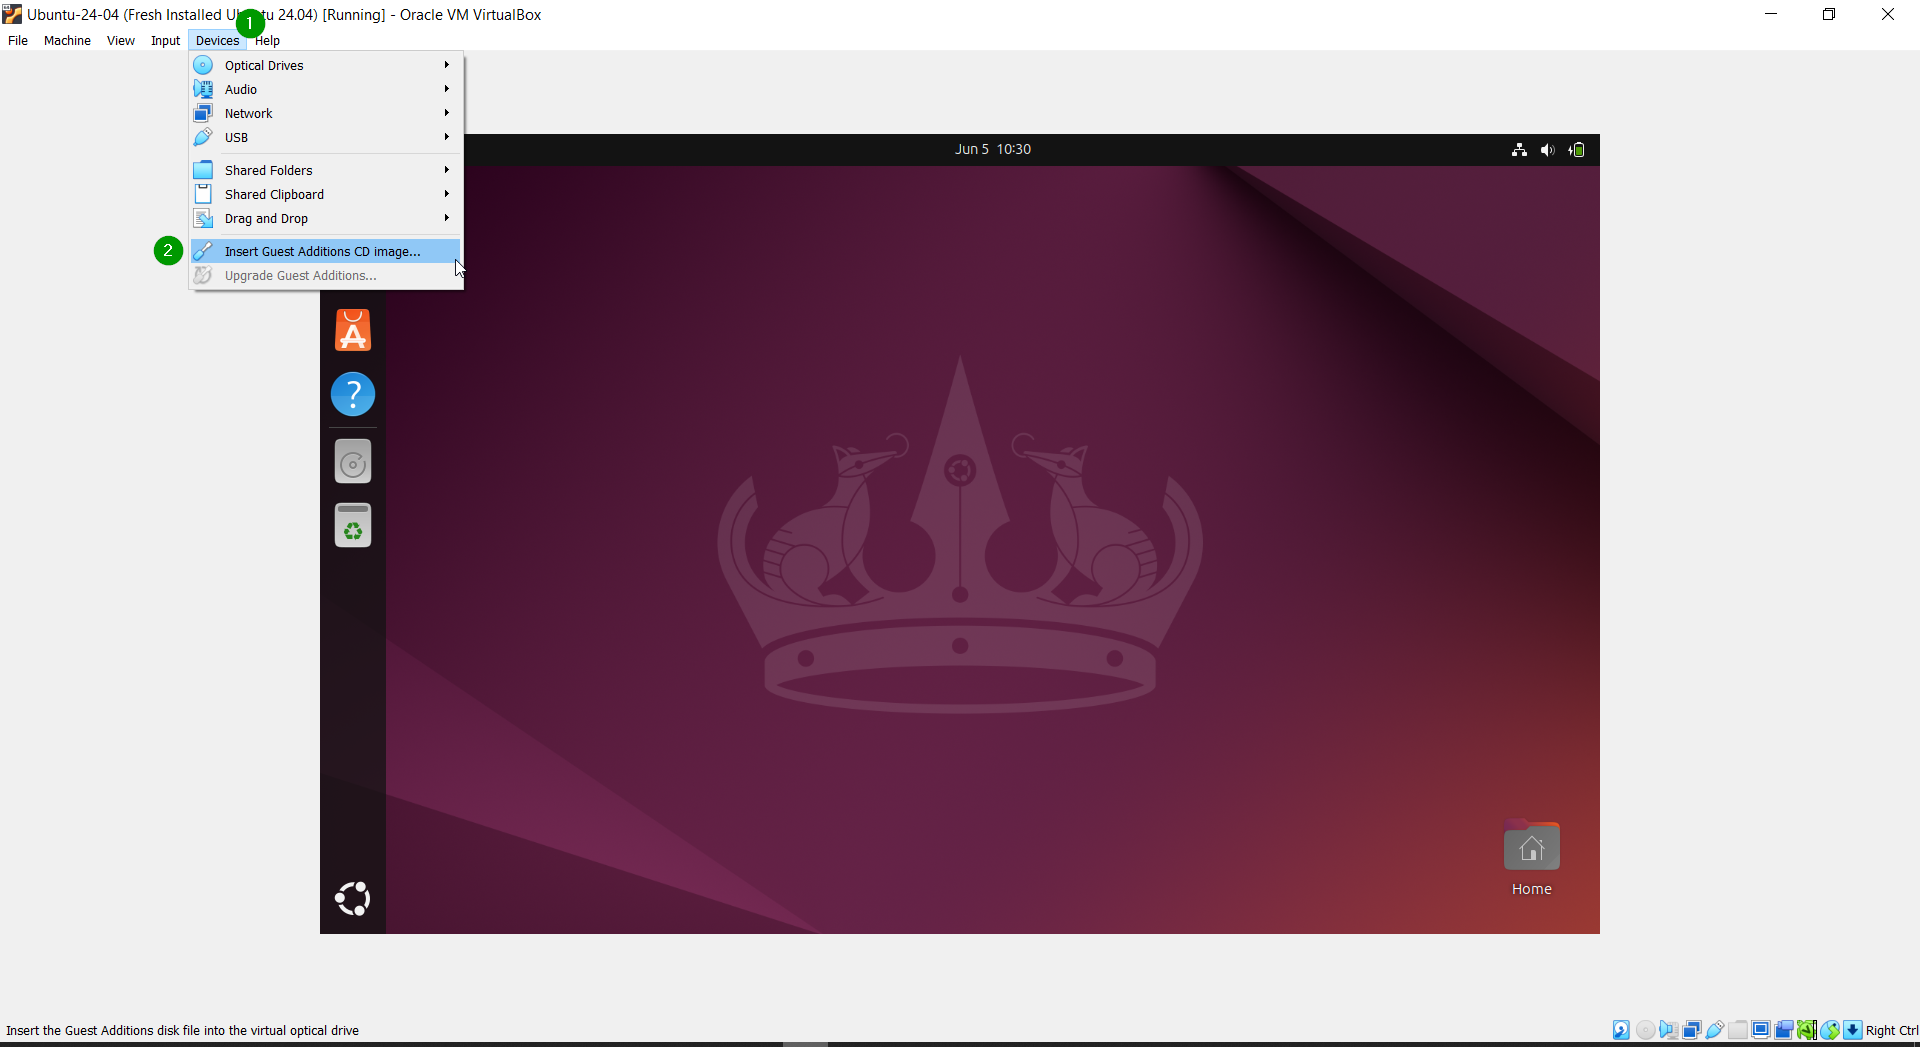
When we click on “Insert Guest Additions CD Image” then it will mount the Guest Additions ISO file under “/media/$USER/VBox_GAs”.
4) Install VirtualBox Guest Additions on Ubuntu 24.04
To install virtualBox Guest additions, run the script “VBoxLinuxAdditions.run”
$ cd /media/linuxtechi/VBox_GAs_7.0.18/
$ sudo ./VBoxLinuxAdditions.run
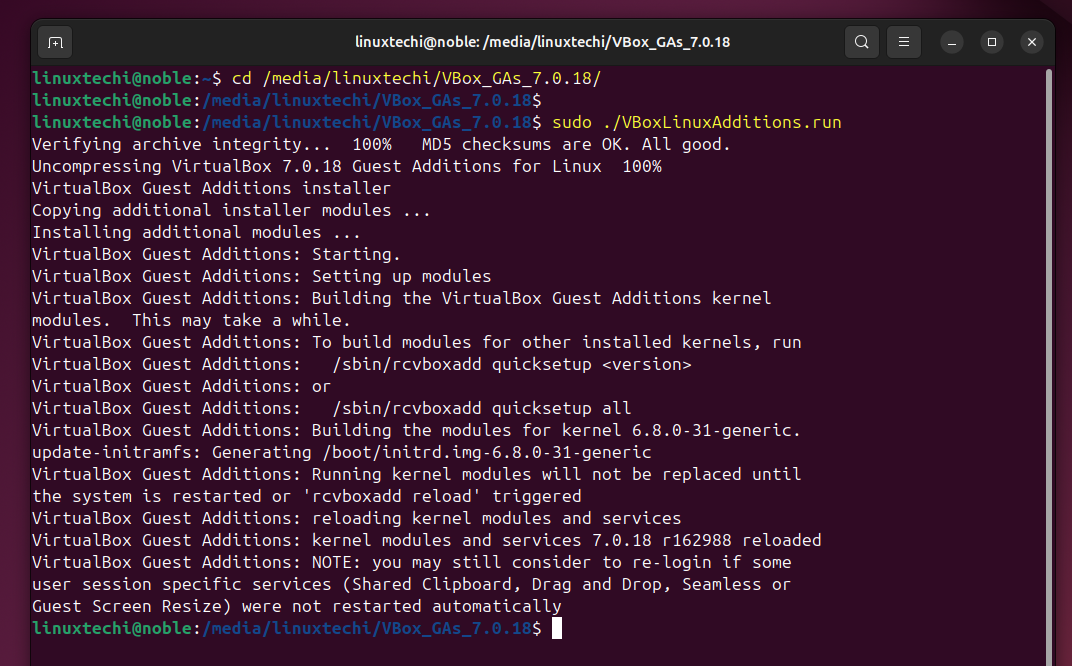
The script will compile and install the guest additions. During this process, you might see several messages indicating the compilation of kernel modules.
5) Reboot Your VM
Once virtualbox guest additions are installed successfully, reboot your VM to make above changes into the affect.
$ sudo reboot
Post reboot you will see that display resolution and graphics will change automatically when you try to resize the screen.
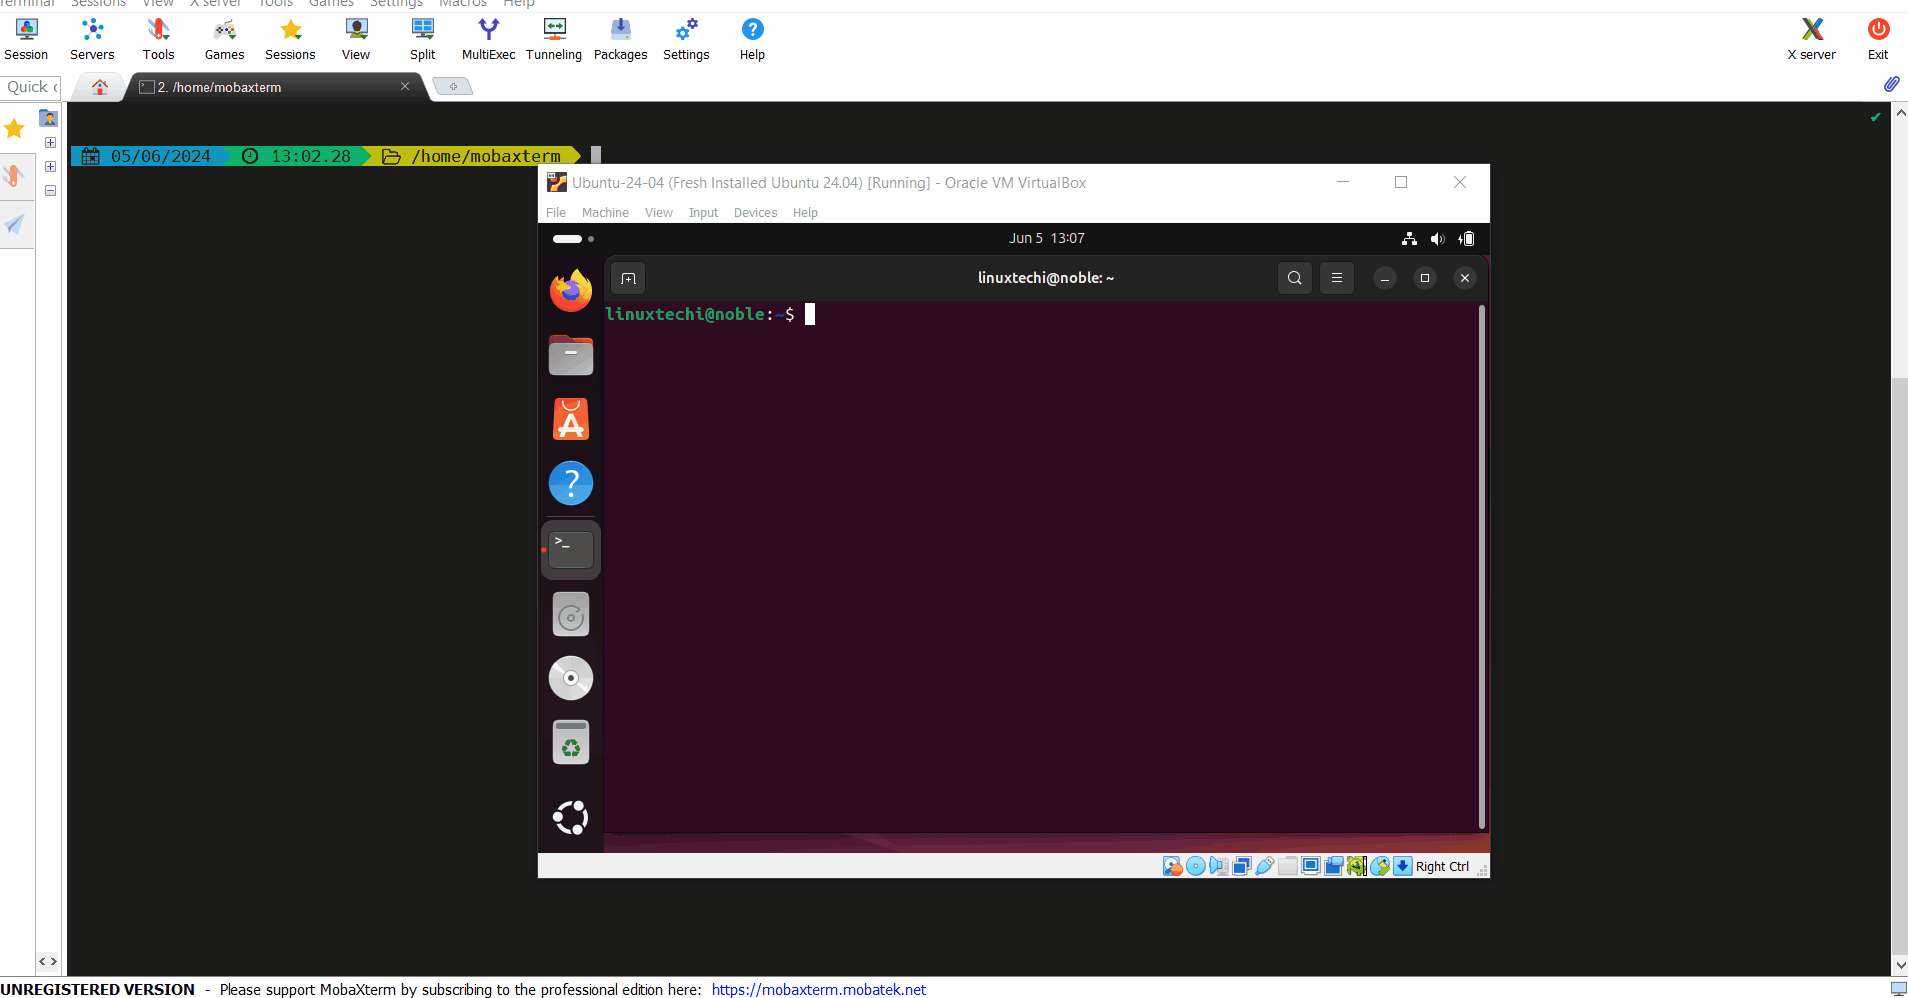
Perfect, above screen confirms that we have successfully installed VirtualBox guest additions on Ubuntu 24.04 VM.
That’s all from this guide, we hope you have found it informative and useful. Feel free to post your queries and feedback in below comments section.