Good News for the Linux Mint users is that the latest version of Linux Mint 18 along with Cinnamon and Mate desktop environment has been released on 30th June 2016. Code name for Linux Mint 18 is “Sarah” and it is released under Long Term Support(LTS) and will get support until 2021. Some of the new features noticed in Linux Mint 18 are listed below :
- Linux Mint 18 released with two Desktop Environments : Cinnamon and Mate
- Latest version of Cinnamon Desktop “3.0”
- New Kernel Version 4.4
- Introduction of X-Apps which will allow users to use applications which are based on traditional GTK desktop.
- Improved Xed(default text editor) and Xviewer (Image viewer)
- Xreader – PDF and document viewer software.
- Xplayer – Default multimedia player based on Totem
- Improved Artwork (default theme)
In this article we will walk through “Linux Mint 18 Cinnamon” installation steps along with the screen shots.
System requirements to Install Linux Mint 18
- Minimum of 512 MB RAM though recommended size is 1 GB
- Minimum of 9 GB of Disk Space to install OS though 20 GB is recommended
Step:1 Download Linux Mint 18 Cinnamon ISO file.
Download the ISO file of Linux Mint 18 Cinnamon (32-bit / 64-bit) depending on your system architecture from the official site:
https://www.linuxmint.com/download.php
Burn the downloaded ISO file either into USB or DVD to make the bootable media
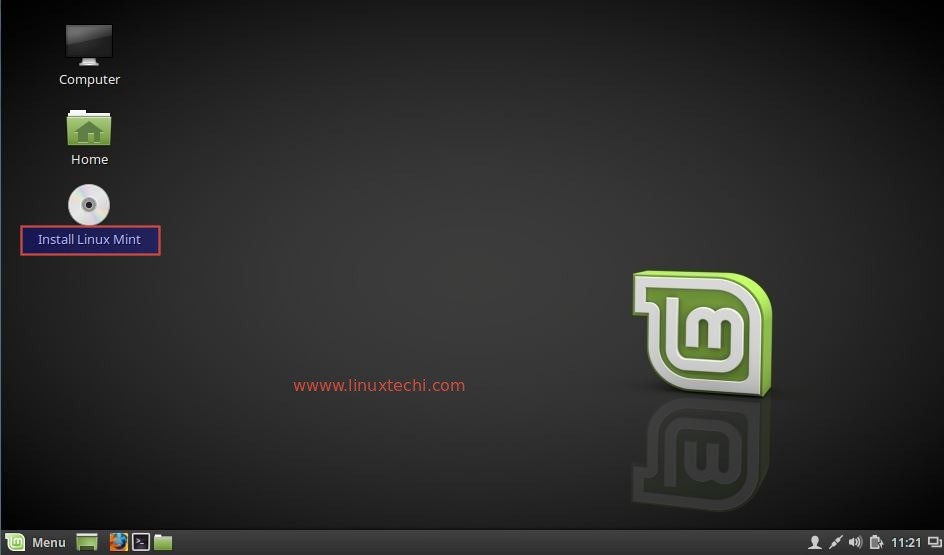
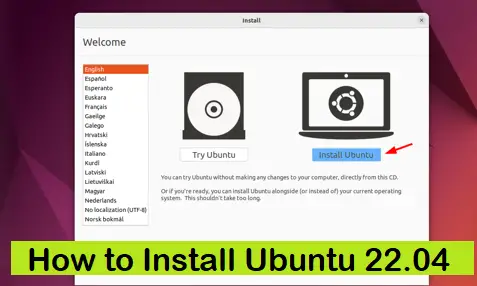
Step:2 Boot your System with Bootable Media (USB or DVD)
Click on Install Linux Mint
Step:3 Select the Language as per your setup
Select the language which will be used during the installation.
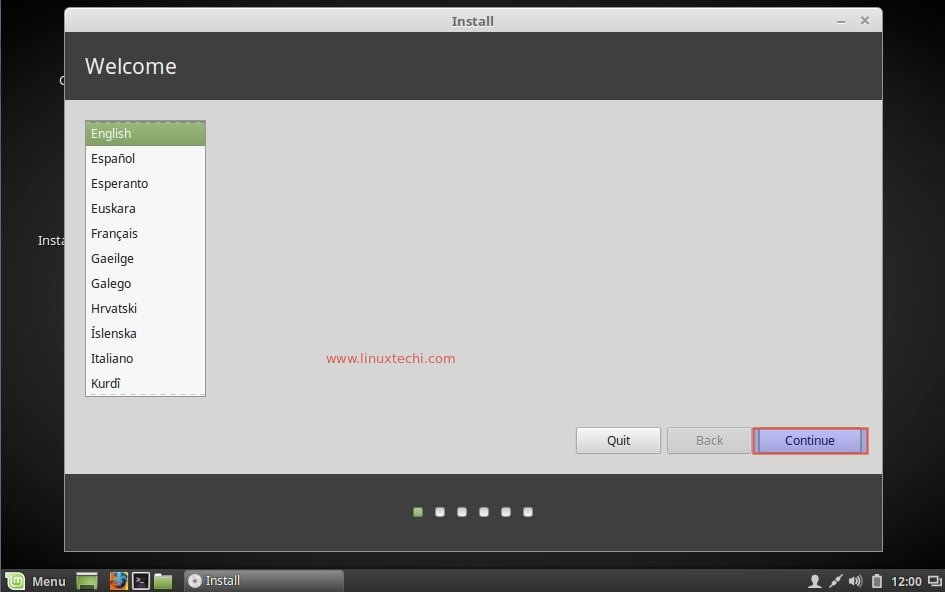
Click on Continue to proceed further
Step:4 Install third party software like Multimedia, flash and Wi-Fi Drivers.
In case your system is connected to Internet then you should select option to install third party software.
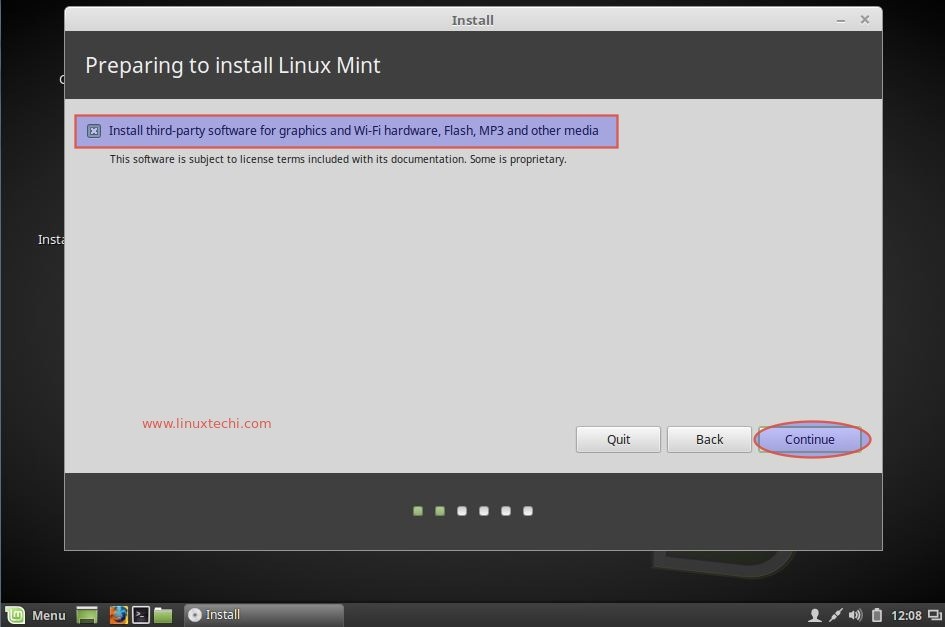
Click on Continue….
Step:5 Select the Installation type
In this step select the installation as per the requirement. If you want install OS with the default partition table then select the first option “Erase disk and Install Linux Mint”
If you want to encrypt the disk during installation and want LVM based partitions then select second and third option.
If you want to create your own customize partition scheme, then select the last option “Something else”. In this tutorial i will be creating my own customize partition scheme.
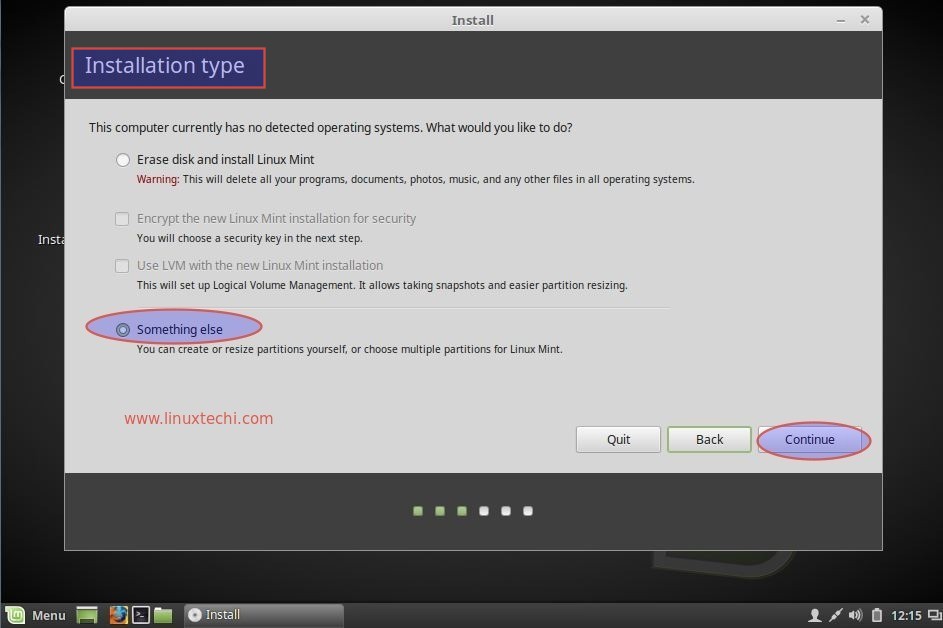
Click on Continue..
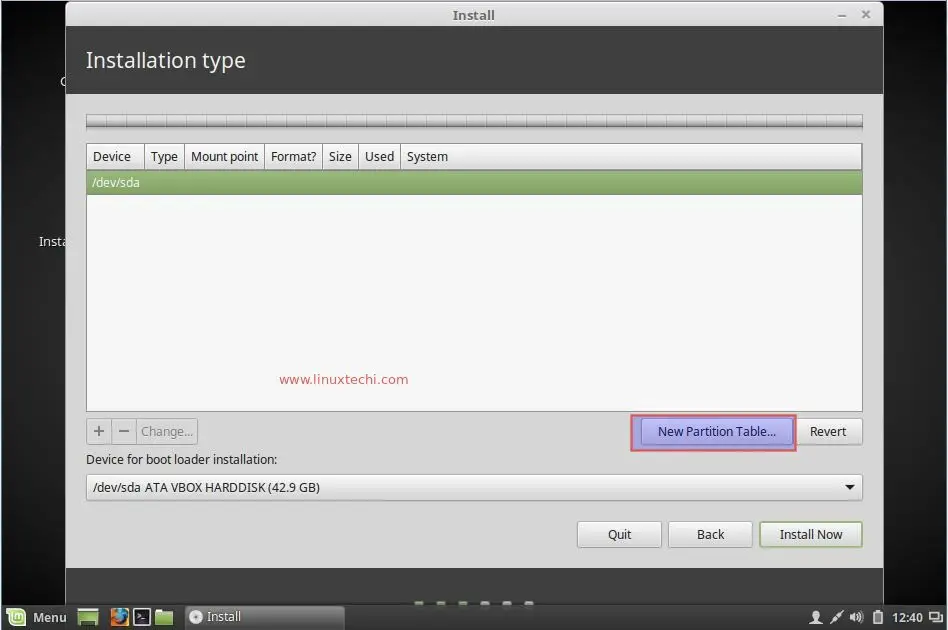
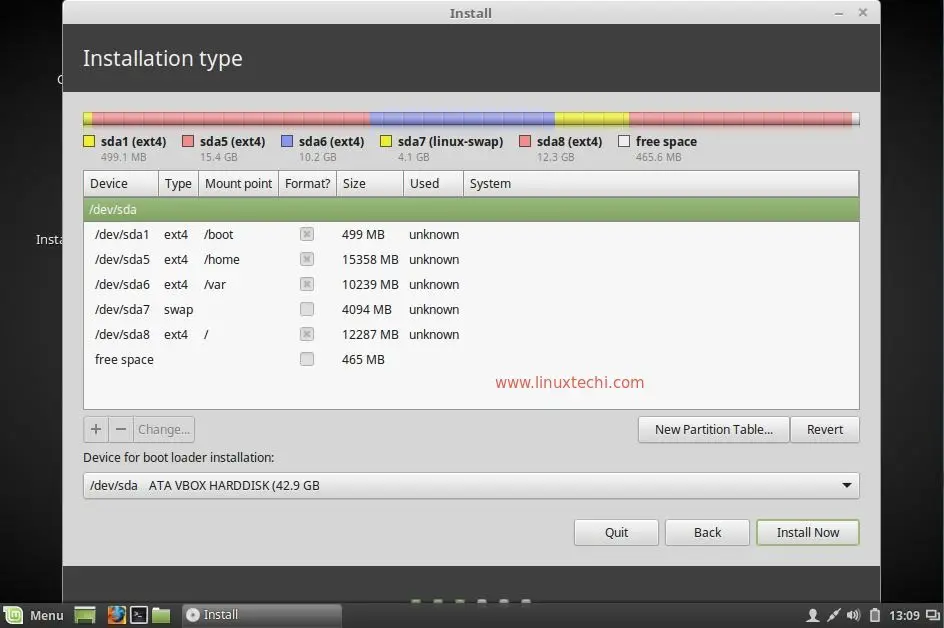
Step:6 Create Customize Partition table as per disk size.
In my case I have around 42 GB disk space for the OS installation and will create following partitions.
- /boot = 500 MB (ext4 file system)
- /boot/efi = 200 MB (This partition is required when your system has UEFI firmware)
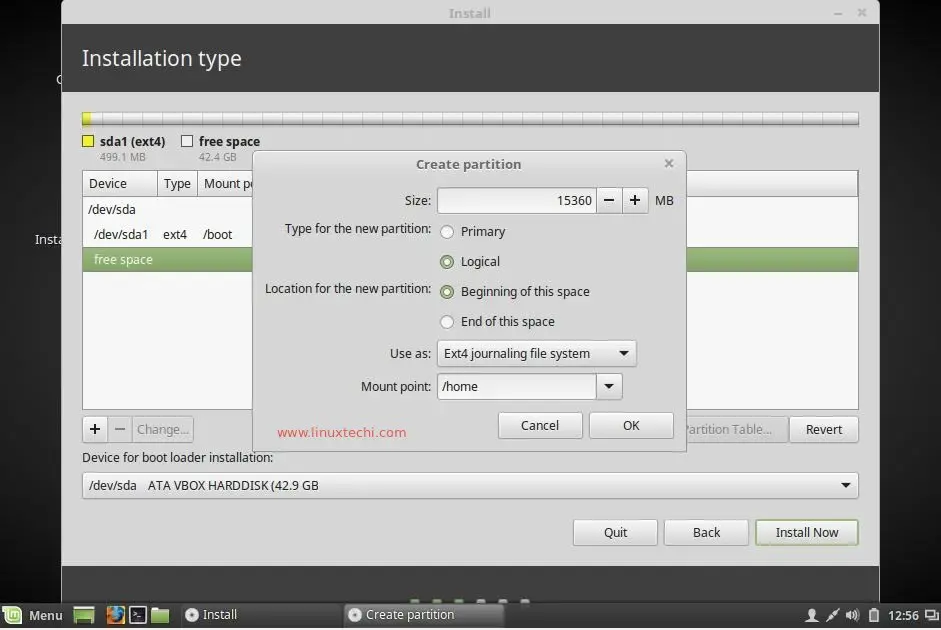
- /home = 15 GB (ext4 file system)
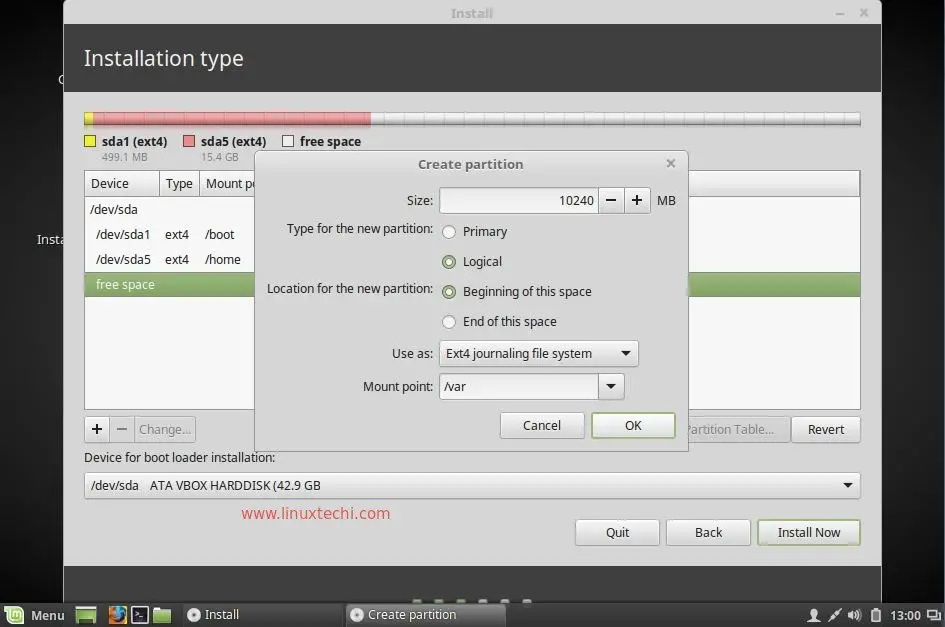
- /var = 10 GB (ext4 file syste)
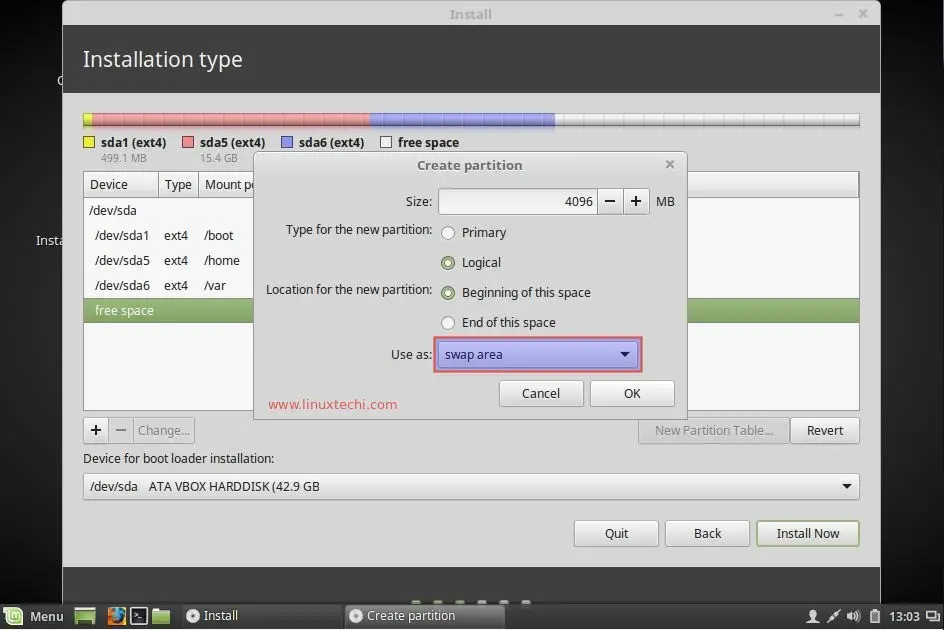
- Swap = 4 GB (Size of swap is usually double of physical RAM)
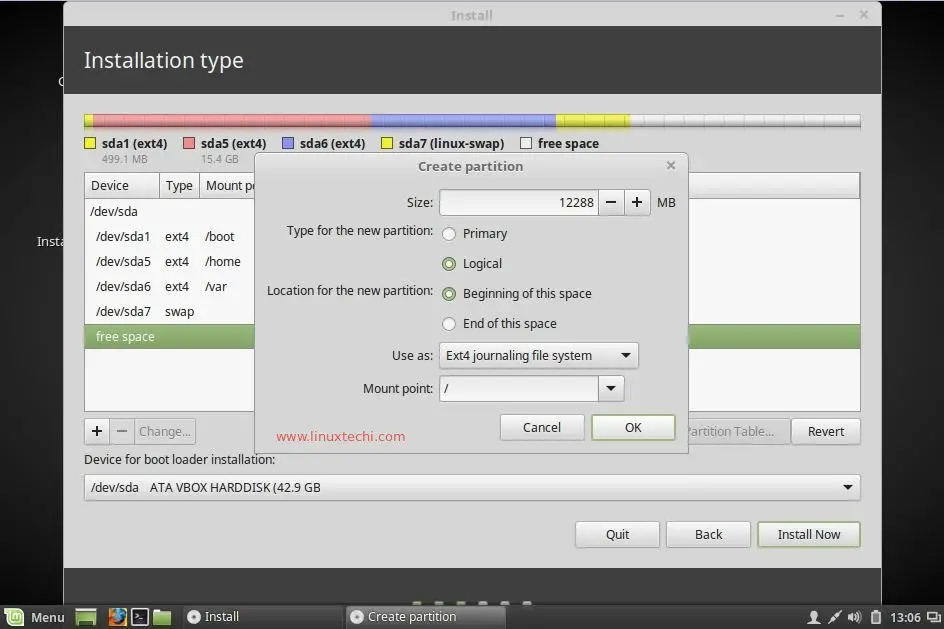
- / = 12 GB (ext4 file system)
Click on “New Partition Table” option
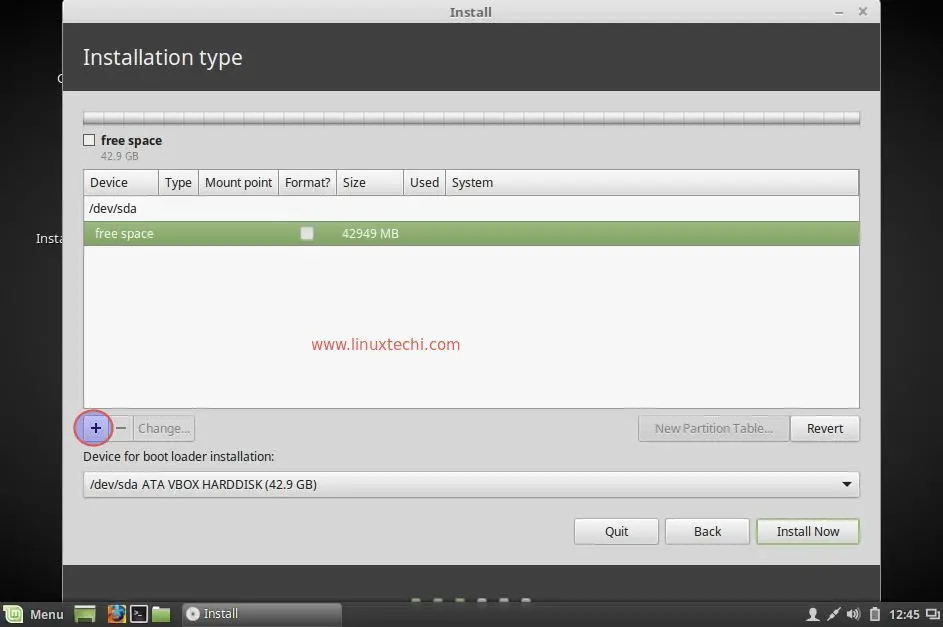
Select the Disk and click on plus symbol “+” to start creating partitions.
Create /boot partition of size 500 MB
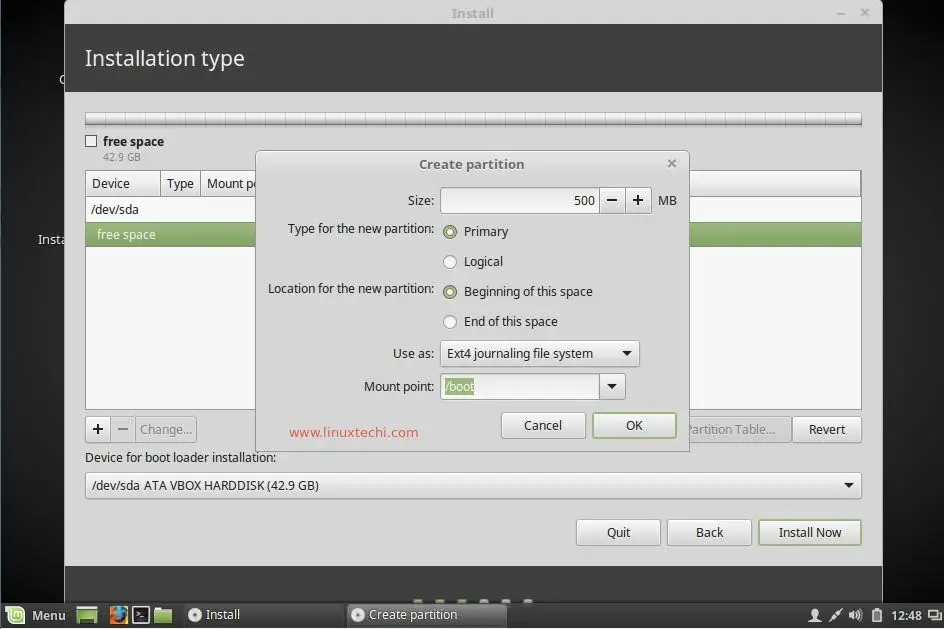
Click on Ok
Create /home partition of 15 GB
Create /var partition of size 10 GB
Create swap partition of size of 4 GB
Create Slash (/) partition of size 12GB
Click on Ok.
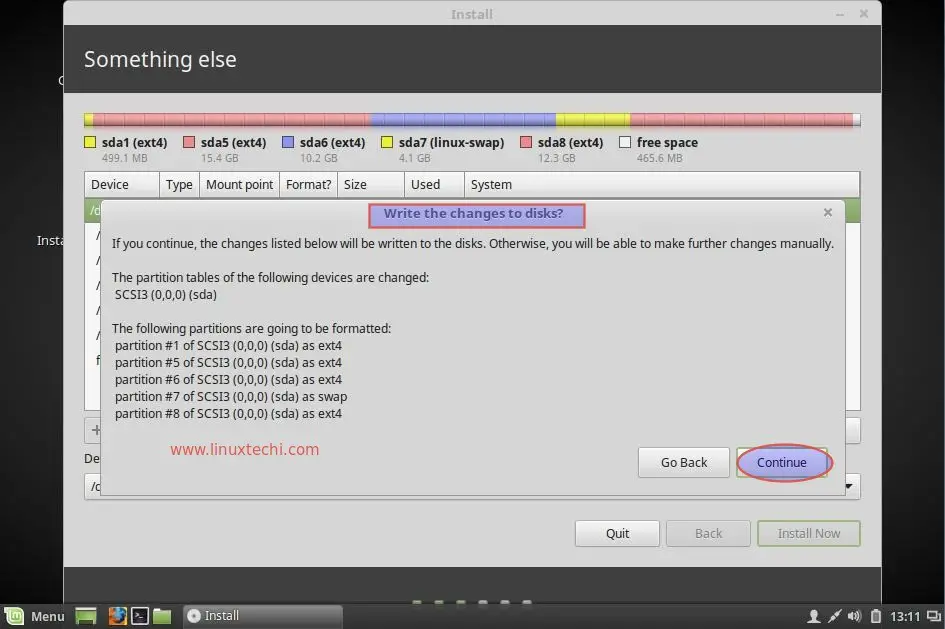
Click on “Install Now” option
Click on Continue to accept the disk changes
Step:7 Select the Location as per your setup.
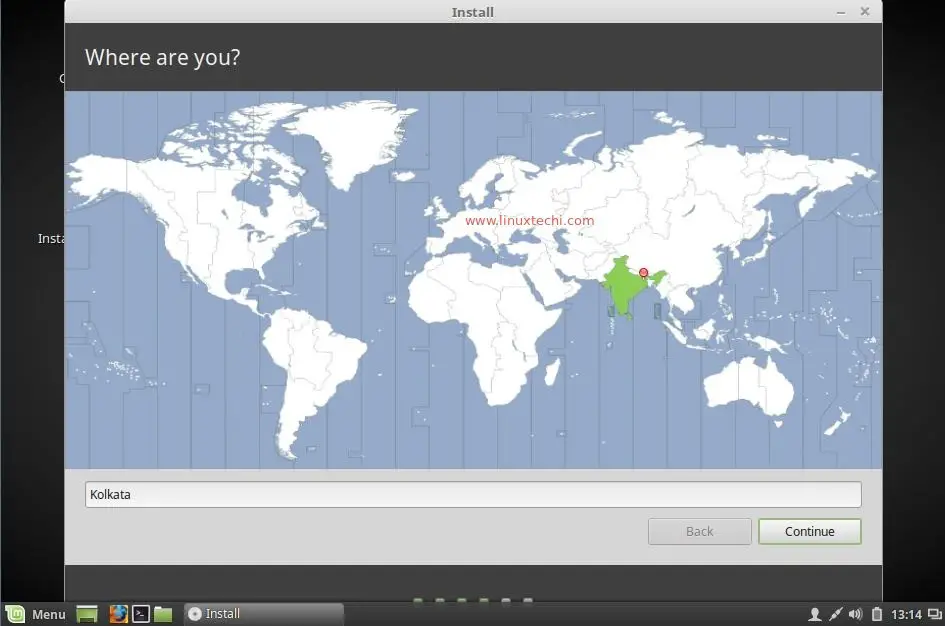
Click on Continue
Step:8 Select the Keyboard Layout as per your setup
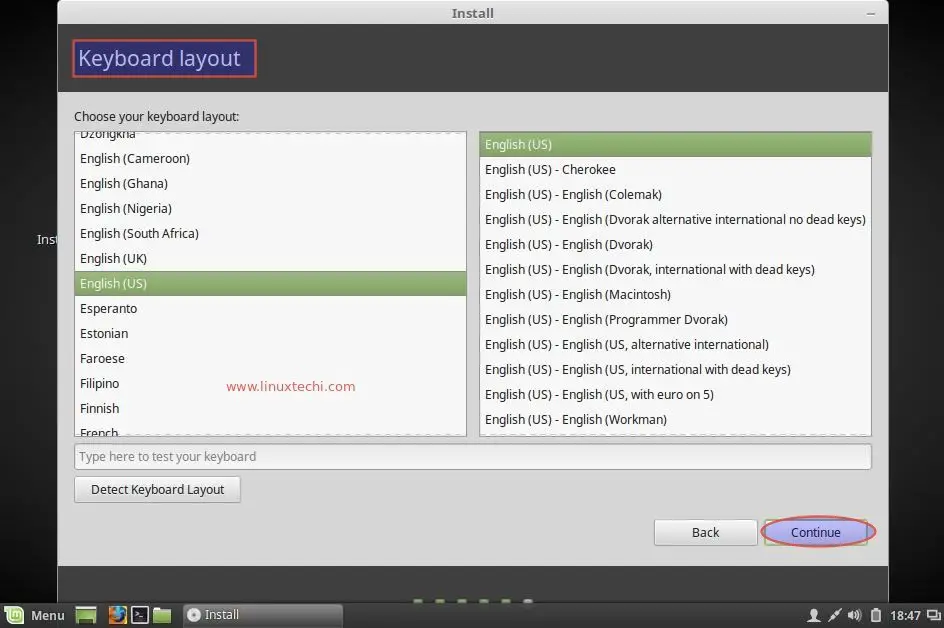
Click on Continue
Step:9 Specify the User Name and Host name for your system.
Mentioned the host name for your machine and user name and its password. We will be using this user name to login to the system after the installation.
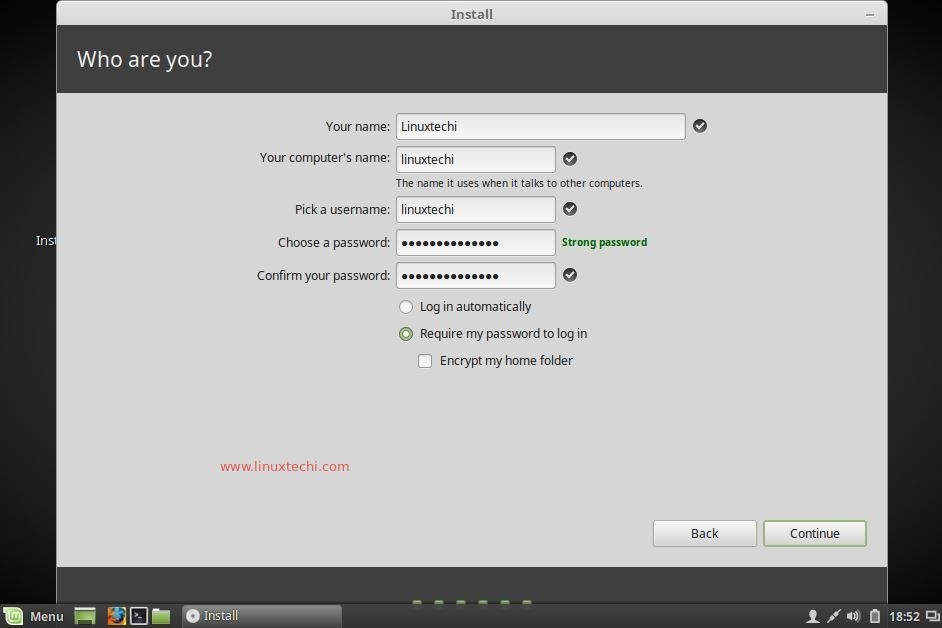
Click on continue to start the installation.
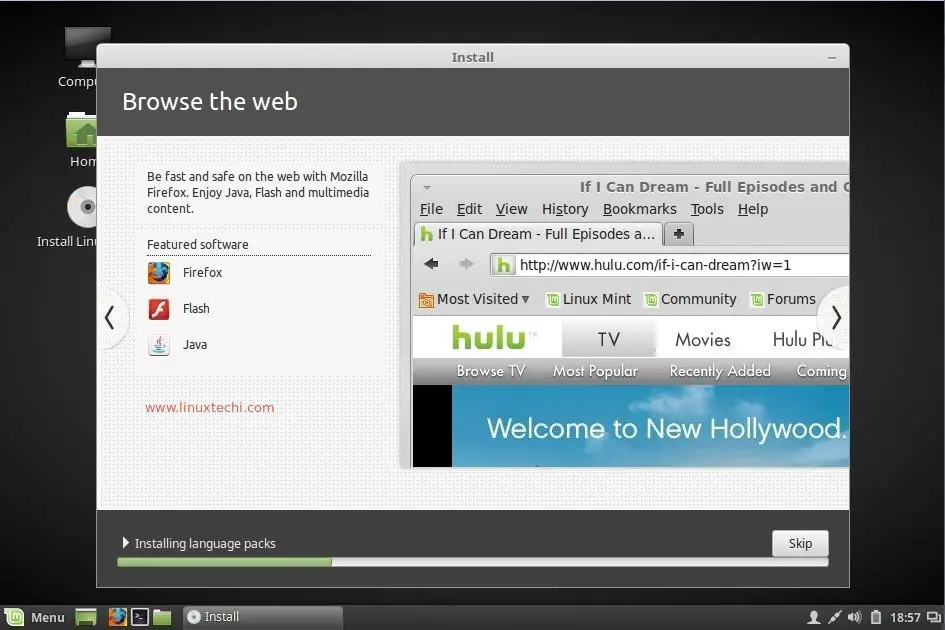
Step:10 Linux Mint 18 Installation is in progress.
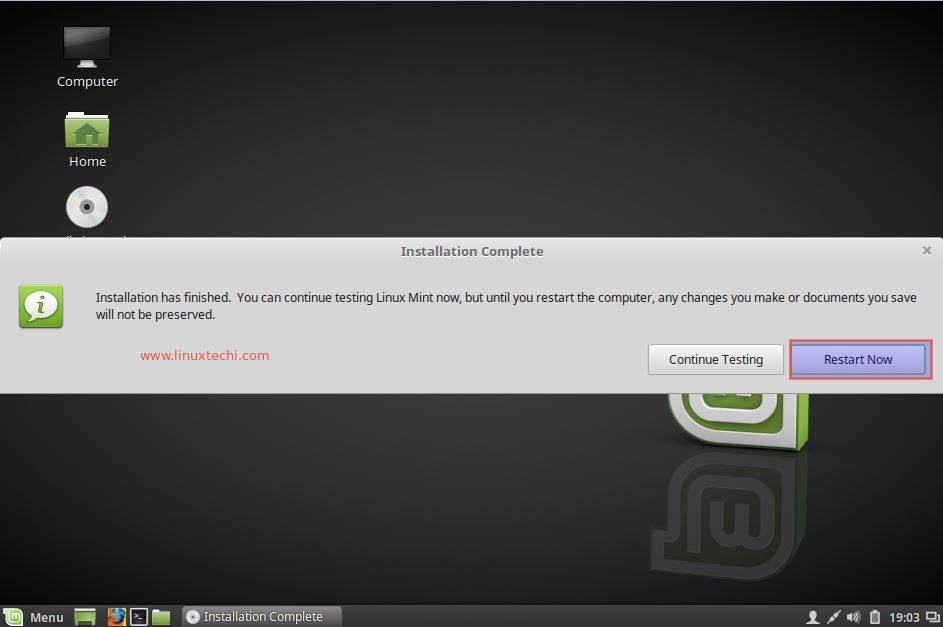
As we can see below that Installation is in progress. Installer will prompt us to restart the system once the installation is completed.
Restart the system
Step:11 Login Screen of Linux Mint 18
Use the user name and password that we created in above steps
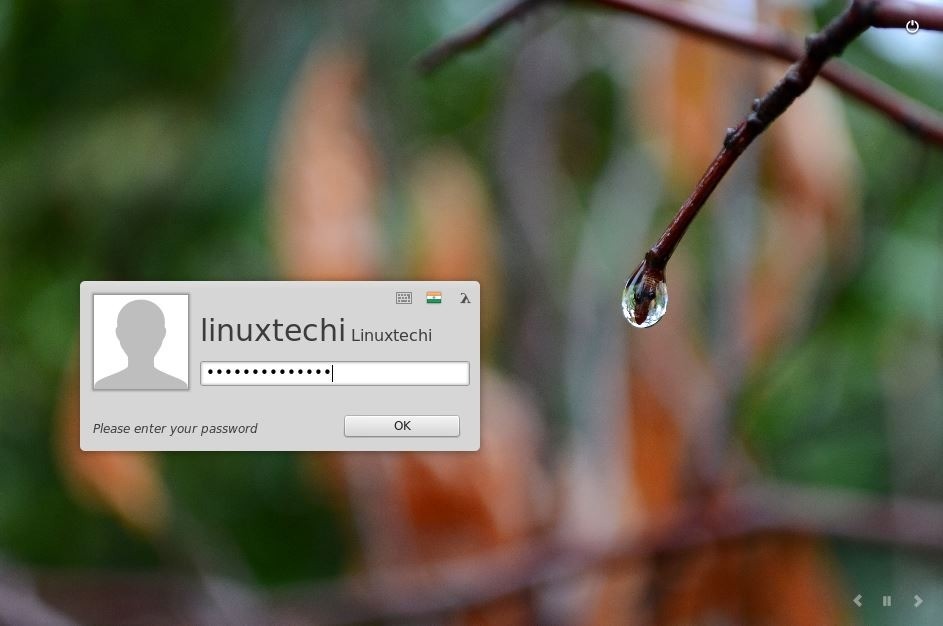
That’s all, installation of Linux Mint 18 Cinnamon is completed.Now explore Linux Mint 18 and have fun 🙂


When starting installation of Mint 18 (the same happens with Ubuntu 16.04) the screen remains black, the USB disk with distributive is working 1-2 minutes (the light flashes) and then is waiting for some my command. My graphics card is Intel Xeon E3-1200 v2/3rd Gen Core processor Graphics Controller. Display is connected to HDMI. The older version (Mint 17.3) and some other older systems were installed without problems. What happened with Mint 18 ? Is there any way to executer text mode installation ?
I assume you press ‘OK’ each time when setting the several partitions, and not only at the beginning and end? Thanks!
My screen went all black during logging in with no other options
What happens if I choose for the software to create the ‘default partitions’?…My laptop is a Lenovo Thinkpad T500, and I wonder if the “Thinkvantage Utilities” could be erased this way….