Deploying applications on a Kubernetes cluster can be a complex affair. It often requires users to create various YAML manifest files to create pods, service and replicasets. Helm is an opensource package manager for Kubernetes that allows developers to seamlessly automate the process of deploying and configuring applications in a Kubernetes Cluster. If you are new to Kubernetes, you might want to first familiarize yourself with basic Kubernetes concepts.
In this guide, we will give you an overview to Helm and how it comes in handy in managing applications and packages in Kubernetes cluster. At the time of writing this guide, the latest release is Helm v3.
Basic Helm Terminologies & Concepts
As with any technology, it’s good to look at a few terminologies to get a better understanding of how it works. But basically, Helm comprises two elements: Helm which is a client and Tiller, which is a server. The tiller runs inside the Kubernetes Cluster. Let’s now have a peek at the definitions:
- Helm: This is a command-line interface that enables you to define, deploy, & upgrade Kubernetes applications using charts.
- Tiller: This is a server component that runs in a Kubernetes cluster and accepts commands from helm. It handles the deployment and configuration of software applications on the cluster.
- Chart: This is a collection of helm packages that comprise YAML configuration files and templates which are rendered in Kubernetes manifest files. A single chart can deploy a simple application such as a memcached pod or a full web application with a database etc. Charts are quite easy to create, publish and share.
- Chart repository: This is a location or database where charts can be collected and shared.
- Release: It is a chart instance running inside a Kubernetes cluster. It can be installed as many times as possible as per the wish of a user and each time that happens, a new release is created.
Helm makes deployments easier and processes standardized and reusable. This makes it a cool way of managing a Kubernetes cluster. Helms charts are particularly helpful in that they help you get started without starting from scratch.
How to Install Helm on Kubernetes Cluster
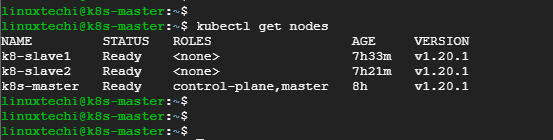
Since Helm works in a Kubernetes Cluster, ensure that you first set up a Kubernetes Cluster. Also ensure that all the nodes are ready. You can achieve this by running the command from control plane:
$ kubectl get nodes
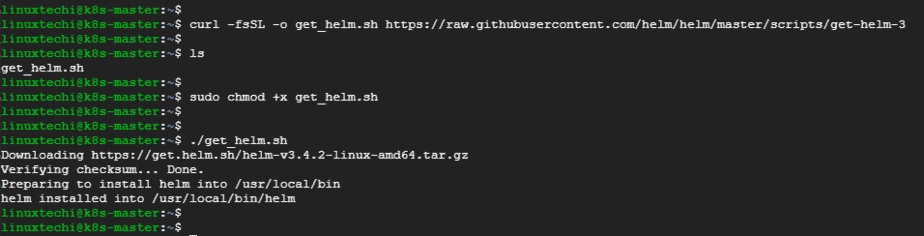
There are a couple of ways of installing helm, but the simplest of all is using an automated script.So, go ahead and download the automated script using curl command as shown:
$ curl -fsSL -o get_helm.sh \
https://raw.githubusercontent.com/helm/helm/master/scripts/get-helm-3
Grant execute permissions asn execute the script as follows.
$ chmod 700 get_helm.sh
$ ./get_helm.sh
Helm will be installed in to the /usr/local/bin directory.
To check the version of helm, run:
$ helm version

Using Helm in Kubernetes Cluster
The first step in using helm is installing charts on your local system. The Artifacts hub contains hundreds of public chart repositories that you can install locally on your system. Artifacts Hub is an opensource project that that contains thousands of Kubernetes packages.
To install a chart from Artifacts hub, search for the chart name in the text field provided. In this example, we are searching for MariaDB chart.
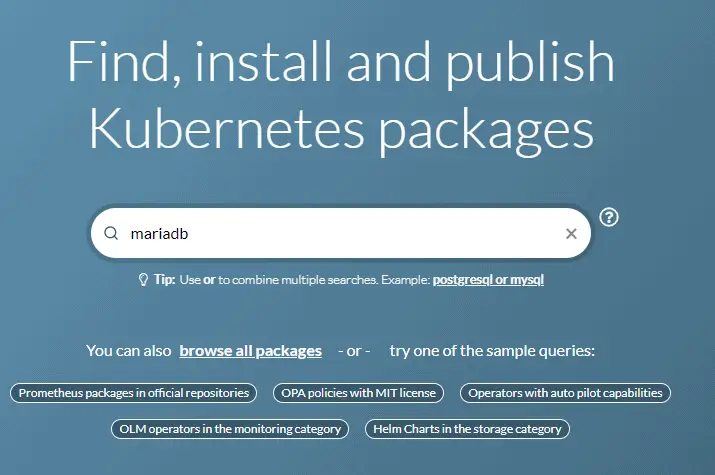
When you hit ENTER, you will be provided with a list of charts to choose from.
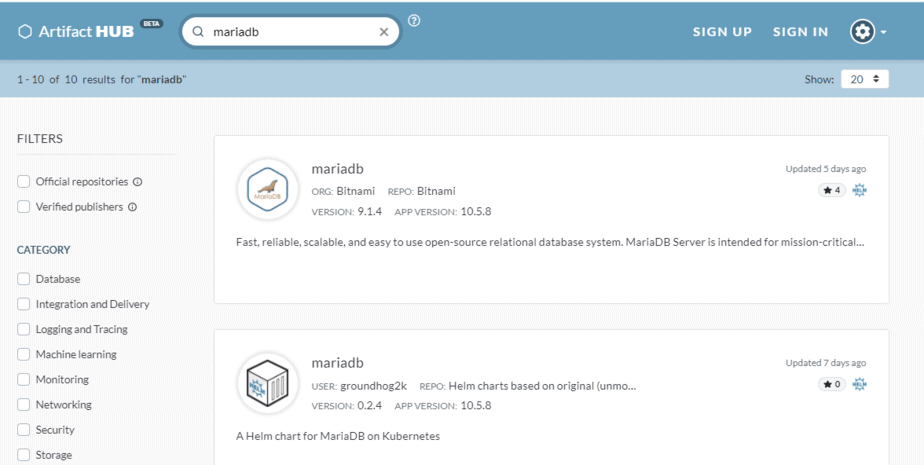
Select your preferred chart and a list of instructions on how to install it will be provided
Adding a chart repository
Before installing a chart, you first need to add a chart repository. To achieve this, use the syntax:
$ helm repo add [chart_repo] [chart URL]
For example, to install the MariaDB chart, execute:
$ helm repo add bitnami https://charts.bitnami.com/bitnami

The output will confirm that the chart repository has been successfully added to your system.
Installing a chart
Once the chart repository has been added, you can install the chart using the syntax:
$ helm install [release-name] [chart_repo]/[chart-name]
For example, to install the MariaDB chart with a name my-release run:
$ helm install my-release bitnami/mariadb
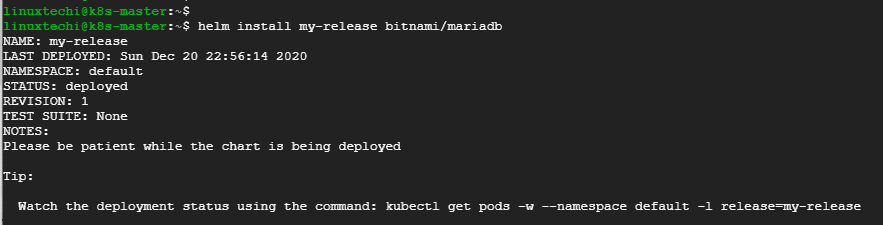
The helm client prints a list of the resources created and additional configuration steps that you can take.
Once done, you can list the chart installed using the command:
$ helm ls

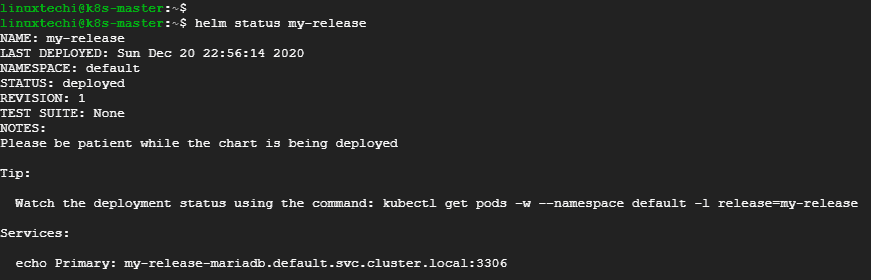
To re-read the configuration information, execute:
$ helm status release-name
In this case:
$ helm status my-release
Creating your own chart
You can also create your own chart using the command:
$ helm create chart-name
For example, to create a chart called my-chart execute:
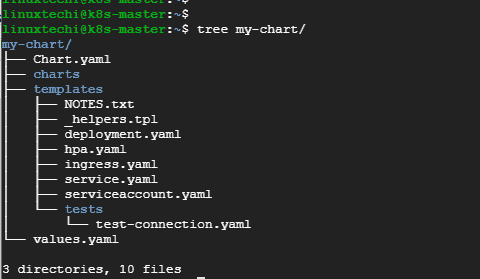
$ helm create my-chart
You can check the directory structure of the chart using the tree command shown:
$ tree my-chart/
Removing a chart
To uninstall a chart, use the syntax
$ helm delete release-name
For example, to delete the currently installed chart, the command will be:
$ helm delete my-release
Getting help
To get more options on using helm CLI, run the command below
$ helm get -h
Conclusion:
For more information about helm and its commands, please check out the helm documentation
Also Read: How to Setup NGINX Ingress Controller in Kubernetes
A Very Simple and intuitive article 🙂 Kudos to the Author.