The step-by-step guide on this page will show you how to Install Proxmox VE on bare metal.
Proxmox Virtual Environment (VE) is a powerful, open-source platform for managing virtual machines (VMs) and containers. It combines two virtualization technologies, KVM (Kernel-based Virtual Machine) for virtual machines and LXC (Linux Containers) for lightweight containerization. Installing Proxmox VE on bare metal provides a solid foundation for building a virtualization infrastructure that can efficiently manage your workloads.
Prerequisites
- A bare metal server with hardware virtualization support (Intel VT-x/AMD-V).
- A bootable USB drive with the Proxmox VE ISO image.
- Access to the server’s management interface (e.g., IPMI, iDRAC, or a physical console).
- Basic knowledge of Linux commands.
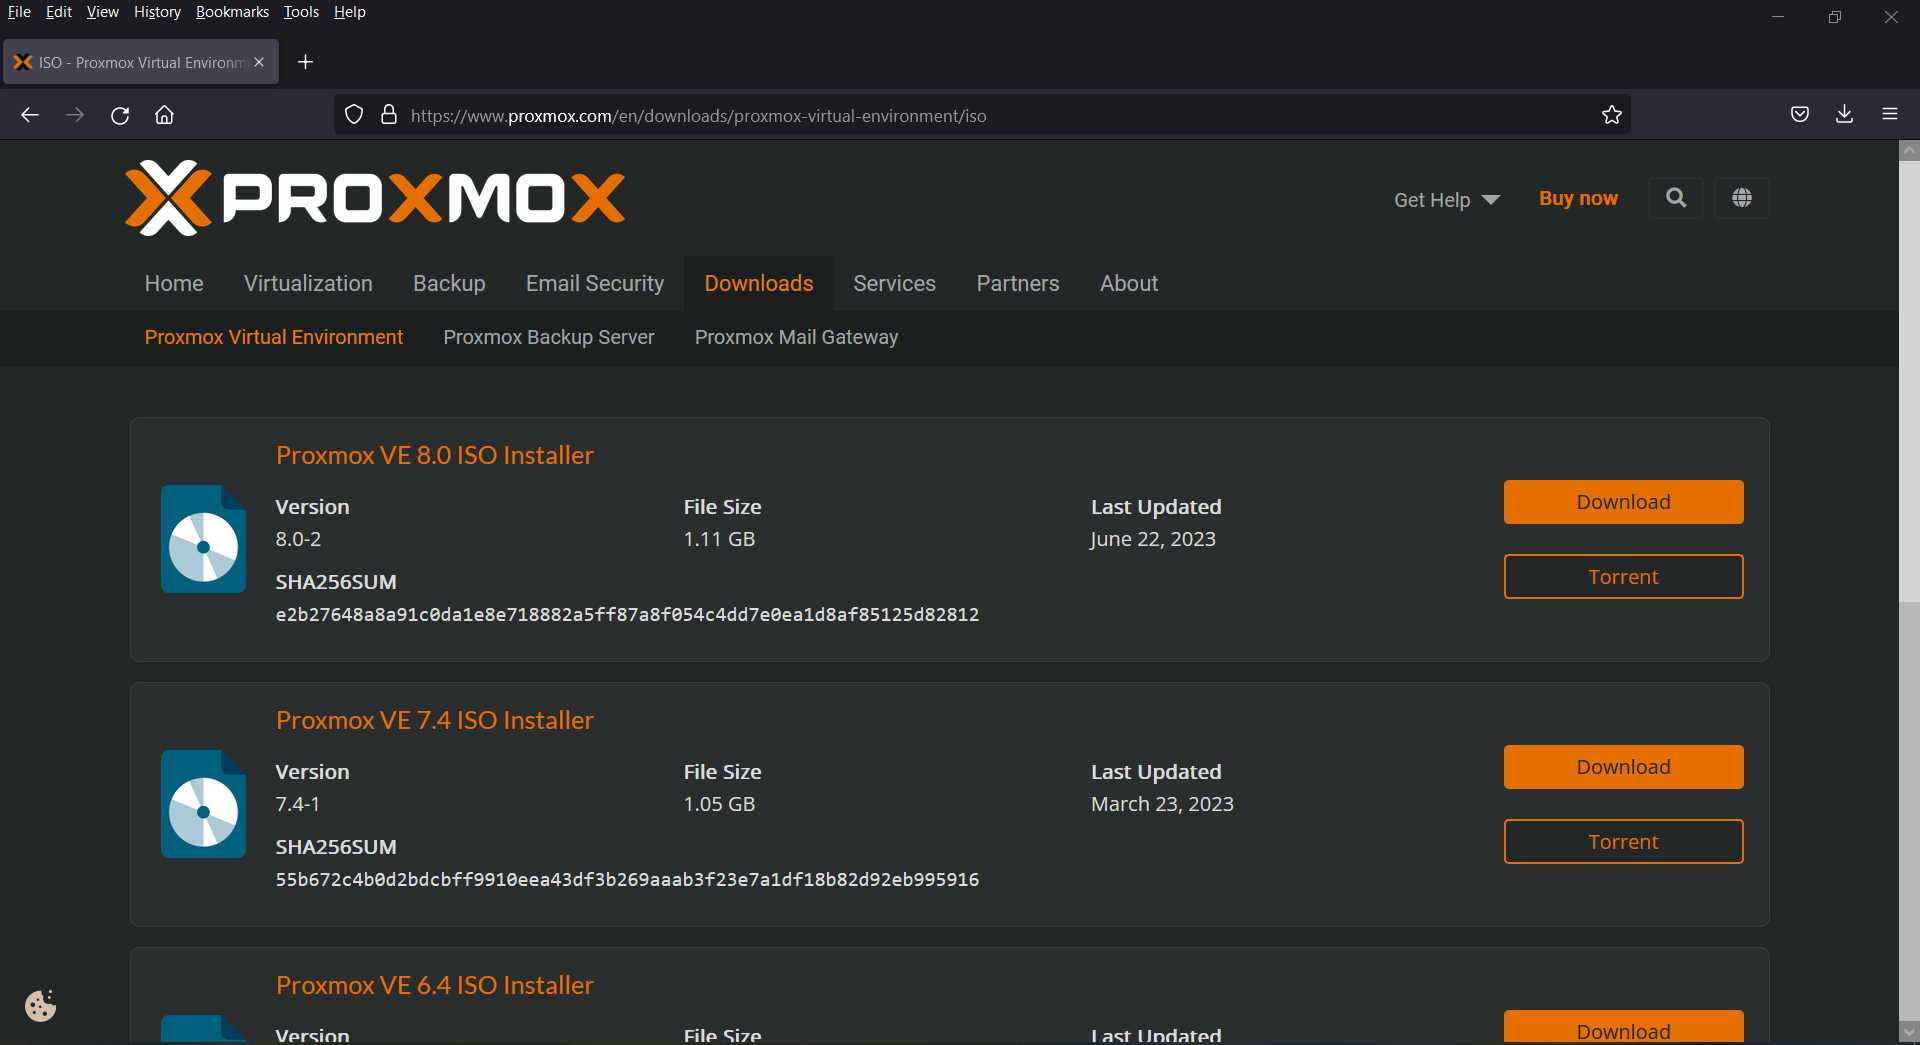
1) Download Proxmox VE ISO Installer
Browse the URL https://www.proxmox.com/en/downloads/proxmox-virtual-environment/iso and download latest proxmox VE ISO installer. At the time of write this post, “proxmox ve 8.0.2” is available.
Once the download is completed, burn the ISO file into USB flash drive and make it bootable. In Windows environment, use Rufus software to create bootable USB drive from ISO file. In Linux, use the following,
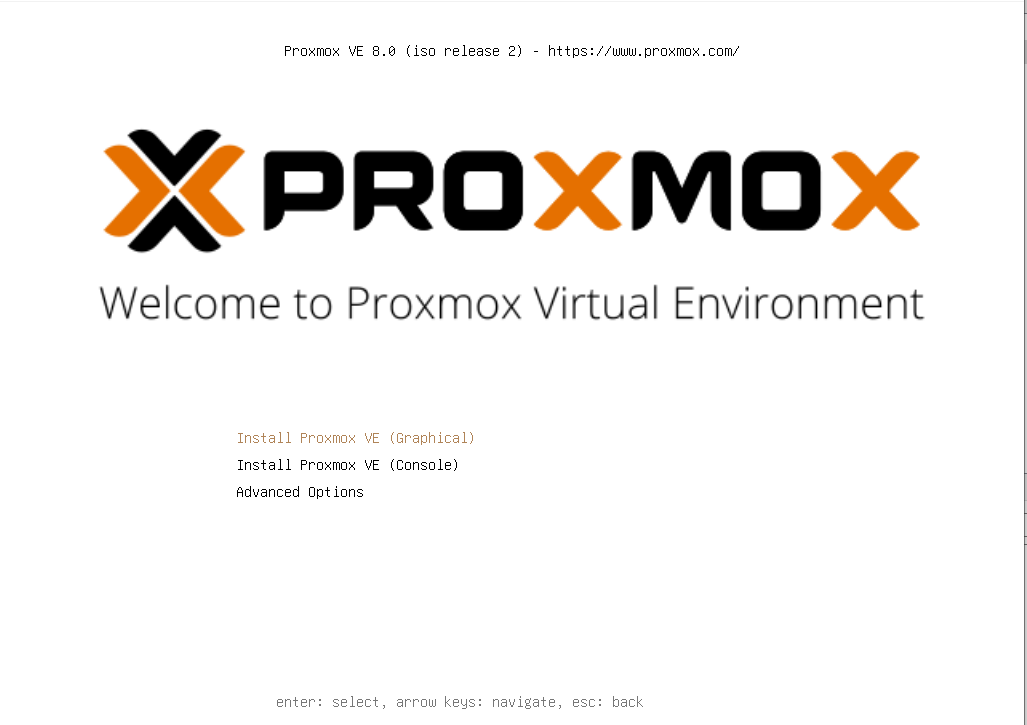
2) Boot from the Proxmox VE Installer
Attach bootable USB drive to the server and go to the server’s BIOS or UEFI settings and ensure that the USB drive is set as the primary boot device.
Once the server boots from the USB drive, you will see the Proxmox VE boot menu. Choose “Install Proxmox VE (Graphical)” option and hit Enter.
3) Accept End User License Agreement
In this step, you will be prompted to accept end user license agreement,
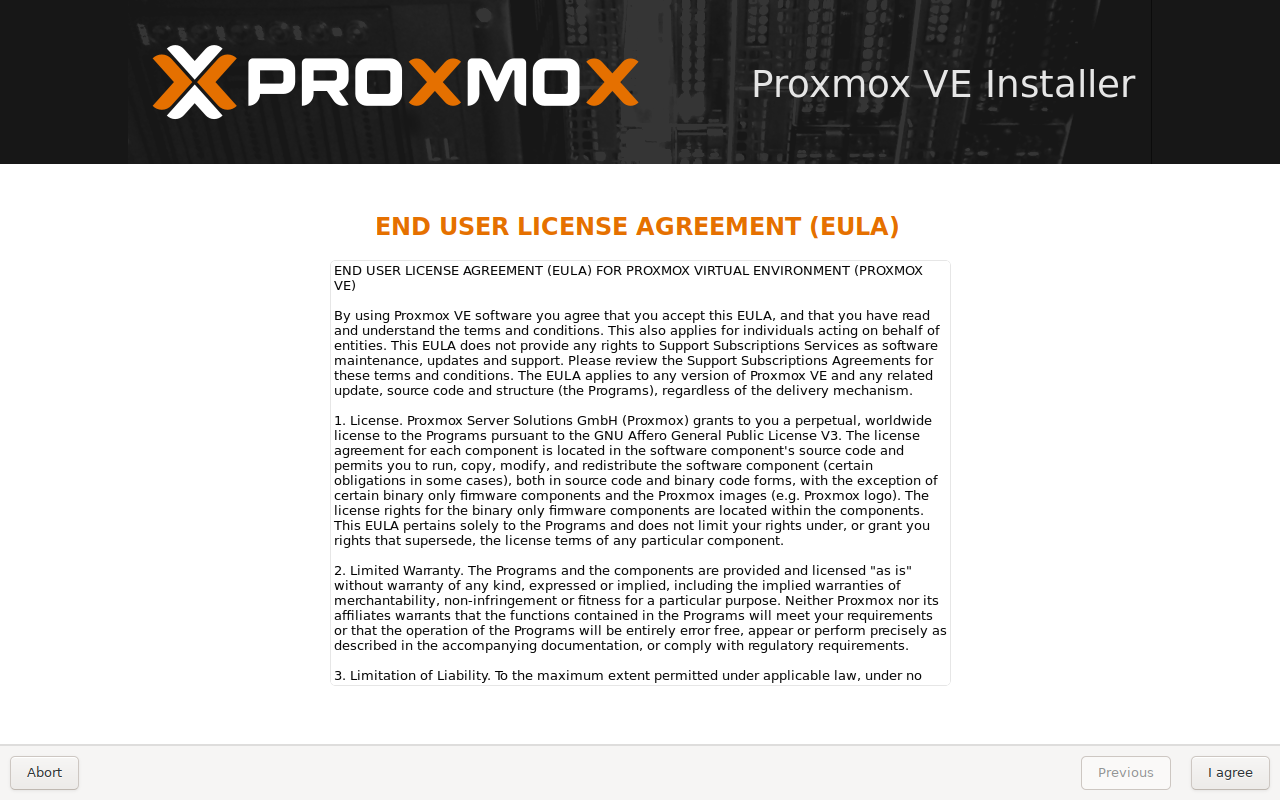
Read the agreement and click on “I agree”
4) Choose Installation Target Disk
The installer will ask you to choose the target disk on which proxmox will be installed. By default, installer will format the file system with ext4, if wish to change the file system type then click on “Options” as shown below.
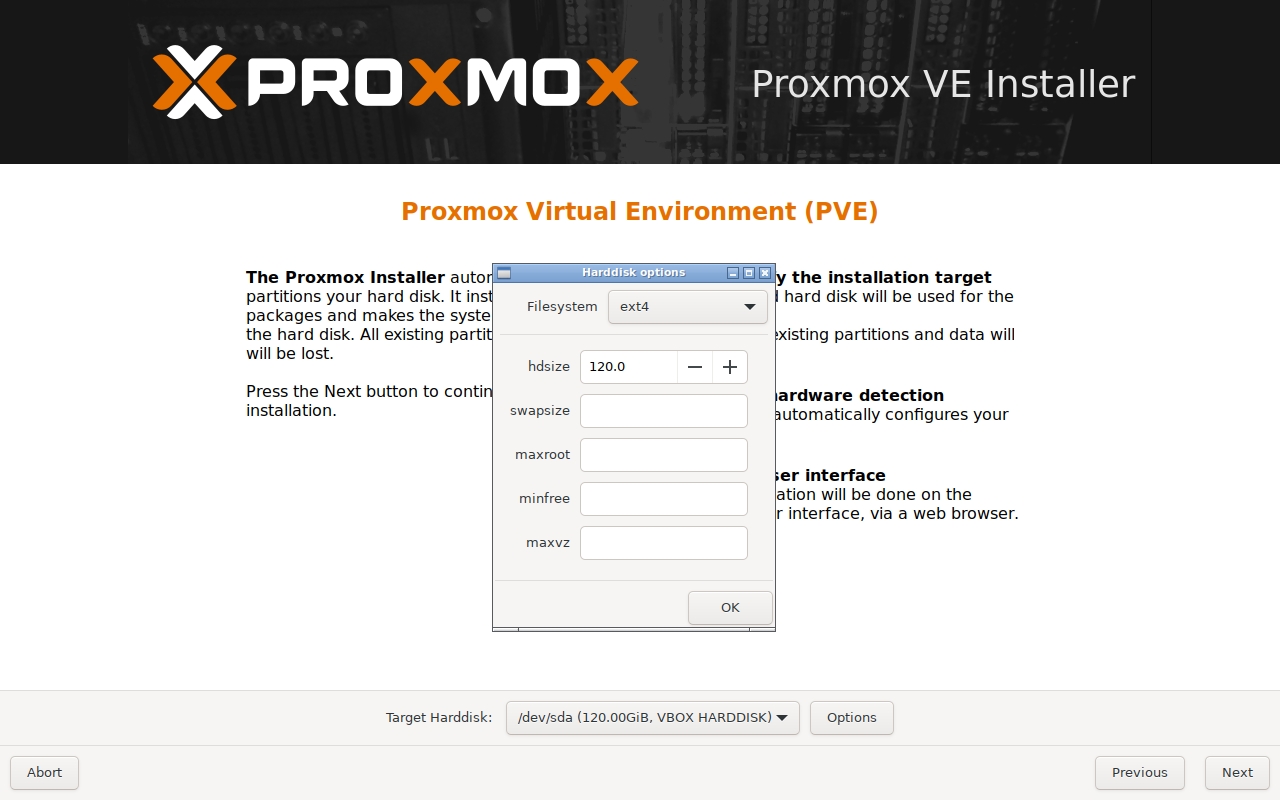
Select the target disk and file system and then click on Next to proceed further.
5) Set Location and Time Zone
Set your preferred Location (Country), Time zone and Keyboard layout.
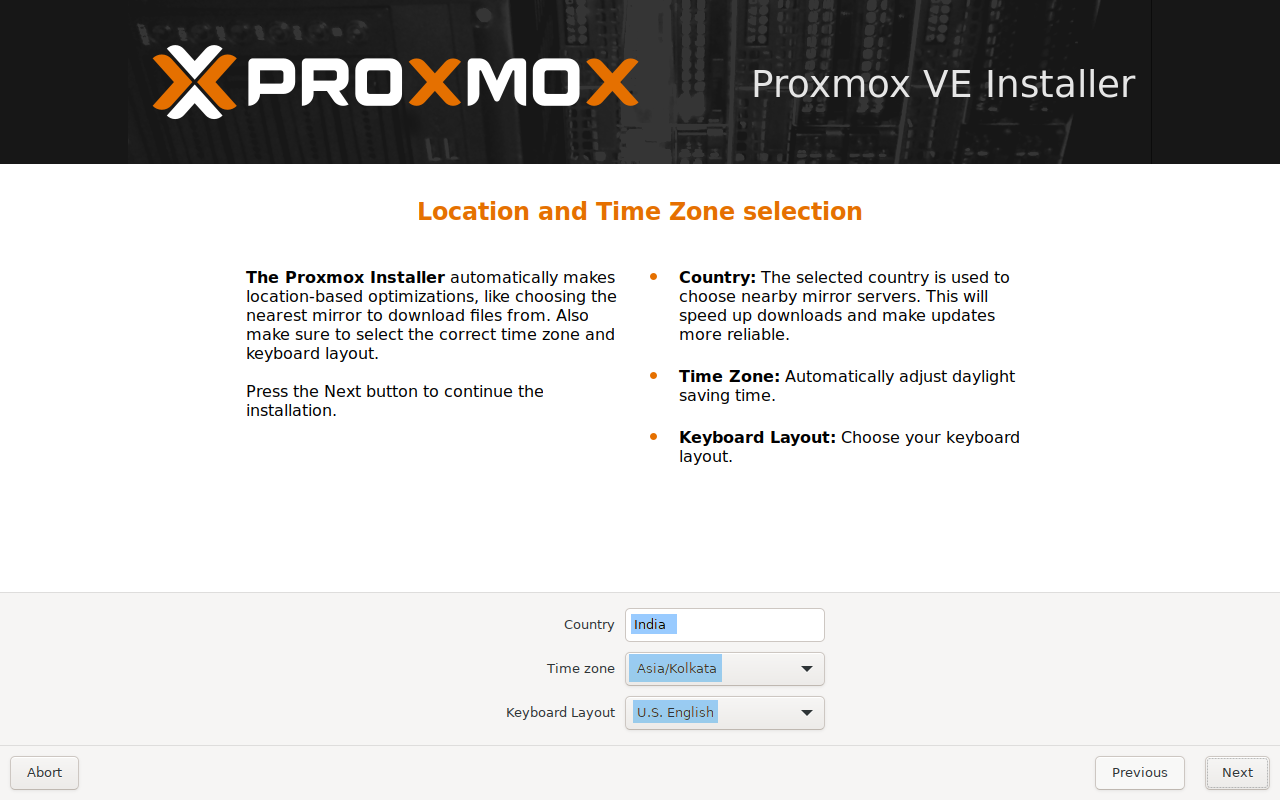
Click on Next
6) Create Admin Password and Email Address
Create a password for the Proxmox VE web interface. This password will be used to log in to the Proxmox VE web management console. Also specify the valid email address where all notification will be sent.
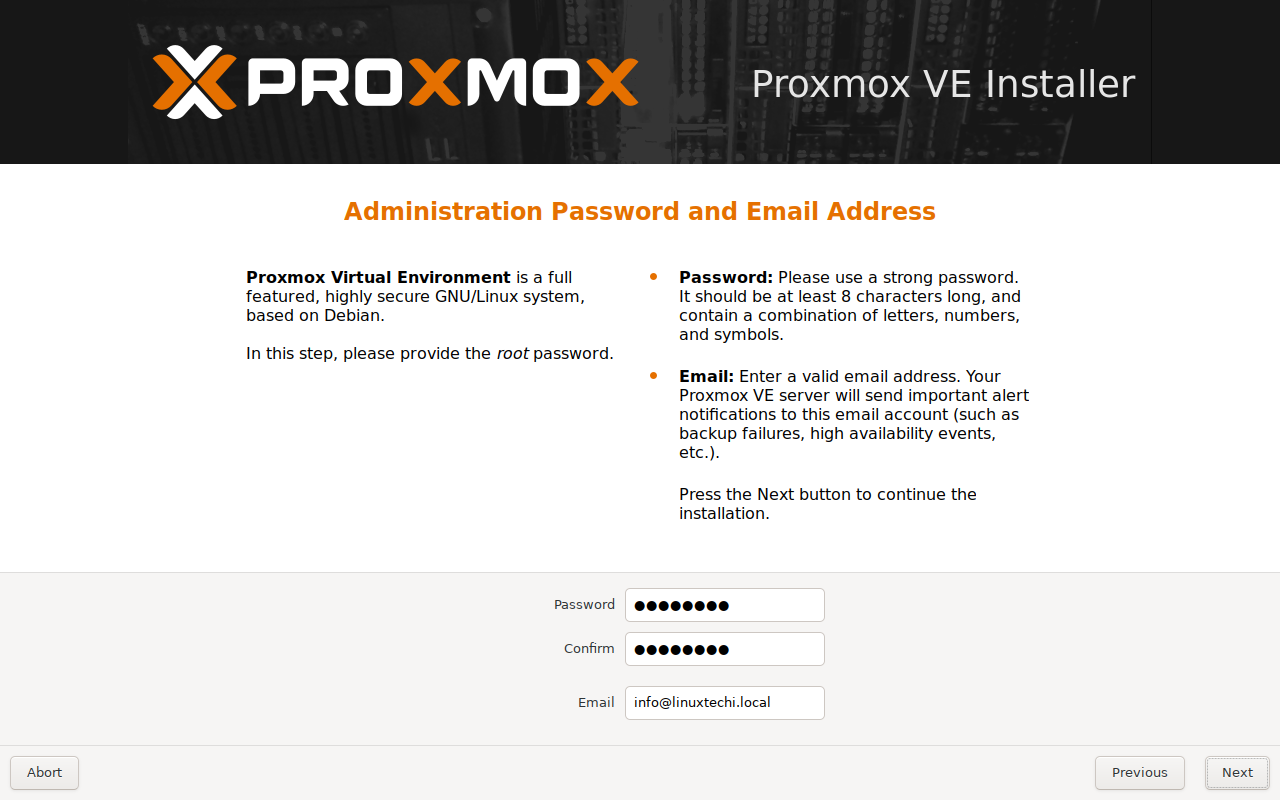
Click Next
7) Network Configuration
Next, you’ll need to configure the network settings for Proxmox VE. Set FQDN, static IP address, subnet mask, gateway, and DNS server. Ensure that you specify the correct network configuration according to your environment.
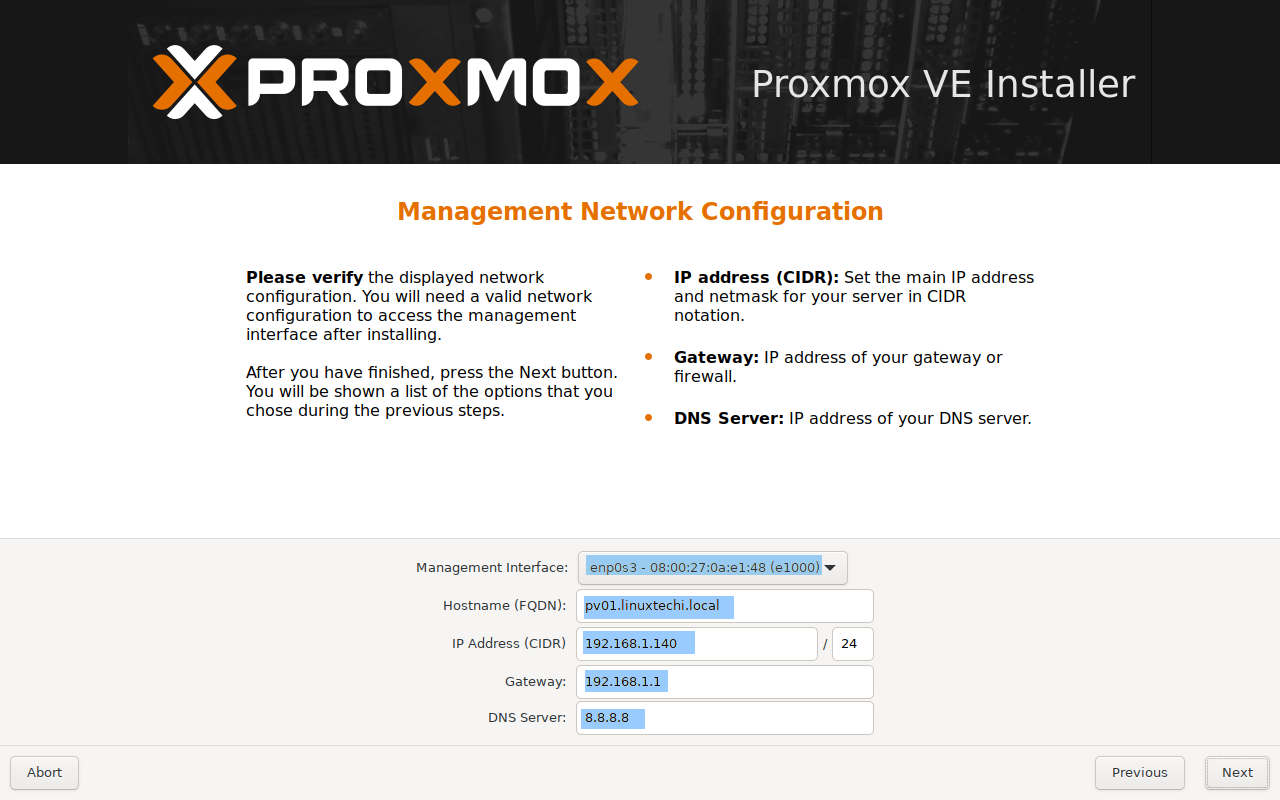
Click Next to proceed further with the installation.
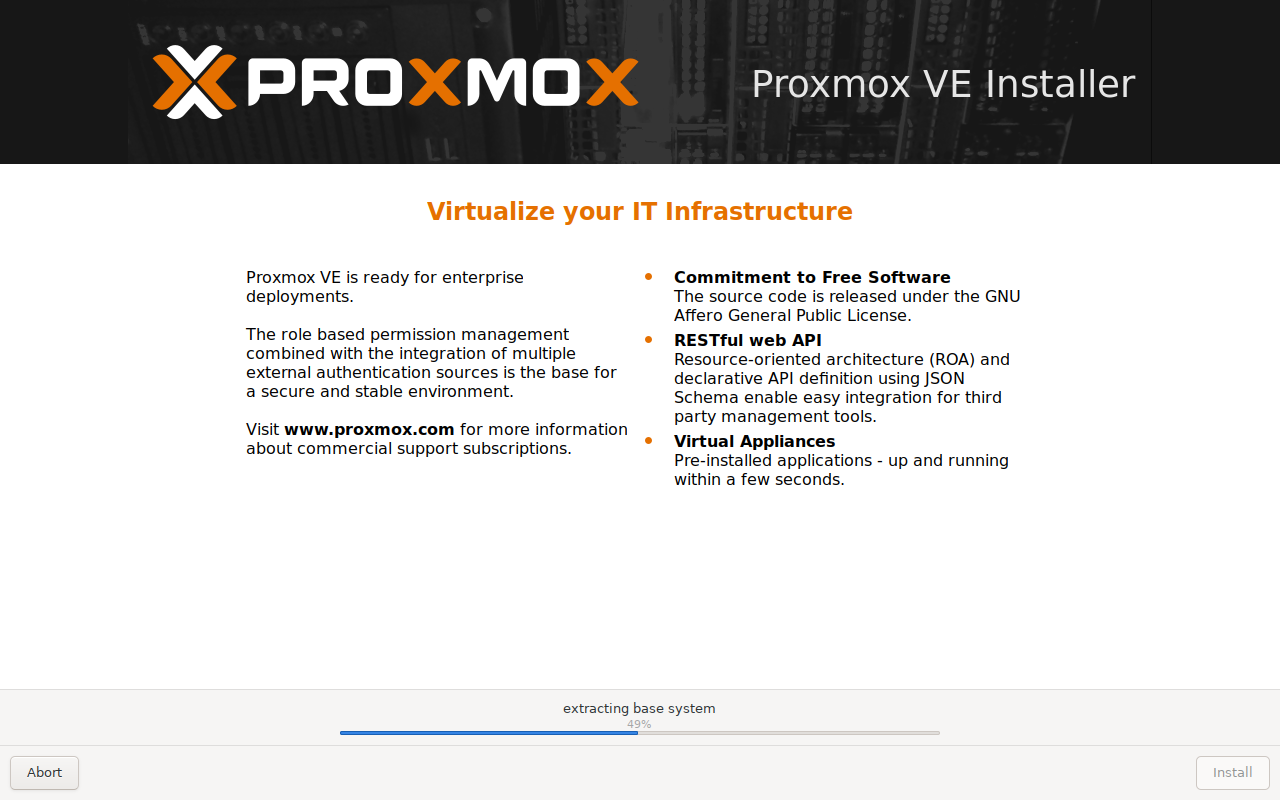
8) Begin Proxmox VE Installation
Review your installation settings one last time.
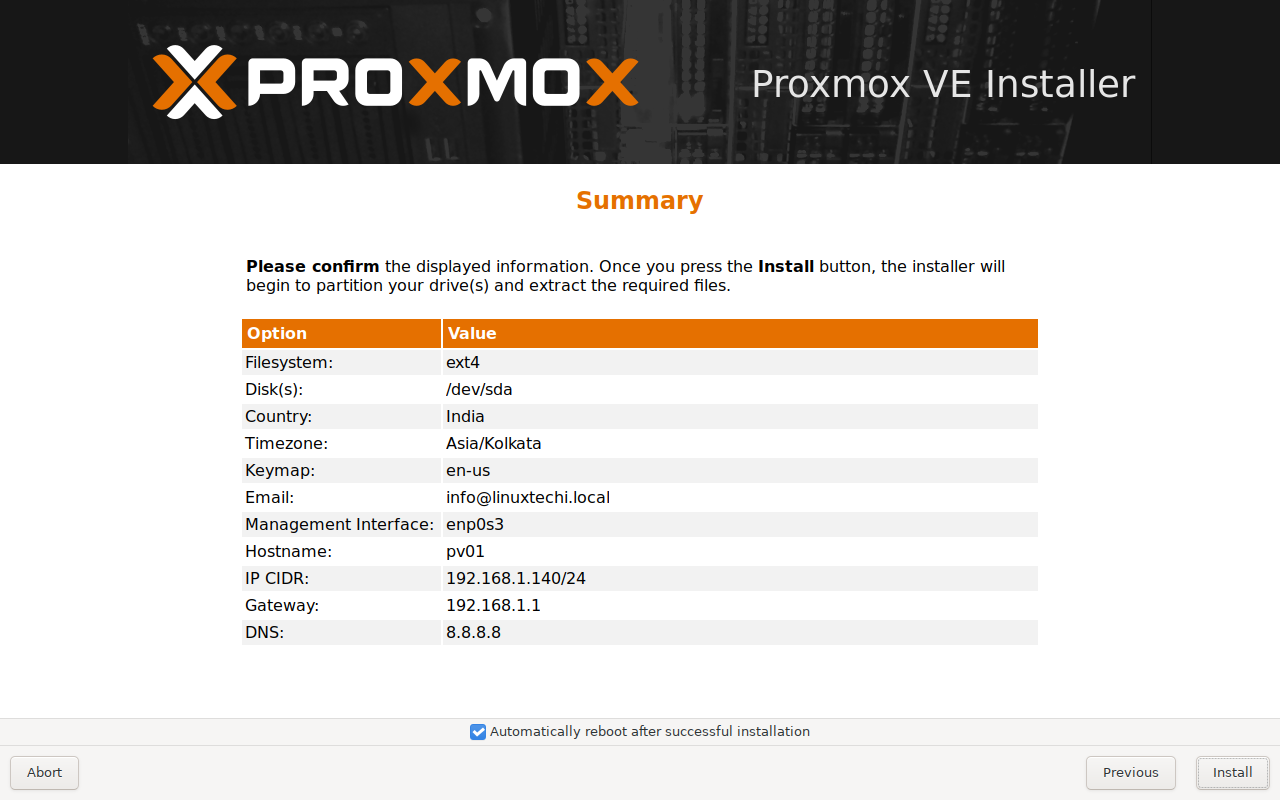
If everything looks correct, click on “Install“. The installation process will begin, and Proxmox VE will be installed on your bare metal server.
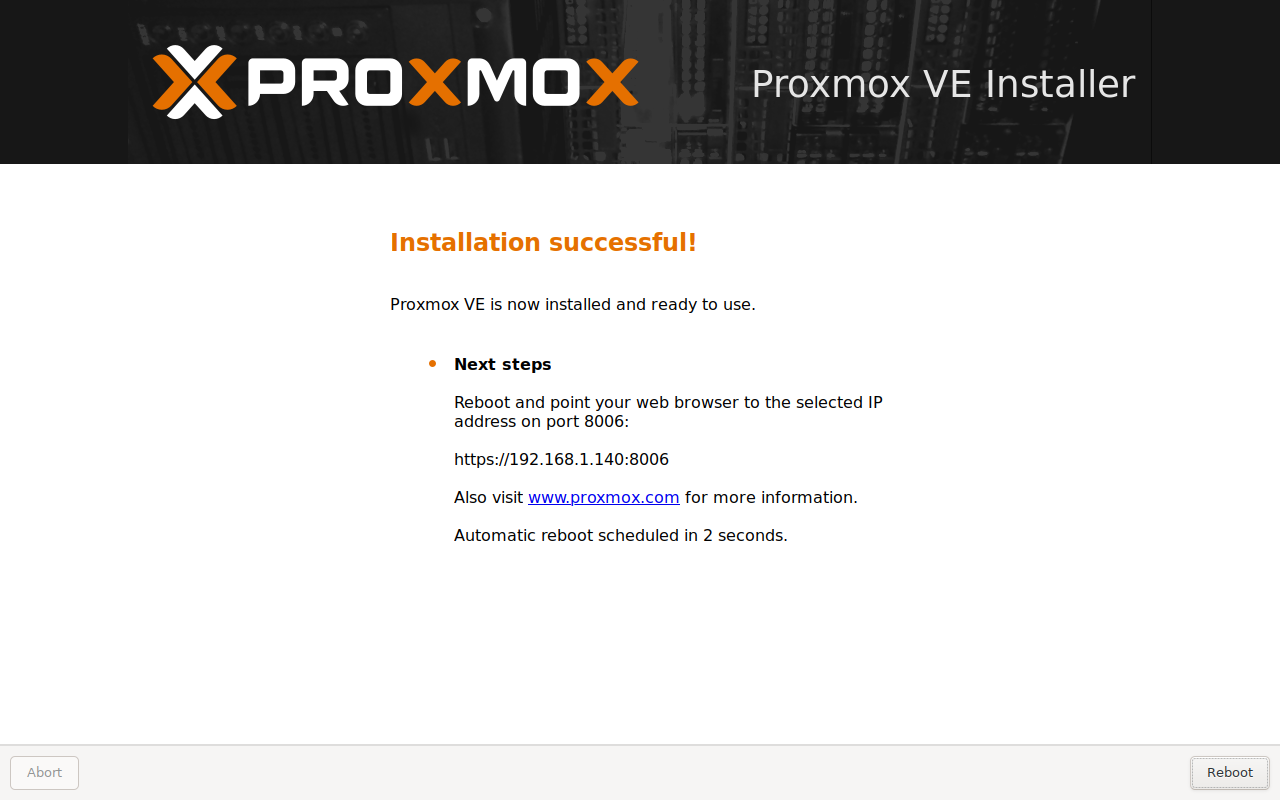
Once the installation is complete, server will be rebooted automatically. Don’t forget to remove the USB drive and change boot medium from BIOS settings so that Proxmox VE will boot from the installed disk.
9) Access the Proxmox VE Web Interface
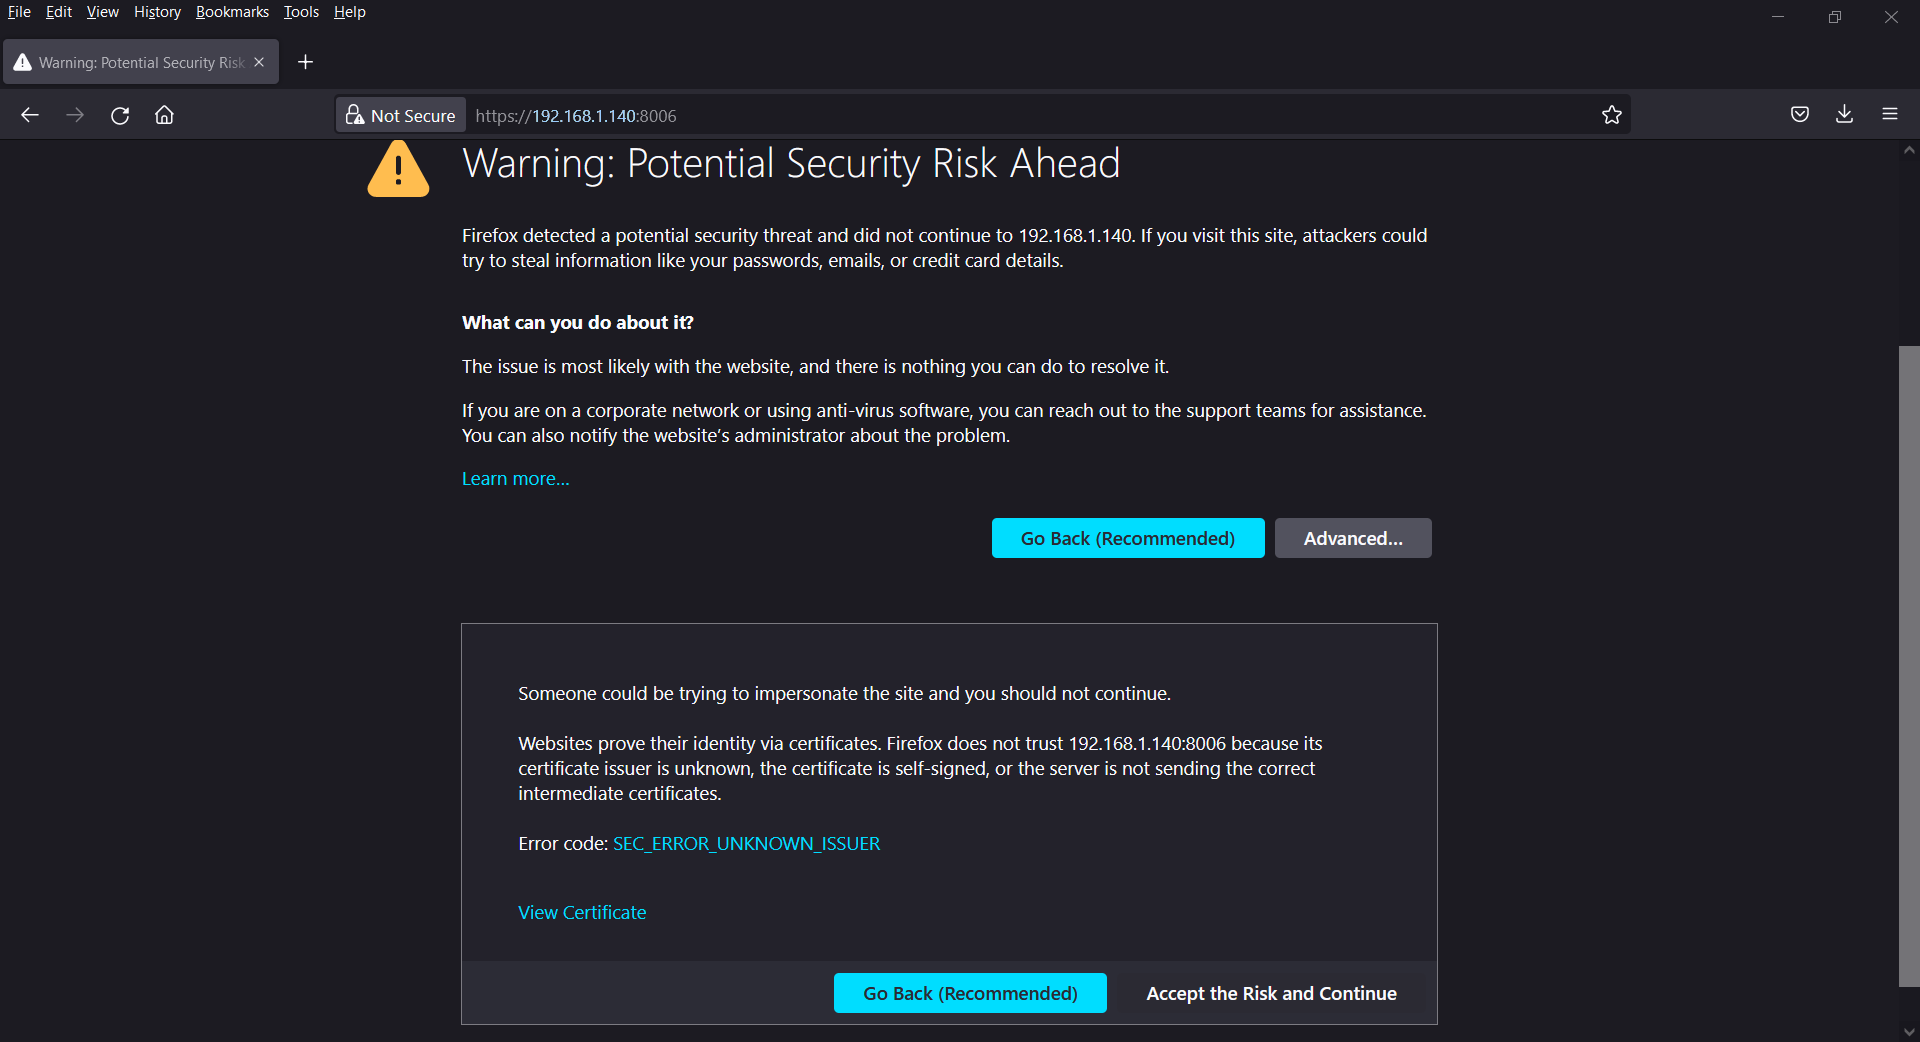
Open a web browser and navigate to the IP address you assigned in Step 7, followed by port 8006 (e.g., http://your_server_ip:8006).
While accessing the Web interface, we will get following screen, So Accept the Risk and Continue as we are using self-signed certificates for web interface.
Next, log in with the username “root” and the password you set in Step 6.
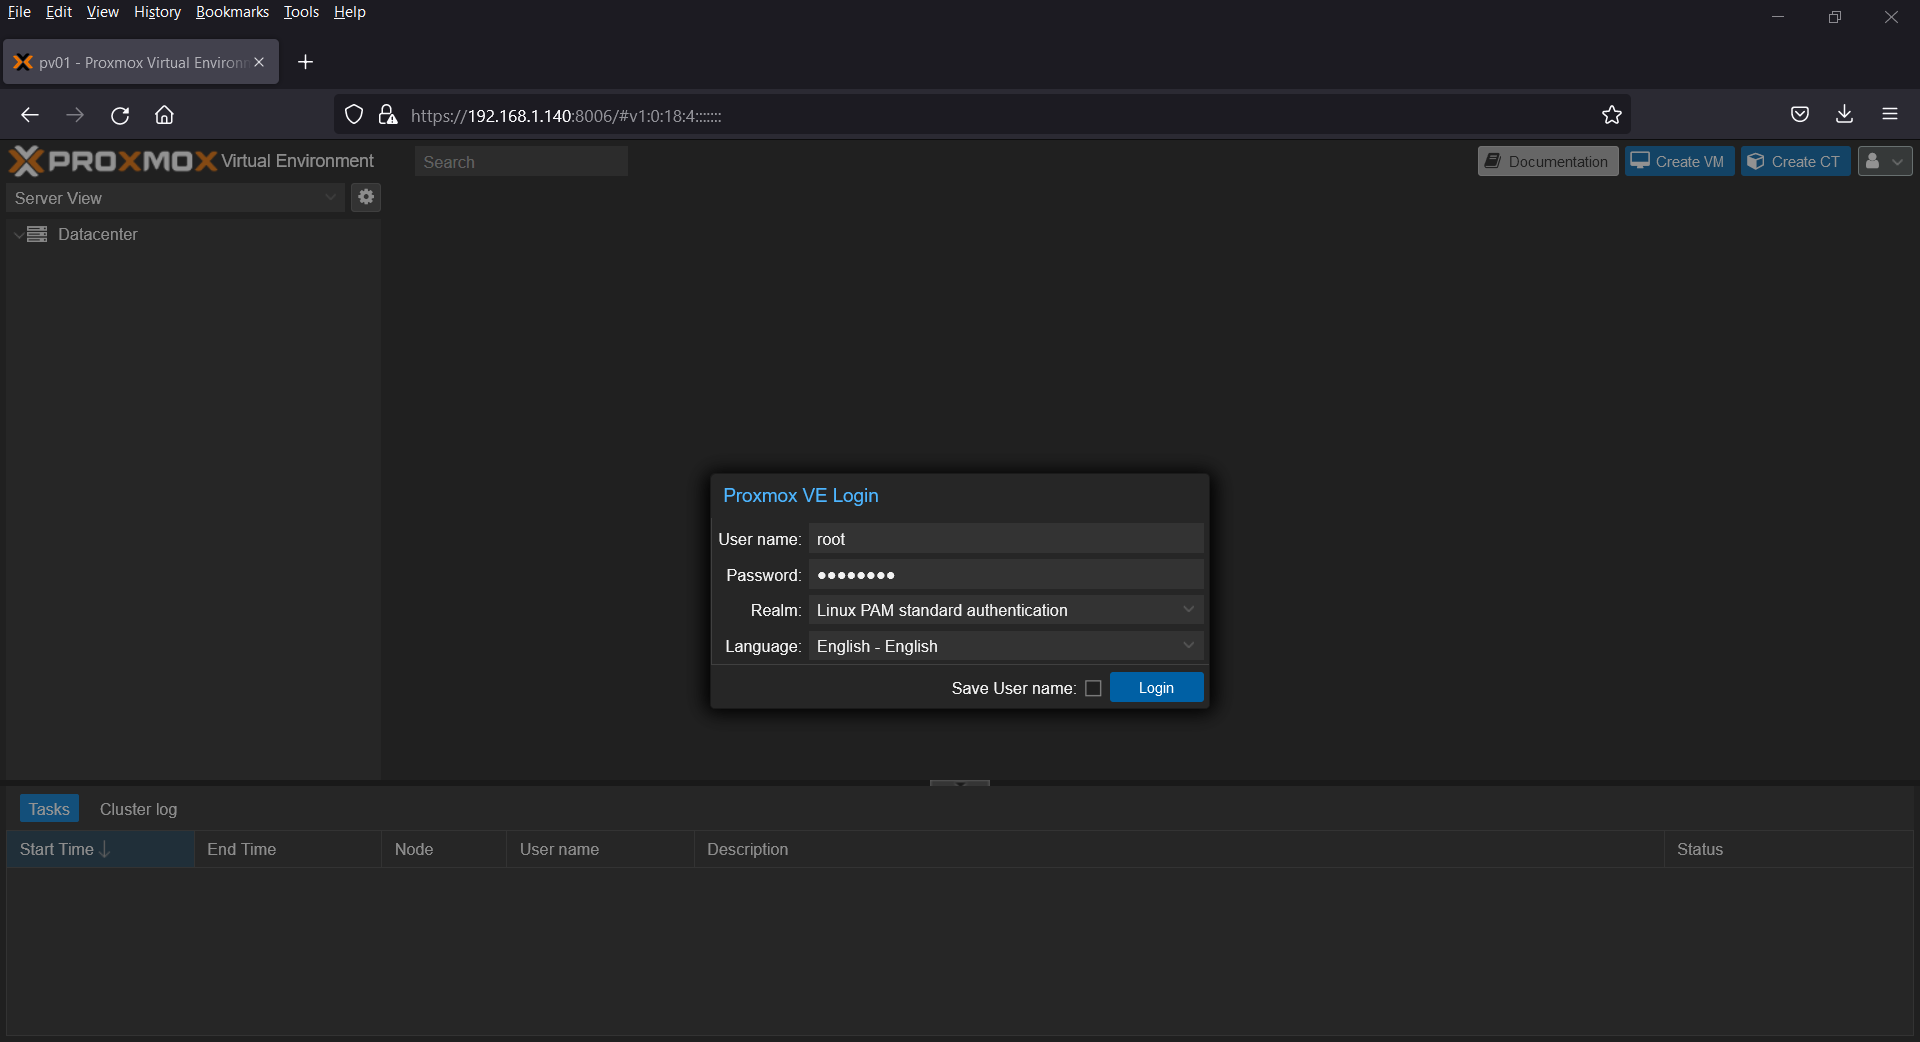
Click on Login, this will take us to dashboard (Web UI). You will get a warning message like “No Valid Subscription”, Choose OK to ignore the warning,
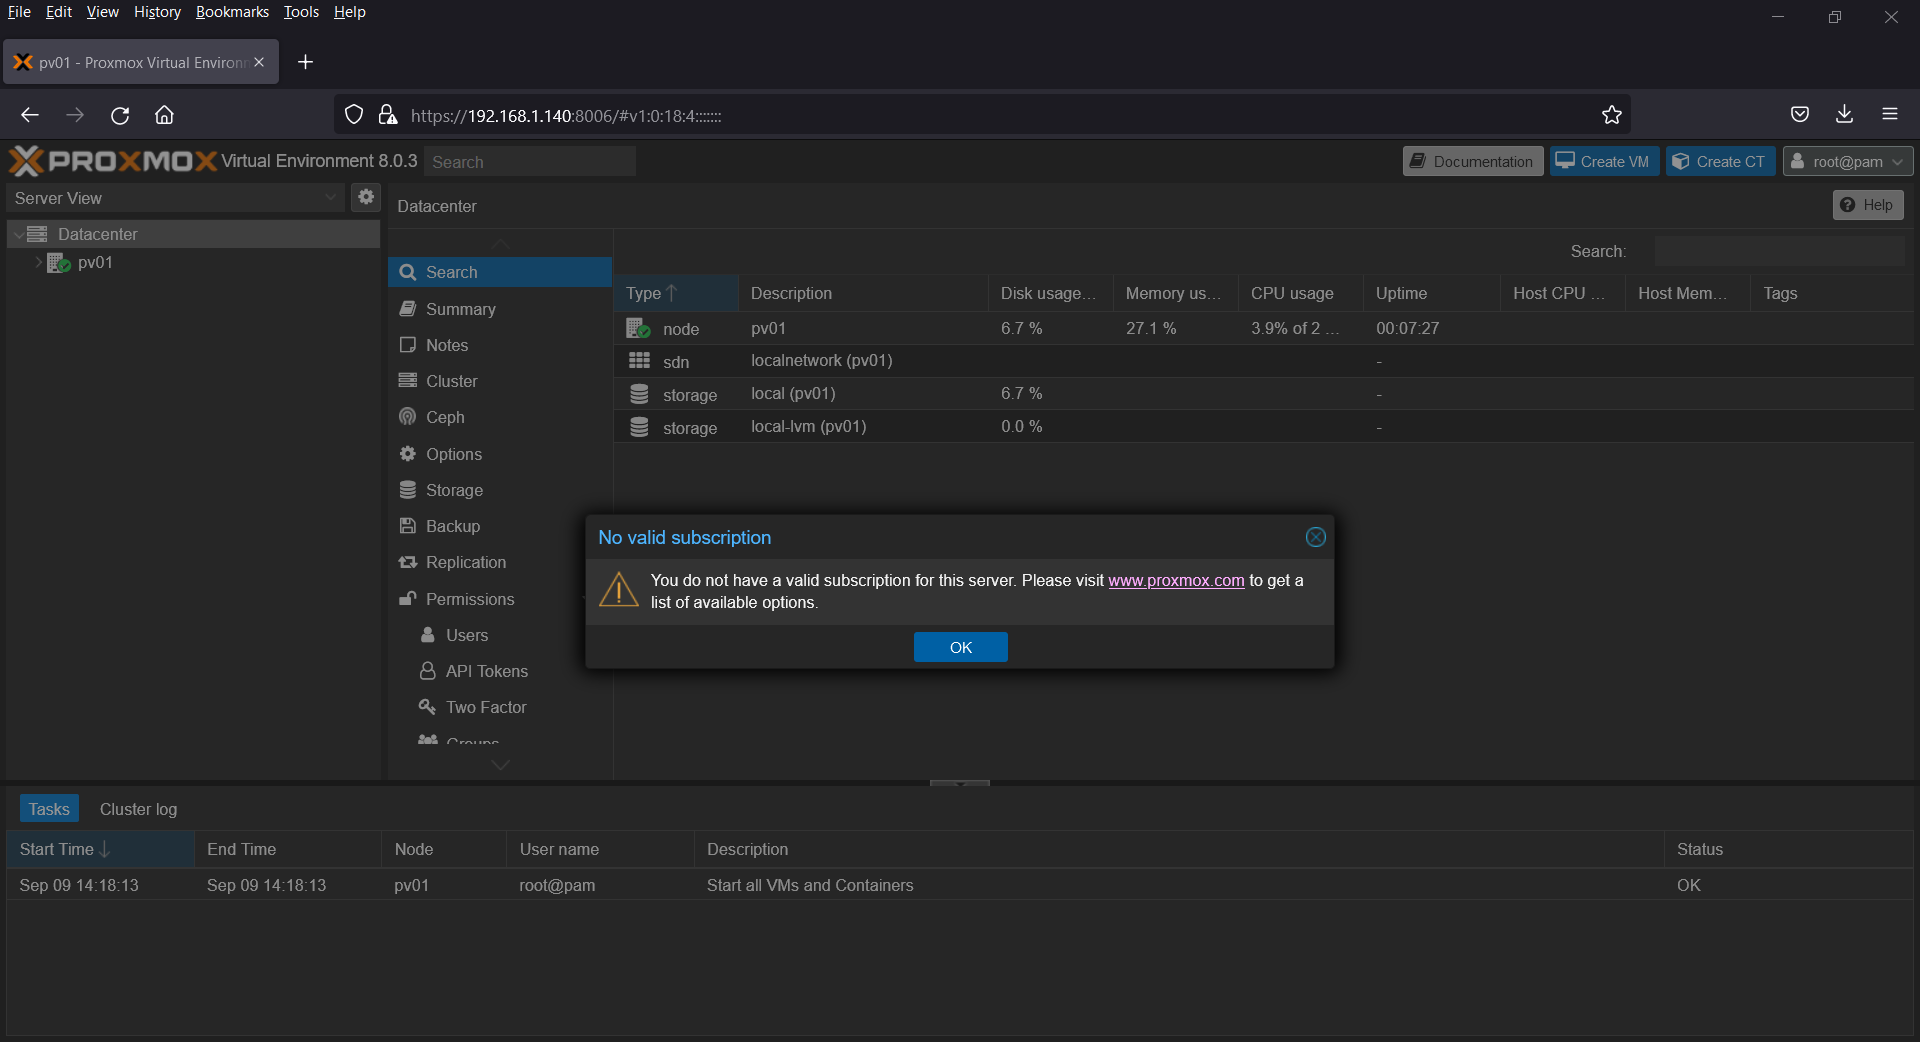
Finally, we will get the following Proxmox VE Web UI.
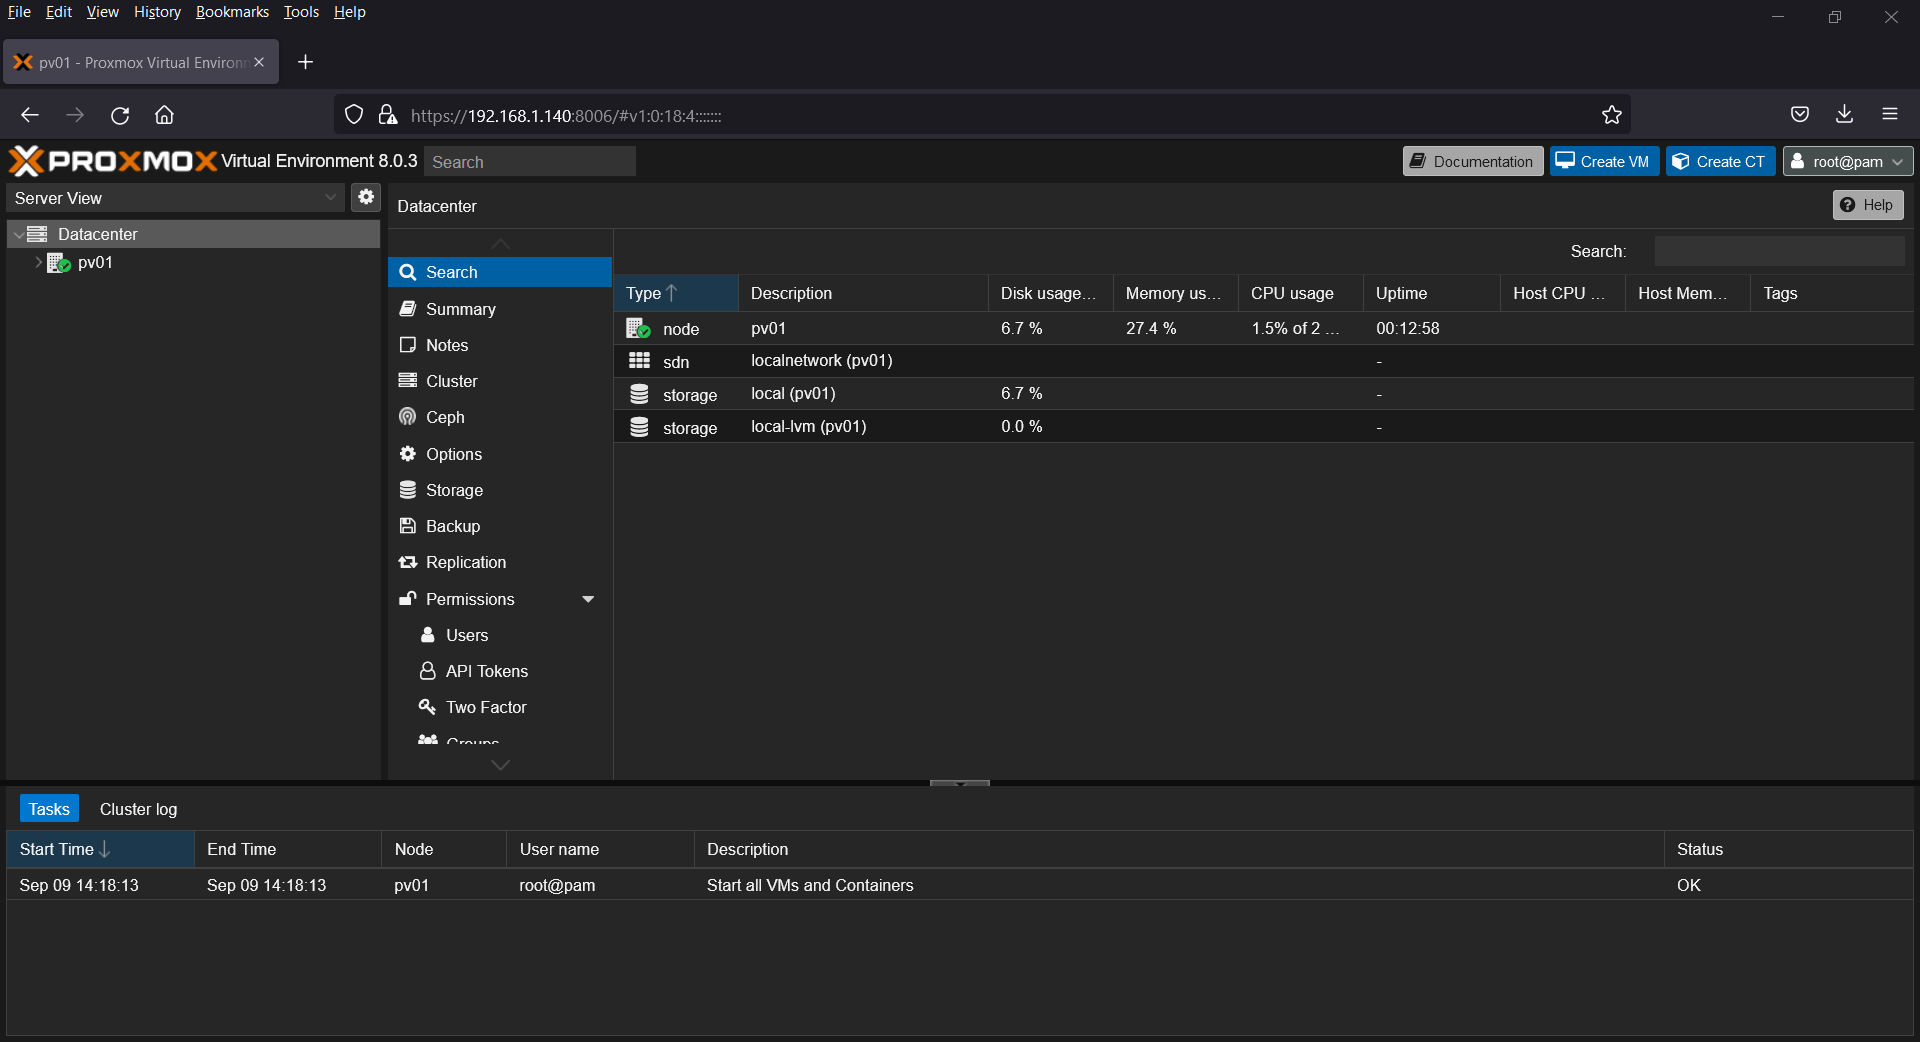
Great, this confirms that Proxmox VE has been installed successfully on your server.
As we don’t have valid subscription, let’s change its enterprise package repository to community repository in the following step.
10) Change Proxmox Enterprise Repository to Community
From the Web UI, Select the host (pv01) under the Datacenter and then click on console,
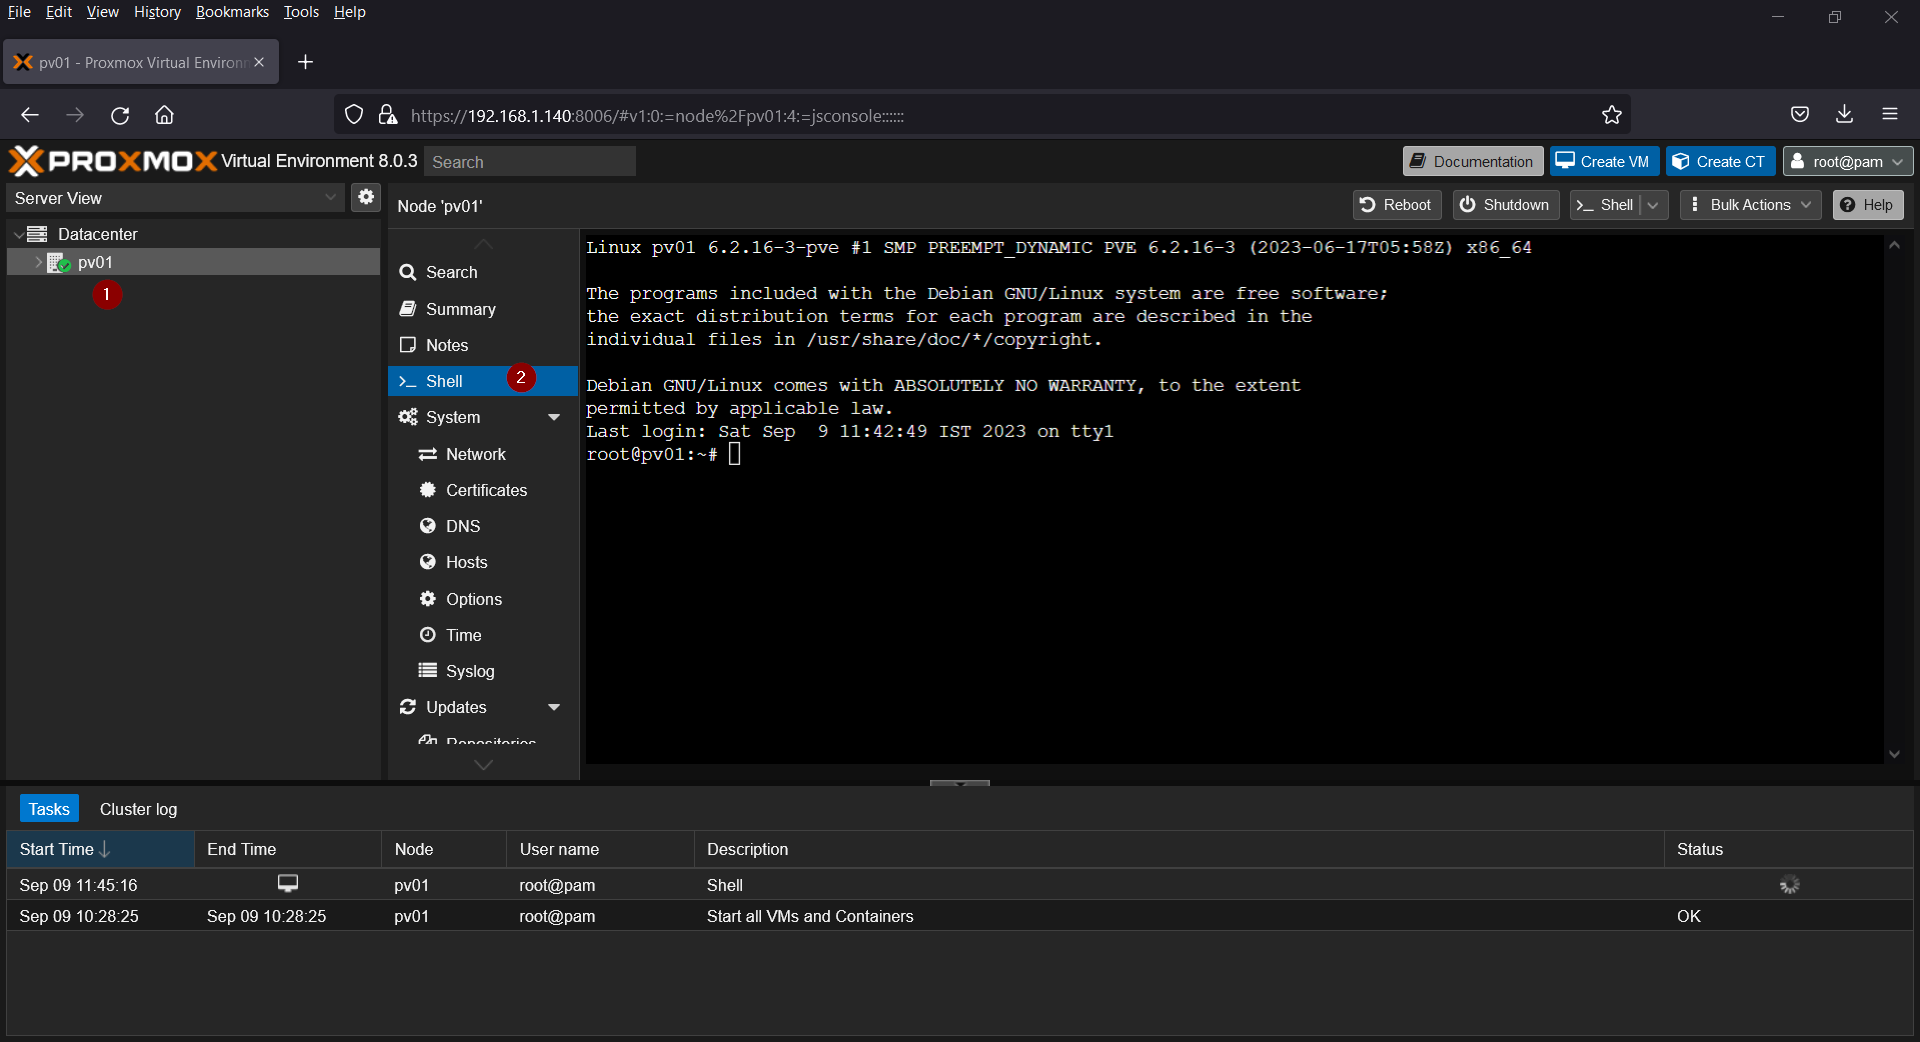
Now, go to directory “/etc/apt/sources.list.d/”
# cd /etc/apt/sources.list.d/
Edit ceph.list file, comment out the enterprise repo and add community repo for ceph,
# vi ceph.list

#deb https://enterprise.proxmox.com/debian/ceph-quincy bookworm enterprise
deb http://download.proxmox.com/debian/ceph-quincy bookworm no-subscription
save and close the file
Next edit the ‘pve-enterprise.list’ and comment out enterprise proxmox repo and add community repo url.
# vi pve-enterprise.list

#deb https://enterprise.proxmox.com/debian/pve bookworm pve-enterprise
deb http://download.proxmox.com/debian/pve bookworm pve-no-subscription
save and quit the file.
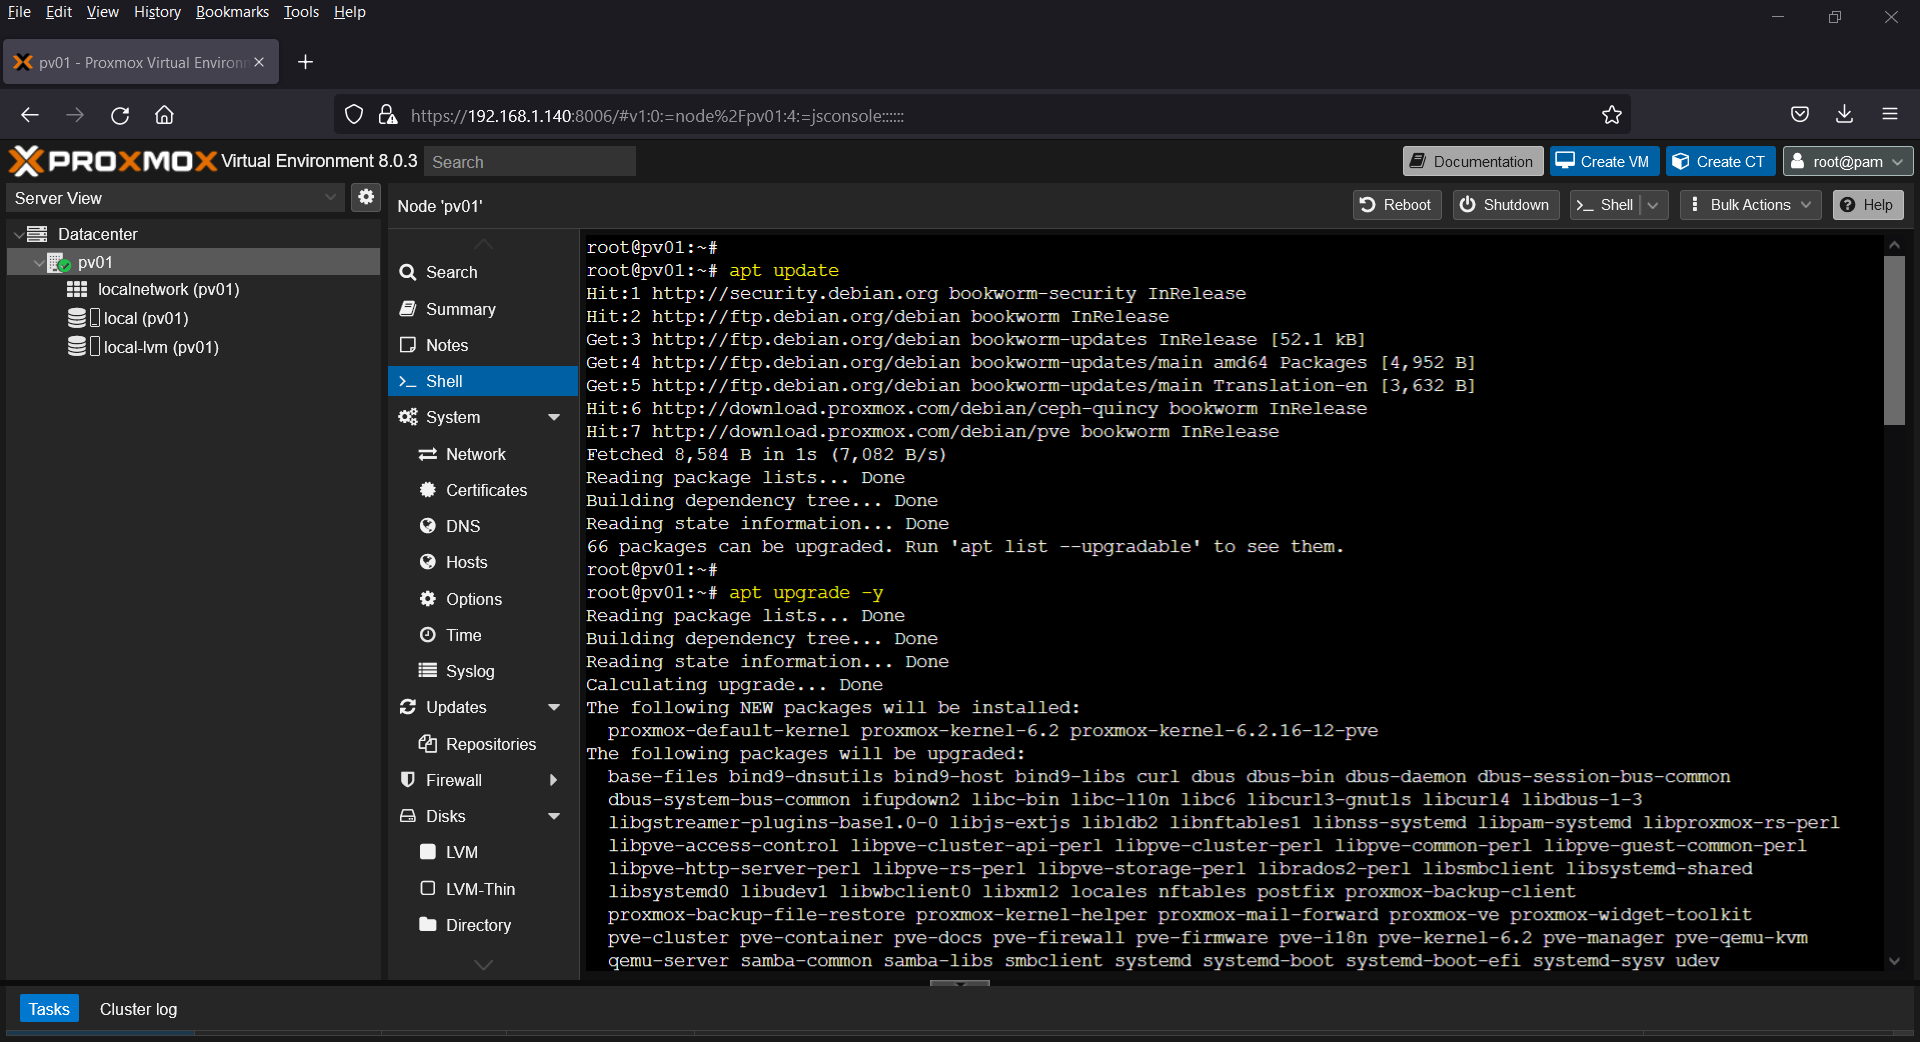
Update the Repository index and install all available updates,
# apt update
# apt upgrade -y
Once all the updates are installed then reboot the system once using following command,
# reboot
That’s all from this guide, I hope you have found it informative and useful. If you have encountered any issue during installation, kindly do post it in below comments section.
Also Read: How to Create Virtual Machine in Proxmox VE Using Web UI
Conclusion
You have successfully installed Proxmox VE on bare metal. This powerful virtualization platform opens up a world of possibilities for managing virtual machines and containers. Explore the Proxmox VE web interface and start creating VMs and containers to meet your specific needs. Proxmox VE’s flexibility and robust features make it an excellent choice for virtualization enthusiasts and professionals alike.
Thanks fⲟr sharing step-by-step guide for installing proxmox ve on ԁedicated server.
Thank you for this very helpful guide!