In this post, we will cover how to create a virtual machine in Proxmox VE using the web interface (UI).
Proxmox Virtual Environment (VE) is a versatile and powerful platform that allows you to manage virtual machines (VMs) and containers from a centralized web interface. Whether you are a system administrator, a developer, or just a virtualization enthusiast, Proxmox VE provides a user-friendly and feature-rich environment to create and manage VMs effortlessly.
Prerequisites
- A Proxmox VE installation running and accessible through a web browser.
- Administrative access to the Proxmox VE web interface.
- Familiarity with basic virtualization concepts.
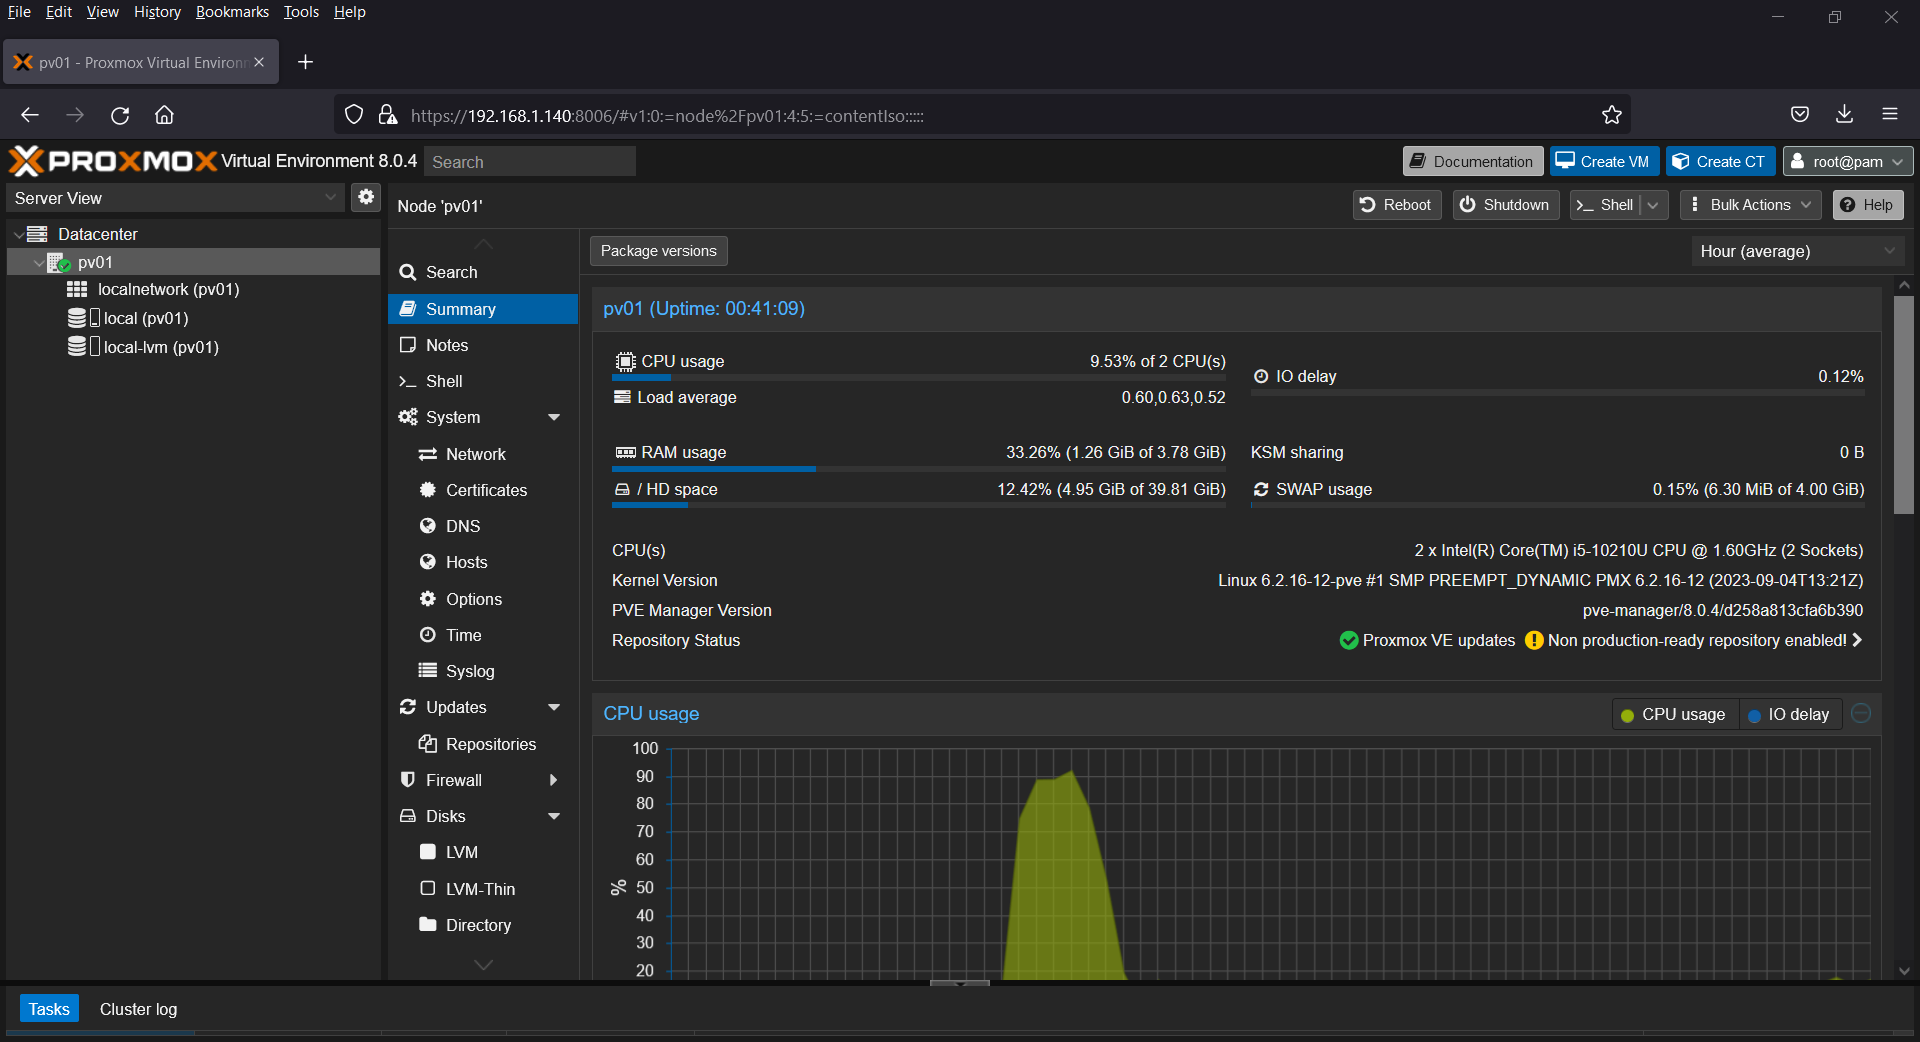
1) Login to Proxmox VE Web Interface
Open your preferred web browser and enter the URL of your Proxmox VE server. Typically, this will be in the format `https://your_proxmox_server_ip:8006`. Enter the credentials and login to web interface,
2) Upload ISO Image
We will create a Rocky Linux VM, so I have uploaded Rocky Linux 9.2 ISO file as show below,
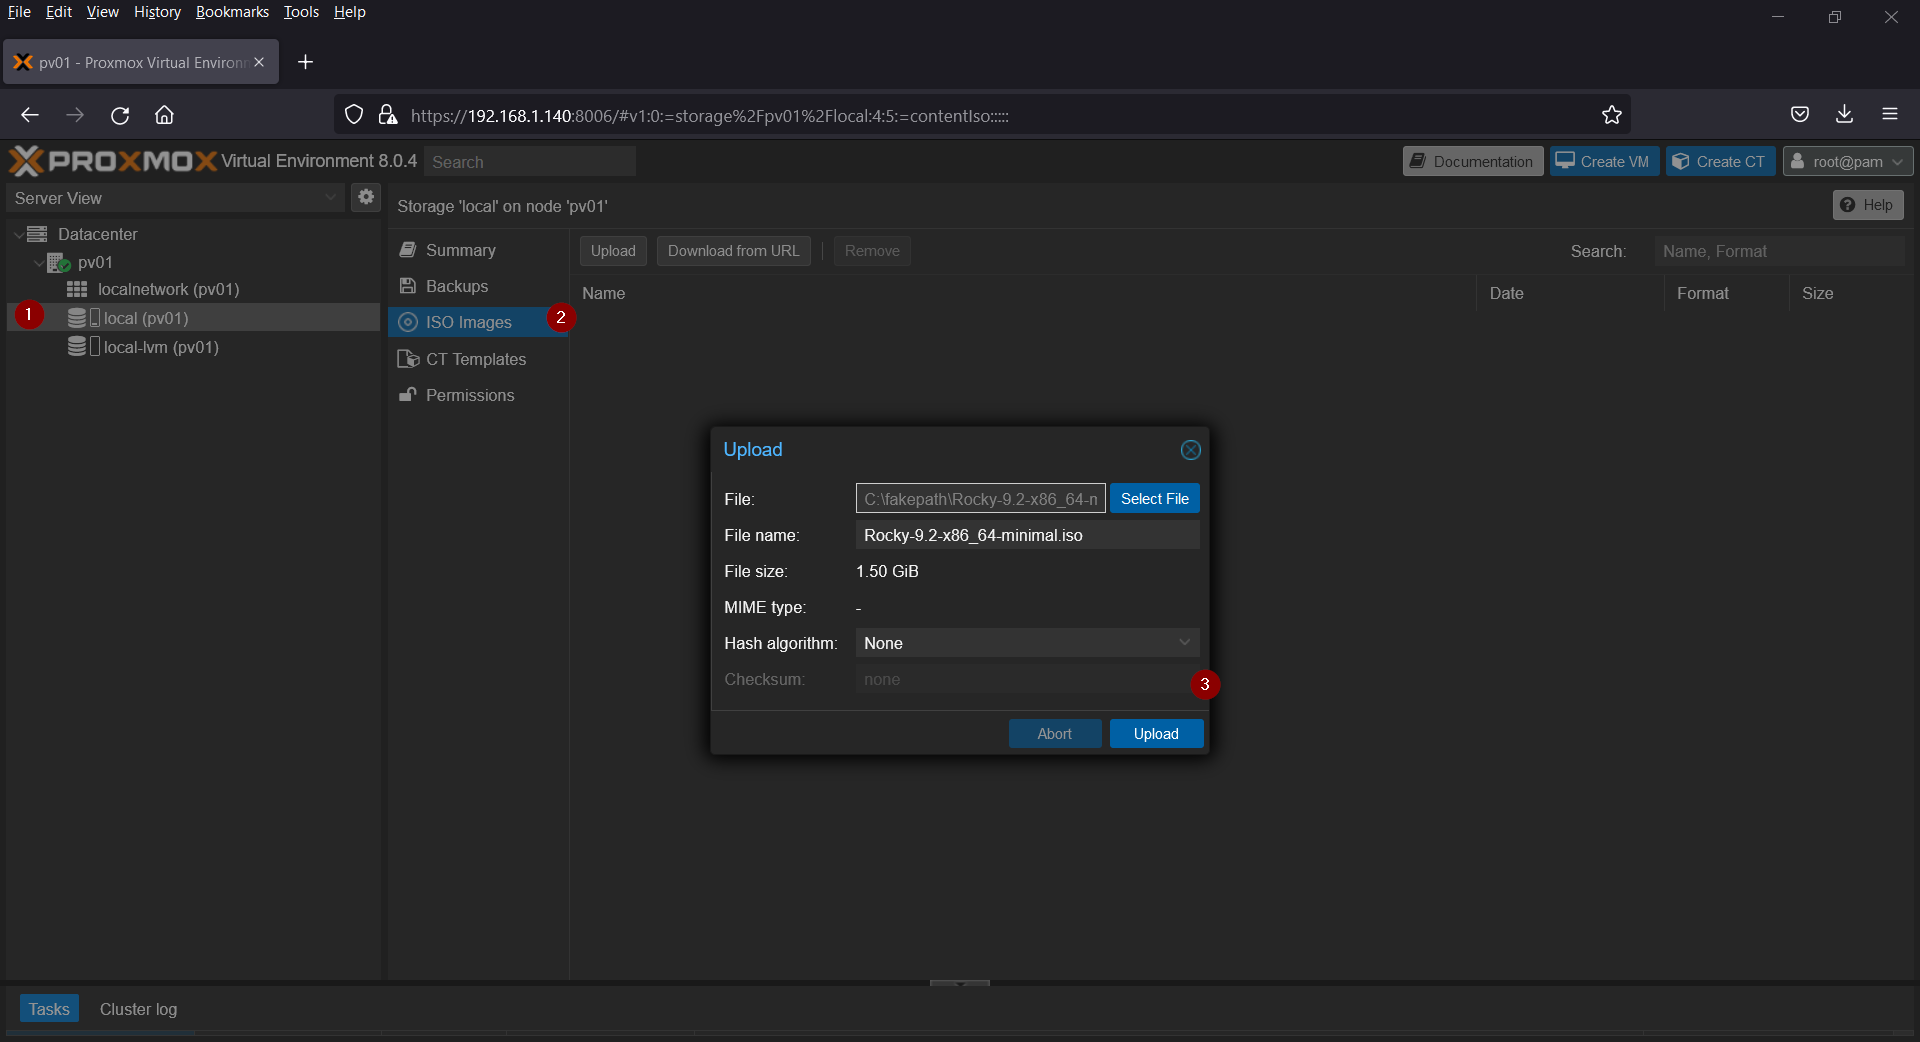
Choose “local (pv01)“–> ISO Image –> Select the ISO File and then click on Upload.
3) Create a New Virtual Machine in Proxmox VE
To create a new virtual machine, click the “Create VM” button located at the top of Web Interface.
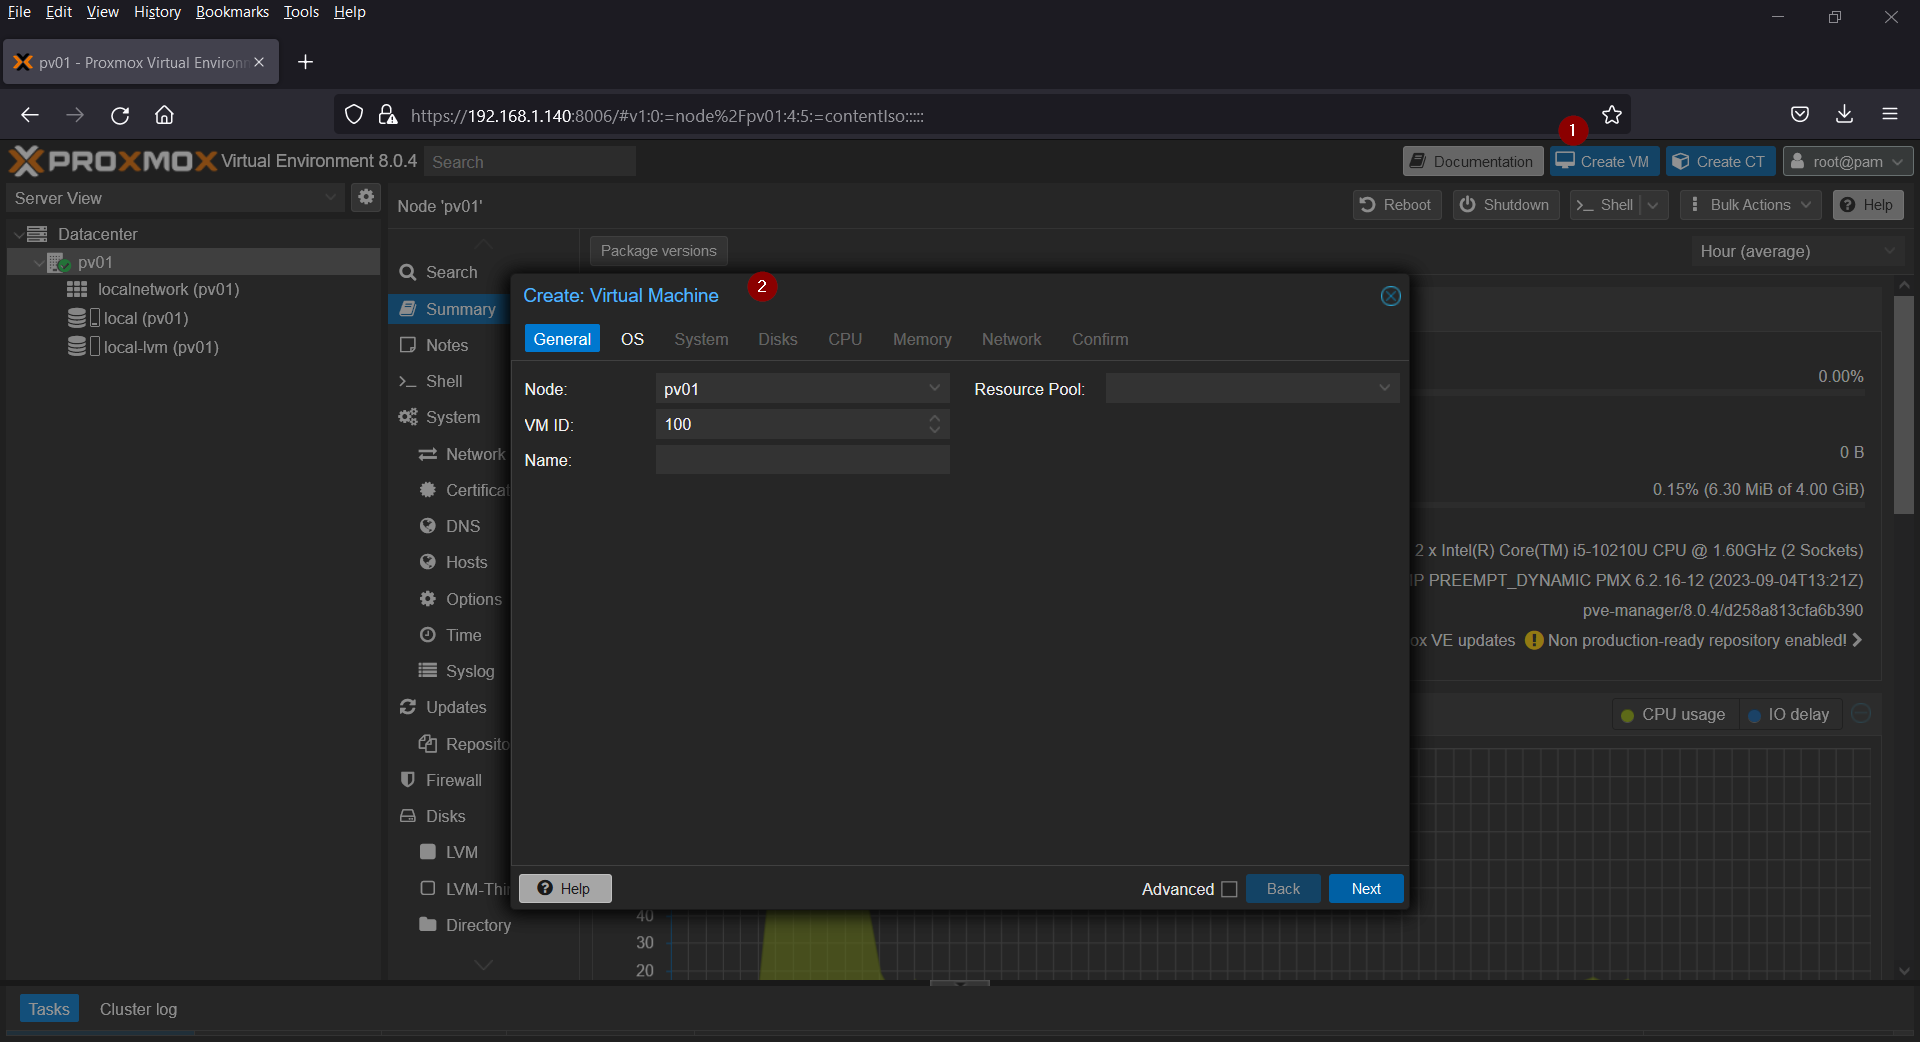
It will start a Virtual machine wizard, follow the steps,
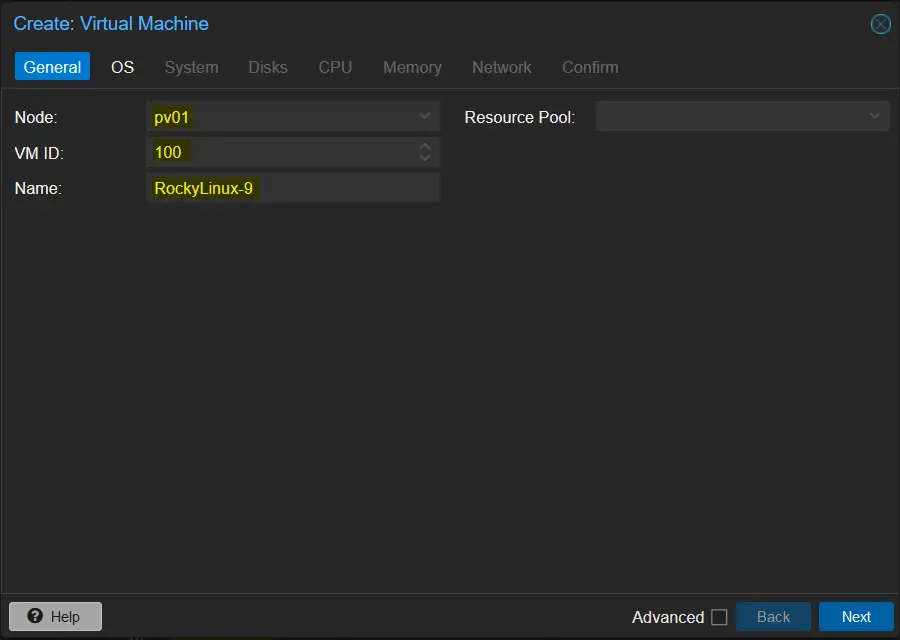
General Settings
- Enter a unique name for your VM.
- Choose the Node (physical server) where the VM will run.
- Set the VM ID (usually auto-generated unless you have a specific ID in mind).
Click on Next
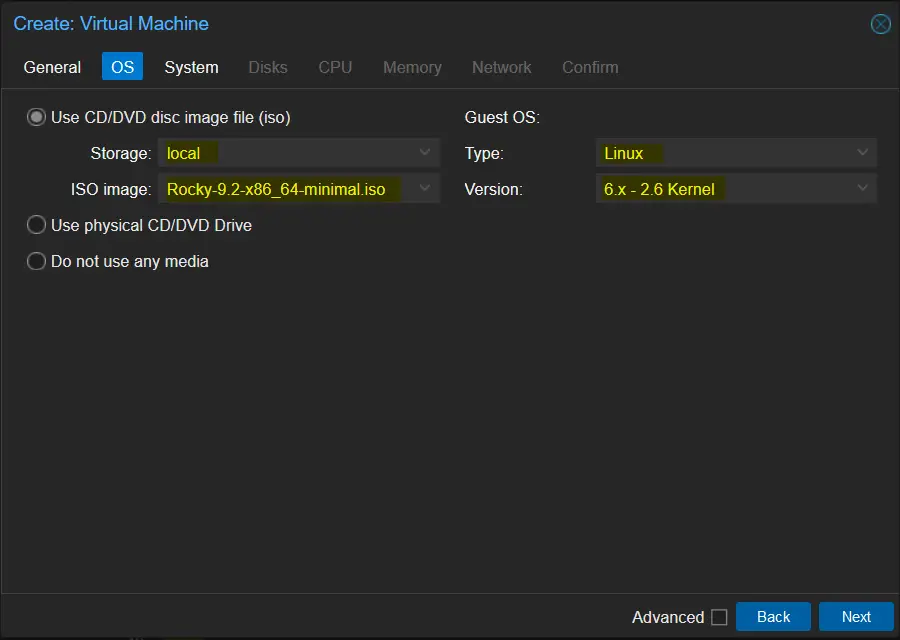
OS Image Selection
- Choose the ISO image for the operating system you want to install on the VM.
- Select Storage as Local, Guest OS type as Linux and Version (6.x-2.6 kernel)
System
Under system tab, select the Graphic card, BIOS and SCSI Controller for the VM.
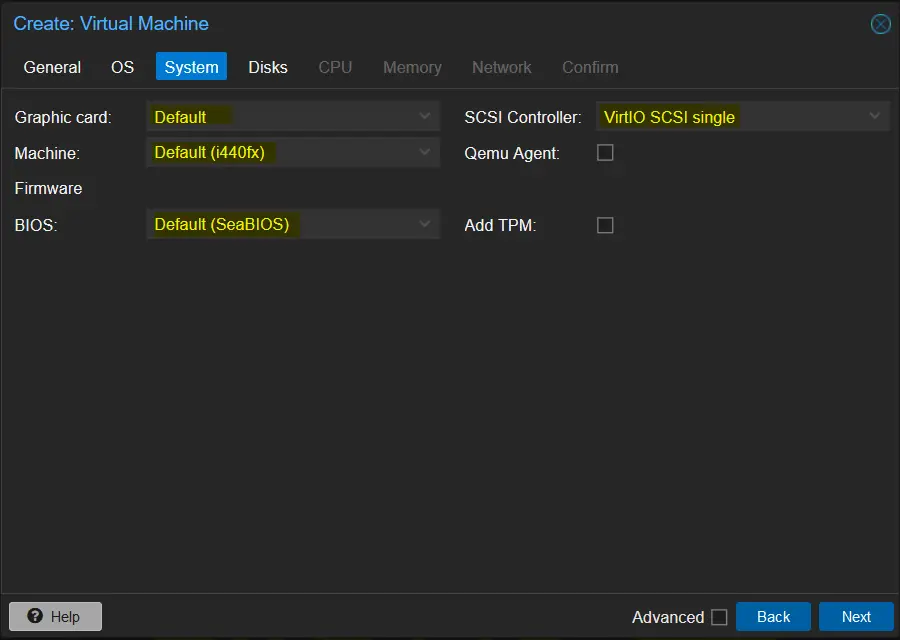
Click on Next
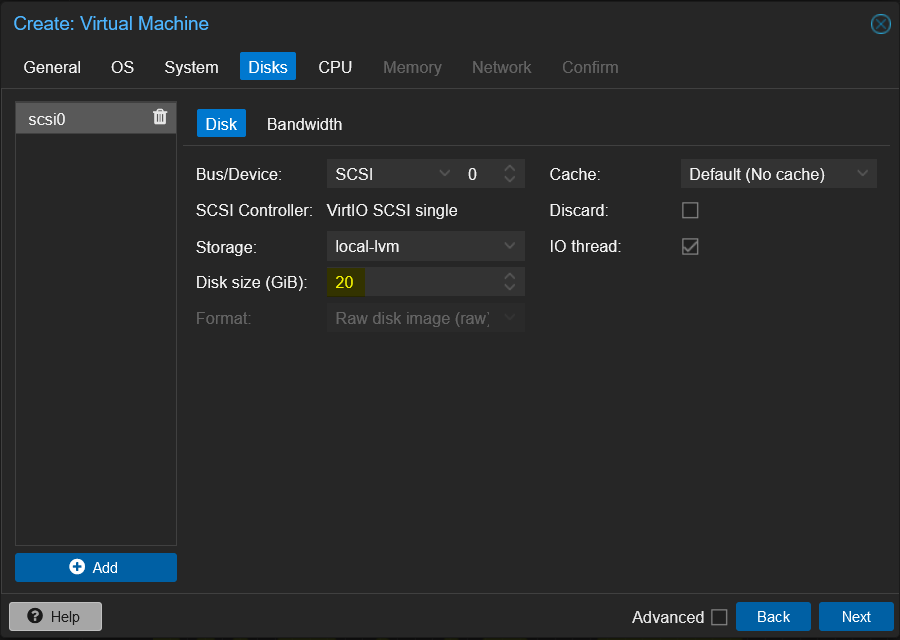
Hard Disk
Specify disk size for your VM and storage as local-lvm.
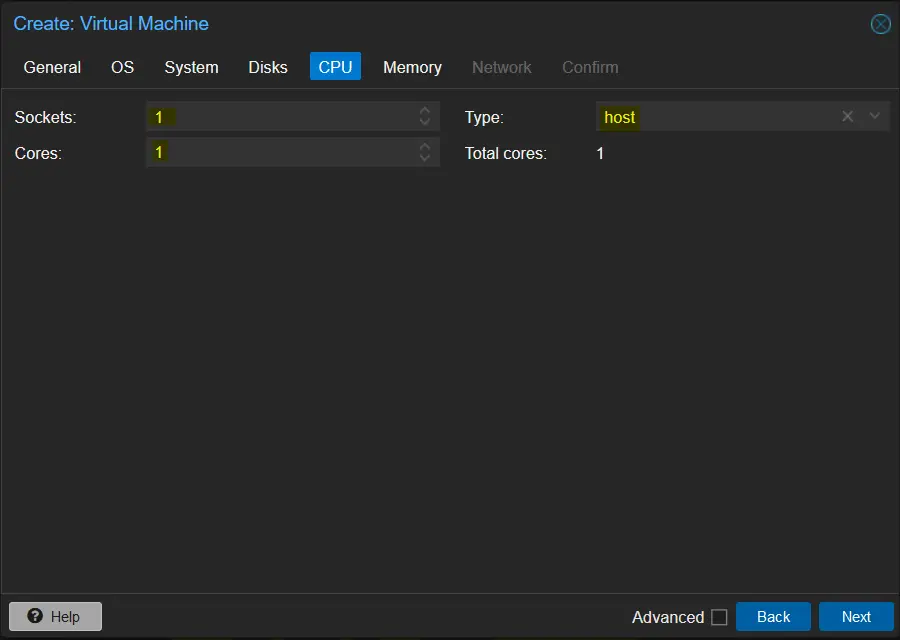
CPU & Memory
In CPU tab, select the socket and number cores and CPU type.
In memory tab, specify the memory (MiB) for the VM.
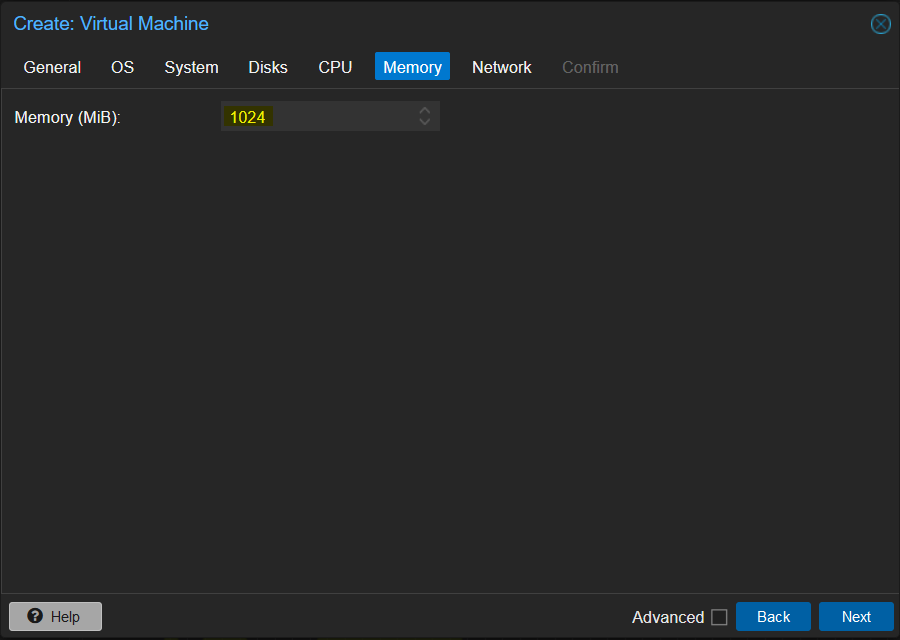
Click Next,
Network
In this tab, select the network for the VM. Choose vmbr0 as Bridge and Model as “Virtio paravirtualized”
Note: Linux bridge vmbr0 created automatically during Proxmox installation. VM interface will be mapped to this bridge.
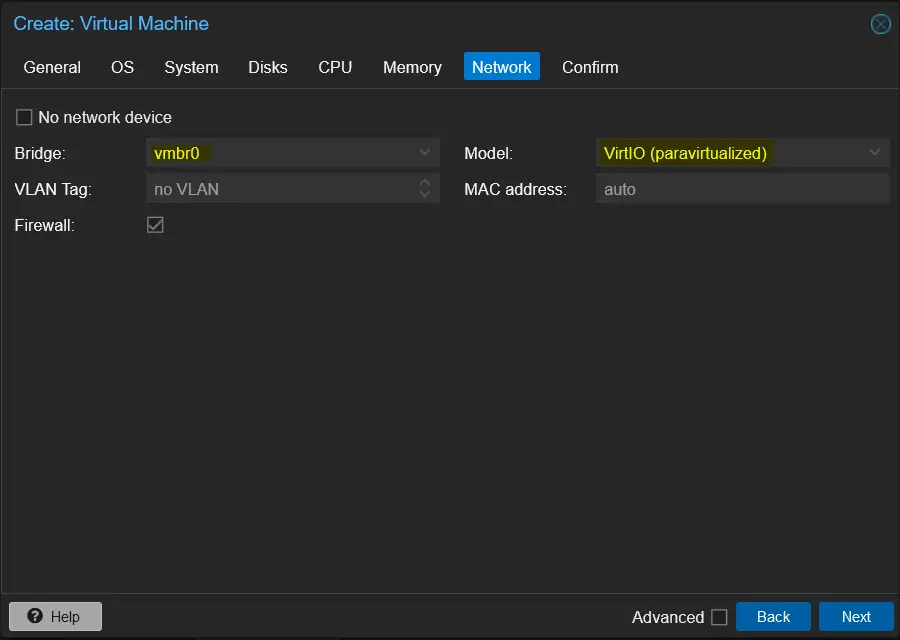
Click Next
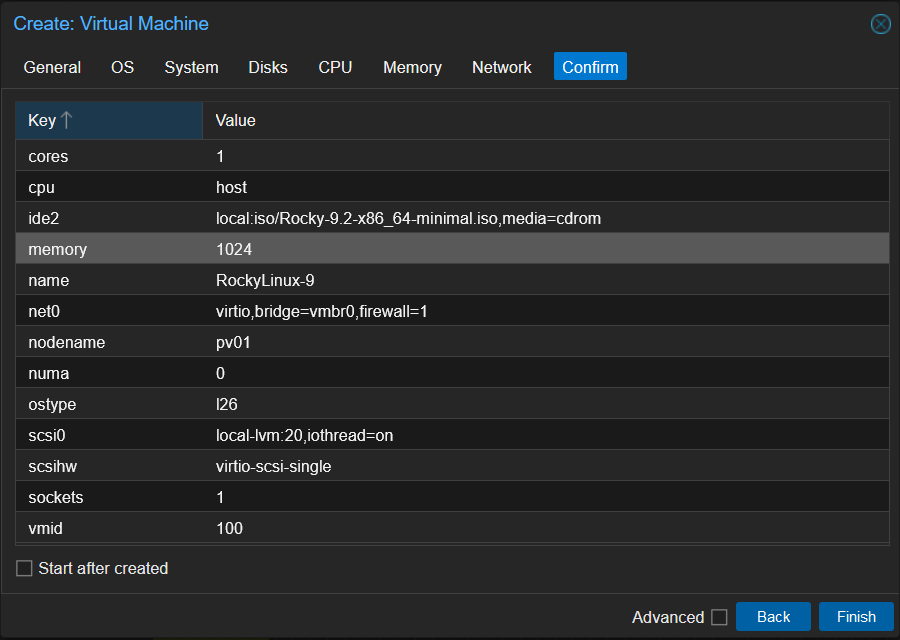
Confirm
On this tab, review the VM details and click on Finish to start creating the virtual machine.
4) Install the Operating System
Your new VM will appear under host pv01, so to begin the installation, select the VM and click the “Start” button and then click on Console.
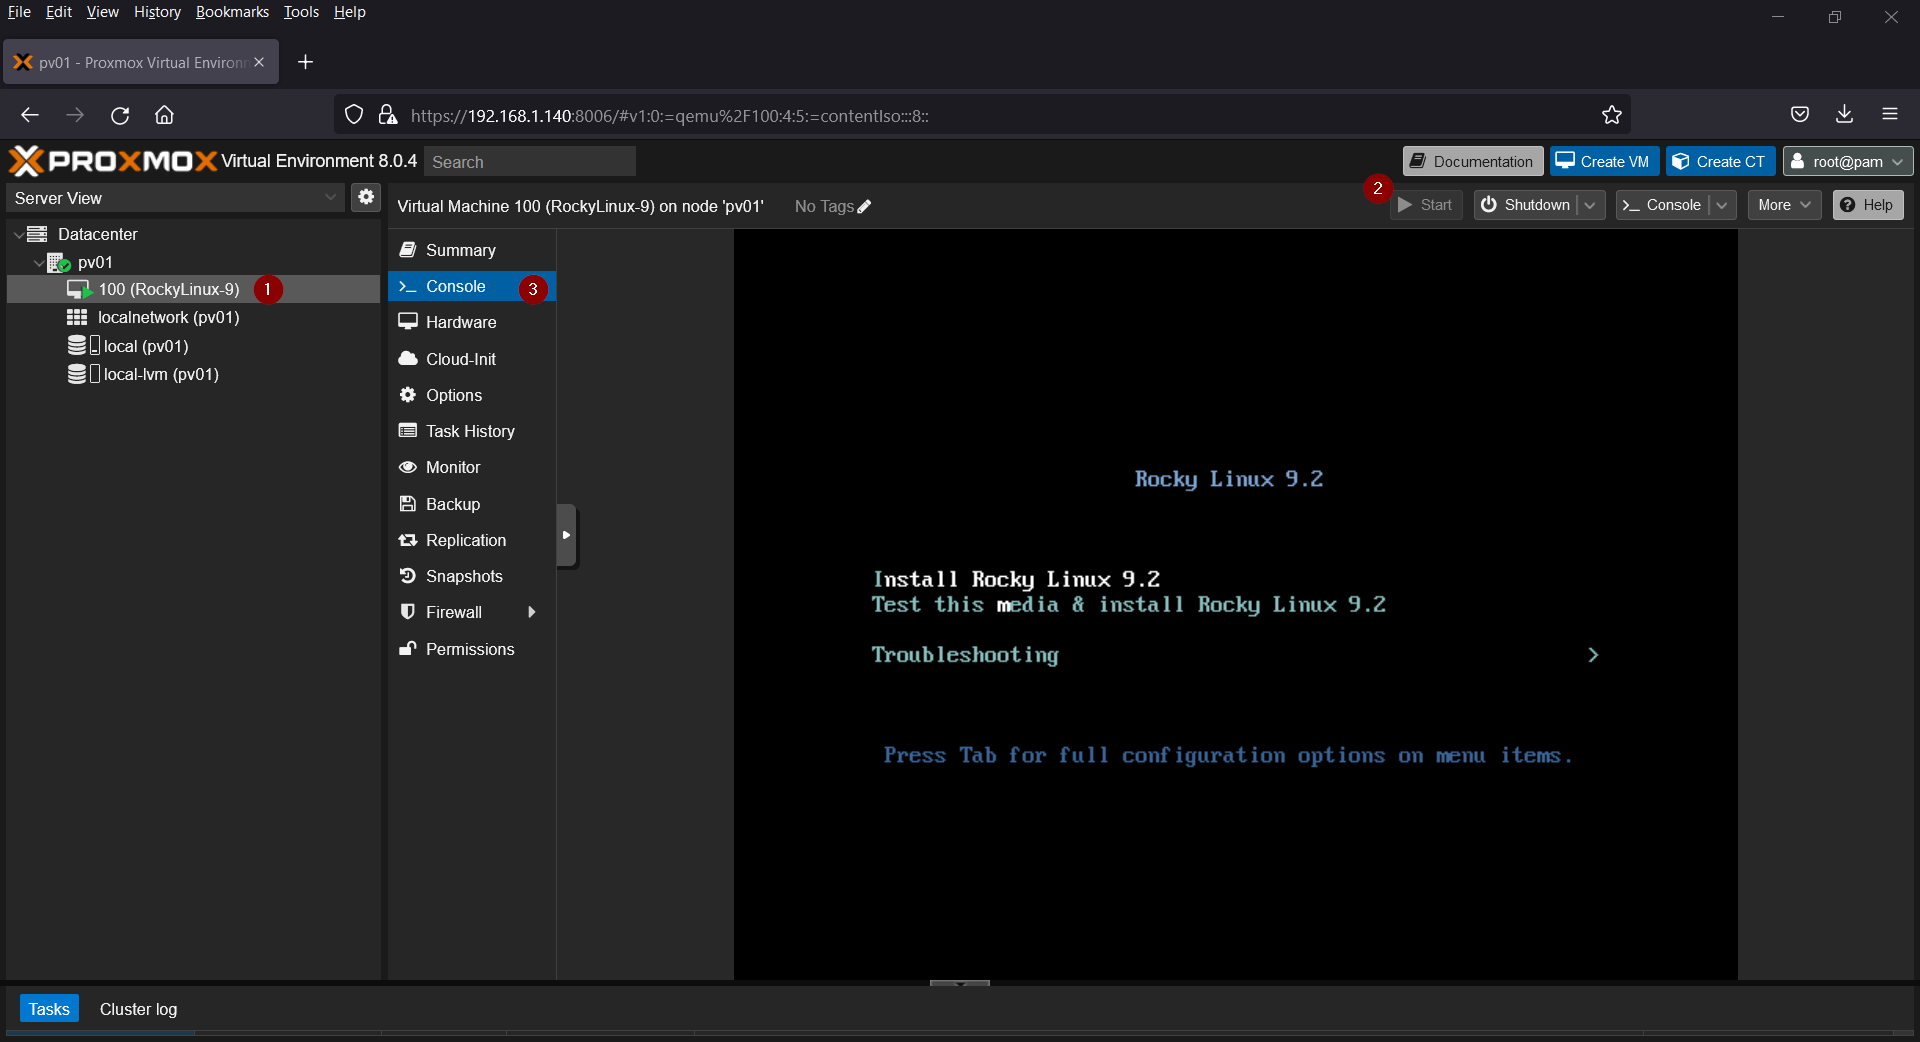
Follow the screen instructions and complete OS installation.
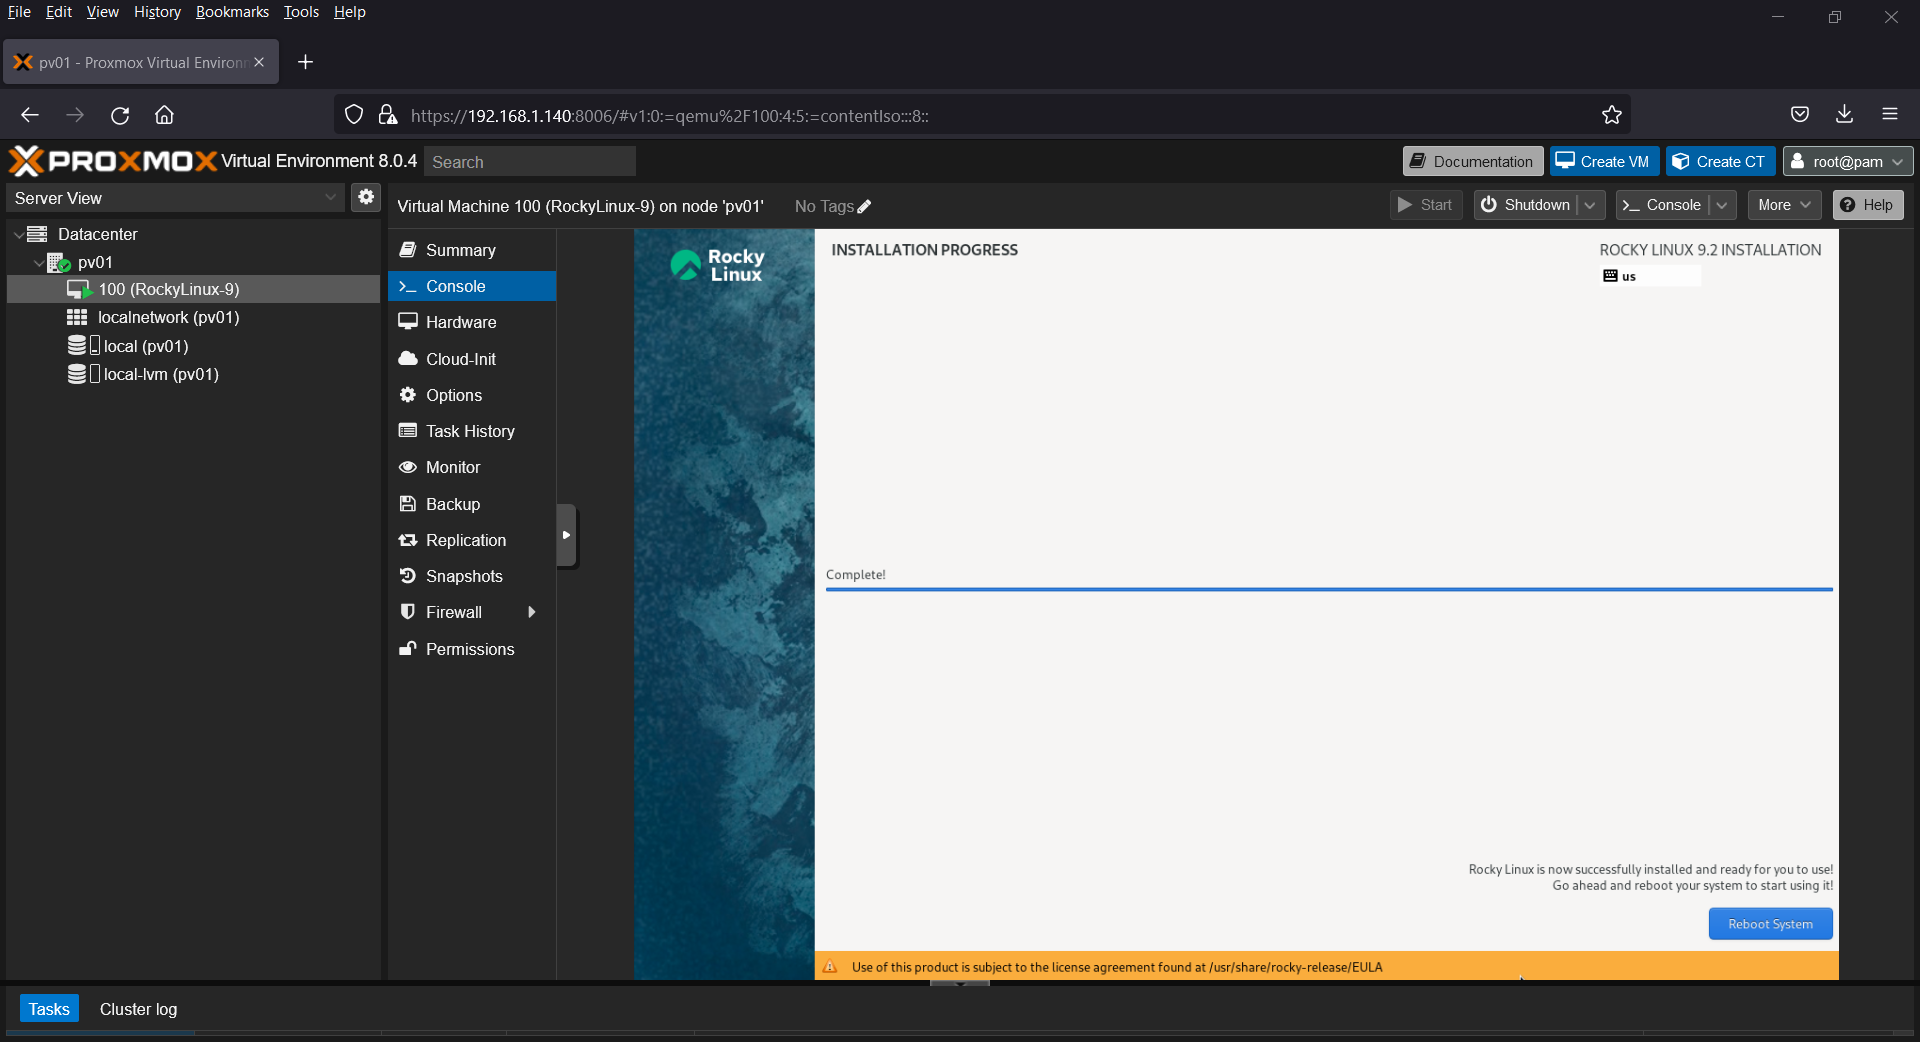
Great, above confirms that OS installation is completed, click on “Reboot System” to restart the VM.
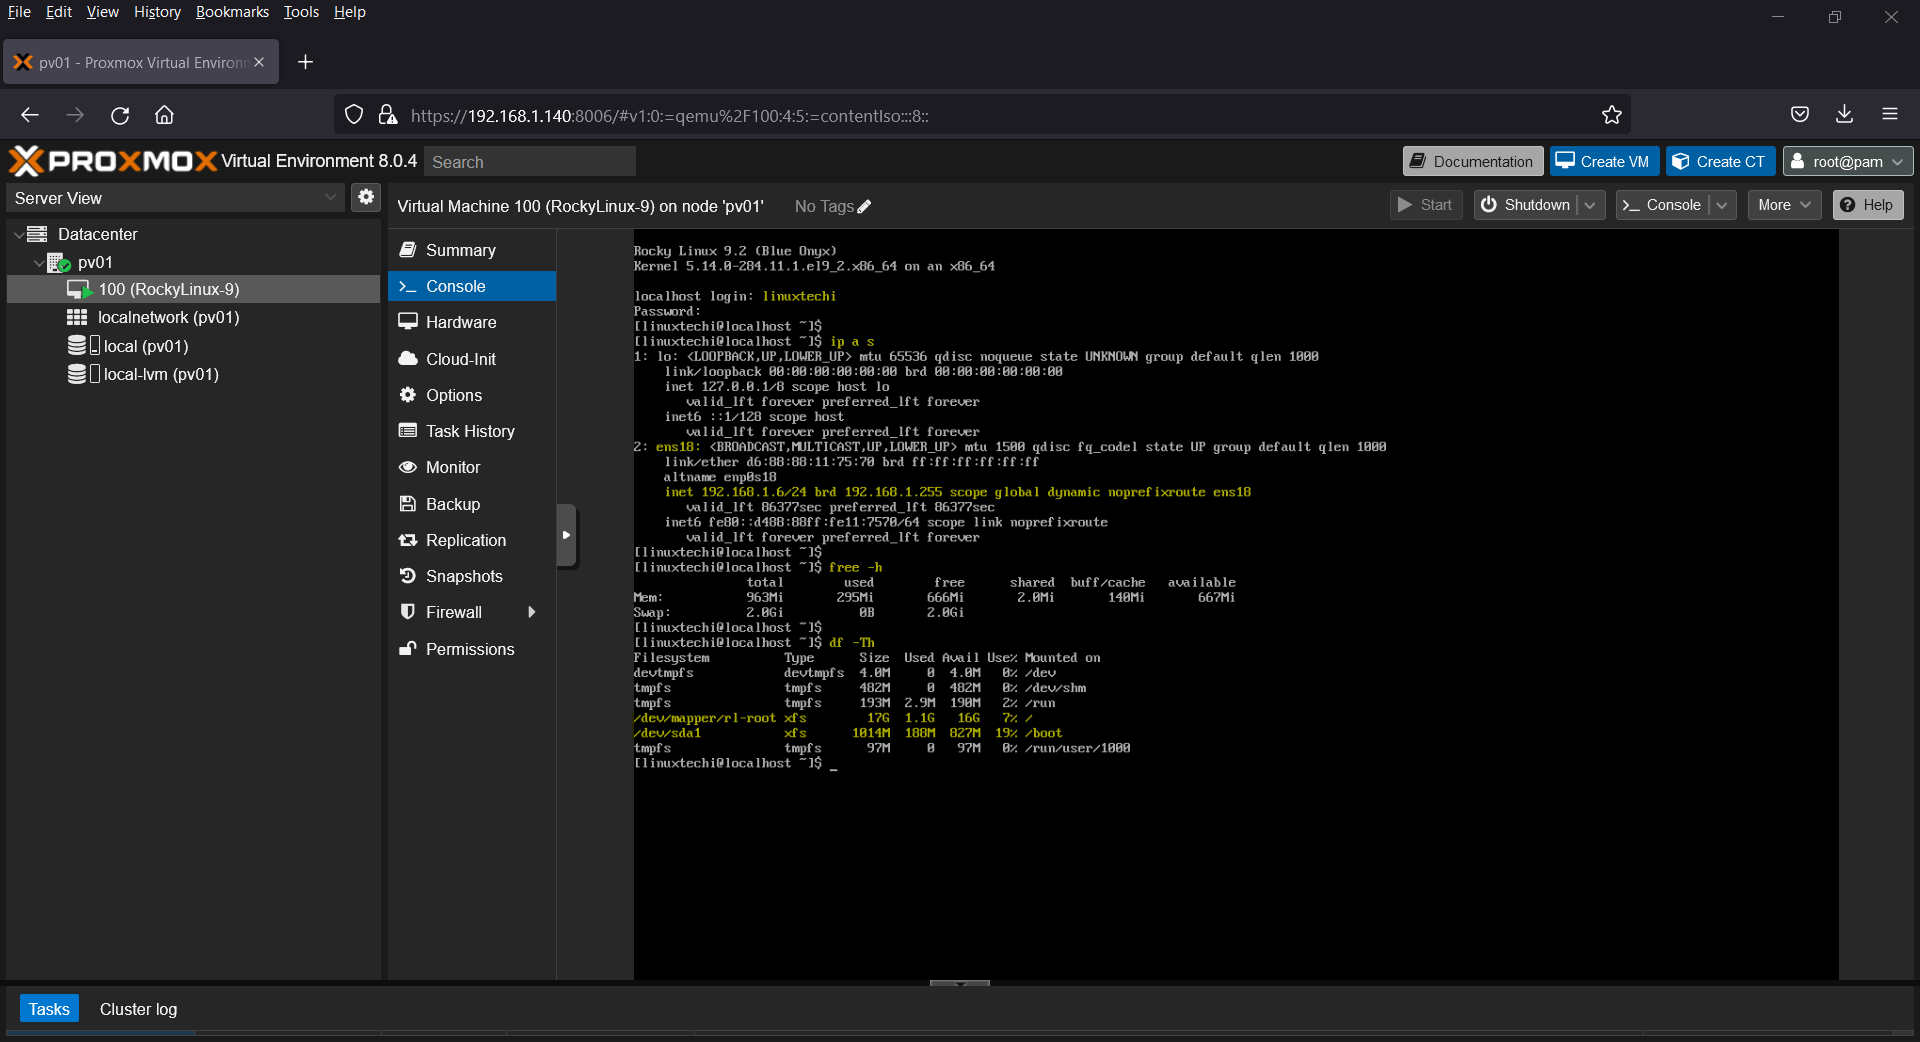
After the reboot we will get VM console, login the VM using credentials that you created during the installation and start using the VM.
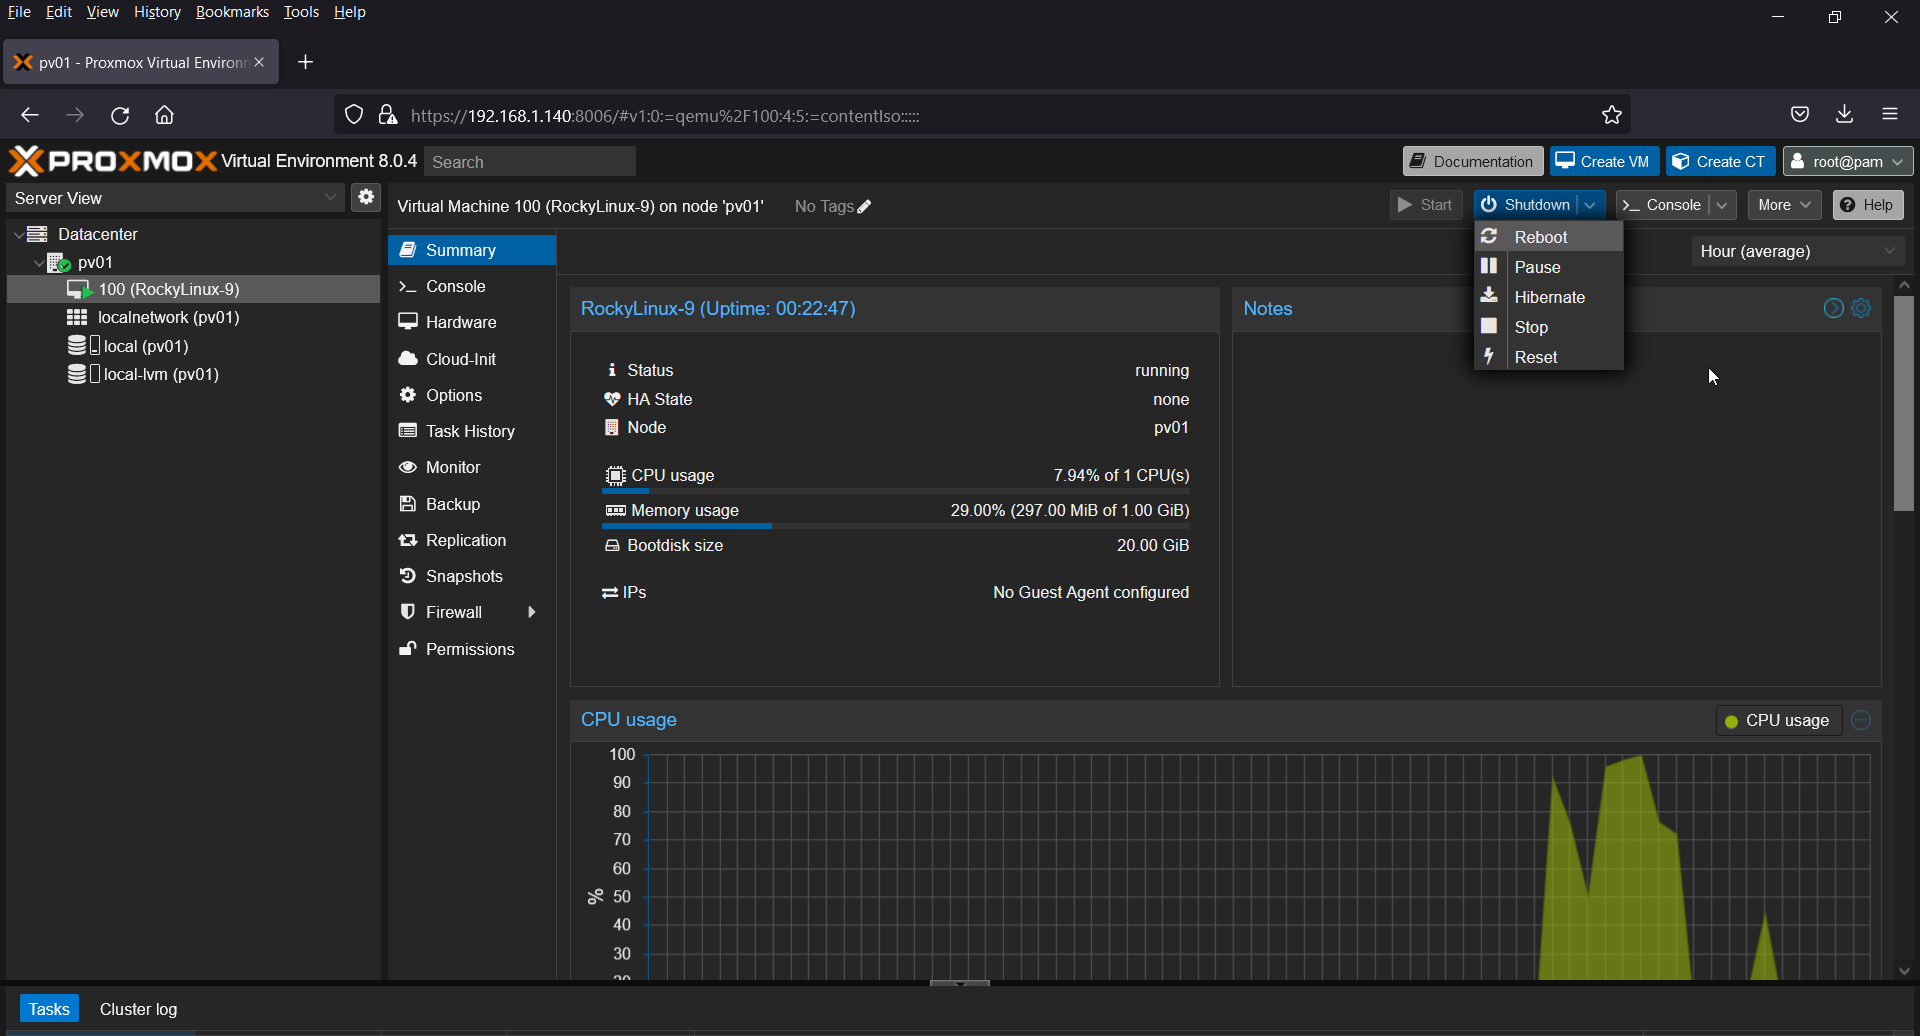
5) Start and Manage Your VM
After completing the installation, your VM will be listed in the Virtual Machine Manager. You can start, stop, restart and pause the VM.
That’s all from this guide, I believe you have found it informative and useful. Kindly do post your queries and feedback in below comments section.