In this guide, we will show you how to install Rancher on Ubuntu 22.04 (Jammy Jellyfish).
What is Rancher?
Rancher is an opensource container management software stack for teams deploying applications on containers. It provides DevOps teams with an assortment of tools for running and managing containerized workloads while addressing security and operational challenges that come with managing multiple Kubernetes clusters.
Rancher helps streamline cluster deployment on various computing environments including on-premises (bare metal), public and private clouds and secure them using globally accepted security policies. With Rancher, you can easily launch Kubernetes compute nodes directly from the Rancher WebUI, which it provides out-of-the-box.
Prerequisites
Before you embark on this guide, here is what you need.
- An instance of Ubuntu 20.04 with SSH access
- A regular user configured with sudo privileges
- 2 CPU Core & 4 GB RAM
With that out of the way, let’s begin:
Step 1) Install Docker
Rancher is usually deployed as a docker container, and as a result, you need to install Docker. This is an opensource containerization engine that offers OS-Level virtualization and allows developers to develop, package and run applications inside containers.
To install Docker, first, uninstall or delete older versions of Docker as follows. This is only if you have an existing Docker installation.
$ sudo apt remove -y docker docker-engine docker.io containerd runc
Next, install Docker as follows.
$ sudo apt install -y docker.io
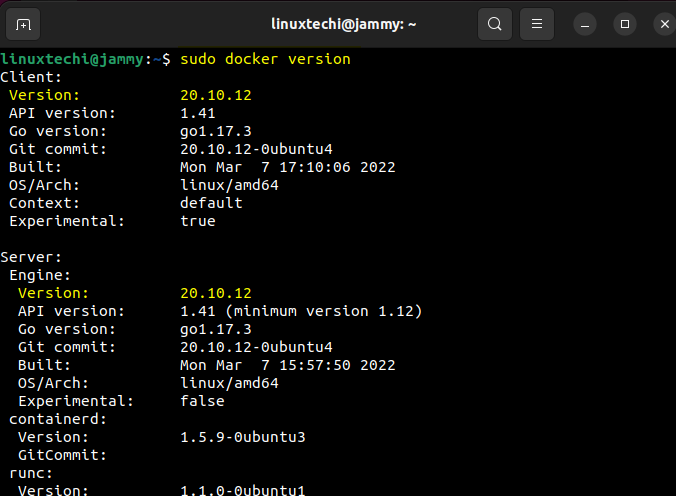
Once installed, do confirm that the installation went along as expected by checking the version of Docker installed.
$ docker version
In addition, add the currently logged-in user to the Docker group to enable them to run Docker commands without sudo privileges.
$ sudo usermod -aG docker $USER
Then activate the changes to groups.
$ newgrp docker
Step 2) Start and Enable Docker Service
With Docker installed, the next service is to start and enable the Docker daemon. To start Docker, simply run the command:
$ sudo systemctl start docker
It’s also prudent to ensure that the service starts every time during system startup.
$ sudo systemctl enable docker
To confirm that the Docker service is running, run the command:
$ sudo systemctl status docker
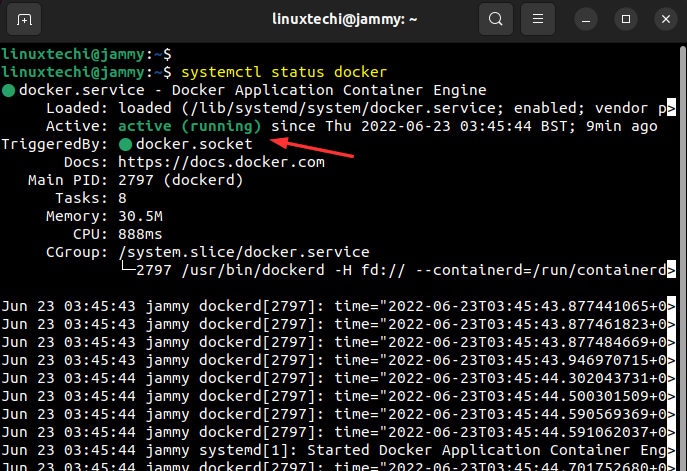
From the output shown, we can see that Docker is up and running.
Step 3) Install Rancher
The next step, after installing Docker, is to install Rancher.
$ docker run -d --name=rancher-server --restart=unless-stopped -p 80:80 -p 443:443 --privileged rancher/rancher:v2.4.18
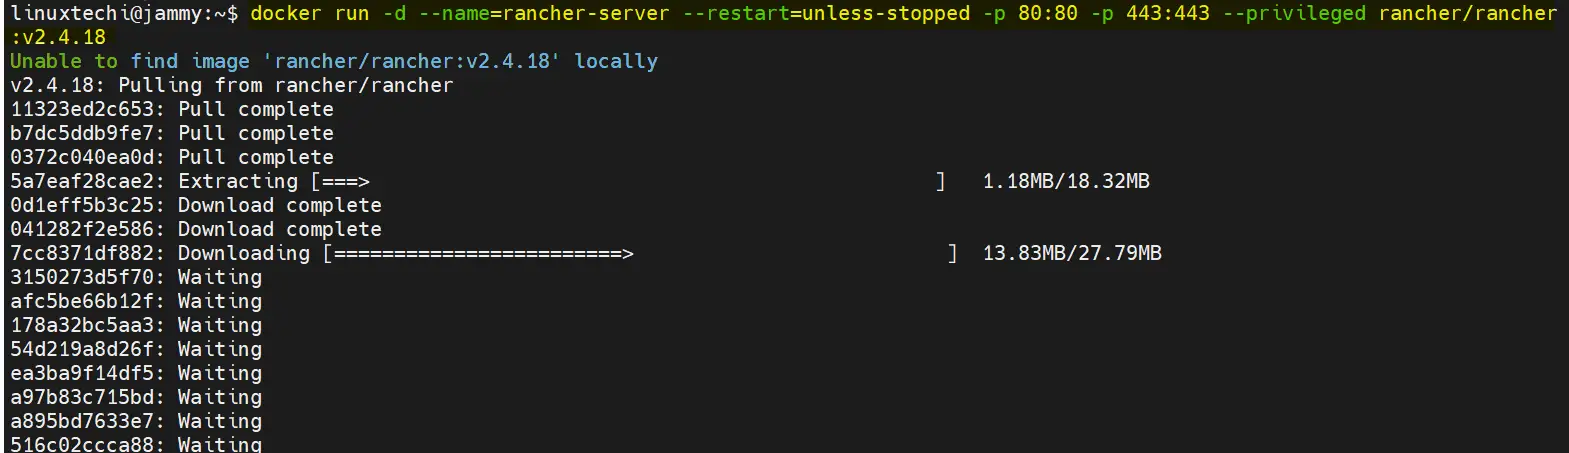
The command does a couple of things.
It pulls the Rancher image (v2.4.18) and runs the Rancher container in detached mode denoted by the -d flag. It also maps the server container port 80 & 443 to port 80 &443 on the host indicated by the parameter -p 80:80 & 443:443.
The –restart=unless-stopped flag will keep the container running unless manually stopped.
To confirm that the container is running, execute below docker command:
$ docker ps

Note: When you go with latest rancher docker image (v2.6), it will throw below error. It appears like Rancher v2.6 is not tested on Ubuntu 22.04. That’s why we have used v2.4.18.
https://127.0.0.1:6444/version?timeout=15m0s”: dial tcp 127.0.0.1:6444: connect: connection refused
Rancher provides a web interface and a proxy for accessing and managing Kubernetes clusters.
Step 4) Access Rancher WebUI
To access the WebUI, browse the following UI.
https://server_ip
This will display the following Welcome page,
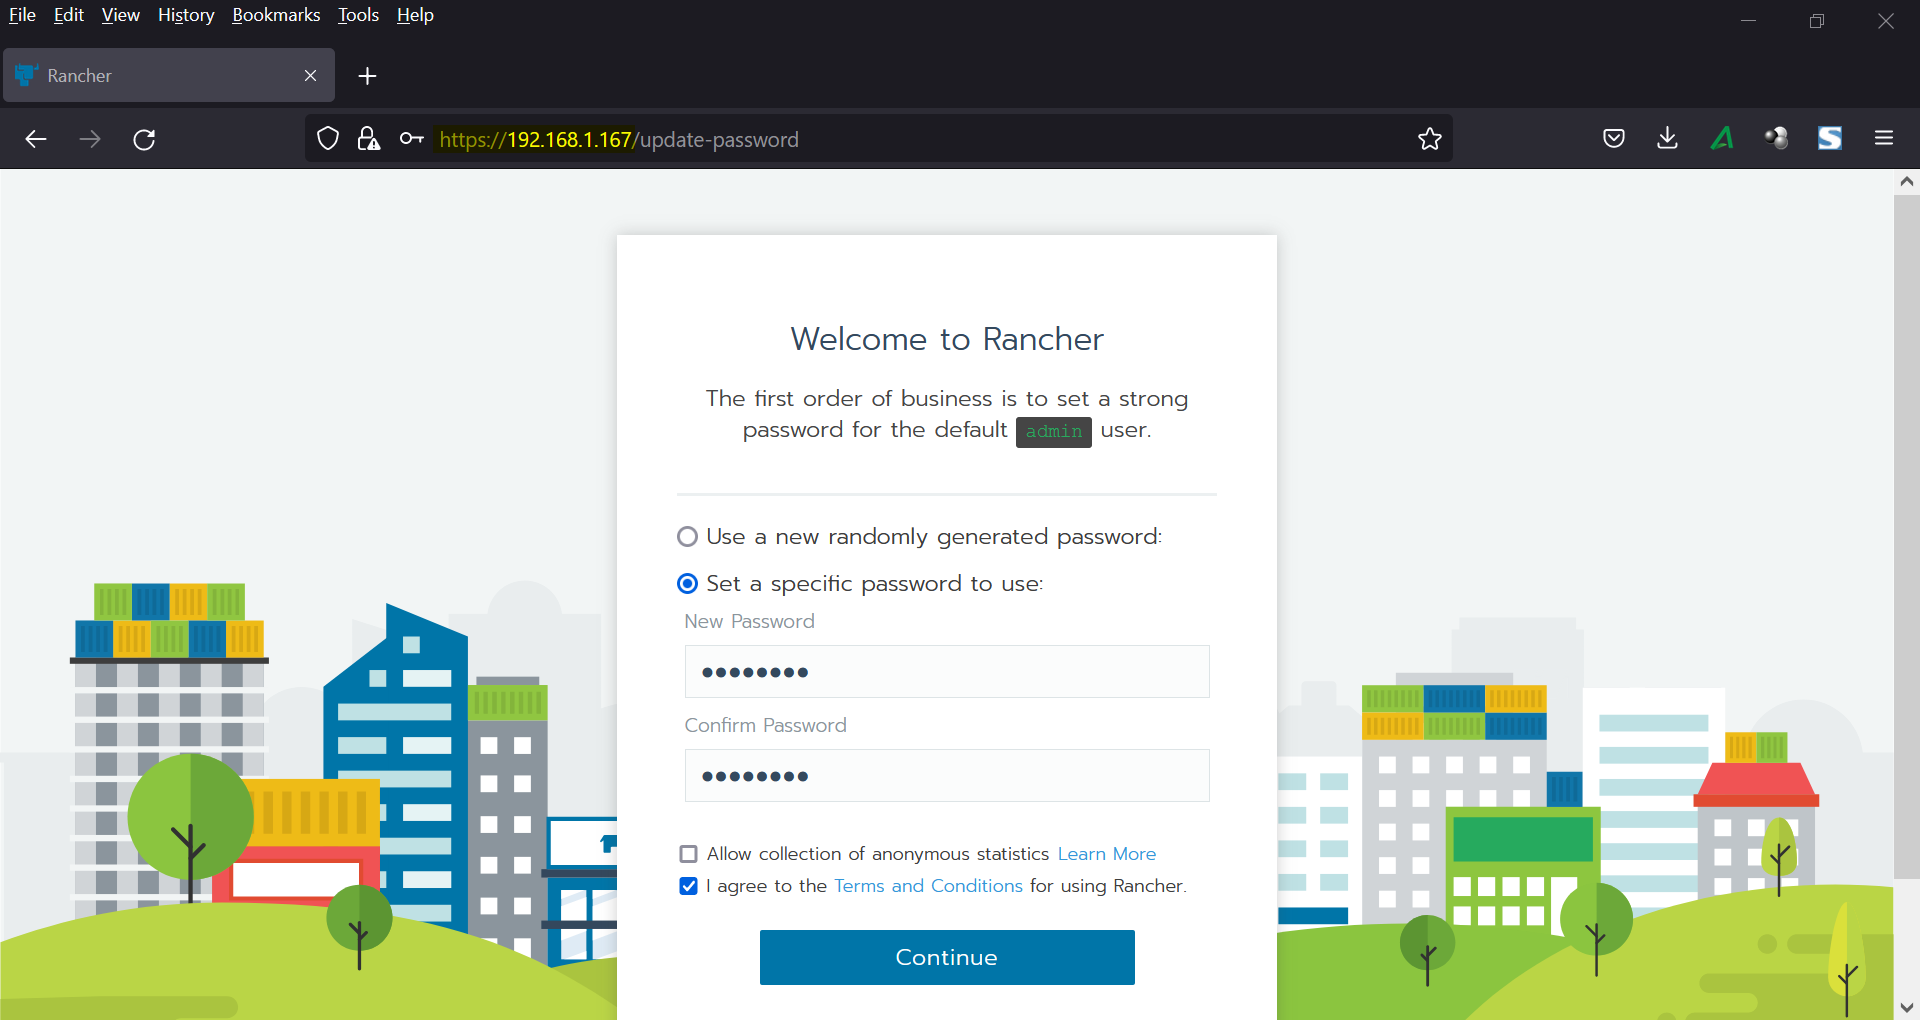
Set admin user password, Accept the terms & Conditions and the click on Continue.
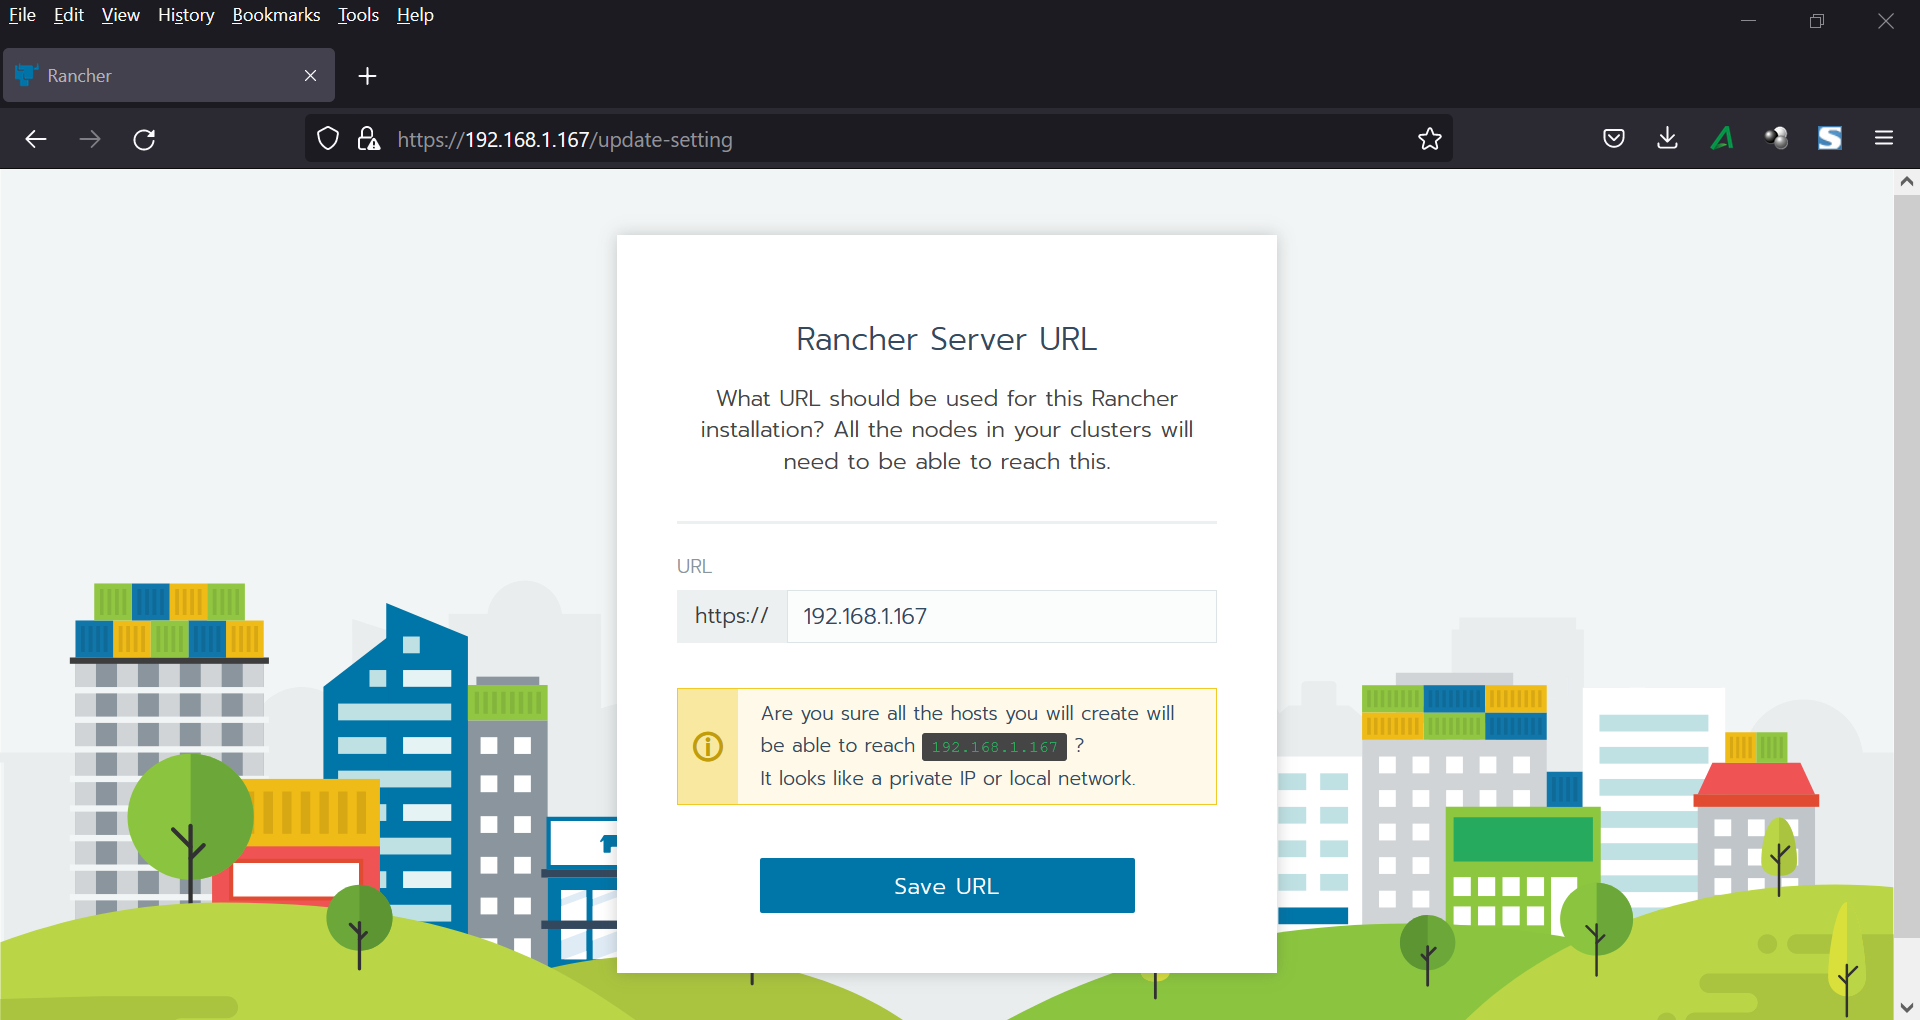
In the following window, save your rancher server URL,
Based on your interest, choose whether you want to allow rancher Labs to collect anonymous information about the installation,
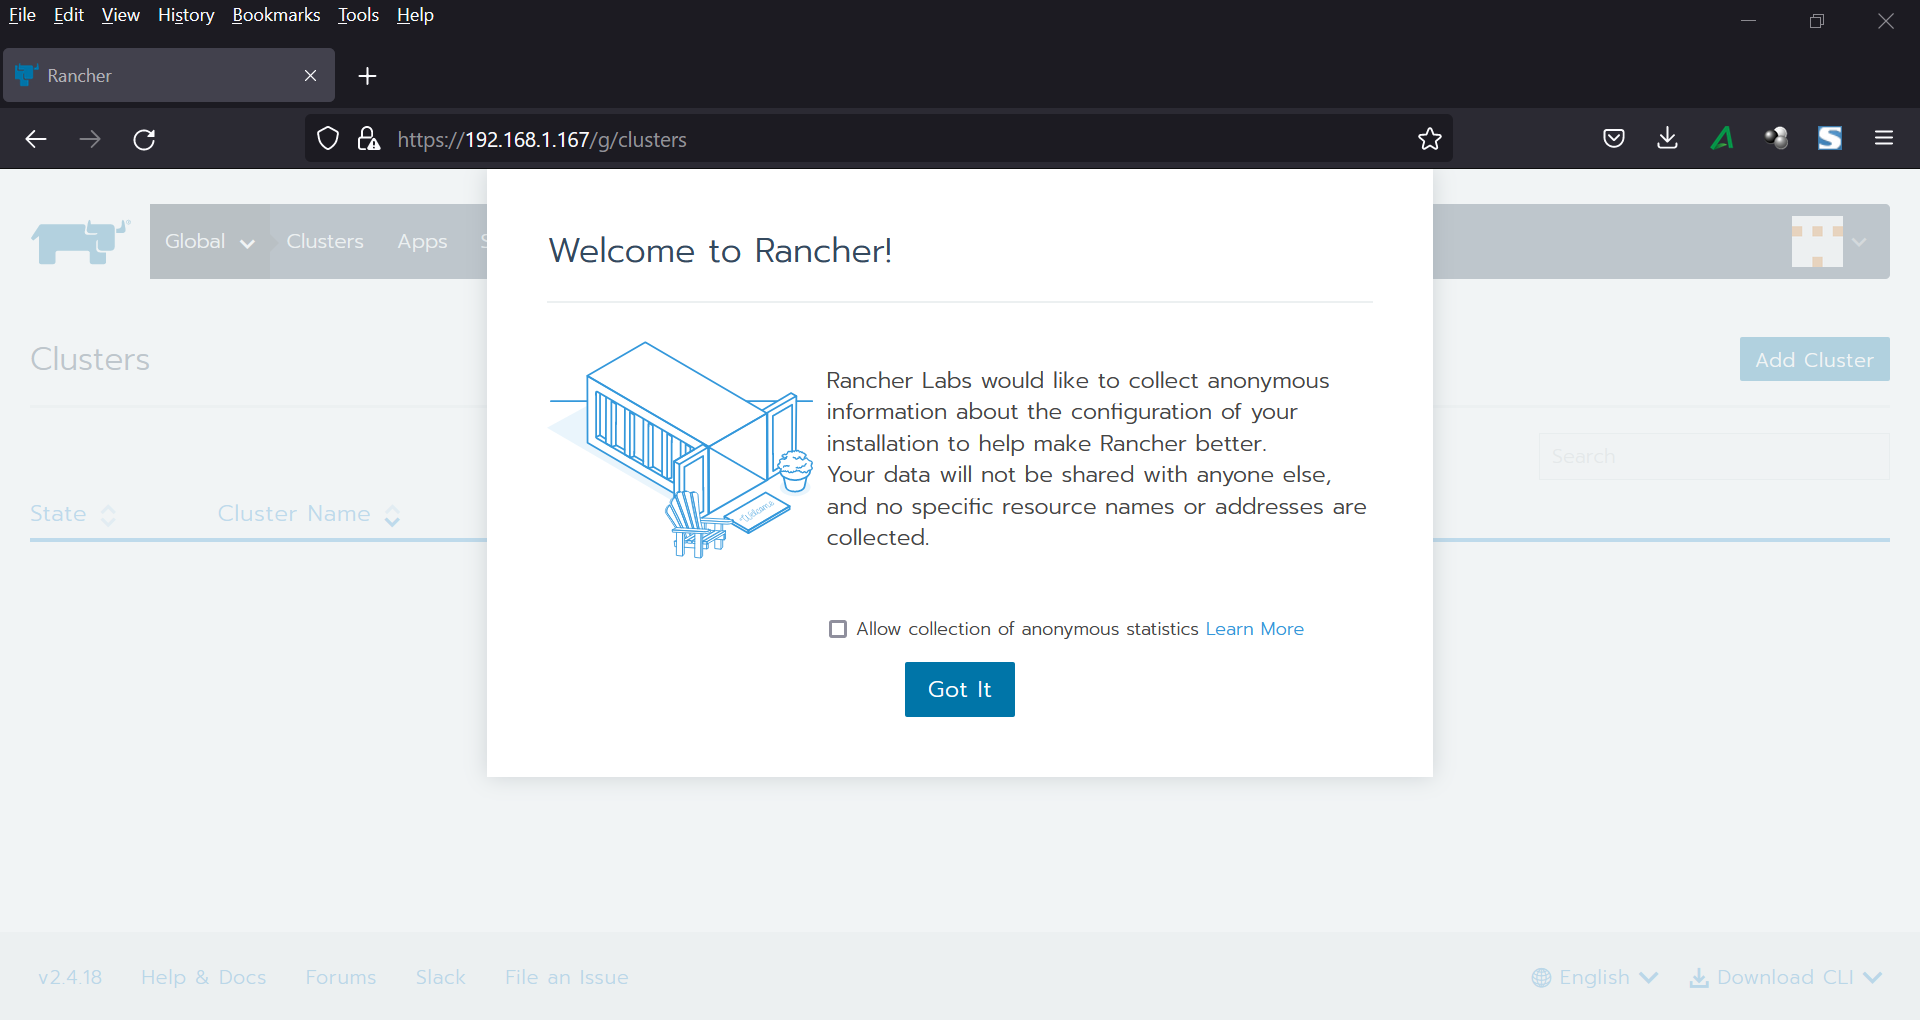
Click on ‘Got it’
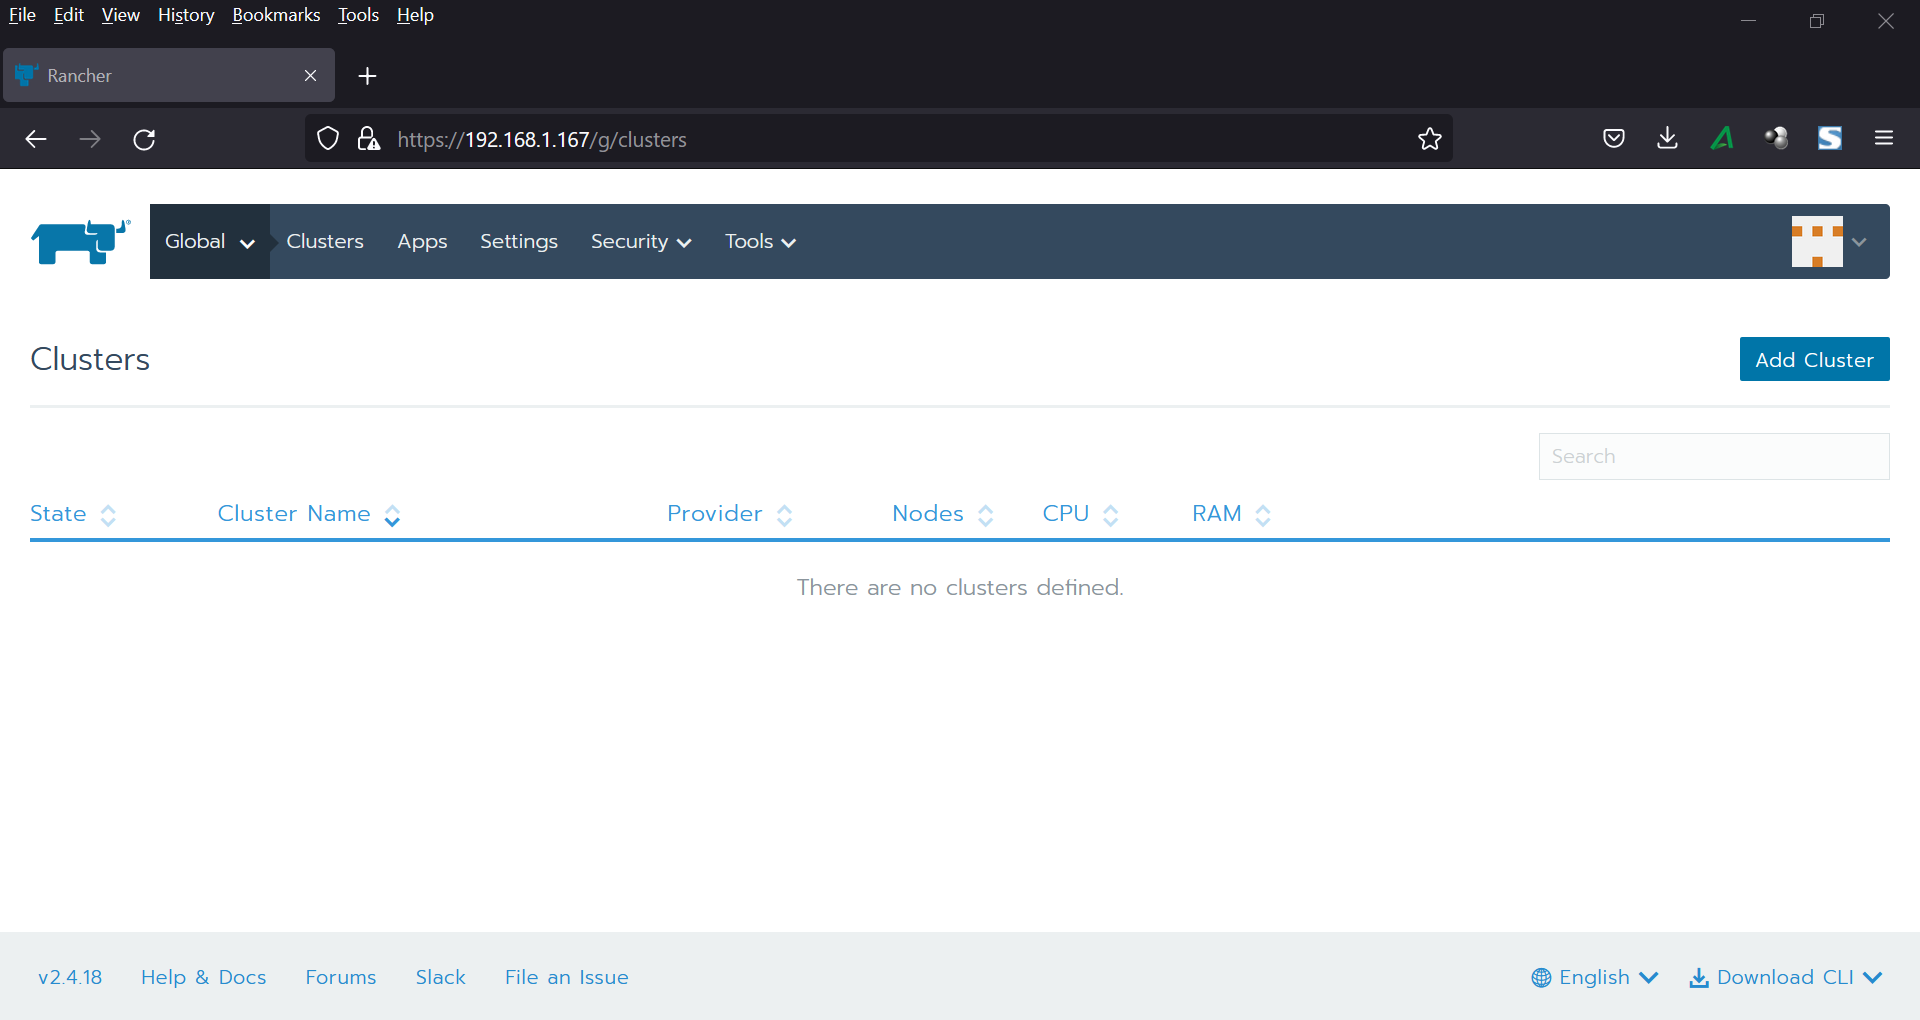
The Administrator interface comes to view as shown
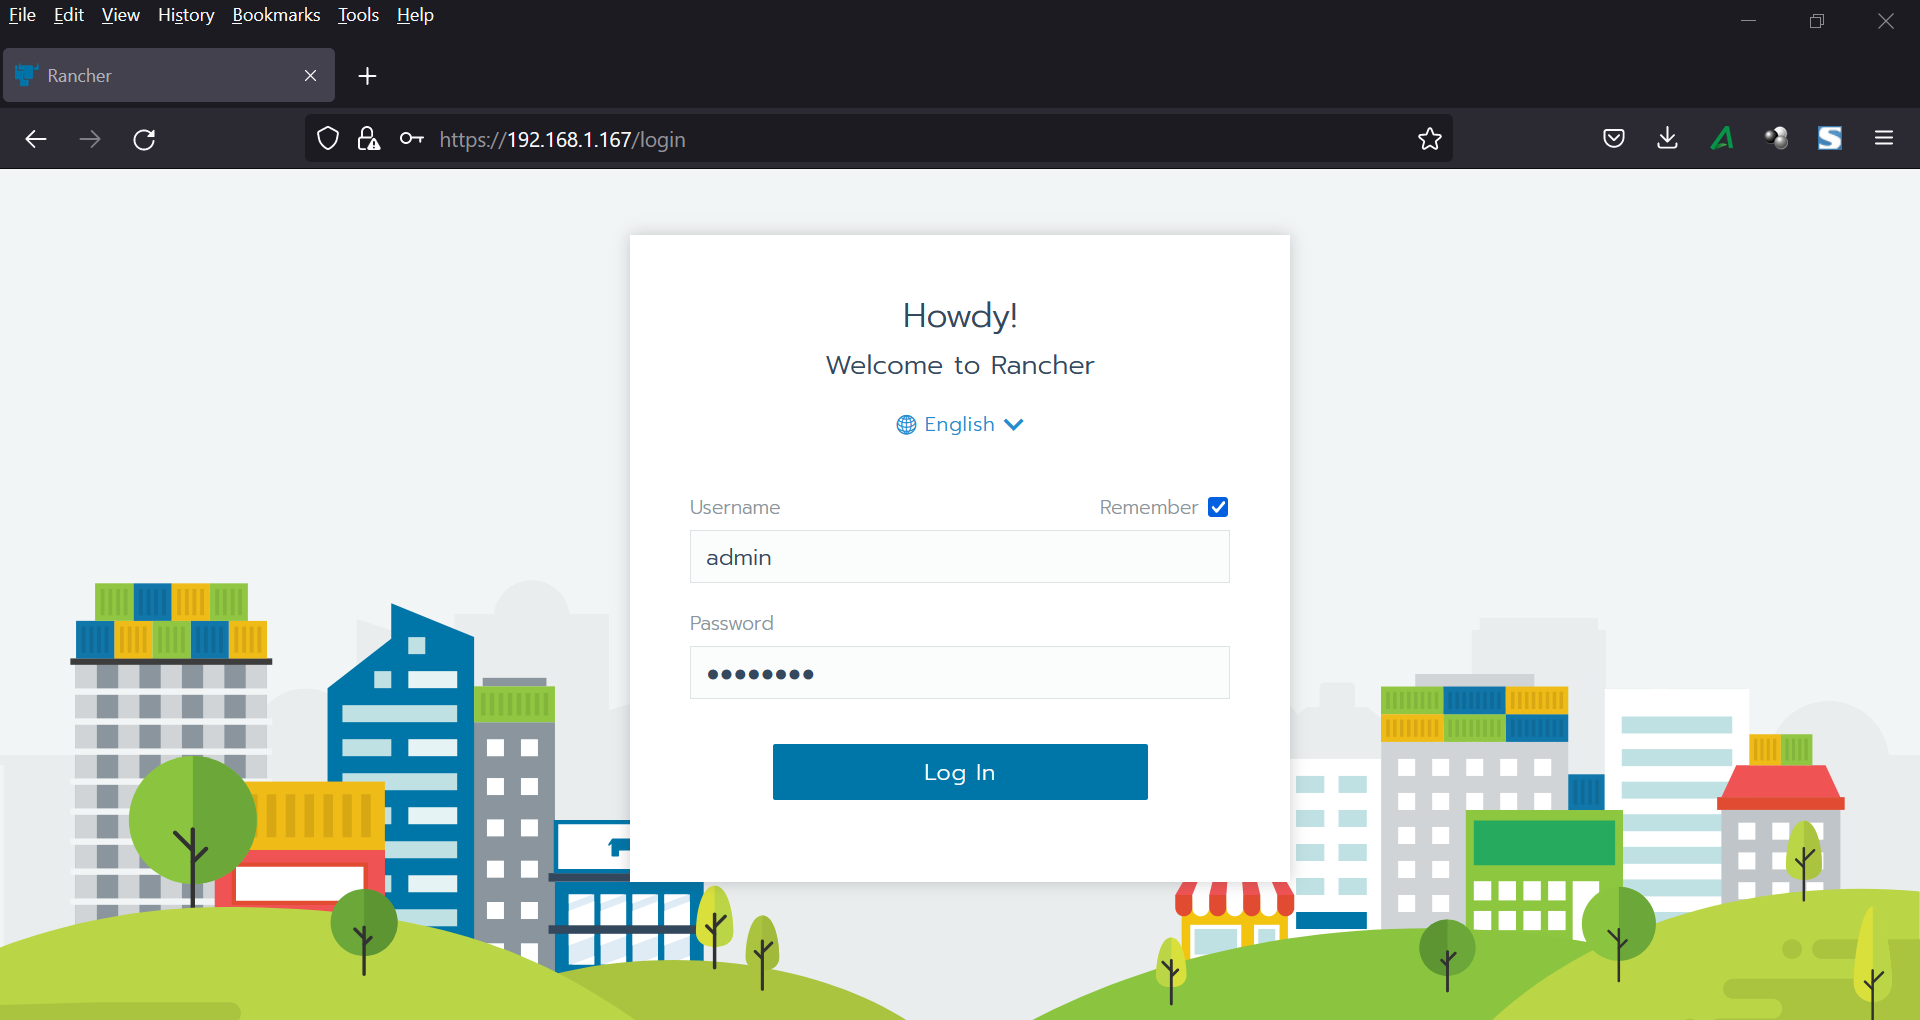
Now log out and log in back again. This time, you will be presented with a login page where you will be requested to authenticate as the admin user credentials that you have created above.
From here, you can proceed to add and import existing Kubernetes cluster.
Step 5) Importing Existing Kubernetes Cluster
For the demonstration purpose, I will import the existing minikube Kubernetes cluster into rancher WebUI.
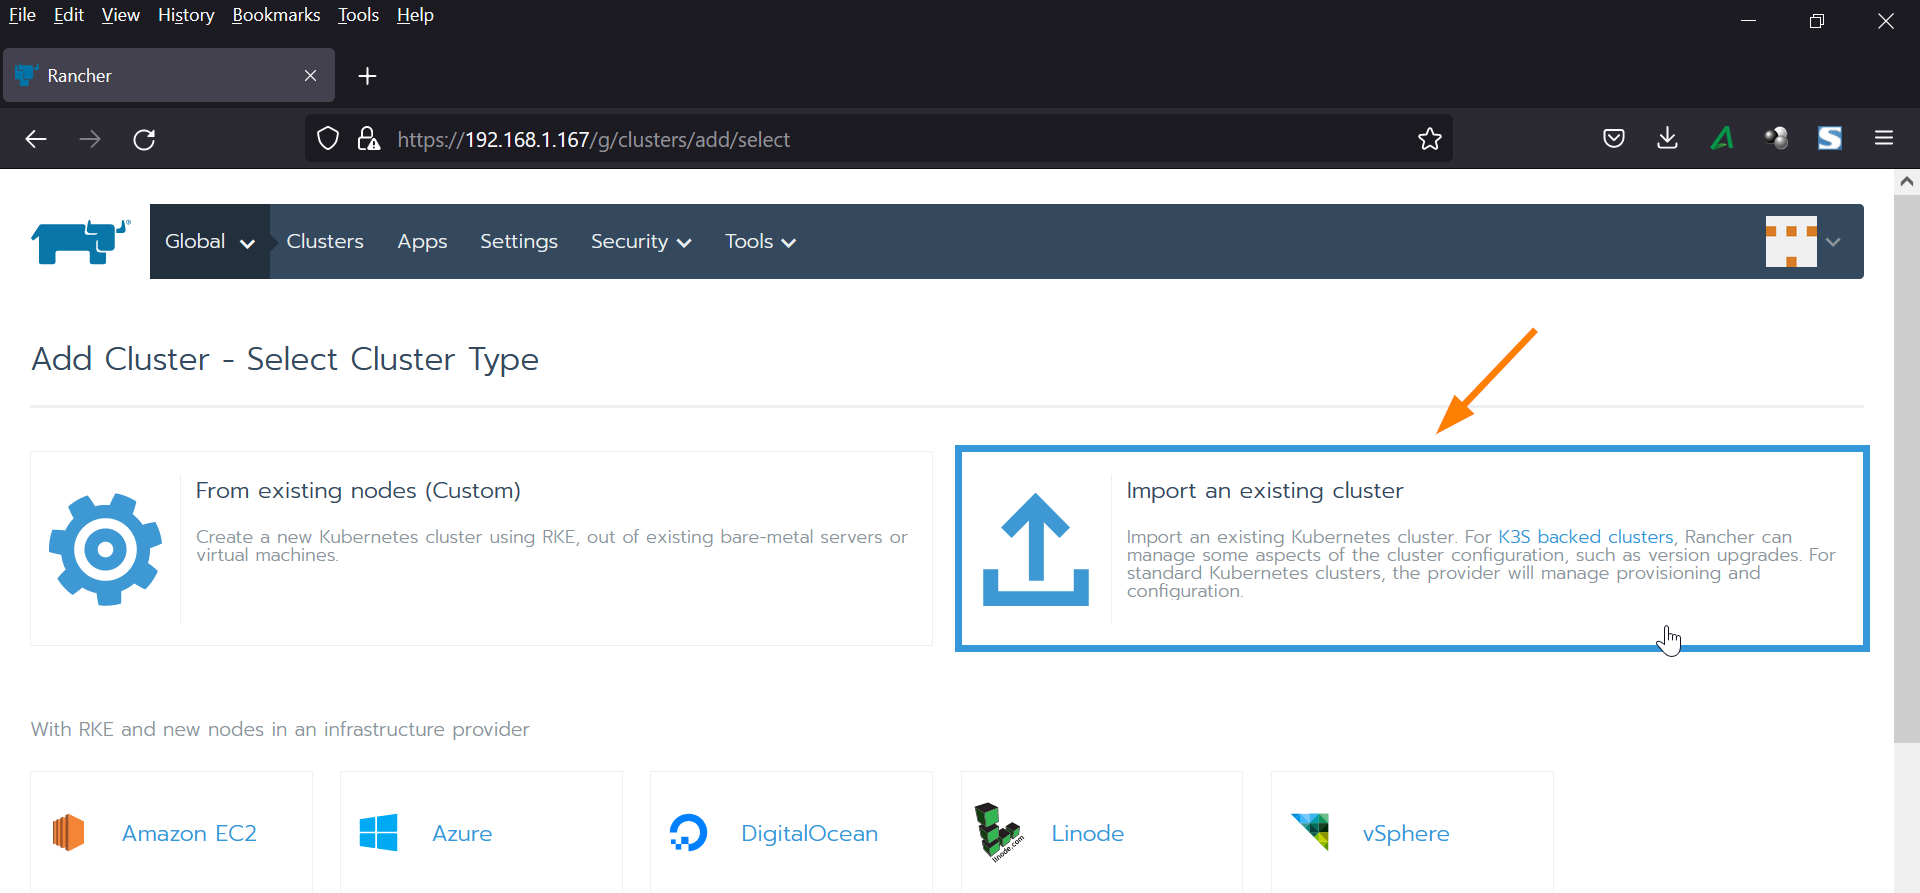
Head to the dashboard and click on ‘Add Cluster’ option

Choose ‘Import an Existing Cluster’
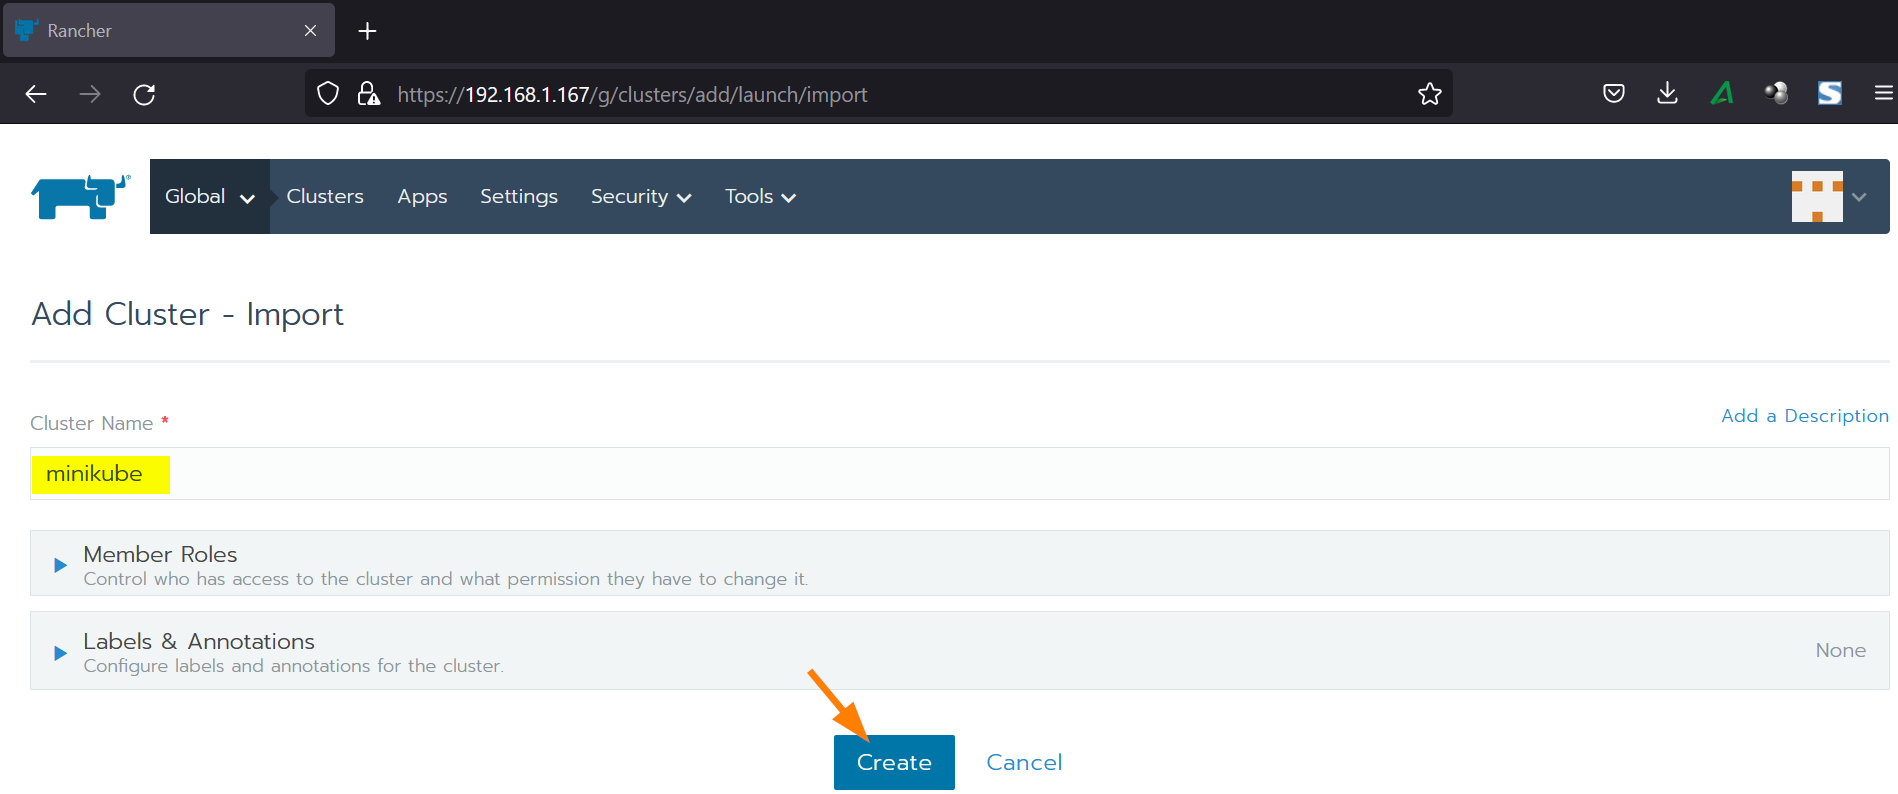
Specify the cluster name in following screen and then click on Create
We will get the beneath screen with commands to needs to be run on the Kubernetes cluster.
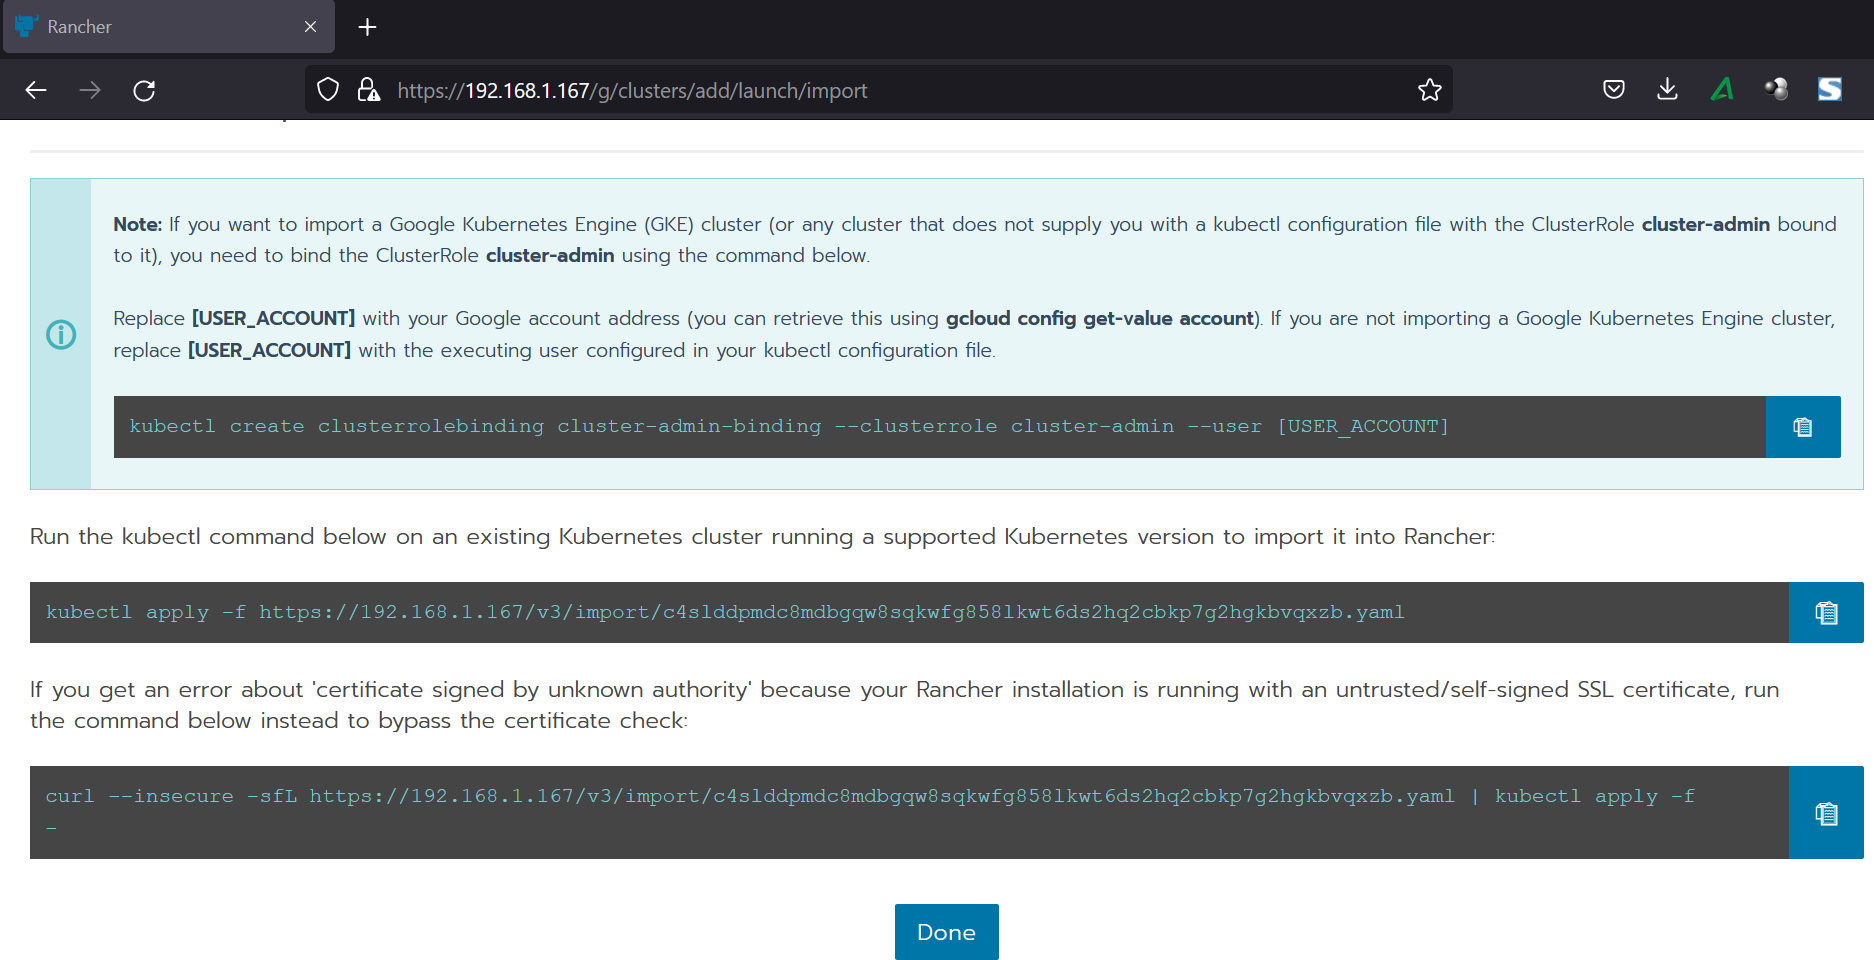
As we have used self-signed certificates during rancher installation, so copy the curl command and paste it on your Kubernetes cluster,
Head to Kubernetes cluster and run
$ curl --insecure -sfL https://192.168.1.167/v3/import/p5zvshrnhjv4djc88xw92x6v6tvhpftmsmxnp9p9mdzbfrg7nvk8x8.yaml | kubectl apply -f -

Now, go back to Rancher WebUI, there you will see that the imported cluster is active now.
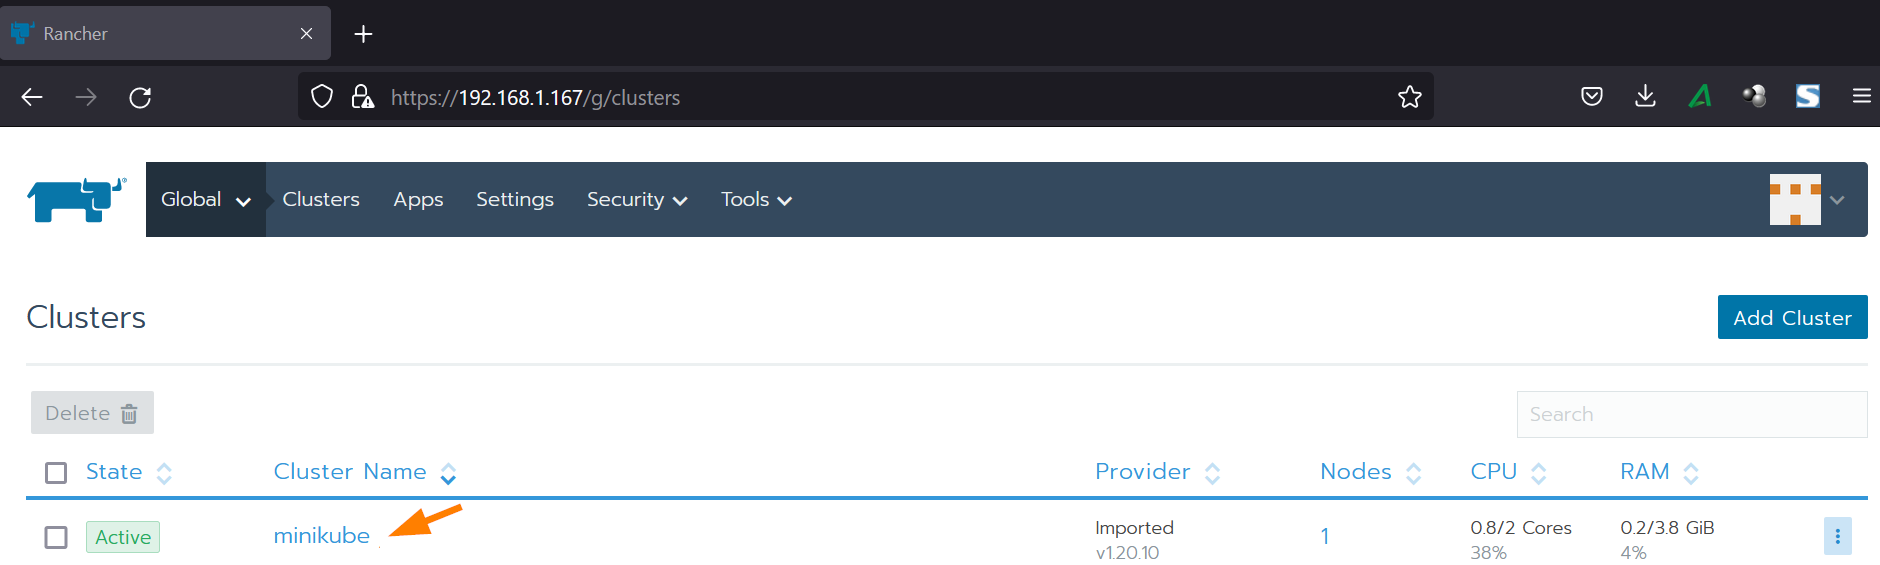
Click on ‘minikube’ cluster to view its dashboard,
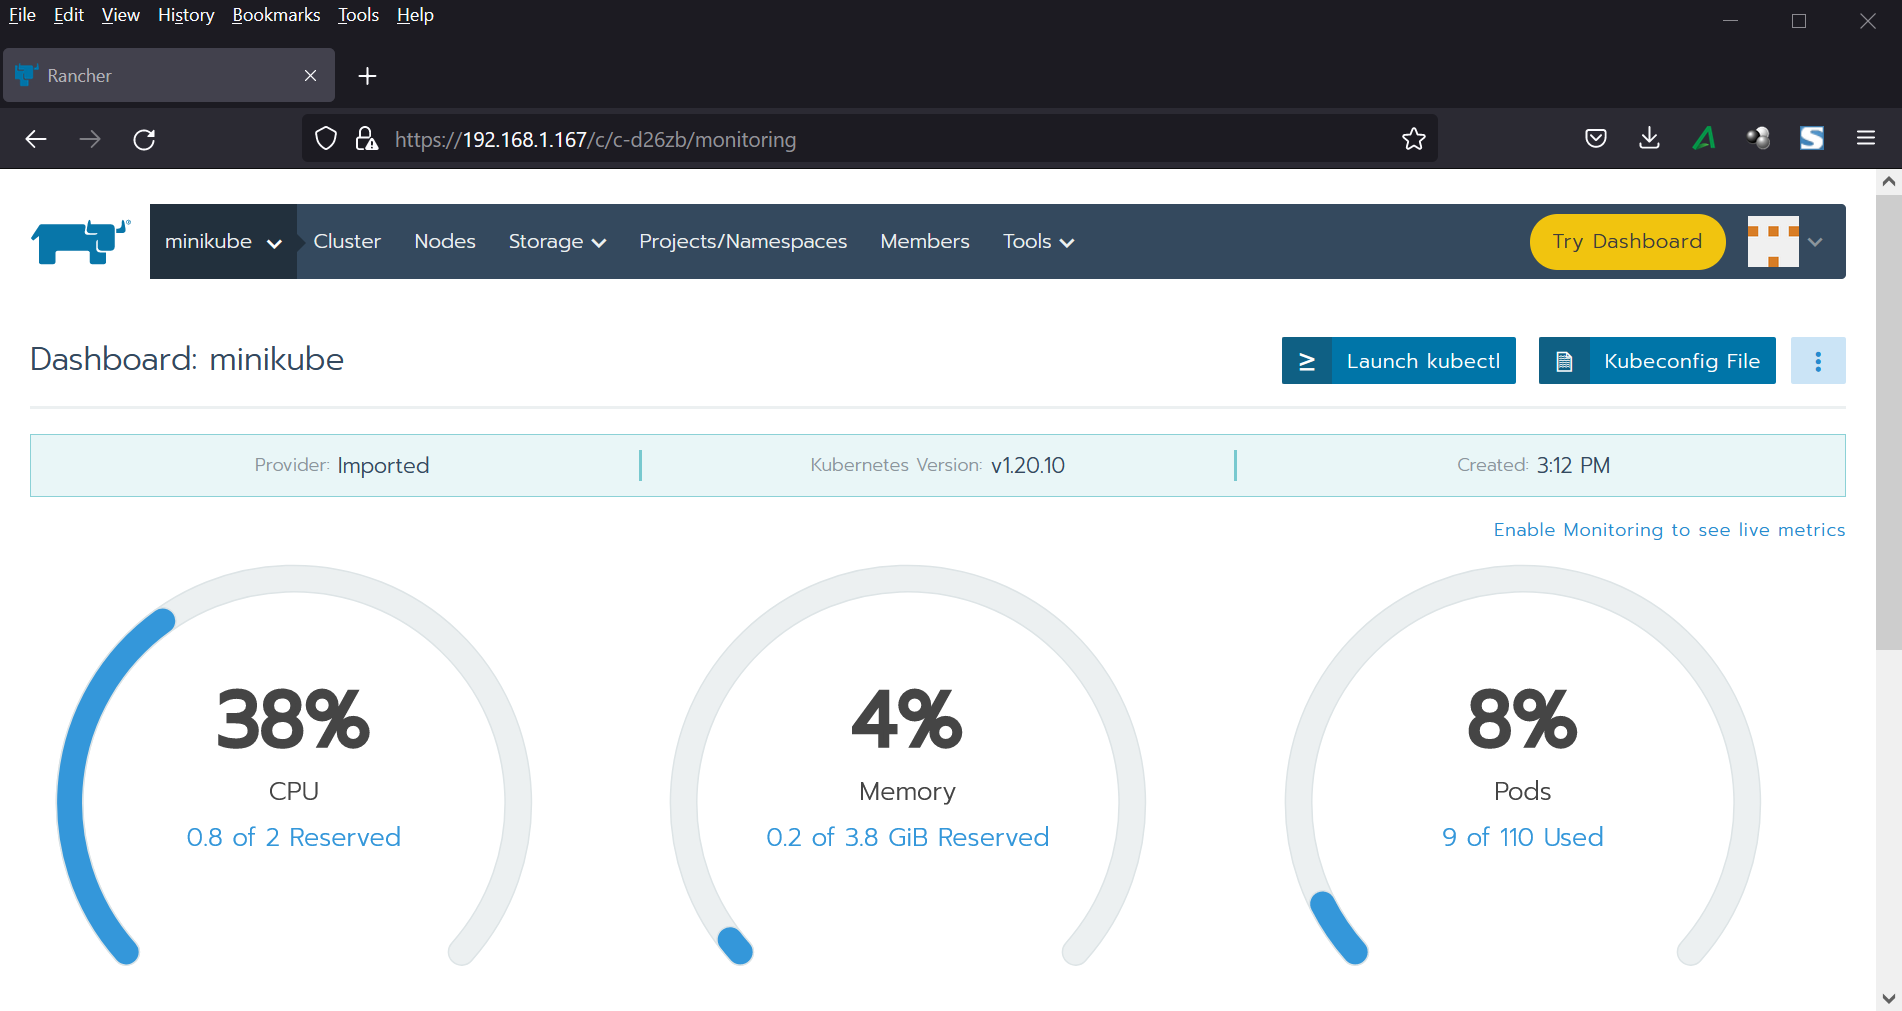
Perfect, that’s all from this guide,
Conclusion
In this guide, we have walked you through the installation of Rancher on Ubuntu 22.04. Your thoughts and feedback are most welcome.
Also Read: How to Install VirtualBox 7 on Ubuntu 22.04
hi,
I installed Rancher version 2.6.9 without any issue or problem.
I think you had your firewall enabled wich cause your local port 6443 to be blocked.
mine was not enable after a fresh install.
you can check if your firewall is enable by :
$sudo ufw status verbose