In this post, we will show you how to install VirtualBox on Ubuntu 24.04 LTS (Noble Numbat) step-by-step.
VirtualBox, developed by Oracle, is a free and open-source virtualization tool for Linux and Windows desktop that allows you to run multiple operating systems simultaneously on a single physical machine. It is a type 2 hypervisor for x86 and AMD64/Intel64 systems.
Some of basic terminology used in Virtualization world are:
- Host Operating System (Host OS) – It is an operating system of the physical machine on which VirtualBox is installed or will be installed. Host OS for virtual box can be Linux, Windows and Mac OS X.
- Guest operating system (Guest OS) – It is an operating system which is running inside the virtual machine.
- Virtual machine (VM) – This is the special environment that VirtualBox creates for our Guest OS while it is running. In other words, we can say that we run guest OS in a VM.
Prerequisites
- Pre Installed Ubuntu 24.04
- Sudo user with admin privileges
- 4GB RAM or more
- Multi Core Processor
Without any further delay, let’s deep dive into VirtualBox installation steps.
1) Update System Package Cache
To make the system package cache up to date, run
$ sudo apt update
2) Add VirtualBox APT Repository
The VirtualBox Debian package and its dependencies can be found in the default apt repositories of Ubuntu 24.04. However, it is not most recent version. To ensure you get a stable and up-to-date installation of VirtualBox, we recommend adding the official VirtualBox apt repository.
Import virtualbox package repositories keys, run following commands,
$ sudo apt install curl wget gnupg2 lsb-release -y
$ curl -fsSL https://www.virtualbox.org/download/oracle_vbox_2016.asc|sudo gpg --dearmor -o /etc/apt/trusted.gpg.d/vbox.gpg
$ curl -fsSL https://www.virtualbox.org/download/oracle_vbox.asc|sudo gpg --dearmor -o /etc/apt/trusted.gpg.d/oracle_vbox.gpg
Now, run following echo and tee command to add repository,
$ echo "deb [arch=amd64] http://download.virtualbox.org/virtualbox/debian $(lsb_release -sc) contrib" | sudo tee /etc/apt/sources.list.d/virtualbox.list
3) Install VirtualBox on Ubuntu 24.04
Run the following apt command to install virtualbox and its dependencies.
$ sudo apt update
$ sudo apt install -y linux-headers-$(uname -r) dkms
$ sudo apt install virtualbox-7.0 -y

4) Add Your Local User to VBoxusers Group
If you want your local user to use virtualbox with admin privileges then add your local user to vboxusers secondary group.
$ sudo usermod -aG vboxusers $USER
$ newgrp vboxusers
Next logout and login to make changes into the affect. Now, try to start VirtualBox.
5) Start VirtualBox
To start virtualbox GUI, click on Workspace and then search virtualbox as shown below:

Click on VirtualBox icon, we will get following window.
Above window confirms that VirtualBox has been started successfully. Before start creating virtual machines inside the virtualbox, let’s first install extension pack in the next step.
6) Install VirtualBox Extension Pack
VirtualBox Extension pack provides additional functionality to virtualbox like support for USB 2.0 & USB 3.0, PXE boot for Intel Cards, disk encryption and VirtualBox RDP.
To Install extension pack, let’s first download its file using beneath wget command.
$ wget https://download.virtualbox.org/virtualbox/7.0.18/Oracle_VM_VirtualBox_Extension_Pack-7.0.18.vbox-extpack
Now, install extension pack, run following command
$ sudo vboxmanage extpack install Oracle_VM_VirtualBox_Extension_Pack-7.0.10.vbox-extpack
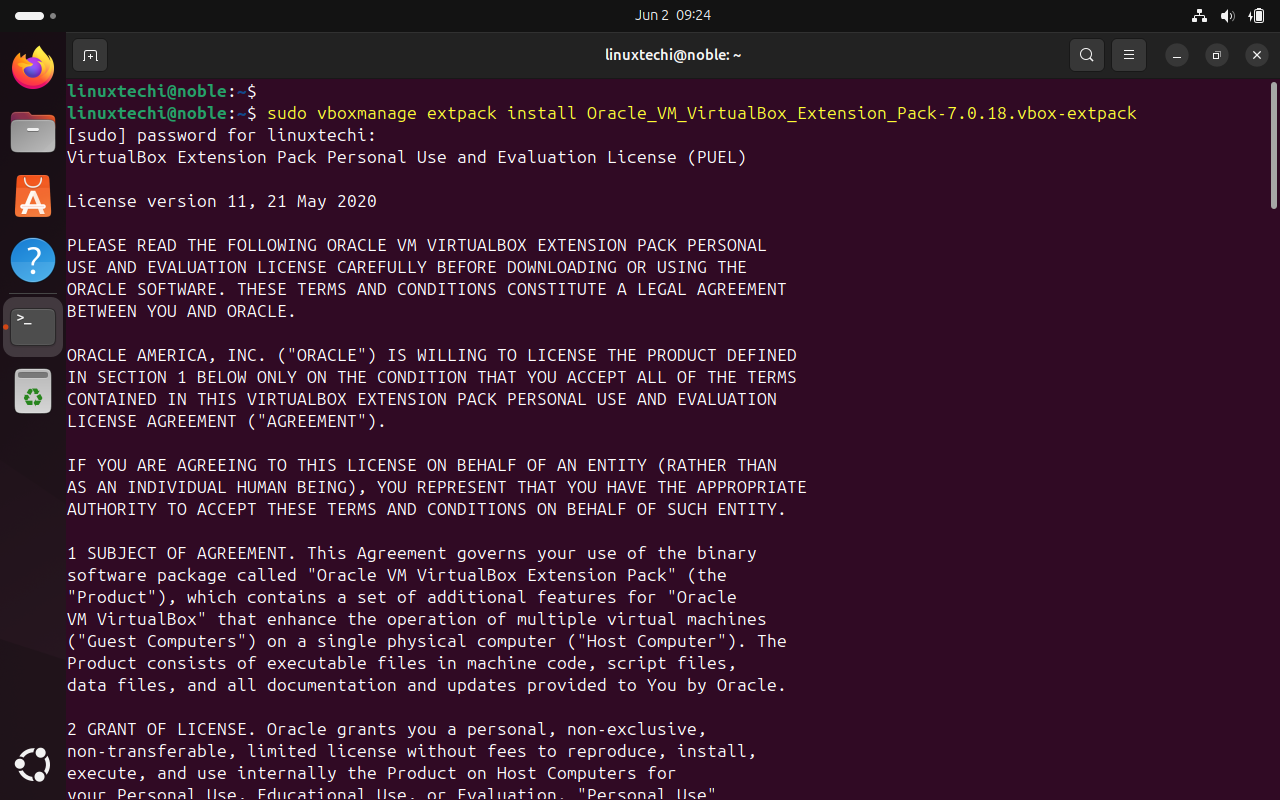
You will be prompted to accept the License agreement, press ‘Y’ to accept it.
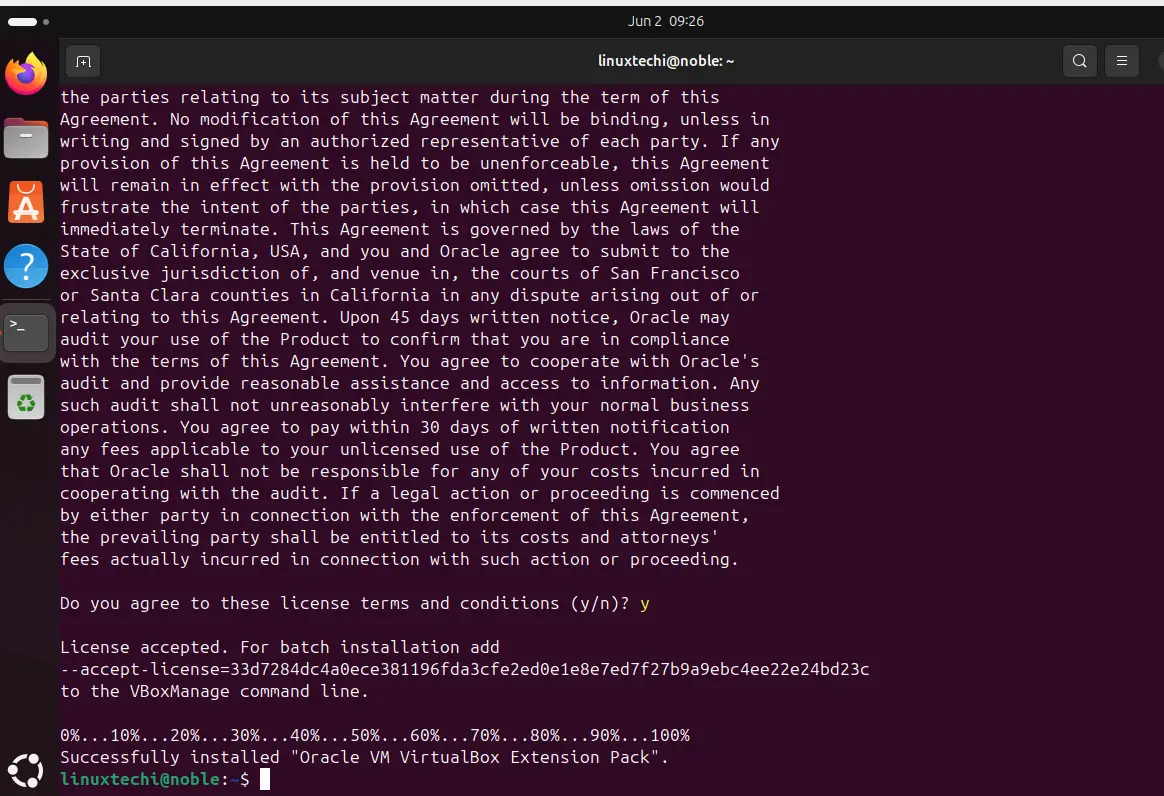
Above screen confirms that extension has been installed successfully.
Now head back to VirtualBox GUI. From the File menu choose Tools and then click on Extensions Pack Manager
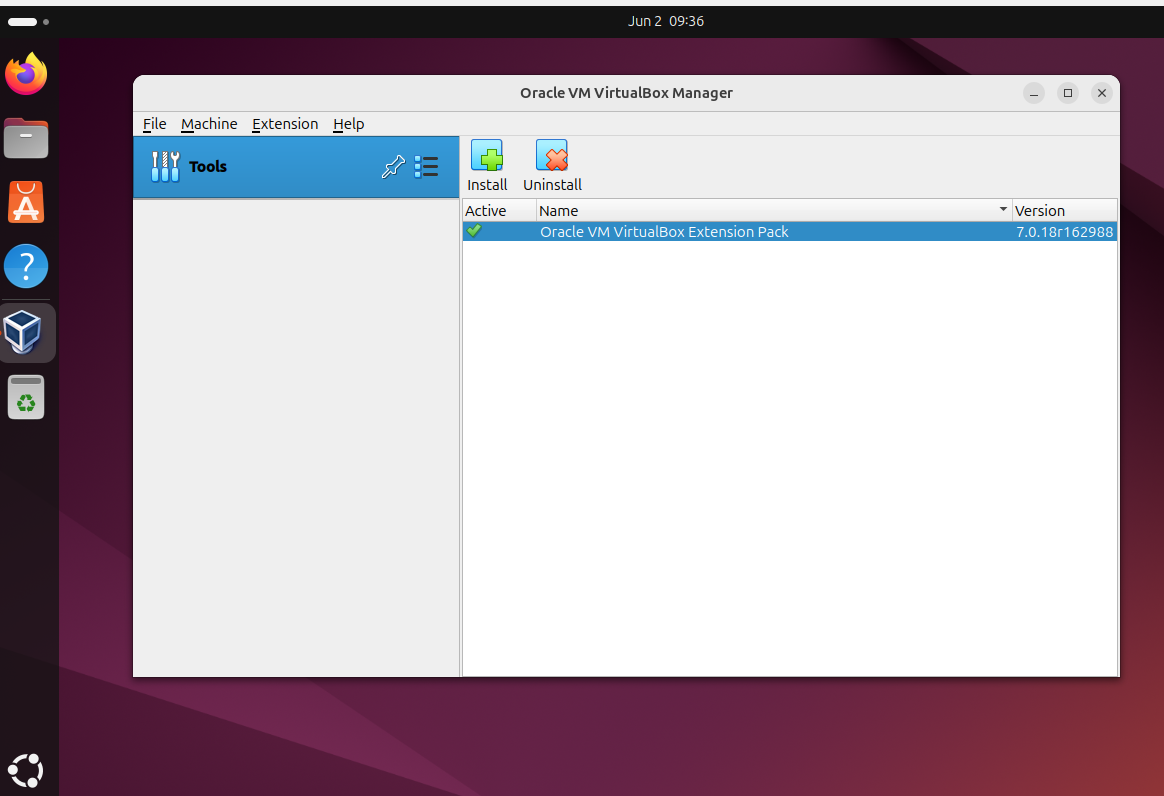
Above screen confirms that extension pack is installed and active. Now, we are ready to create virtual machines inside the VirtualBox.
Note: Please make sure VirtualBox version and extension pack version must match otherwise additional functionality will not work properly.
That’s all from this post. I believe you have found it informative and useful. Feel free to post your queries and feedback in below comments section.
afer the update
still 4.3.10 on ubuntu 14.04 LTS
Candidate: 4.3.10-dfsg-1
Version table:
4.3.10-dfsg-1 0
500 ‘http://gb.archive.ubuntu.com/ubuntu/’ trusty/multiverse amd64 Packages
Thanks for the detail information on how to install VirtualBox 7!
Thank you for the information about how to install the virtual box. The information is very useful ?
Just installed virtualbox and the extension pack following your instructions, thanks for the guide! Virtualbox is v7.0.8r156879 and the extension pack is v7.0.0r153978. Since there is a version mismatch how can this be corrected so it will work?
Tried using Virtualbox GUI – File / Check for updates and that finds the discrepancy but fails to fix it. Went to Oracle website and downloaded the extension pack (which has the correct matching version). Double-clicked that and it installed okay. All is good, thanks again!