Hello Techies, Debian Project has recently released its latest and stable version of Debian GNU/Linux 9.0 with codename ‘stretch’. Some of the major changes in Debian 9 are listed below:
- Kernel 4.9
- Default MySQL is now MariaDB 10.1
- LibreOffice 5.2
- GNOME Desktop Environment 3.2
- KDE Plasma 5.8
- Xfce 4.12
- PHP 7
- New version of GIMP 2.8.18
- Firefox 45.9
Following are the minimum system requirements for Debian 9 Installation:
- 512 MB RAM
- 10 GB HDD
- 1GHz Pentium 4 processor
- Installation Media (USB / DVD)
In this article we will discuss how to fresh install Debian 9 ‘Stretch’ on Desktop or Laptop along with the screenshots.
Download Debian 9.0 ‘stretch’
Let’s download Debian 9 ISO file from its Official Site.
Note: Download only First DVD disk as it contains all the required files to install Standard Debian System.
Once the ISO file is downloaded then burn it either into USB Drive or DVD and make it bootable. It is recommended to take backup of all the necessary files and directories before starting the installation on Laptop or Desktop.
Debian 9.0 Installation Steps:
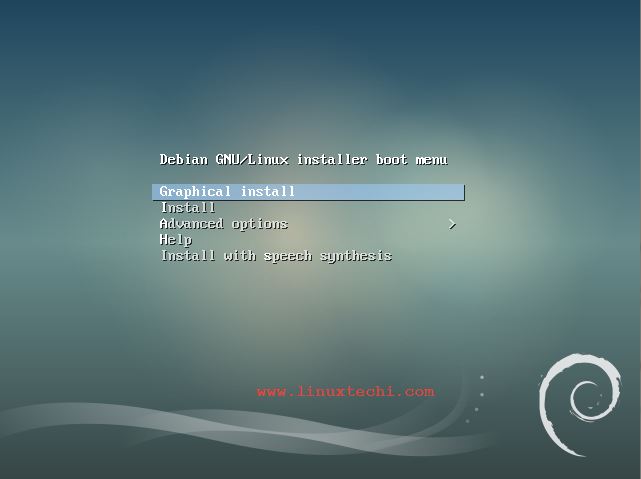
Step1: Boot your system with Bootable USB Drive or DVD
Let’s start the installation process by booting up your system with bootable media that we created in above step.
Select the Installation Mode either as graphical or CLI (Install), In my case I am going with graphical installation
Step2: Select your Preferred Language, Location and Keyboard Layout
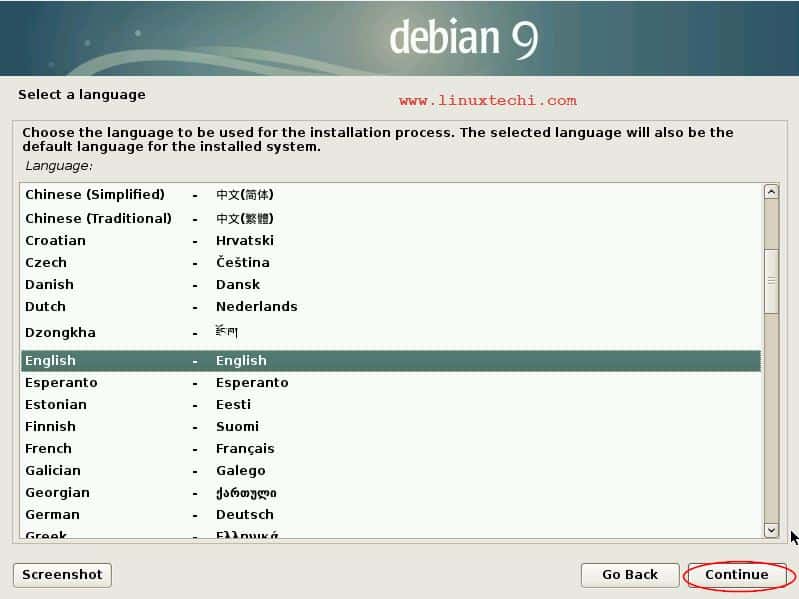
Click on Continue
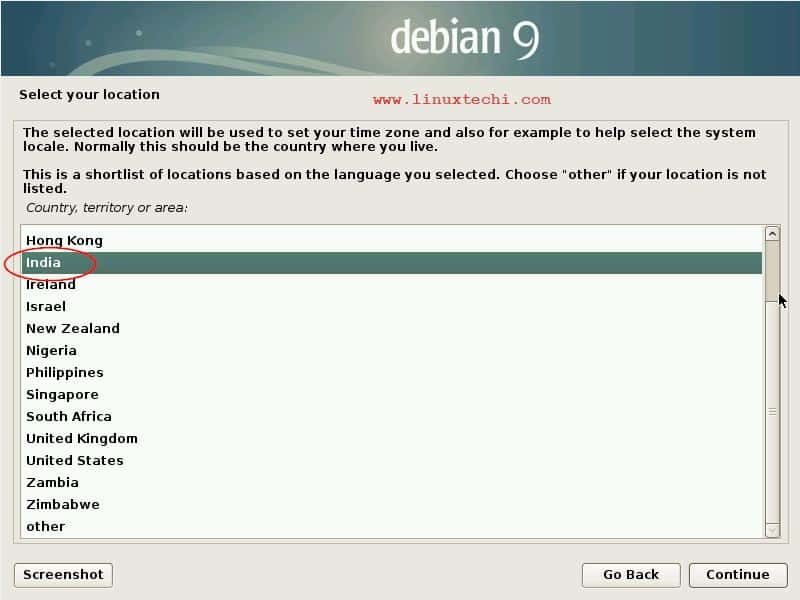
Select your preferred location
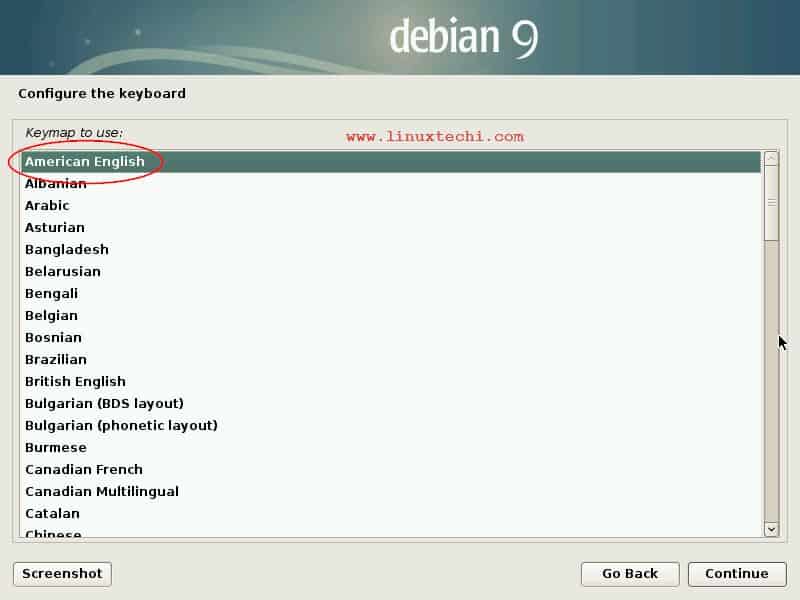
Select your preferred keyboard layout and Click on Continue
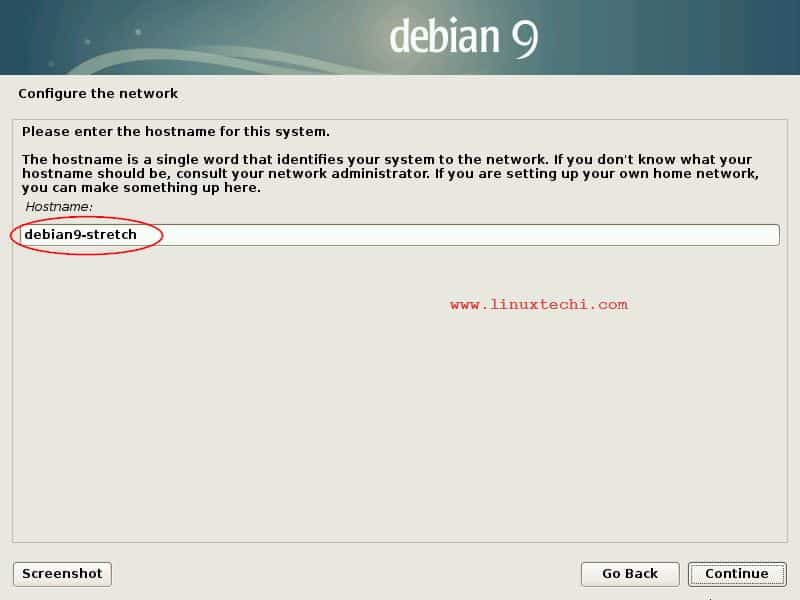
Step3: Set Hostname and domain name for your System
Set the preferred hostname for your system and then click on continue
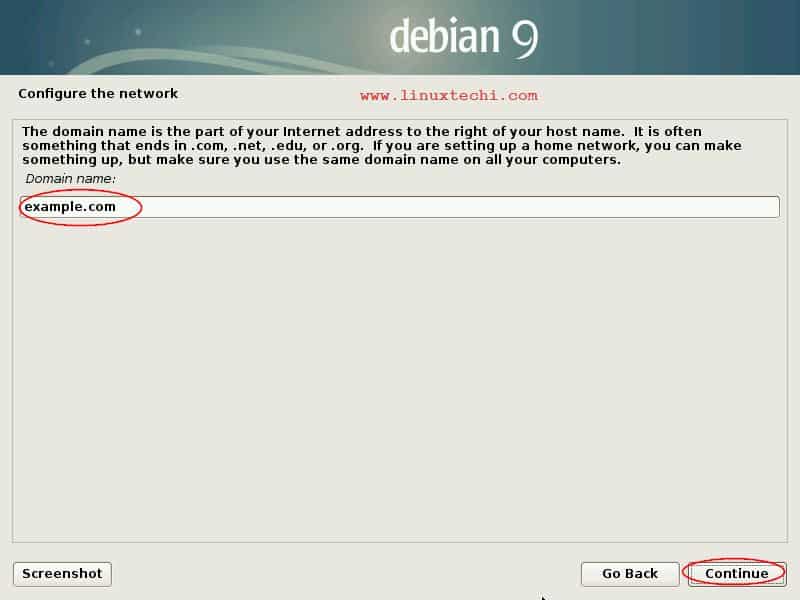
In this step specify the domain name, in my case I am using the domain name as “example.com”
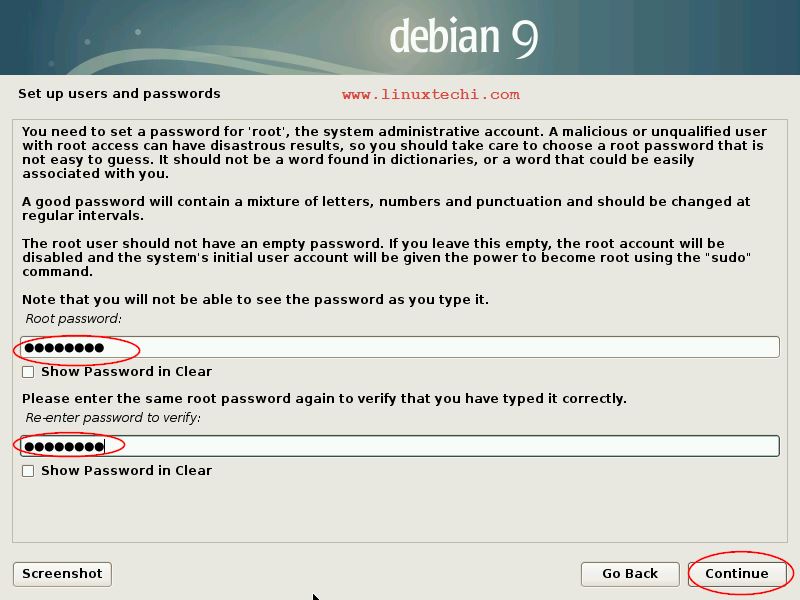
Step4: Set Root User Password and Create Local User
In the step you will be prompted to set the root user password
Specify the Full Name of Local User and Click on Continue
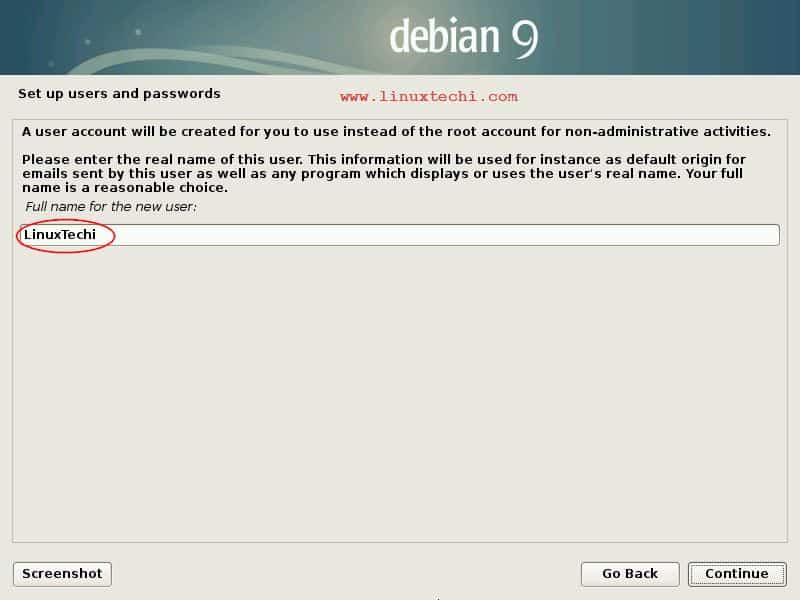
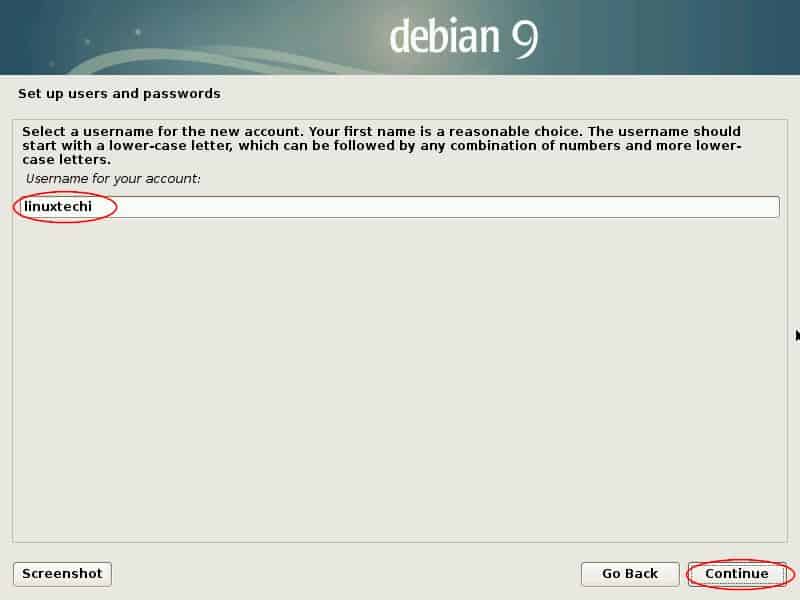
Click on continue
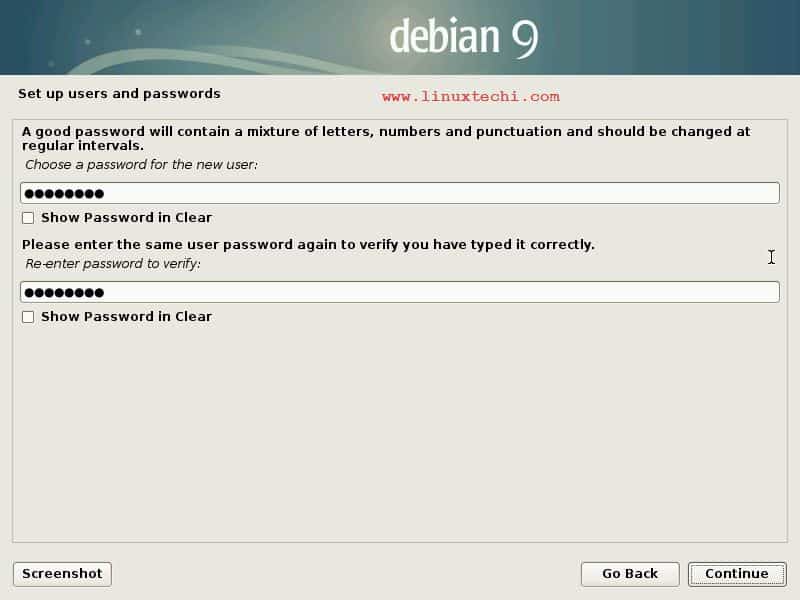
Specify the strong password for local user, in my case local user is ‘linuxtechi’
Step5: Select Partitioning method for your Disk
In this step select the partitioning method for your disk. Here we have two options either we manually create partition and let the installer to create partitions for us.
In my case I am selecting “Guided – use entire disk and setup lvm”
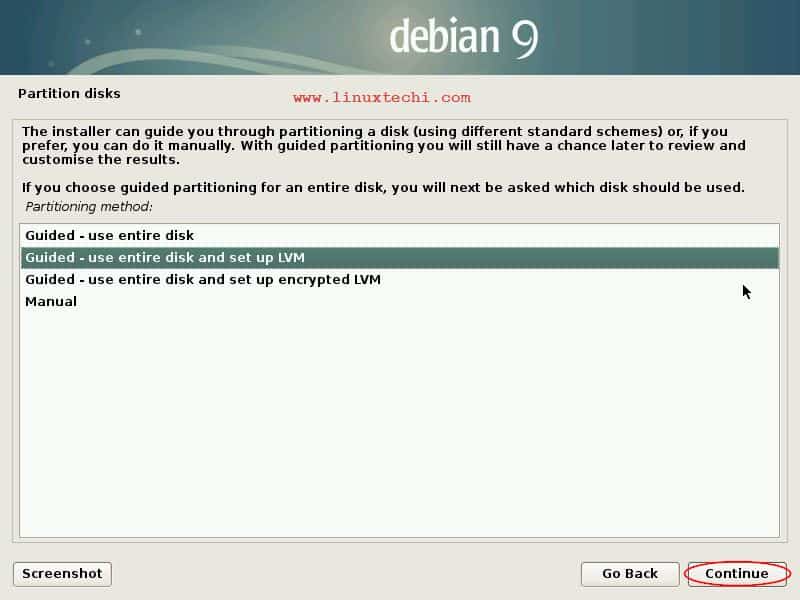
Click on Continue
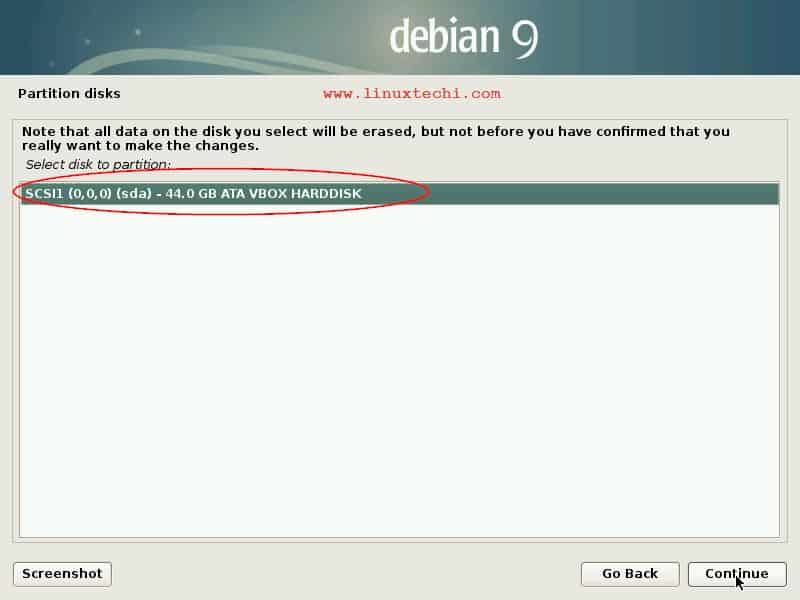
In this step we have to specify the partition scheme for our disk. In my case I have select the separate partition for /var, /home and /tmp
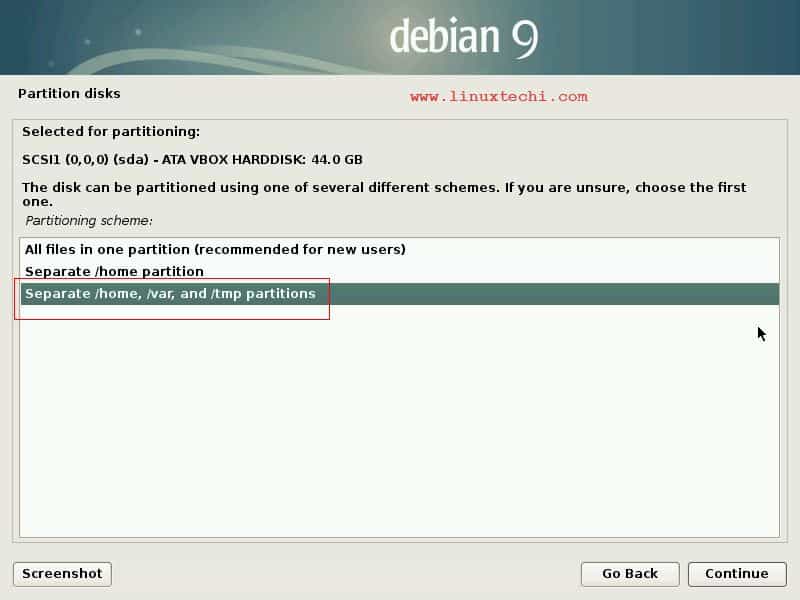
Click on Continue
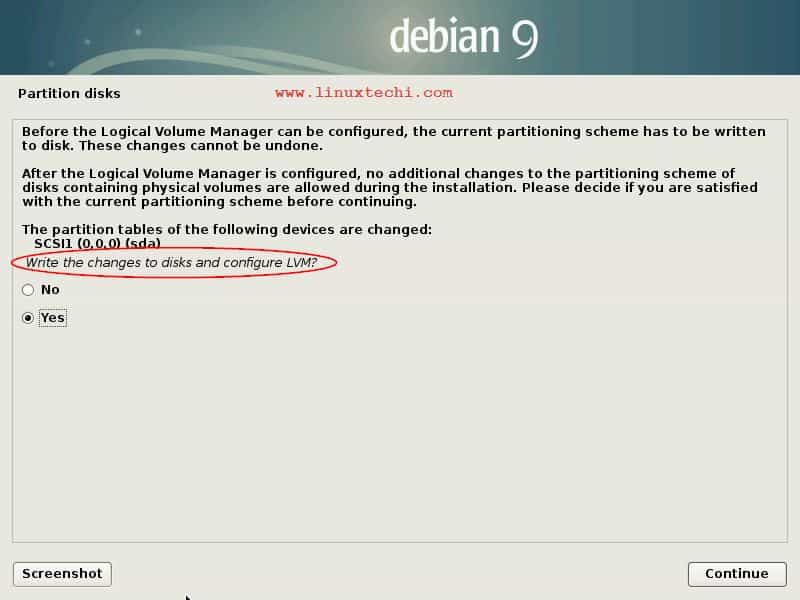
Select ‘Yes’ to write changes to disk and configure LVM
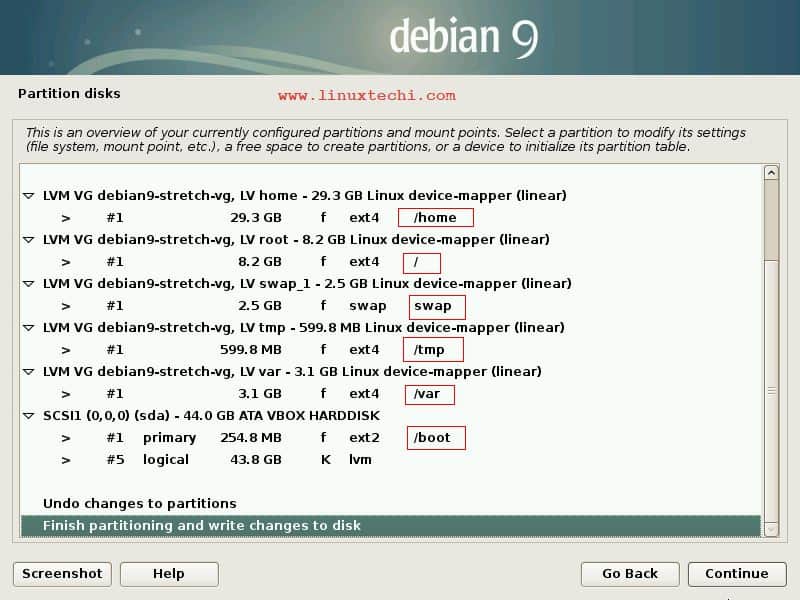
Cross verify the partition scheme and then click on Continue to finish partitioning and save changes to disk
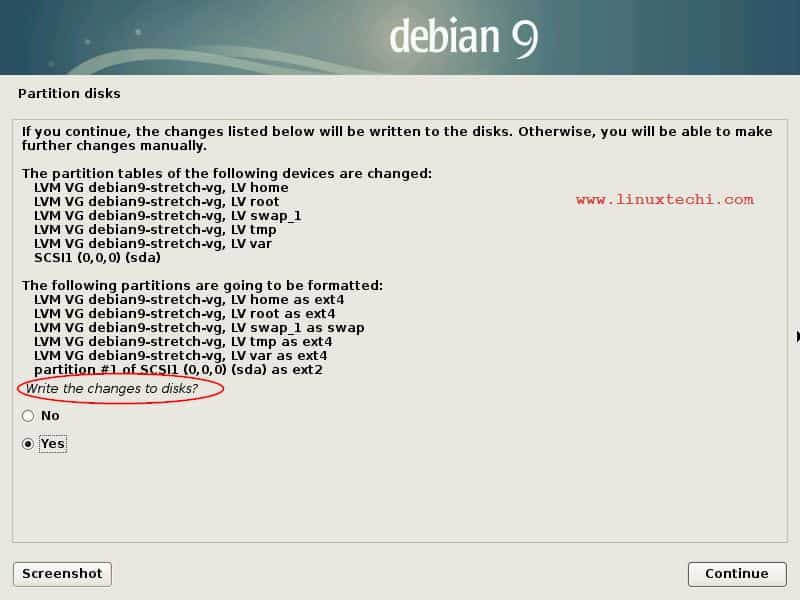
Click on Continue to start the installation
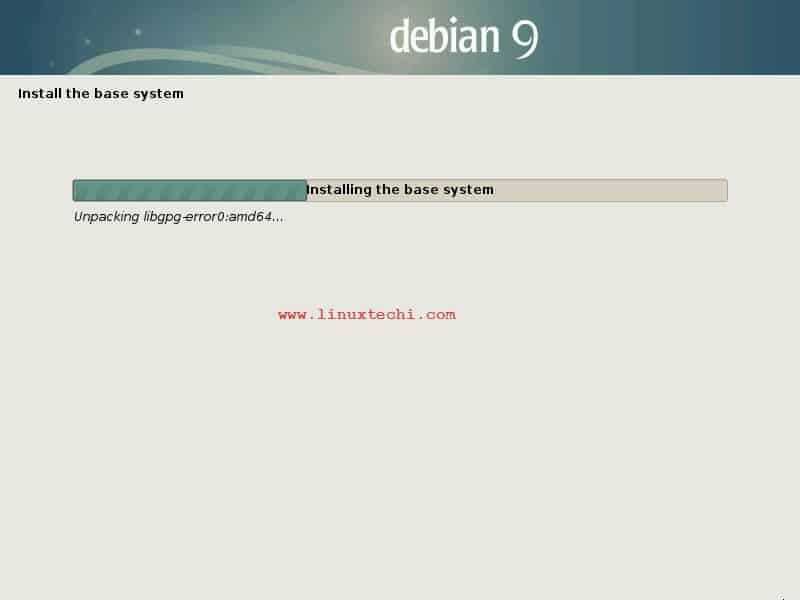
Step6: Installation Started and is in Progress
As we can see installation has started and is in progress
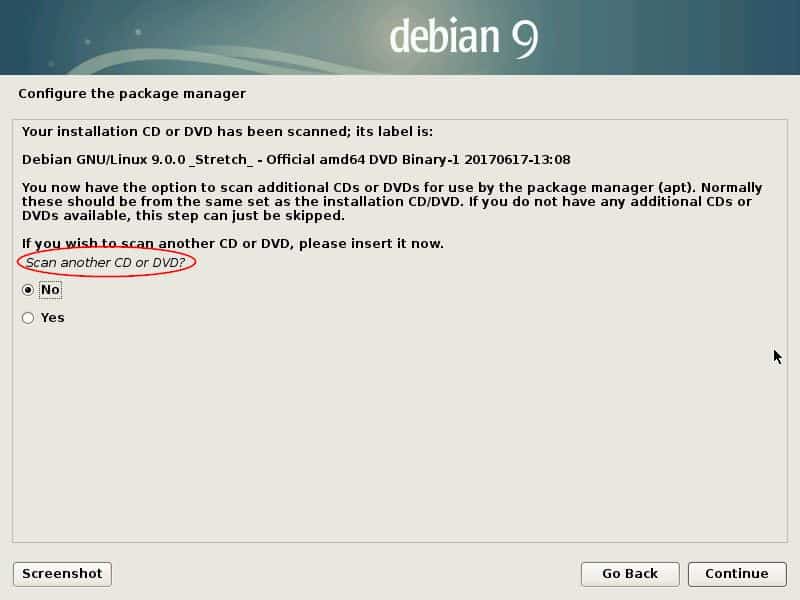
During the Installation, installer will prompt us to scan additional CD / DVD, which will be used by package manager (apt) for installing the software. If you don’t want to scan then select ‘NO’ , as shown below:
Select the Network Mirror Option as ‘No’
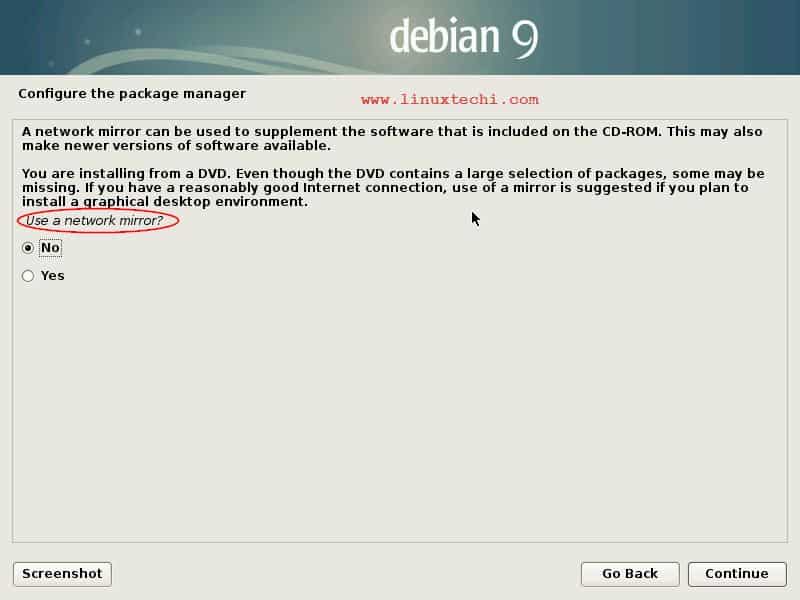
Click on Continue to proceed further
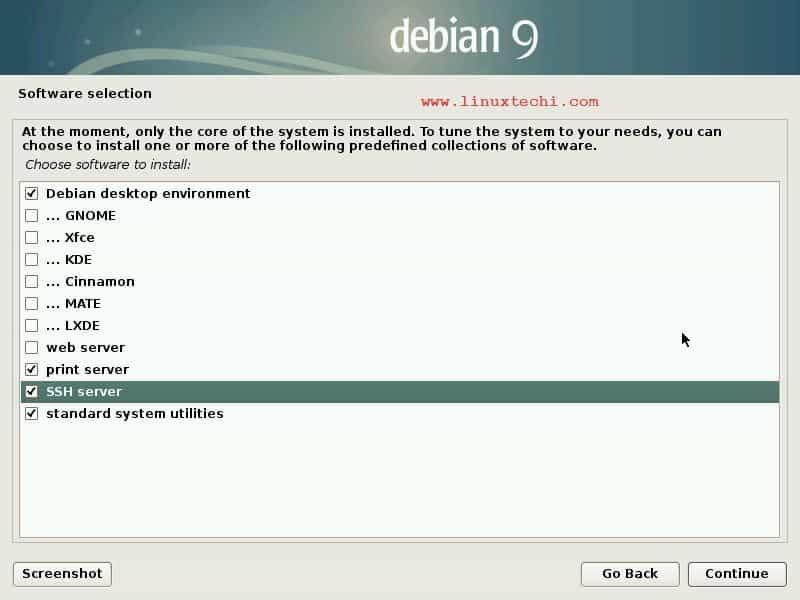
Select the software to install and then click on continue to proceed with installation
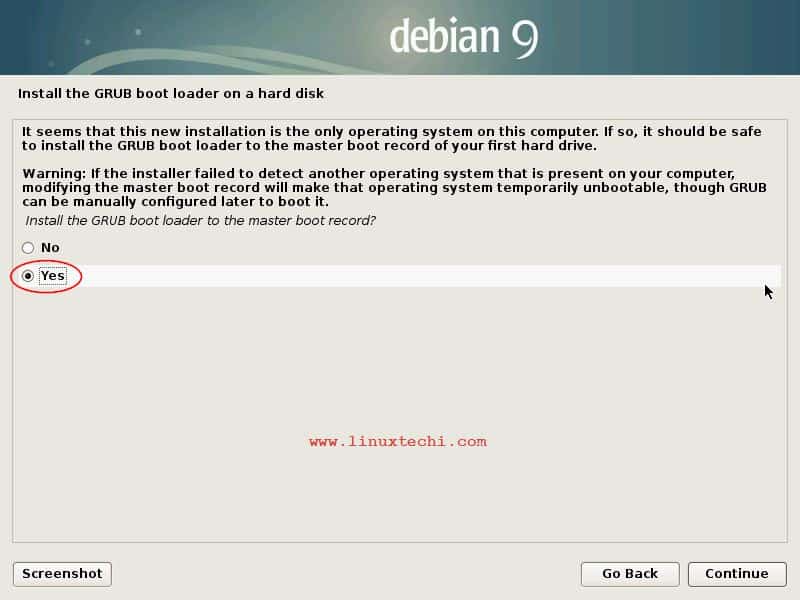
Select the option ‘yes’ to install grub boot loader
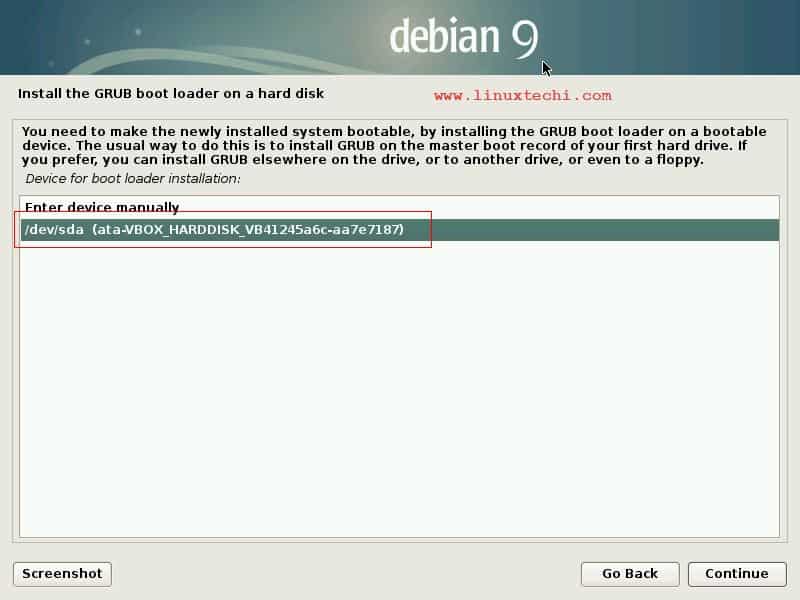
Select the Hard drive on which Boot loader will be installed
Once the Installation is completed, installer will ask to restart the system and remove the USB Drive or DVD that we have used during the installation.
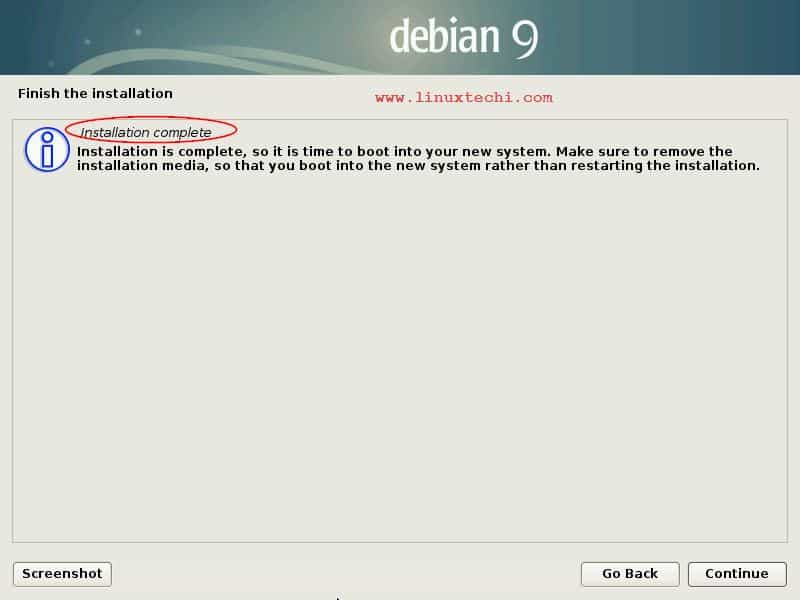
Click on Continue to restart your system
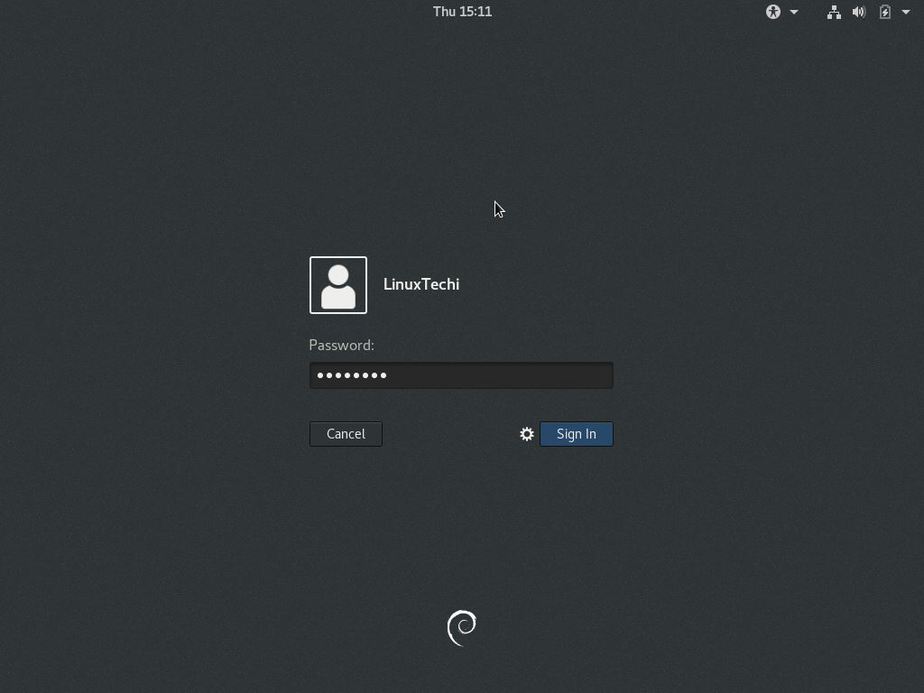
Step7: Boot your system with newly installed Debian 9
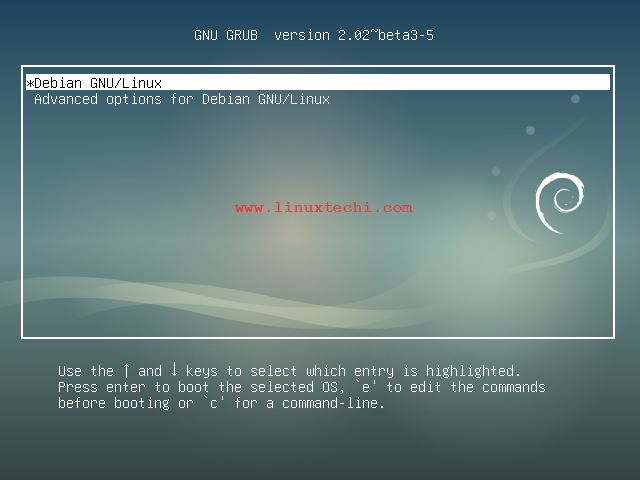
User the same user name and password that we have created during the installation
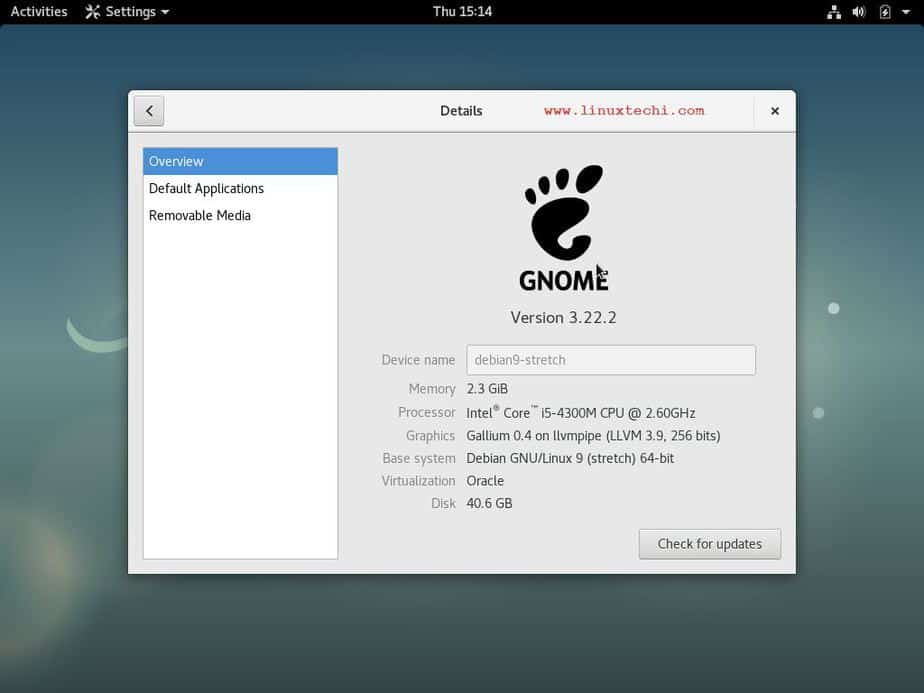
That’s all from this article. Debian 9 ‘Stretch’ has been installed successfully, please share your feedback and comments in the comments section below.

do debian has own desktop manager?
i tried installing by same way but it is giving me command bash login.
use the root account
Thank you! It was really useful!