Canonical has released its non-LTS Ubuntu 19.04 Operating system for Desktop and Servers on 18th April 2019, Code name for Ubuntu 19.04 is “Disco Dingo”. As it is non-LTS release, so we will get latest packages and patches for next 9 months (January 2020) from canonical.
In this article we will demonstrate how to install Ubuntu 19.04 on your laptop or desktop with customize partitions scheme. There are number new features and enhancements noticed in this release, some of them are listed below:
- New Linux Kernel version 5.0
- Improved GNOME 3.32 Desktop
- Kernel Live patching for Desktop Users
- Improved Audio Settings
- Introduction of Mesa 19.0 (Graphics Library)
- Updated Packages like OpenJDK 11, Python 3.7.3, Perl 5.28.1 ruby 2.5.5 and php 7.2.15 etc.
- LibreOffice 6.6.2
Minimum System Requirement for Ubuntu 19.04:
- 2 GB RAM
- Dual Core Processor (2GHz Speed)
- 20 GB free hard disk space
- Bootable Media like USB or DVD
- Internet Access (optional but recommended)
Let’s jump into the installation steps of Ubuntu 19.04,
Step:1) Download and Burn Ubuntu 19.04 ISO file
Download Ubuntu 19.04 (64-bit) ISO file from its official site:
https://www.ubuntu.com/download/desktop
Once you have downloaded the ISO file then burn it either into USB drive or DVD and make it bootable.
Read Also: How to Create Bootable USB Disk / DVD on Ubuntu / Linux Mint
Reboot your target desktop or laptop on which you want to install Ubuntu 19.04 and go to its bios settings and change the boot medium as “USB Drive/ DVD”
Step:2) Choose Install Ubuntu
When you boot your laptop or desktop with above created bootable media then you will be getting the following screen,
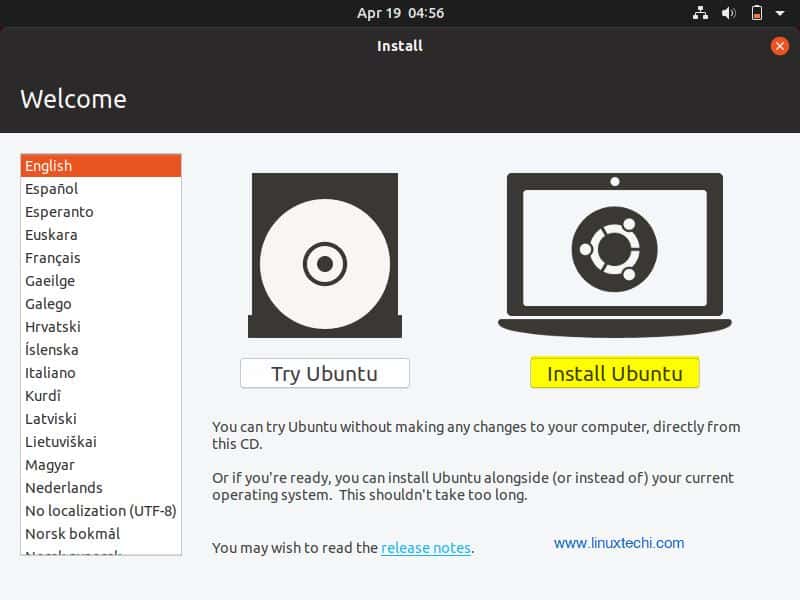
Choose “Install Ubuntu”
Step:2) Select your keyboard layout
Choose your keyboard layout which suits to your language,
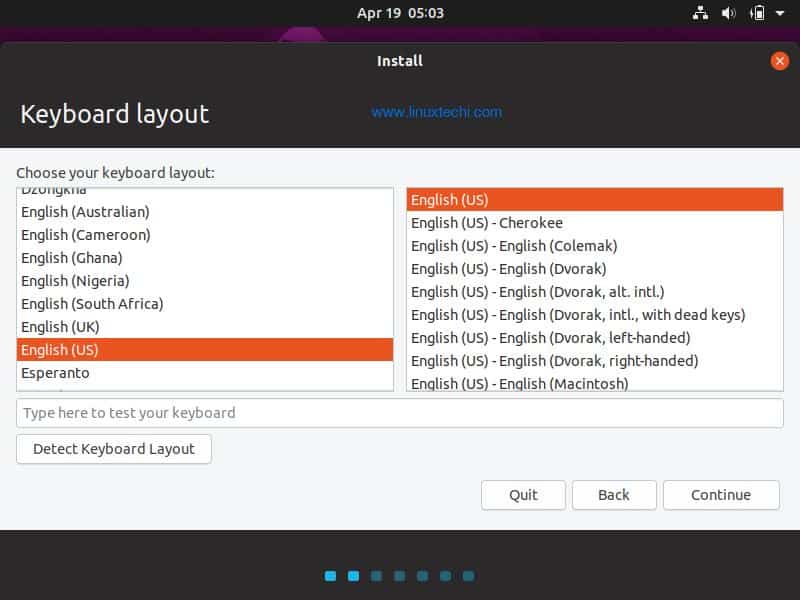
Click on Continue
Step:3) Prepare to Install Ubuntu and third-party software
Choose how you want to start Ubuntu 19.04 installation, there two options,
- Normal Installation
- Minimal Installation
If you want to install desktop utilities like Web browsers, Office, media players etc during the installation then choose first option else go with second option.
If your system is connected to internet and you want to install updates and third-party software, then choose below options or else untick these options
- Download updates while installing Ubuntu
- Install third-party software for Graphics and WiFi…
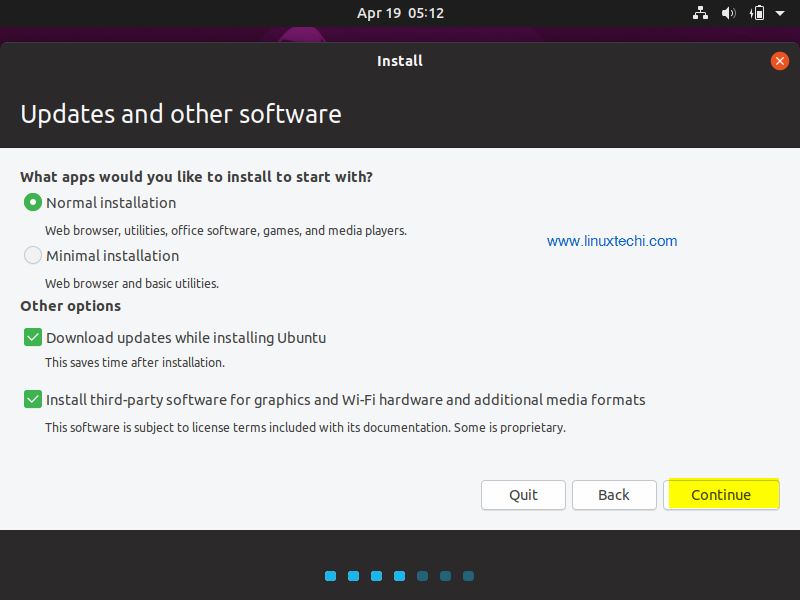
Click on Continue to proceed further
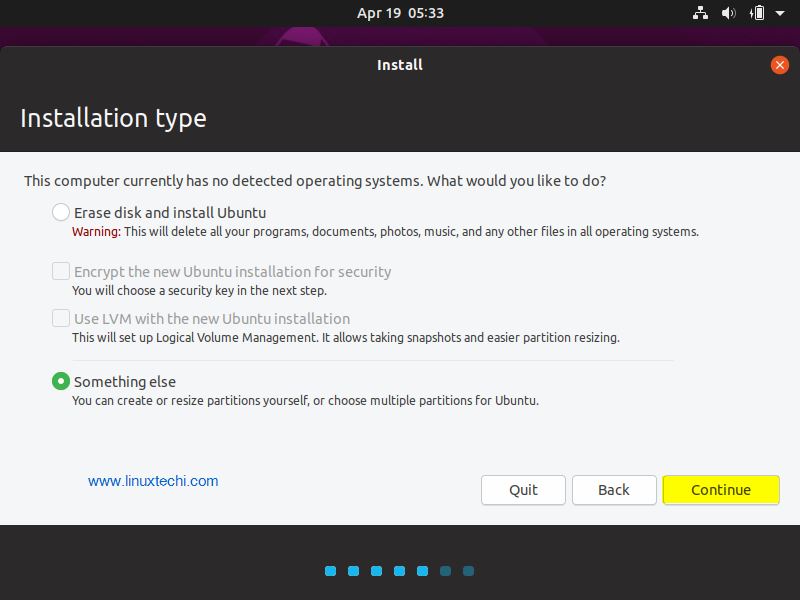
Step:4) Choose Your Installation Type
In this step you have to choose your Ubuntu 19.04 installation type, Installation type can be of following types,
- Erase Disk and Install Ubuntu (Delete all data from disk and will create partitions automatically)
- Encrypt the new Ubuntu installation for security (If want to encrypt your hard drive for Ubuntu 19.04 then choose this option)
- Use LVM with the new Ubuntu installation (If you are planning to have LVM based partitions then choose this option)
- Something Else (If you want to create your own partitions scheme then choose this option)
In this tutorial I will demonstrate how to create your own partitions scheme by selecting the option “Something Else”
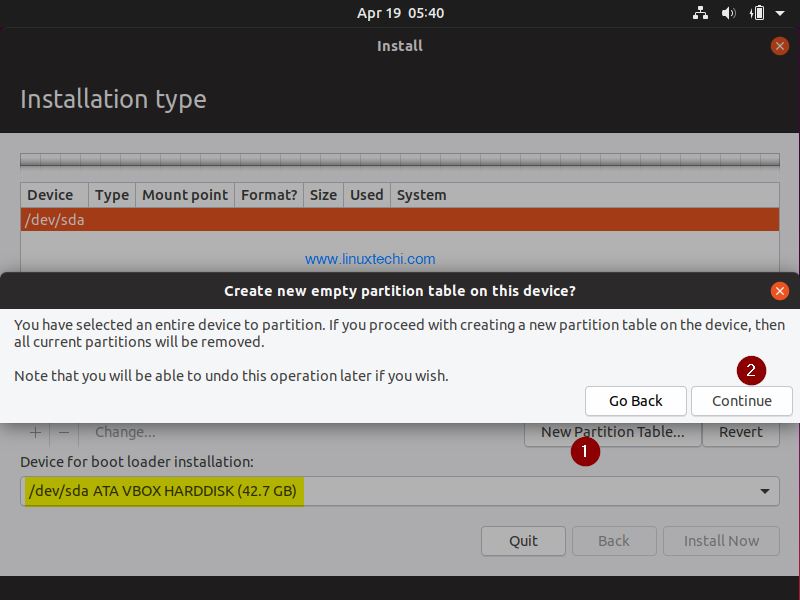
In the Next window, you will get how much hard disk is available for Ubuntu 19.04 installation, in my case I have around 42 GB disk space, so I will be creating beneath partitions on it,
- /boot = 2GB (ext4 file system)
- /home = 16 GB (ext4 file system)
- /var = 10 GB (ext4 file system)
- / = 12 GB (ext4 file system)
- Swap = 1.7 GB
Click on “New Partition Table” and then click on Continue
Let’s create our first partition as /boot of size 2 GB, Select the free disk and then click on + symbol and then specify partition mount point as /boot and file system as ext4
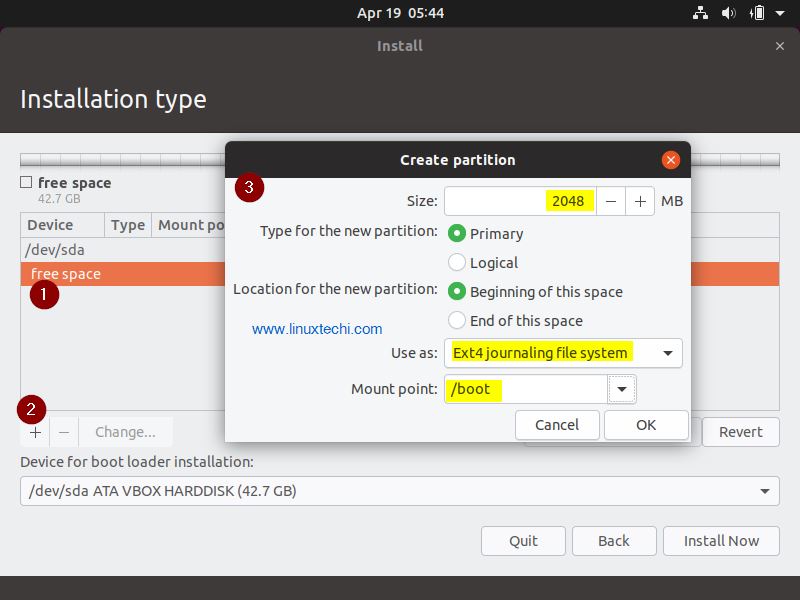
Click on OK to create further partitions,
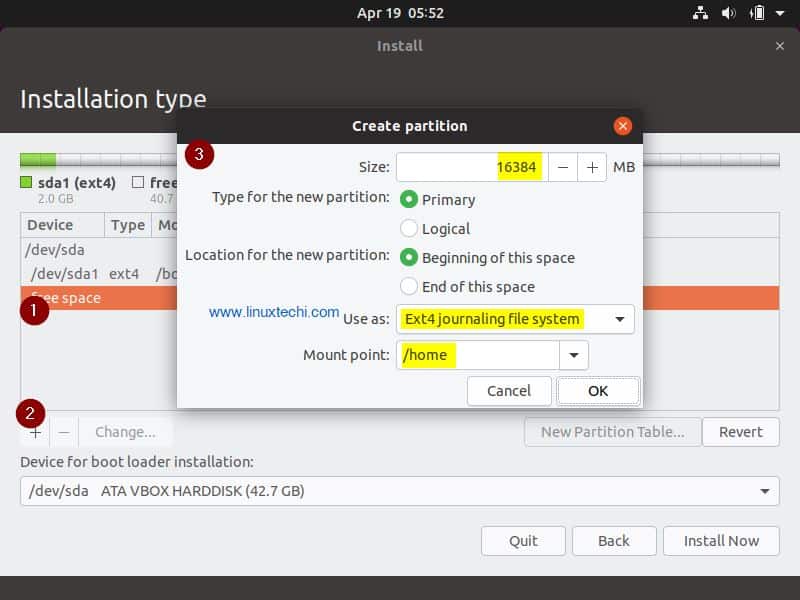
Create /home partition of size 16 GB,
Similarly create /var and / partition of size 10 GB and 12 GB respectively,
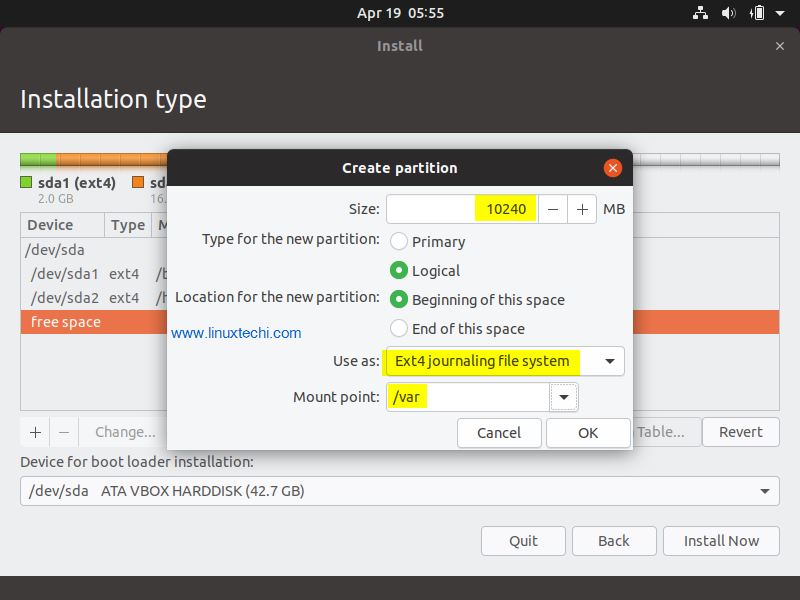
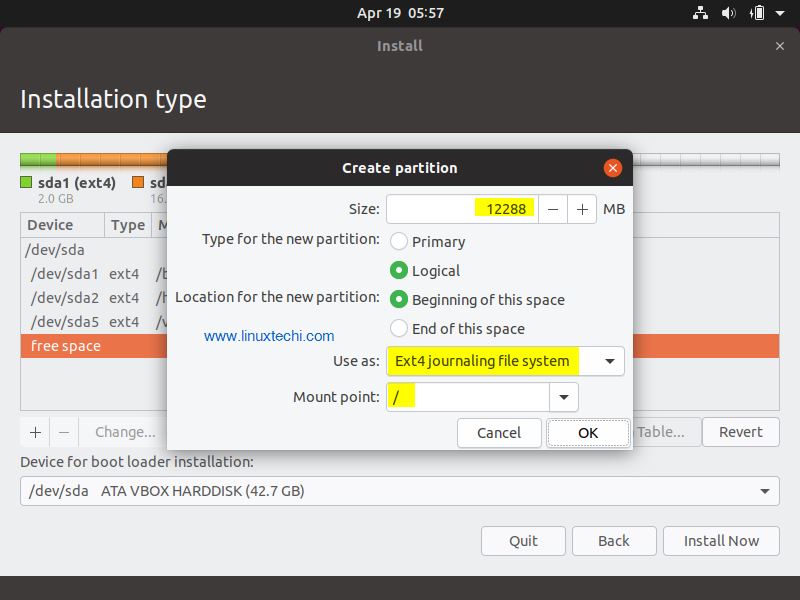
Click on OK to create proceed further
Now create our last partition as swap of size 1.7 GB,
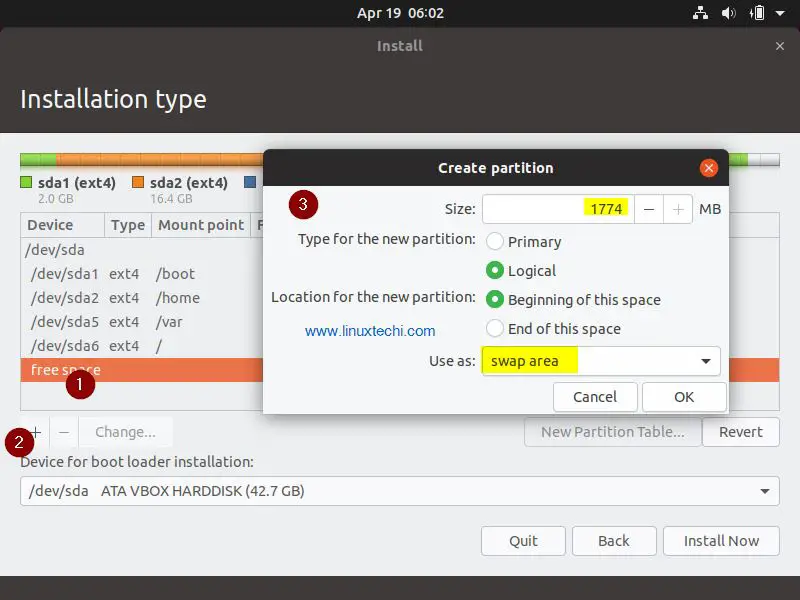
Click on OK
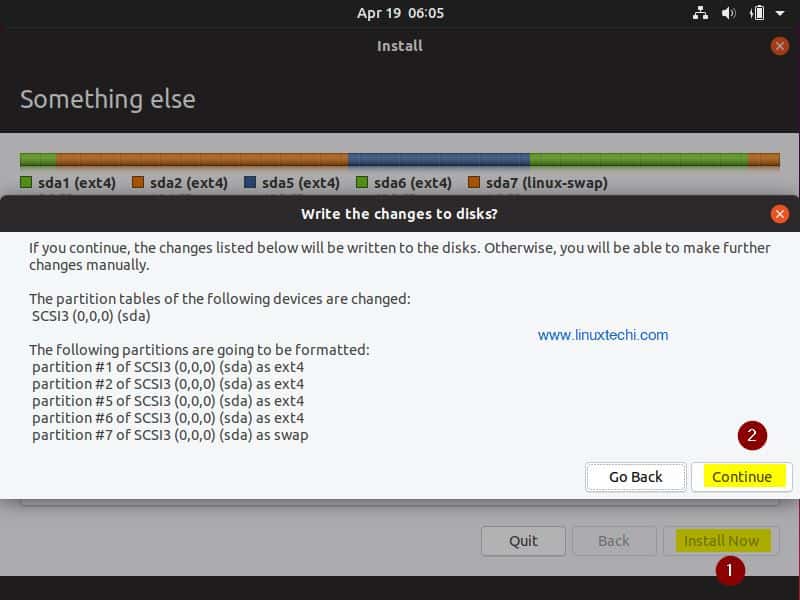
In the Next window click on “Install Now” option and then click on continue to write changes to the disk
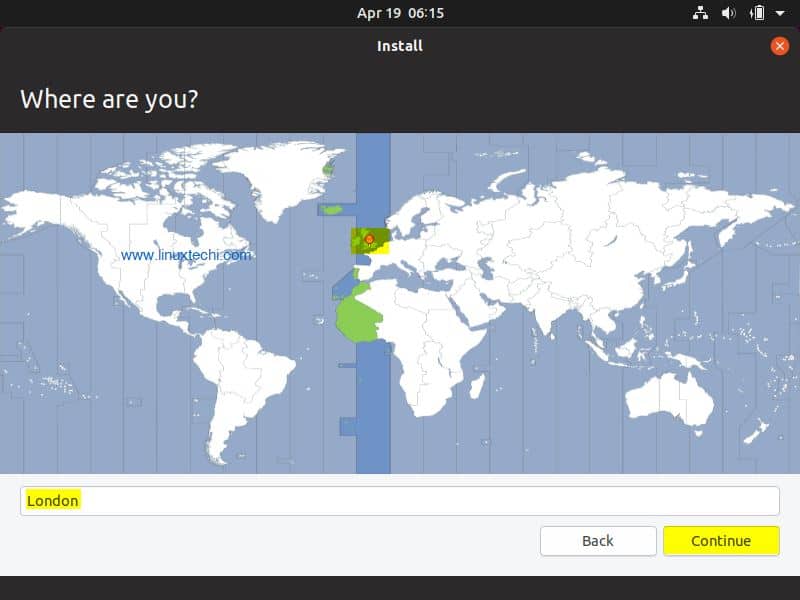
Step:5) Choose Your Time Zone
Select your time zone which suits to your installation and then click on Continue
Step:6) Specify User Name & its password and set Hostname
In this step specify the user name & its password and hostname for your Ubuntu 19.04.We will use the same user name and password to login to the system once installation is completed.
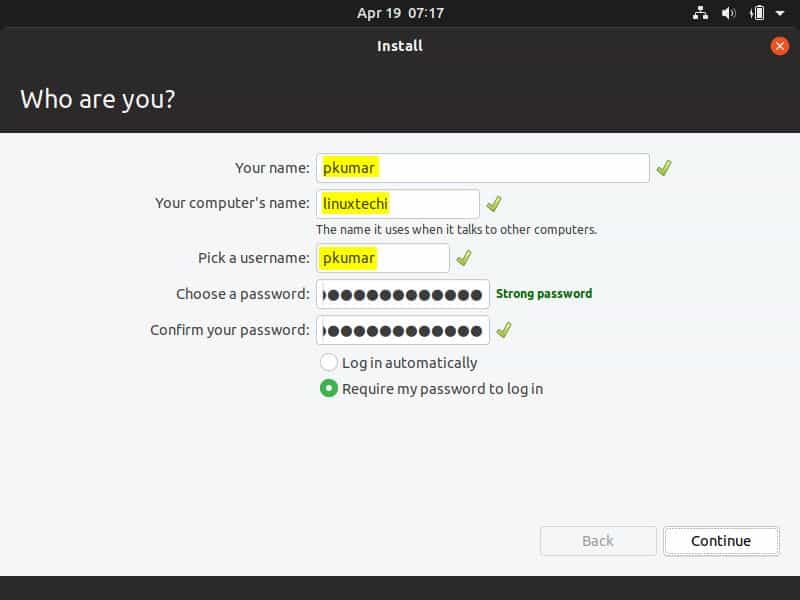
Click on Continue to proceed with installation
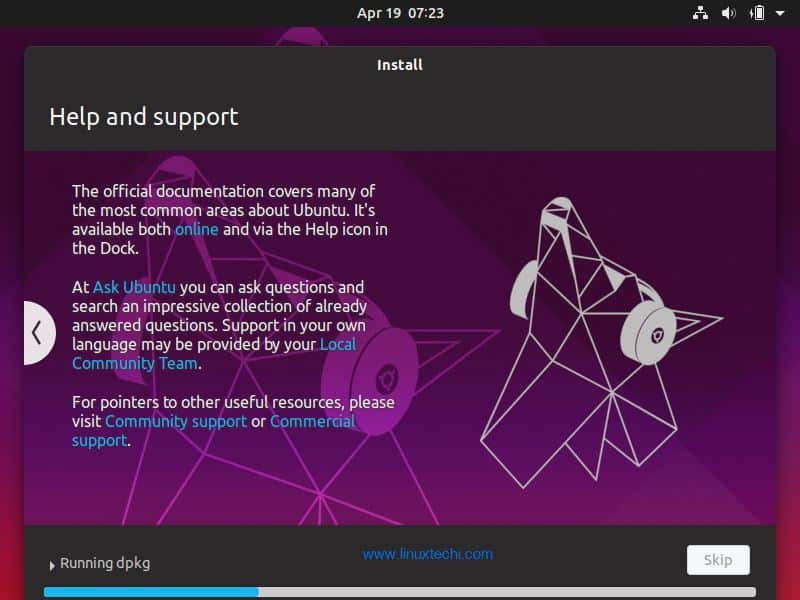
Step:7) Ubuntu 19.04 Installation Started
As we can see installation has been started and is in progress
Once the installation is completed then installer will prompt you to restart your system
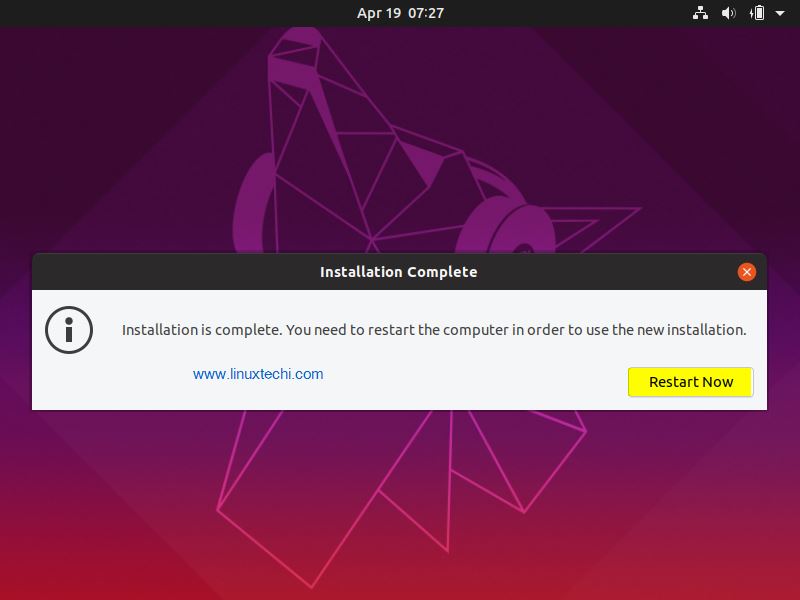
Click on “Restart Now” to reboot your system.
After reboot, make sure you change the boot medium from Bios settings so that your system boots up the hard disk.
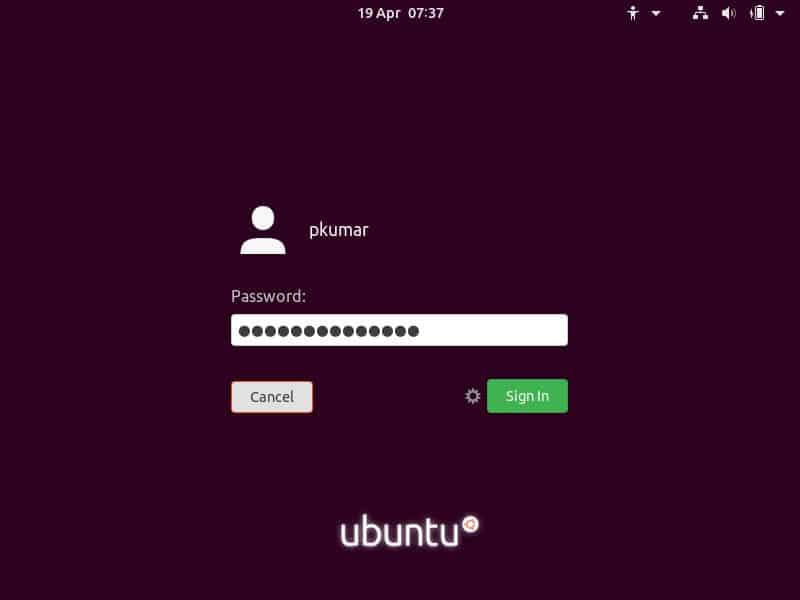
Step:8) Login Screen and desktop of your Ubuntu 19.04
After the reboot you will be below login screen, use the same user name and password that we have created during the installation
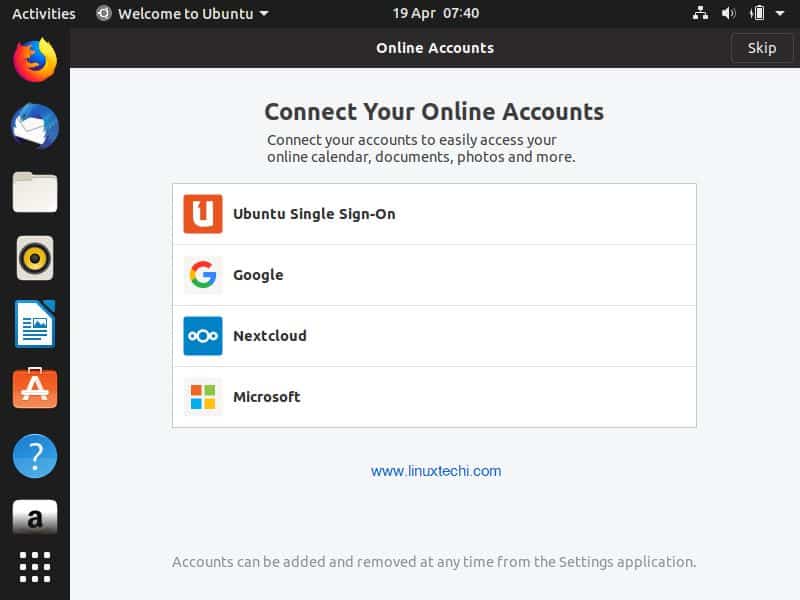
After login you will get the window to configure your online accounts like Google, Nextcloud and Microsoft etc, if you don’t want to configure it right now then you can skip this.
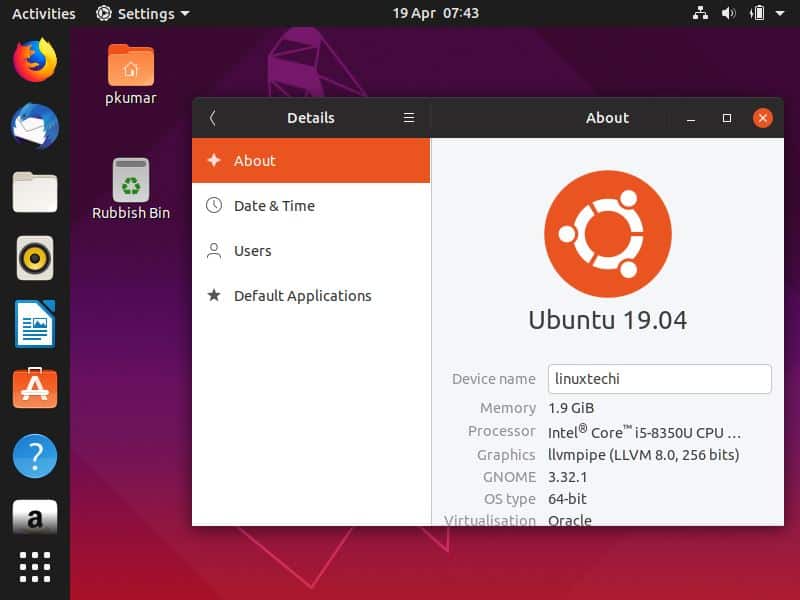
This confirms that we have successfully installed Ubuntu 19.04 on our laptop / Desktop. Please share your feedback and comments if these steps help you to install Ubuntu 19.04 on your system.
Recently I’m using Ubuntu 18.04 LTS with “Intel® Pentium(R) Dual CPU E2160 @ 1.80GHz × 2” but it don’t boot 19.04. Why?
you should open update settings and select updates tab and select notify me for new ubuntu version : — for any new version and put your local password then you should able to update your os
Thanks for sharing! Does Wifi work in 19.04?
I have 2 partitions on my windows 7 laptop. I still want to use Win7 after installing Ubuntu. When I set one of the 2 partitions for the Ubuntu OS, does the installation manager only deletes the data of that partition? Or does the installation manager deletes the whole hard disk?
We need a screen with minimum resolution 1024×768? Am I right?
This was very helpful thank you! I had to do an installation of Ubuntu 19-04 onto a Toshiba Satellite C660 laptop.