Popularly known as K8s or Kube, Kubernetes is an opensource orchestration platform that automates the deployment, scaling, and monitoring of containerized applications.
In simple terms, Kubernetes allows users to efficiently manage clusters which are made up of groups of running containers such as Linux containers.
Kubernetes clusters can be deployed both on-premise and on public cloud platforms such as AWS, Google Cloud (GCP), and Microsoft Azure. In this guide, we take you through a step-by-step procedure of how you can set up a Kubernetes cluster on Google Cloud Platform (GCP).
Prerequisites
Before proceeding, ensure that you have a Google Cloud Account. You can always create one upon which you get started with $300 worth of credits for a period of 365 days.
Create your first cluster
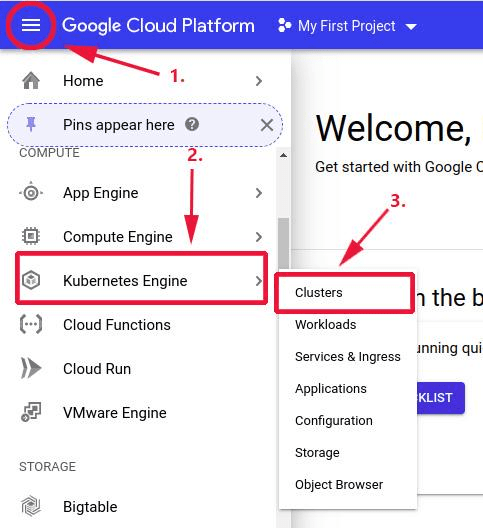
The first step in deploying your first Kubernetes Cluster is to log in to your Google Cloud Platform. Upon logging in, you will see the dashboard displayed as shown.
Click on the top left button & navigate to Kubernetes Engine –> Clusters
This opens the ‘Clusters’ section shown below. If you are creating a Kubernetes Cluster for the first time, Google Cloud will take a few minutes enabling the Kubernetes Engine API, so some patience will do.
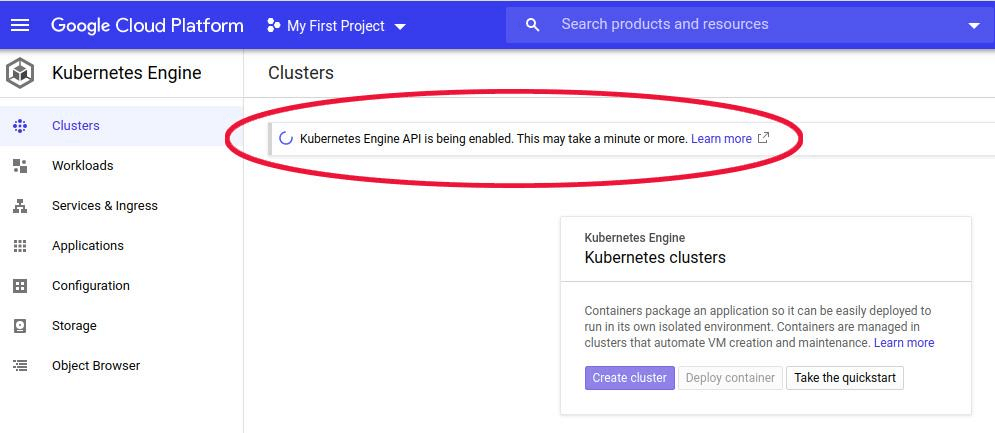
Once done, click on the ‘Create Cluster‘ button to deploy your first Kubernetes cluster.
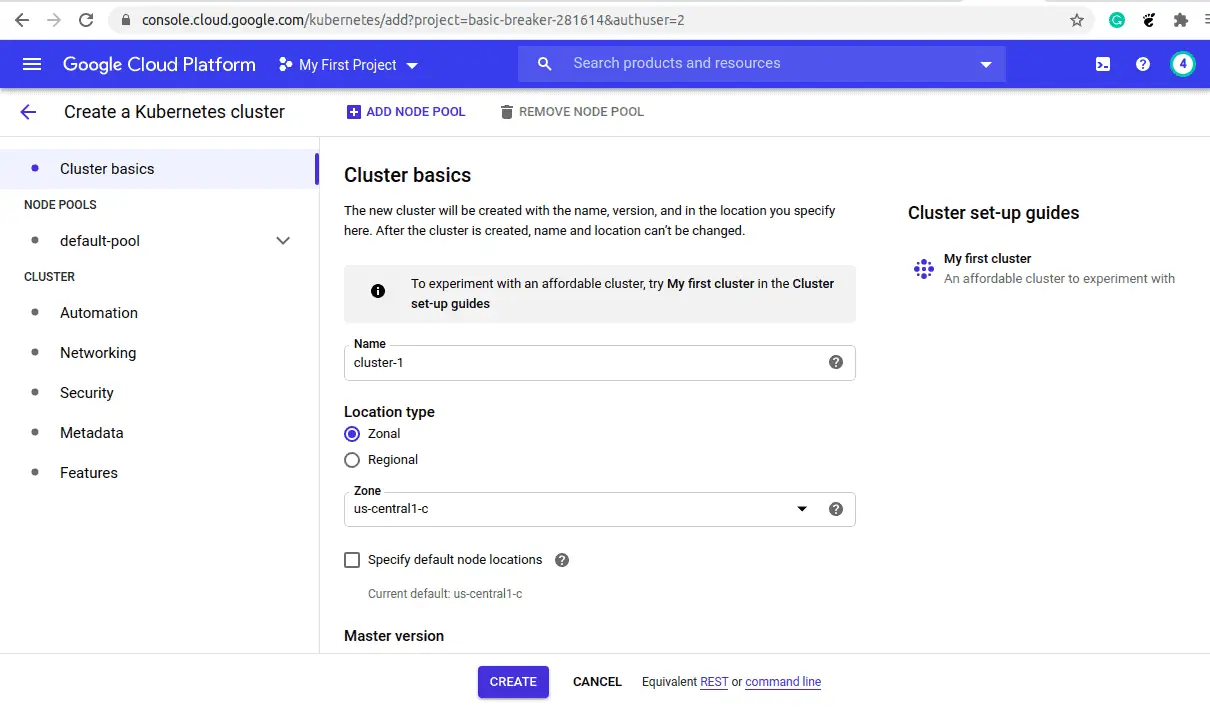
In the next section, the default details of the cluster will be displayed as shown.
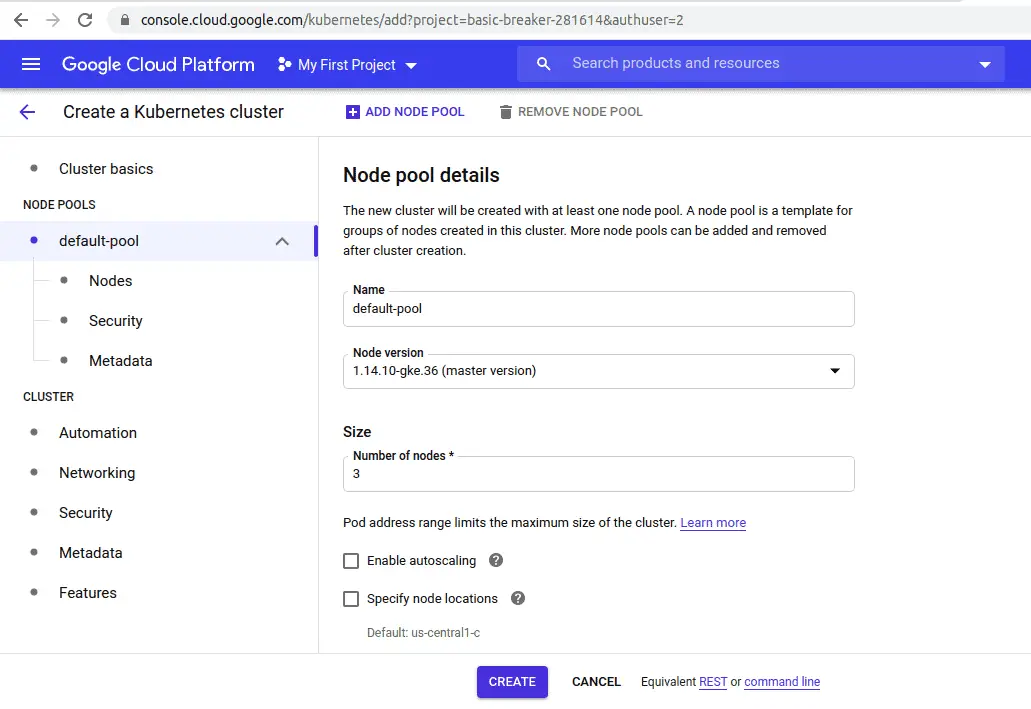
You can click on the left sidebar to verify further details on your cluster. For example, you can click on the ‘Default-pool’ option to display more information about the node-pool.
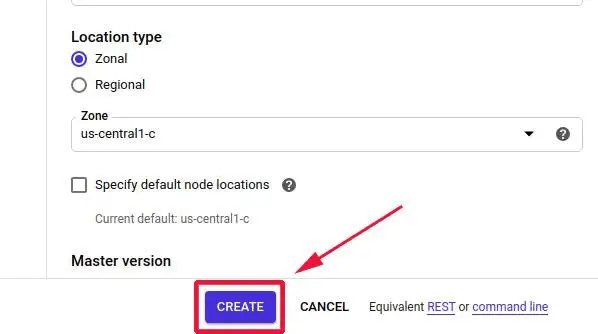
Feel free to make a few tweaks depending on your needs. You can increase the number of nodes, and make a few tweaks to suit your needs. Once you are satisfied with your selections, click the ‘CREATE’ button to create your Kubernetes Cluster.
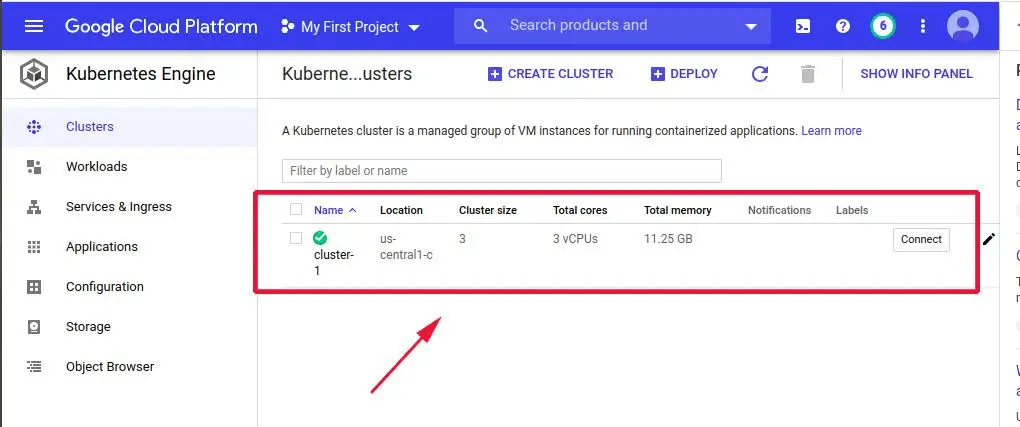
This takes a few minutes, so go ahead and grab some tea as Google Cloud begins to initialize and create the Cluster. After a successful deployment of the Kubernetes cluster, the cluster will be listed as shown.
Connecting to the Kubernetes Cluster
Our cluster is up and running, but it doesn’t help much if you don’t have command-line access. There are 2 ways you can connect to your cluster: Using the Google Cloud Shell and connecting remotely from a Linux system using the Google Cloud SDK kit.
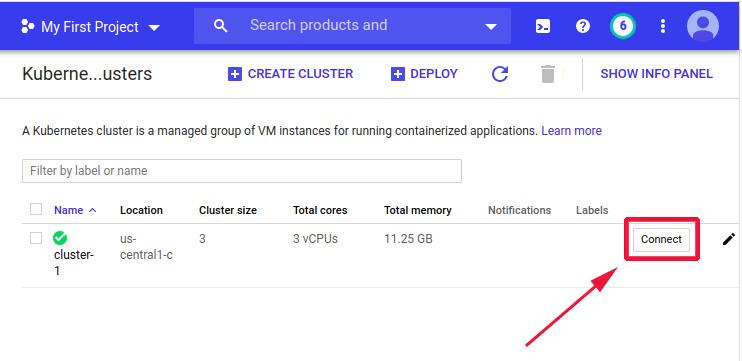
To connect to the Kubernetes cluster using the Google Cloud Shell, click on the ‘Connect’ button adjacent to the cluster.
This opens a pop-up screen as shown with a command that you should run in the Cloud Shell to start managing your cluster.
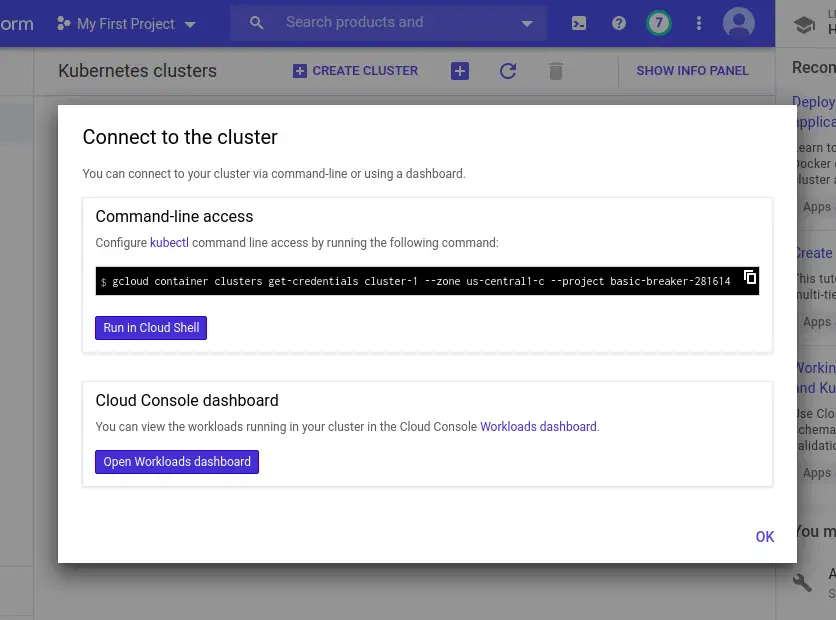
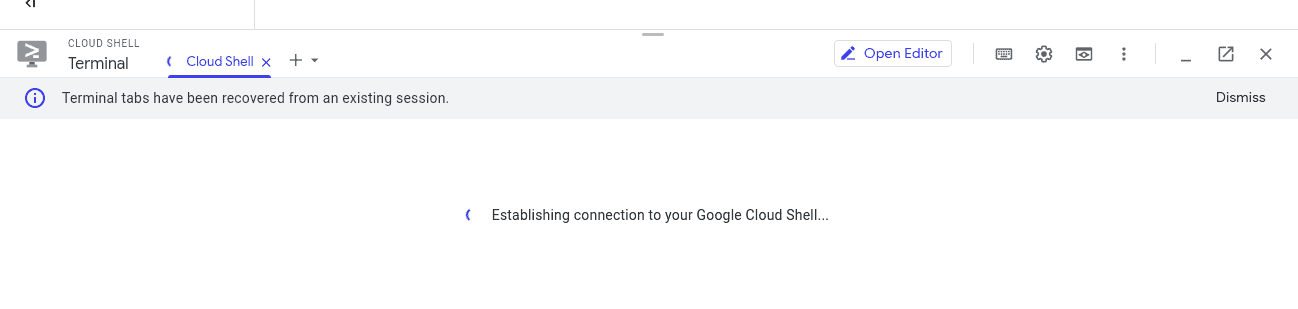
To run the command, click on the ‘Run in Cloud Shell’ button. Google Cloud will start initializing and establishing a connection to the cloud shell.
Finally, the Cloud shell will be displayed with the command already pasted on the shell. Hit ‘ENTER’ to run the command and begin managing your cluster and performing cluster administrative tasks. For example, to display the number of nodes, run the command:
$ kubectl get nodes
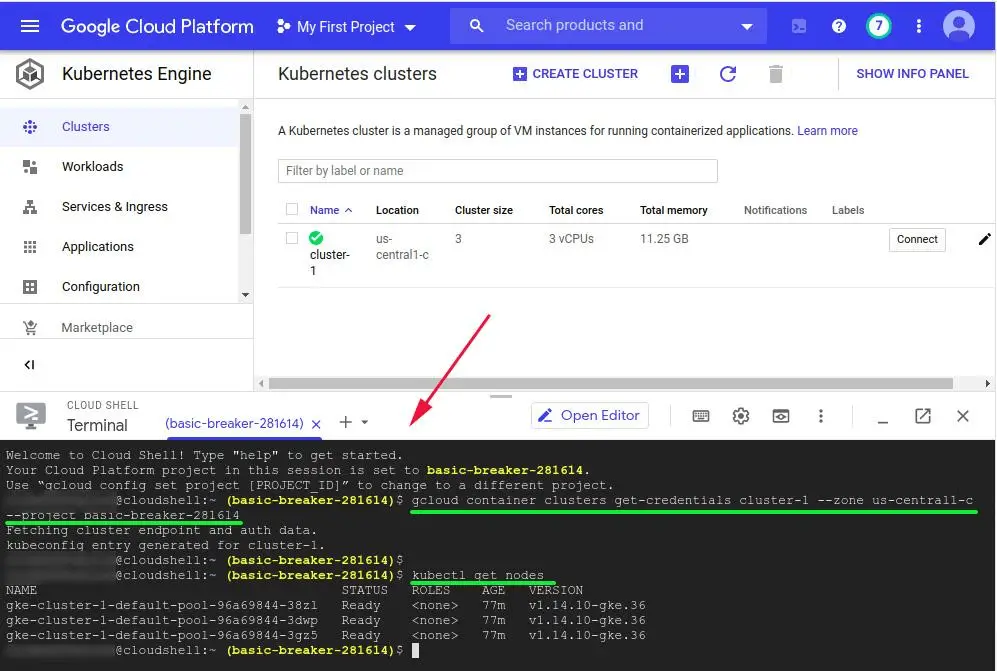
As you might have observed, the Kubernetes cluster comprises of 3 nodes as configured by default earlier on.
Connecting to the Cluster using Google Cloud SDK
Additionally, you can connect to a Kubernetes cluster using the Google Cloud SDK. The Google Cloud SDK is a set of command-line tools that are used to remotely connect to the Google Cloud Platform to perform administrative tasks.
In this guide, we will install the Cloud SDK on Ubuntu 18.04 which should work with Ubuntu 18.04 and Debian 9 and later versions.
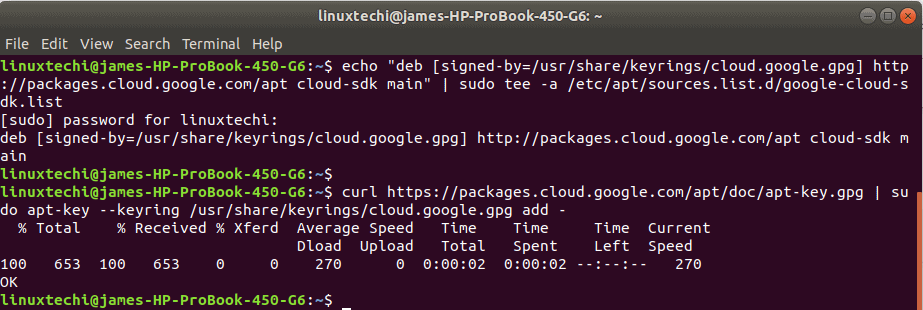
First, add the Google Cloud SDK repository as shown:
$ echo "deb [signed-by=/usr/share/keyrings/cloud.google.gpg] http://packages.cloud.google.com/apt cloud-sdk main" | sudo tee -a /etc/apt/sources.list.d/google-cloud-sdk.list
Next, import the Public key for Google Cloud Platform:
$ curl https://packages.cloud.google.com/apt/doc/apt-key.gpg | sudo apt-key --keyring /usr/share/keyrings/cloud.google.gpg add -
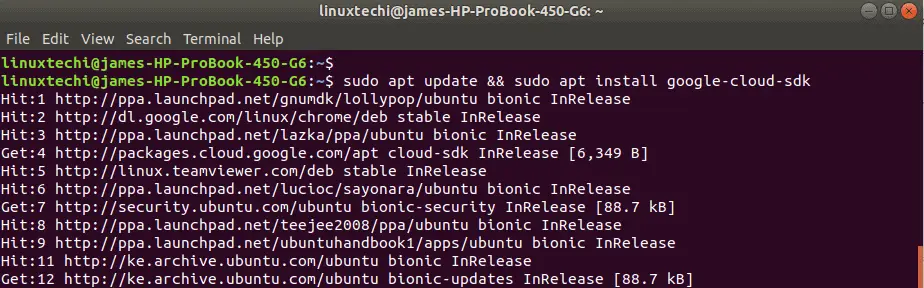
Then update your system’s package list and install Google Cloud SDK.
$ sudo apt update && sudo apt install -y google-cloud-sdk
The installation will be complete in a few minutes. To confirm that the Cloud SDK has been installed, execute:
$ dpkg -l | grep google-cloud-sdk

Initializing Google Cloud SDK
After the successful installation of Google Cloud SDK, we need to authorize the SDK tools to gain access to the Google cloud platform in order to perform administrative tasks.
To achieve this, issue the command:
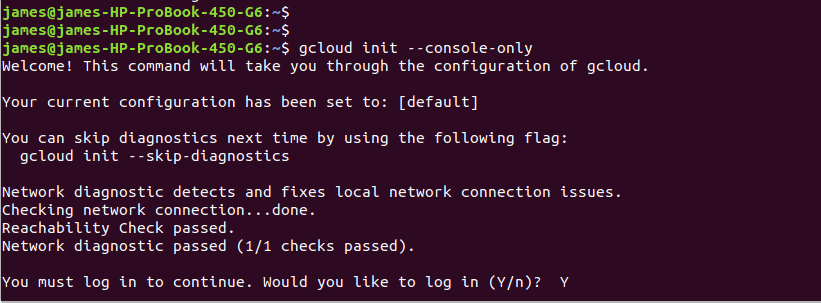
$ gcloud init --console-only
Next, You will be asked if you’d like to continue to log in. Press ‘Y’ to accept the option to log in
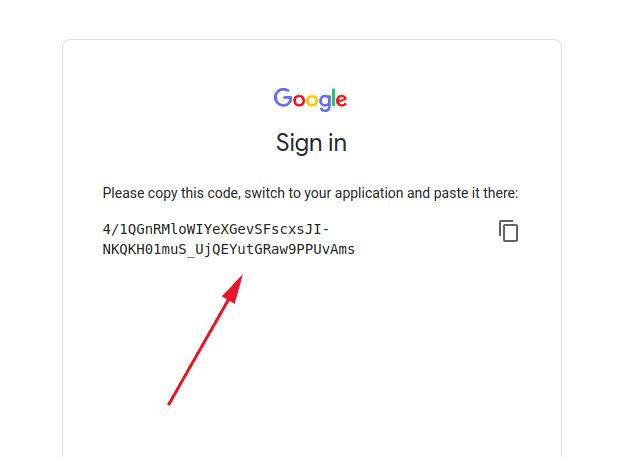
A link will be provided on the terminal that you will copy and open with a browser. Next, authenticate with your Google Account. Copy the verification code provided and paste it back on the terminal.
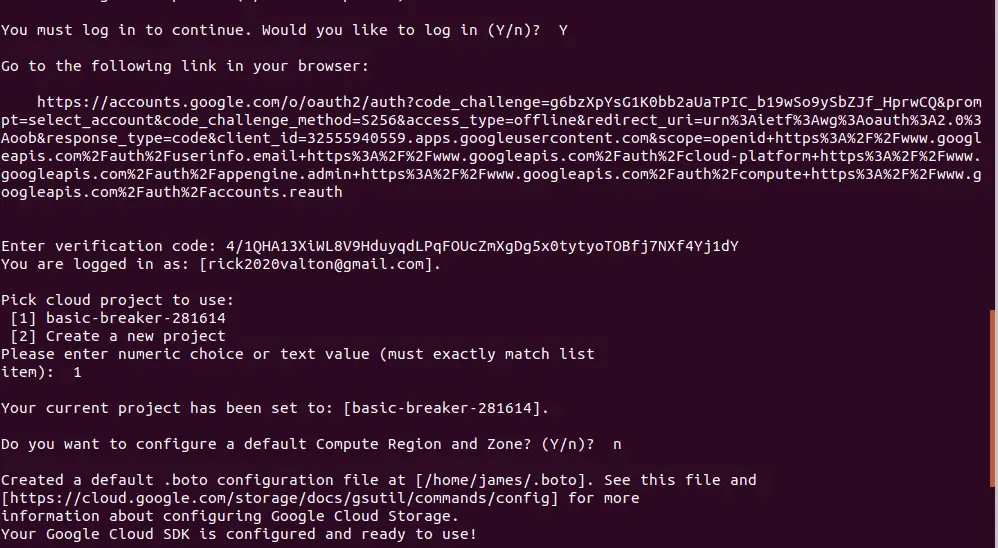
Next, you will be required to choose a project. The first project is usually your current project. So type in the numeric choice 1 and hit ENTER.
When asked about configuring a default zone, you can opt to create one by typing ‘Y’ from where you will be required to select a region from the list provided. If you do not wish to create one, simply type ‘n’.
A default configuration will be created at your home directory. Your cloud SDK is now easy to use.
Run the initial command that was provided by the cloud shell when connecting to the cluster.
$ gcloud container clusters get-credentials cluster-1 --zone us-central1-c --project basic-breaker-281614
At this point, you can begin managing your Kubernetes Cluster. To check the number of running nodes, again use the kubectl command as shown:
$ kubectl get nodes

Conclusion
Kubernetes continues to be an essential platform in the DevOps field. It makes the management of nodes in a production environment easier and more efficient. In this guide, we walked you through how to set up a Kubernetes cluster on Google Cloud Platform.
Also Read: How to Setup NGINX Ingress Controller in Kubernetes