GNU Screen is a terminal multiplexer which allows to have multiple terminal sessions inside the main terminal.
So why we need GNU Screen? – Sometimes we may face some issues like automatically terminating the remote ssh connections due to network issues. It may be painful if the task is running on production environment. So, to handle this kind of issues, separate screen session is recommended which does not terminate with the end of terminal sessions.
In the Linux and Unix systems, we have terminal multiplexer tool called screen which is used to manage terminal sessions. In this article we will cover how to use GNU screen in Linux to manage terminal sessions while working on important task in production systems.
GNU Screen Command Installation
Installation of the screen package in the Linux system is simple and easy. Some of the modern operating systems come with screen applications pre-installed. Run the following command to verify the availability of screen.
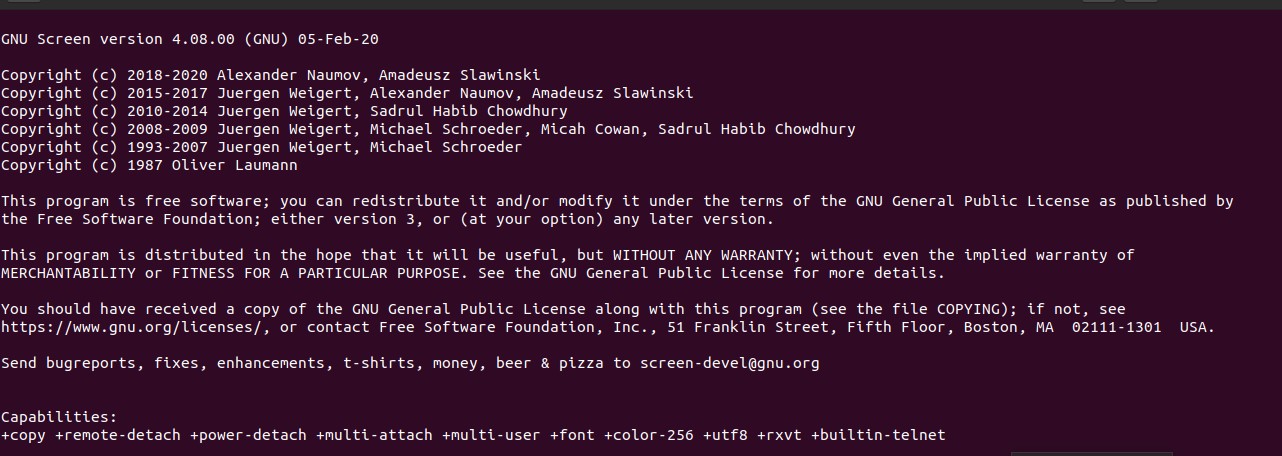
$ screen --version
Output:
Screen version 4.08.00 (GNU) 05-Feb-20
If you get other output, you do not have a screen tool available on your system. Run the following command to install the screen package.
Ubuntu/Debian
$ sudo apt-get install screen -y
RHEL/CentOS
$ sudo yum installs screen -y        // RHEL 7
$ sudo dnf install screen -y         // RHEL  8
Starting Screen in Linux
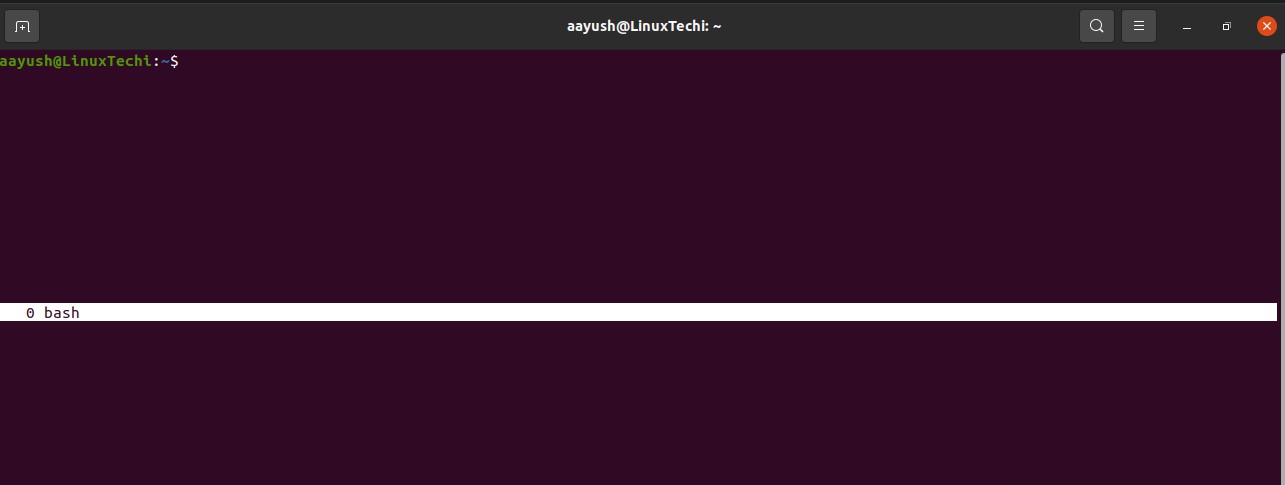
One the installation is completed, simply run the command screen to start screen sessions.
$ screen
Output:
Create Screen Session with name
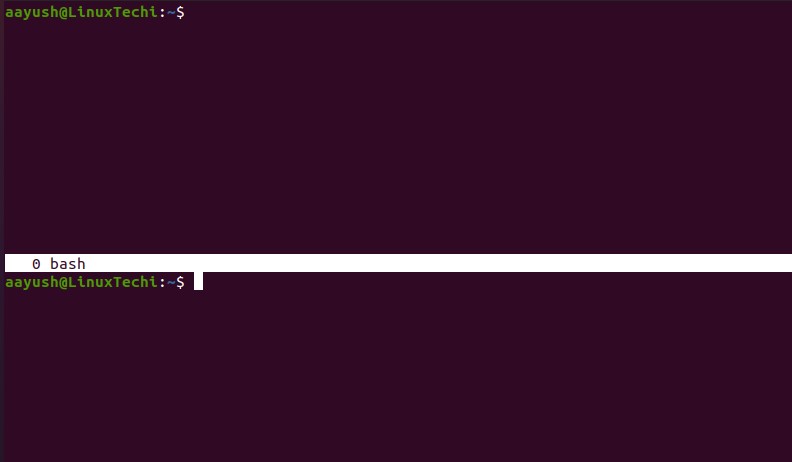
Using screen command followed by option -S , you can create a named screen session . In this example, I have used screen-linuxtechi as the name of the screen session. You can choose your preferable name.
$ screen -S screen-linuxtechi
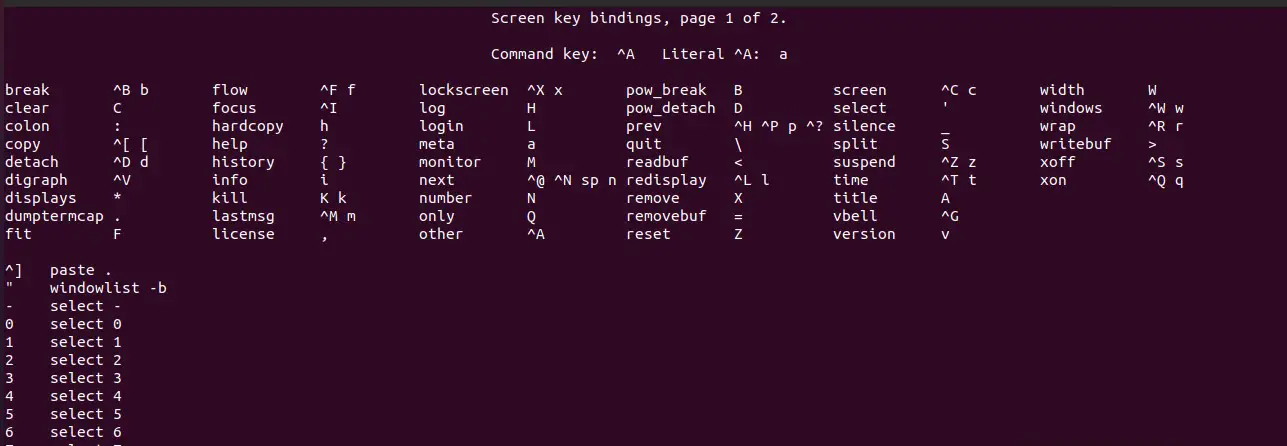
Listing screen parameters
Screen provides some useful parameters and commands. To list the available parameters, press ctrl-a followed by ? .
Note: screen uses the key ctrl+a as a prefix. For example, to list the screen parameters you need to press ctrl and a together ,release the key and press the key ? . In the same way you can use other parameters.
Output:
List Screen Sessions
Use the following command to list the available screen sessions.
$ screen -ls
Output

Detach Linux Screen Session
One of the useful features provided by screen application is you can detach the screen session and reattach when needed. To detach the current screen session, press ctrl-a followed by d.
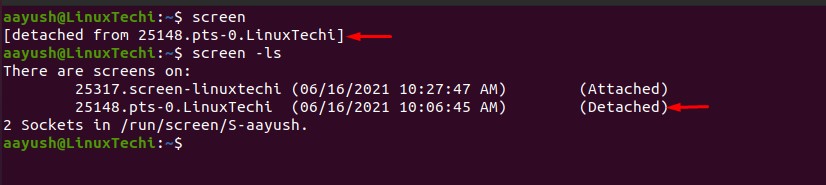
Reattach Linux Screen session
The detached screen session can be attached again using screen command with option -r followed by screen session name. List out the detached screen session using command screen -ls , find the screen session name and attach. In this example I have attached the session 25148.pts-0.LinuxTechi
$ screen -ls
$ screen -r 25148.pts-0.LinuxTechi
Screen sessions can be reattached using only screen id or screen name. In the above example, 25148 is the ID and pts-0.LinuxTechi is the name of the screen 25148.pts-0.LinuxTechi.
$ screen -r 25148
$ screen -r pts-0.LinuxTechi
Split Linux Screen Windows
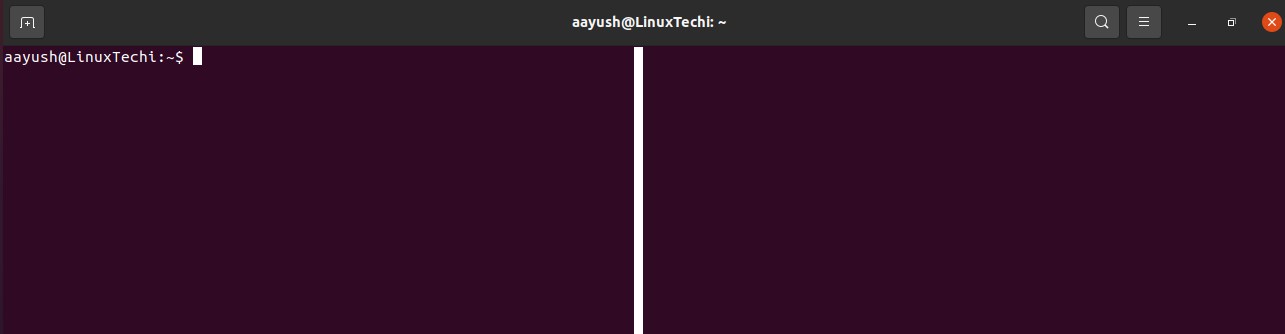
Sometimes you may need to split the screen windows into multiple screens to perform several tasks. Splitting can be done horizontally as well as vertically.
Vertical
To split Linux screen windows vertically click ctrl-a followed by | . By repeating the same process, you can split n numbers of screen windows.
Horizontal
Horizontal splitting of the screen windows can be done by clicking ctrl-a followed by S (Upper case). Repeat the same process to create n number of vertical windows.
Create new terminal in splitted session
Whether you split the screen horizontally or vertically, it will not create any new terminal. To create the new terminal in the screen, you need to switch to new split screen windows using ctrl-a followed by Tab. Now press ctrl-a and c (lowercase) to create a terminal.
Unsplit screen windows
To unsplit the splitted screen windows, you can simply apply ctrl-a with key Q
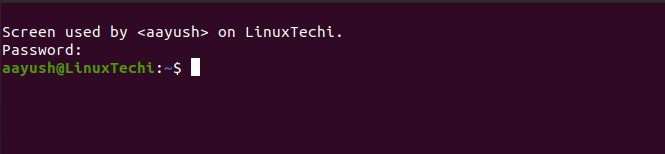
Lock screen sessions
To protect from unauthorized access, screen sessions can be locked without locking normal session users. To lock the screen terminal, use the command ctrl-a followed by key x (Lowercase) . You will be prompted to set up the password, apply your protection password and that’s all.
Find owners of screen sessions
Screen stores opened screen sessions information at the directory /var/run/screen. List out the contents stored inside the directory to find the owner of the screen.
$ ls -ltr /var/run/screen
Output:

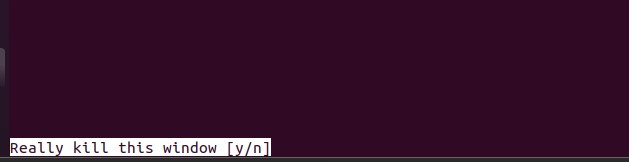
Terminate the screen sessions
One the task is completed, you can destroy the screen sessions using the command ctrl-a followed by k . You will be prompted for user confirmation, type y to terminate the session.
Accessing the screen help page
Run the following command to access screen help page
$ screen --help
Run the following command to access the screen user manual page.
$ man screen
Some useful screen command’s parameters
- Ctrl-a +c => Create a new screen window with terminal
- Ctrl-a + ? => List screen parameters
- Ctrl-a + A => Rename the current screen window
- Ctrl-a + tab => Switch to the next window
- Ctrl-a + S => Split the window horizontally
- Ctrl-a + | => Split the window vertically
- Ctrl-a + d => Detach the screen
- Ctrl | d => Terminate the screen
Conclusion
In this article we have learned different gnu screen commands to manage Linux terminal sessions. If you have any suggestions and feedback, please leave a comment below.
Recommended Read : Learn how to Record and Replay Linux Terminal Sessions Activity