In this guide, we will take you through the step-by-step process of installing VirtualBox Guest Additions on Linux Mint 21.
If you’re a Linux Mint 21 user who runs Linux Mint 21 on a VirtualBox VM, you’ll want to enhance your virtual environment by installing VirtualBox Guest Additions. These additions provide improved functionality, better graphics, and seamless integration between your guest OS and the host system.
Why Install VirtualBox Guest Additions?
VirtualBox Guest Additions offer several essential benefits:
- Enhanced Display: Guest Additions provide better screen resolutions and enable dynamic resizing of the guest window.
- Mouse Integration: Achieve seamless mouse movement between your guest and host systems.
- Shared Clipboard: Copy and paste text and files between your virtual machine and host.
- Improved Graphics: Get 2D and 3D acceleration for smoother graphics and video playback.
Prerequisites
- Pre-Installed Linux Mint 21 Instance on VirtualBox VM
- A Regular User with sudo rights
- Internet Connectivity
Now, let’s deep dive into the VirtualBox Guest Additions installation process.
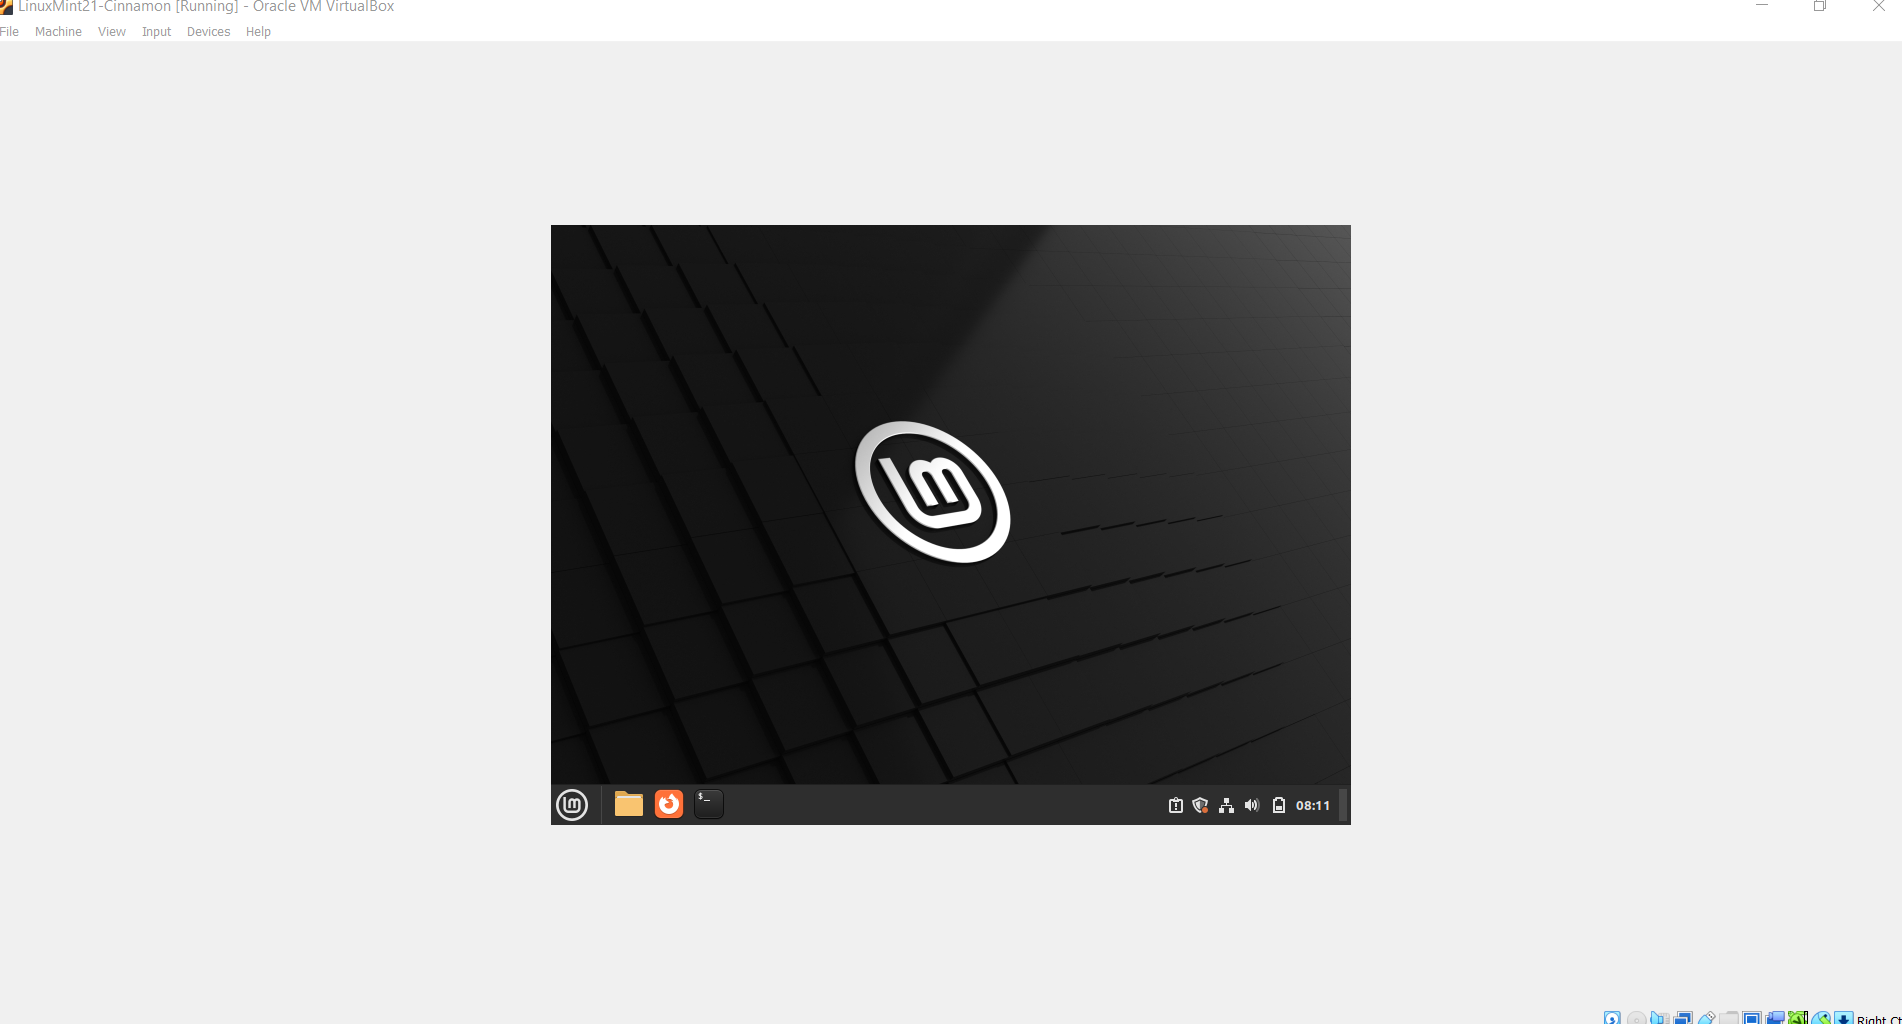
1) Start Your Linux Mint 21 VM
Start your Linux Mint 21 VM in your VirtualBox, you will notice that its display is not resizing even you click on maximize button.
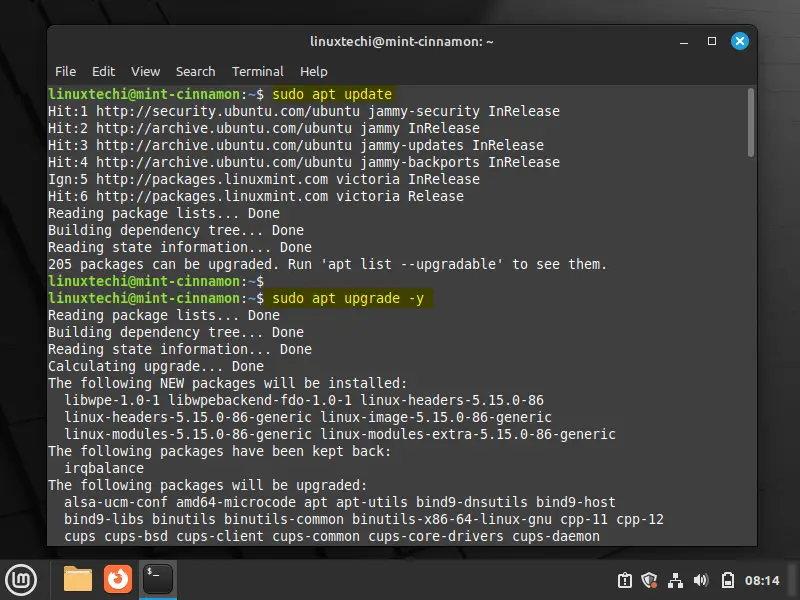
2) Update Your Linux Mint System
Before proceeding, it’s always a good idea to ensure your system is up to date. Run the following command from the terminal.
$ sudo apt update
$ sudo apt upgrade -y
Reboot your system post installing all updates.
$ sudo reboot
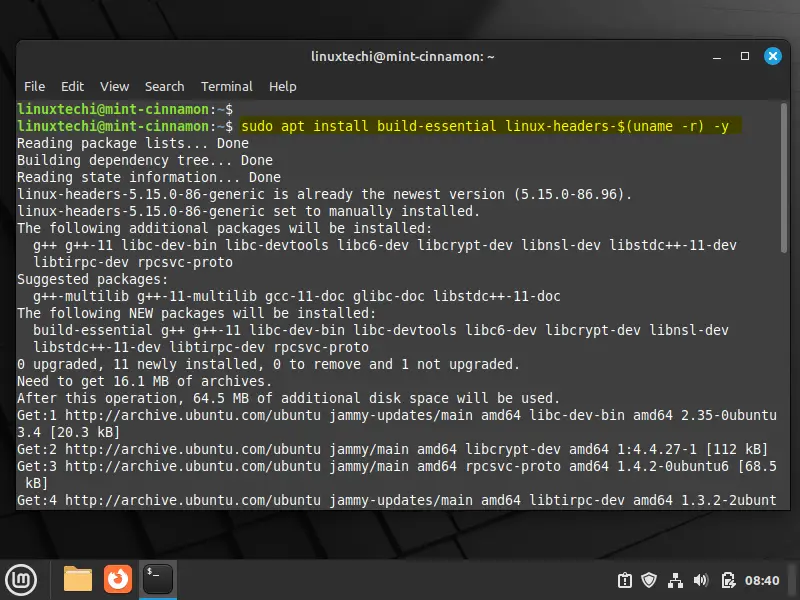
3) Install Required Packages
To install VirtualBox Guest Additions, you need to have a few prerequisites. Install them with this command:
$ sudo apt install build-essential linux-headers-$(uname -r) -y
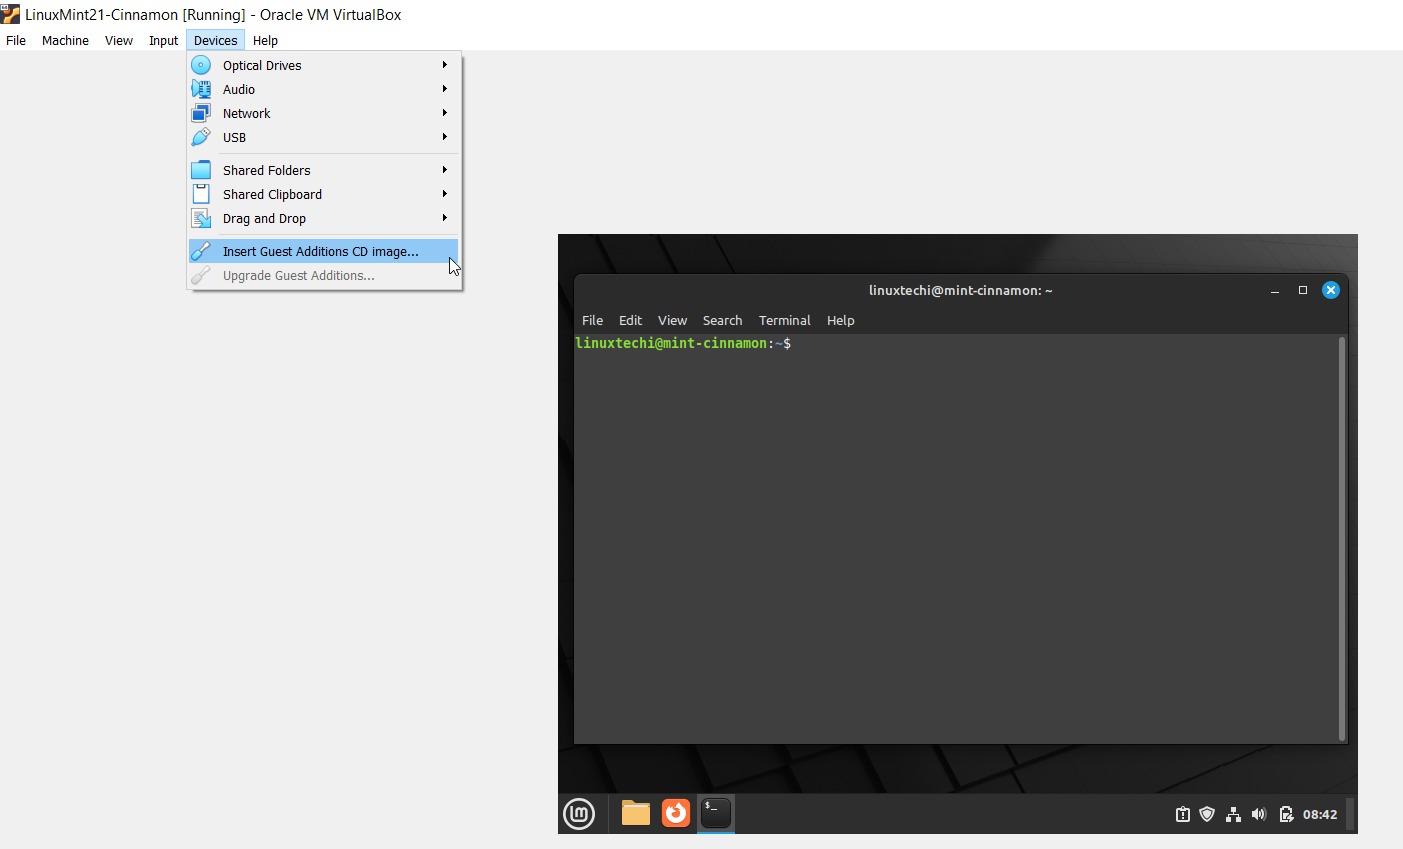
4) Insert VirtualBox Guest Additions CD Image
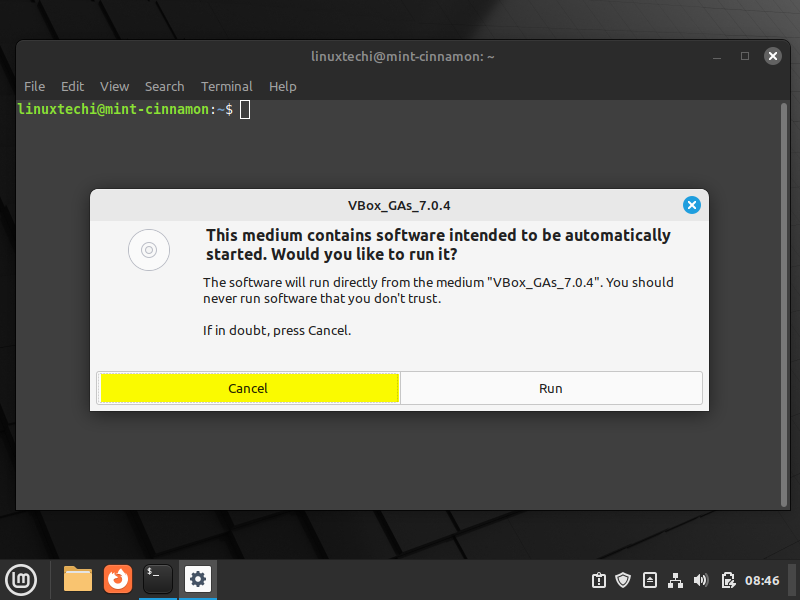
In the VirtualBox menu, click “Devices” and then “Insert Guest Additions CD Image.” This action will mount the CD image in your Linux Mint under “/media/$USER/VBox_GAs”.
In the following screen, Choose Cancel as we will be manually installing guest additions using installer script.
5) Install VirtualBox Guest Additions via Installer Script
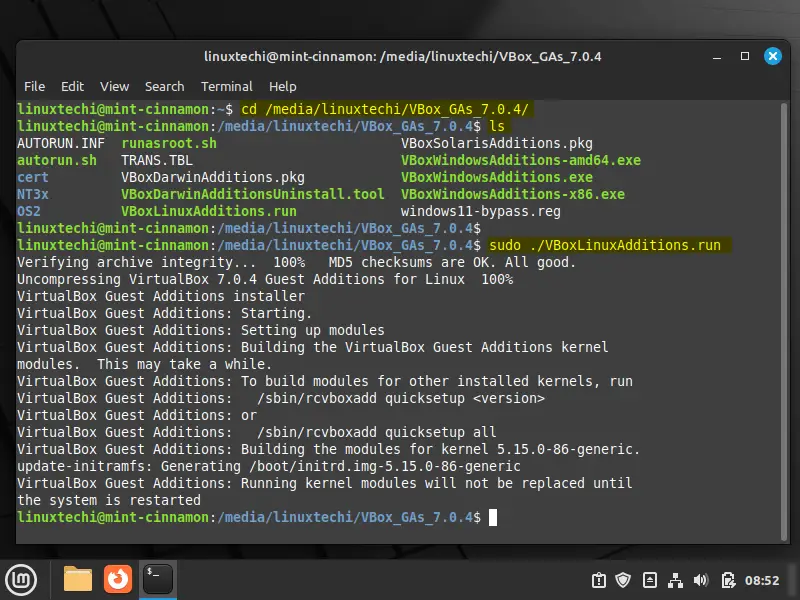
Now, open a Terminal and navigate to the CD directory by running:
$ cd /media/$USER/VBox_GAs*
Note: Make sure to replace `$USER` with your Linux Mint username.
Run the installer script
$ sudo ./VBoxLinuxAdditions.run
After the installation completes, restart your virtual machine by running:
$ sudo reboot
6) Verify VirtualBox Guest Additions Installation
Once your system reboots, you can verify that VirtualBox Guest Additions are working. Resize your guest window to see if it dynamically adjusts. Test the shared clipboard and mouse integration.
Congratulations! You’ve successfully installed VirtualBox Guest Additions on Linux Mint 21. Enjoy a more seamless and feature-rich virtualization experience.
Conclusion
By installing VirtualBox Guest Additions on Linux Mint 21, you unlock a world of improved performance and usability for your virtual machines. Whether you’re using Linux Mint for development, testing, or any other purpose, guest additions will make your virtual environment feel more integrated and user-friendly.
Perfect, thank you