In this post, we will explain you how to install Putty (SSH Client) on Ubuntu Linux.
In the world of Linux, secure remote connections are essential for managing servers, devices, and networking equipment. One of the most popular tools for establishing secure shell (SSH) connections is PuTTY. While PuTTY is primarily associated with Windows, did you know that you can install PuTTY on Ubuntu Linux too?
Putty supports flexible terminal setup, mid-session reconfiguration using Ctrl-rightclick, multiple X11 authentication protocols, and various other interesting things not provided by ssh in an xterm. It also supports various protocols like Telnet, SCP, rlogin, SFTP and Serial.
Prerequisites
- Pre-Installed Ubuntu System
- Sudo user with admin rights
- Internet Connectivity
Note: We have tested below procedure of installing putty on Ubuntu 22.04 / 20.04 system.
Installing Putty on Ubuntu Linux from Command Line
Putty package and its dependencies are available in the default package repositories of Ubuntu 22.04/20.04. So, its installation is quite easy.
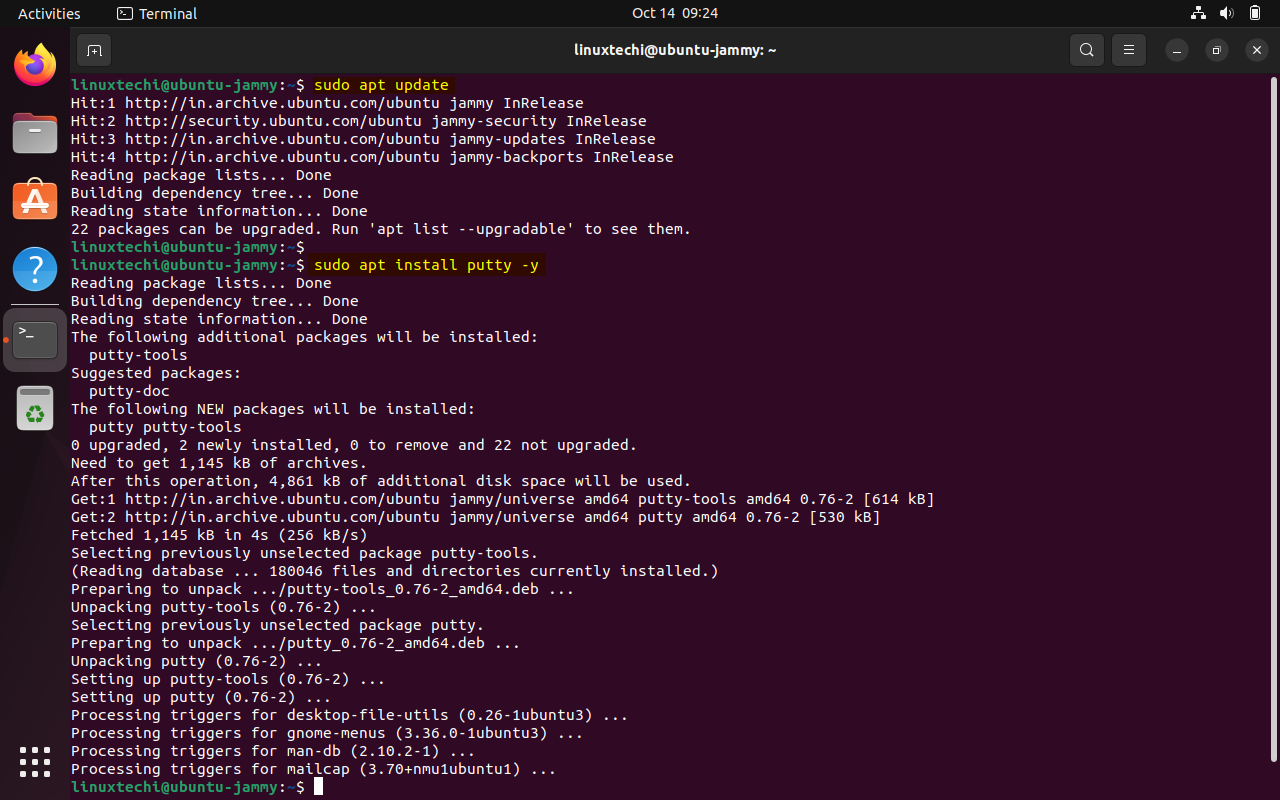
Open the terminal and run below apt commands to install putty.
$ sudo apt update
$ sudo apt install putty -y
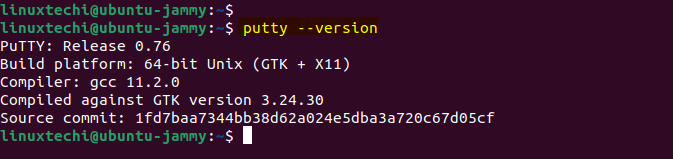
After installing putty verify its version, run
$ putty --version
Installing PuTYY Using Synaptic Package Manager
Alternate way to install putty is via Synaptic Package Manager GUI, In case synaptic is not installed the first install it via below command,
$ sudo apt install synaptic -y
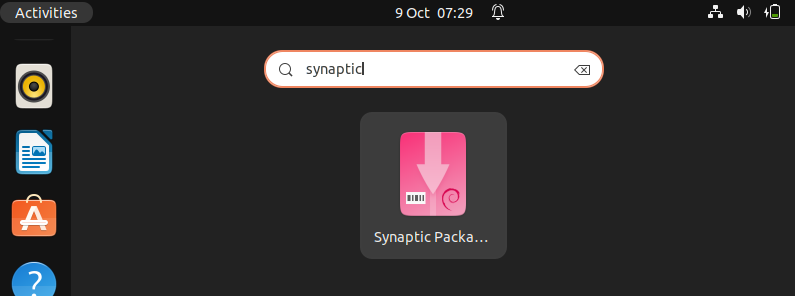
Once the synaptic is installed, access the Synaptic Package Manager, search synaptic from Activity as shown,
click on “Synaptic Package Manager” icon. It will prompt you to enter your user’s password.
Now search putty,

Click on Search
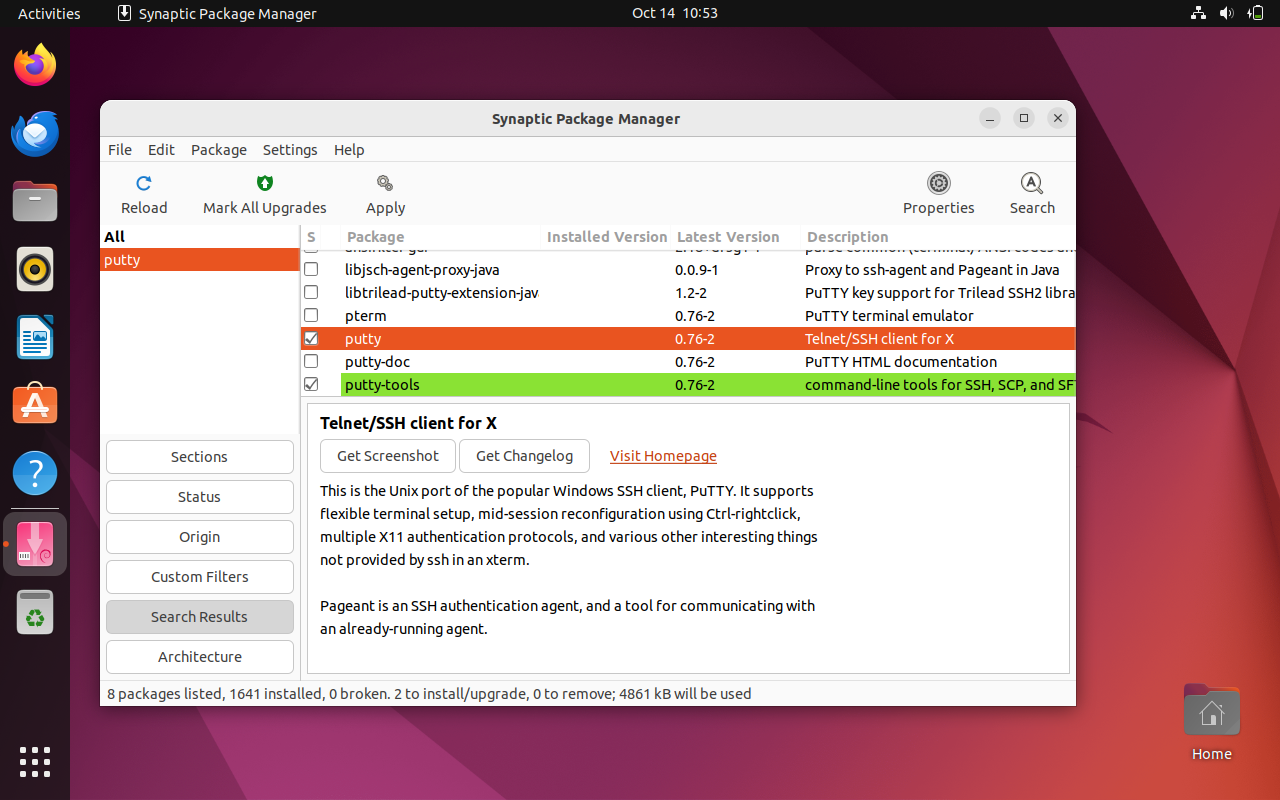
choose putty and Select ‘Mark for Installation‘ option & then click on Apply.
Access Putty SSH Client
To access putty, run following command from the terminal
$ sudo putty
or
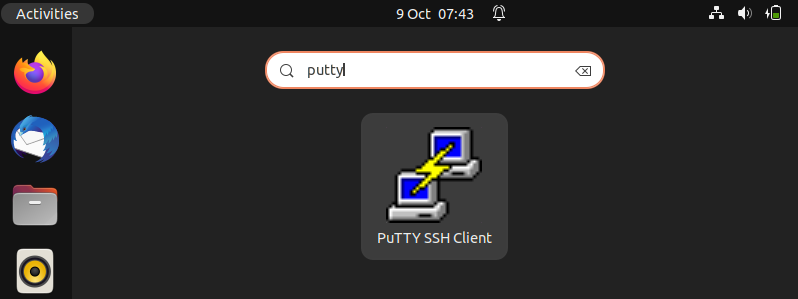
Search putty from Activity as shown below,
Click on PuTTY SSH Client, we will get the following putty screen. Enter Remote Server’s IP Address or Hostname.
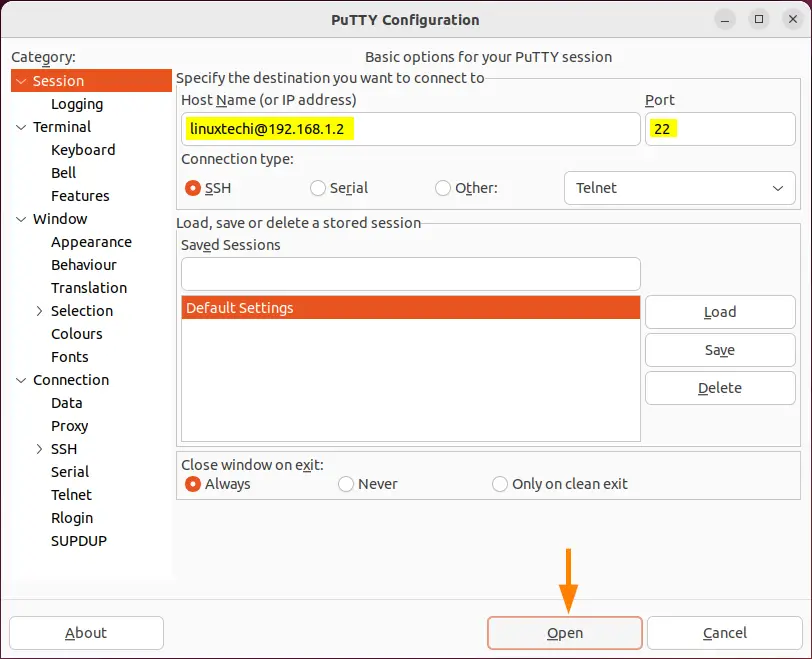

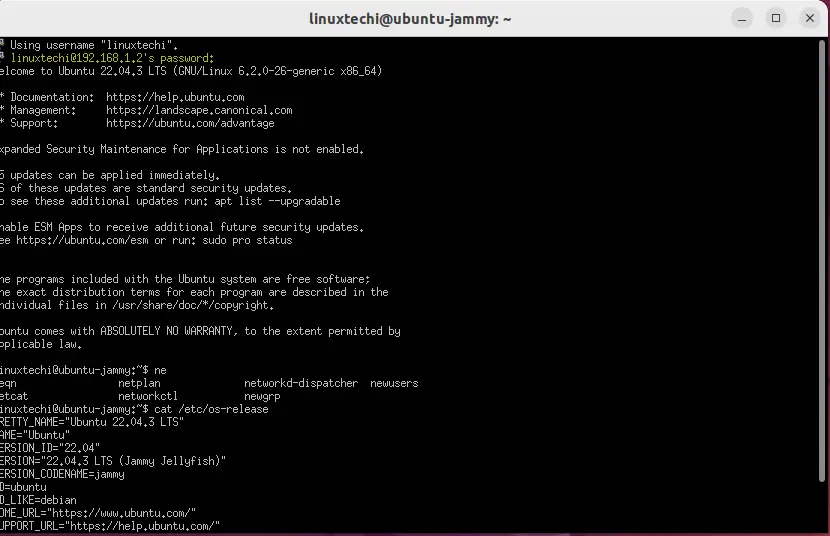
Click On Accept , then it will prompt you for the Password as shown below :
Use Putty to access Cloud Linux VM
Let’s suppose we want to access our public cloud VM (virtual machine) via putty using their private SSH keys, so for that refer the below steps:
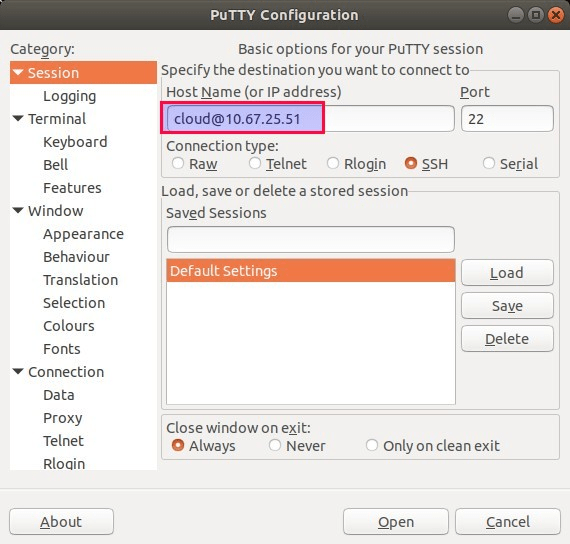
1) Access the Putty
2) Enter User Name and External IP address of your Cloud VM in ‘Host Name’ field
Here User name is the same user for which SSH keys are generated. By default SSH keys are generated in .pem format and putty don’t accept .pem ssh private keys, so it is recommended covert .pem ssh keys into .ppk format. One of the easiest way to convert keys into .ppk is via PuTTYgen utility, example is shown below. Puttygen utility will be installed automatically when we install putty.
$ puttygen my-ssh-key.pem -o my-ssh-key.ppk
3) From SSH Tab, choose ‘Auth’ and then browse .ppk format ssh key,
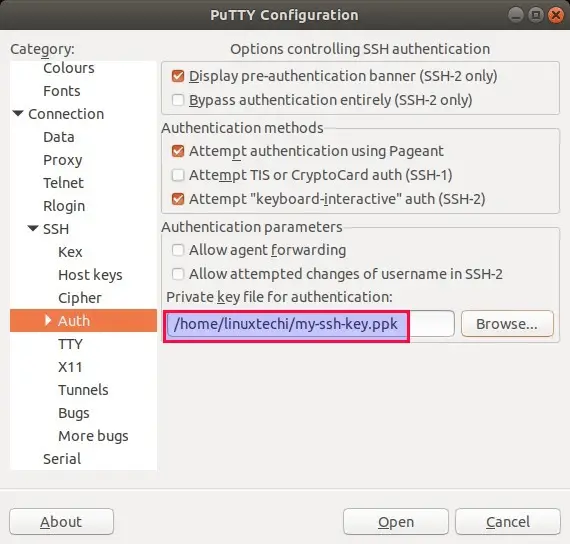
Now click on Open to start the SSH session with cloud VM, After the successful Connection to the Cloud VM, run the commands and other tasks that you want to do and to come out of VM or disconnect from VM type exit command.
That’s all from this pots. We have you have found it useful and informative. Feel free to post your queries and feedback in below comments section.


I am having problems using PuTTY on Ubuntu OS. I wish to use the device /dev/ttyUSB0 in a session. I am getting a fatal error with the statements
Unable to open connection to:
Unable to open serial port:
#chmod 777 /dev/ttyUSB0
then try to connect again