In this post, we will cover how to install FileZilla on Ubuntu 22.04 (Jammy Jellyfish) and will also learn how to use filezilla to transfer the files from your local system to remote system and vice-versa.
FileZilla is a free and open-source ftp client for both windows and Linux operating systems. It is a powerful client for plain FTP, FTP over SSL/TLS (FTPS) and the SSH File Transfer Protocol (SFTP).
Some of the common features are listed below :
- Supports FTP, FTP over SSL/TLS (FTPS) and SSH File Transfer Protocol (SFTP)
- IPv6 support
- Available in more than 40 languages
- Supports resume and transfer of large files >4GB
- Easy to use Site Manager and transfer queue
- Bookmarks
- Drag & drop support
- Speed limits
- Filename filters
- Directory comparison
- Network configuration wizard
- Remote file editing
- Keep-alive
- HTTP/1.1, SOCKS5 and FTP Proxy support
- Logging to file
- Synchronized directory browsing
- Remote file search
- Tabbed interface to connect to multiple servers
Install FileZilla on Ubuntu 22.04
Filezilla client can be installed either via command line or GUI. In this tutorial, we will cover both methods. So, let’s jump into the installation steps,
FileZilla Installation via command Line
We are assuming your system have stable internet connection because apt command would be downloading FileZilla package from repositories. Filezilla package and its dependencies are available in the default package repositories.
Open the terminal and run following commands,
$ sudo apt update
$ sudo apt install -y filezilla
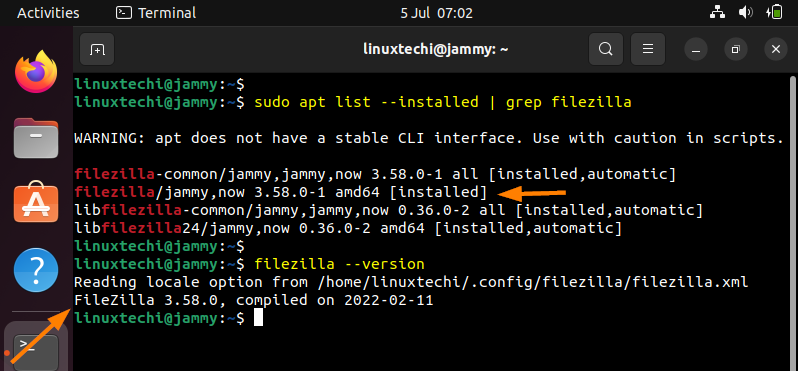
Above commands will install filezilla on your ubuntu system.To verify the installation and filezilla version, execute following commands
$ sudo apt list --installed | grep filezilla
$ filezilla --version
FileZilla Installation via GUI (Ubuntu Software Center)
Start Ubuntu Software Center and search filezilla,
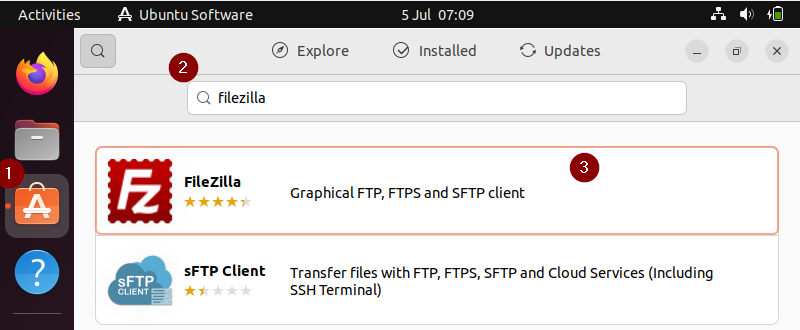
Click on FileZilla icon,
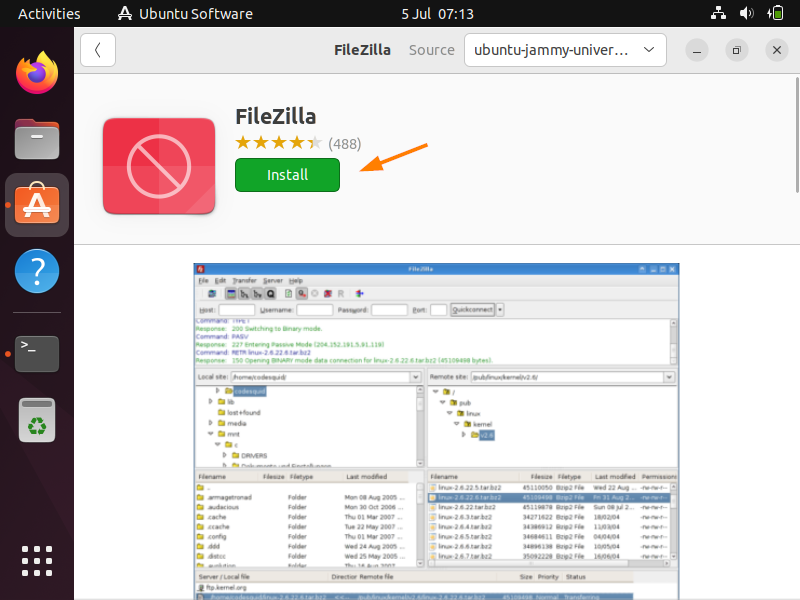
Click on ‘Install‘ to finish the installation.
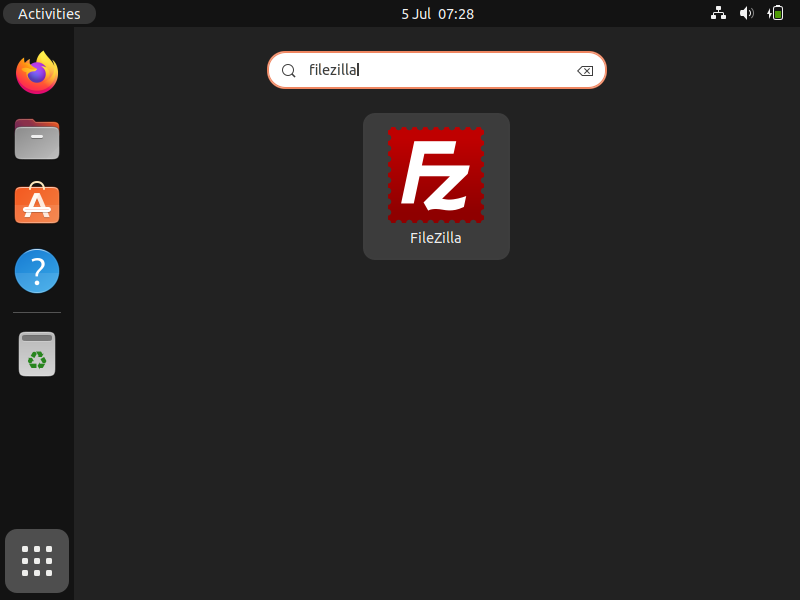
Access and Use FileZilla
To Access FileZilla, search filezilla from dash and then click on FileZilla icon as shown below:
In the Host box enter your ftp IP address , then enter ftp user in the username box and password of ftp user in the password box and then click on ‘Quickconnet‘ option
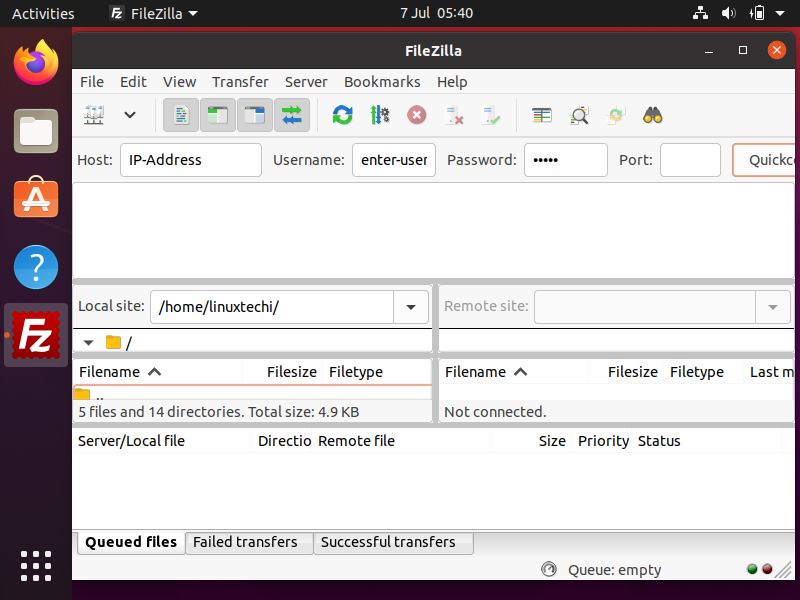
Once it is connected to FTP server, In Filezilla you will have two sites , On Local site it shows local files & folders of your system and On the Remote Site it will show ftp server’s files and folders. To copy or moves files just drag and drop.
That’s all from this tutorial, I hope you have found it useful and informative. Please do share your feedback and queries in the below comments section.
Read Also: How to Install vsftpd (ftp server) on CentOS 8 / RHEL 8
Thanks a lot…This really helped me
thanks a lot.saves time..cheers !
thank you so much