In this blog post, we will explain how to install Kubernetes cluster on Rocky Linux 9 or AlmaLinux 9 with Kubeadm utility.
Kubernetes, often referred to as K8s, is an open-source container orchestration platform. With its robust capabilities for automating deployment, scaling, and managing containerized applications, Kubernetes has become the go-to solution for DevOps teams worldwide.
Prerequisites
- A fresh Installation of Rocky Linux 9 or AlmaLinux 9
- Sudo user with admin rights
- Minimum of 2 GB RAM, 2 vCPUs and 20 GB Disk Space
- A reliable Internet Connection
Lab Setup
We have used three Virtual machines with following specification.
- K8s-master01 – 192.168.1.190
- K8s-worker01 – 192.168.1.191
- K8s-worker02 – 192.168.1.192
- Sysops as sudo user on each node
Without any further delay, lets deep dive into Kubernetes installation steps.
Step 1: Set Hostname and Update Hosts file
Login or ssh each machine and run hostnamectl commands to set their respective hostname.
$ sudo hostnamectl set-hostname “k8s-master01” && exec bash
$ sudo hostnamectl set-hostname “k8s-worker01” && exec bash
$ sudo hostnamectl set-hostname “k8s-worker02” && exec bash
Add the following entries in /etc/hosts file on each node.
192.168.1.190   k8s-master01
192.168.1.191   k8s-worker01
192.168.1.192   k8s-worker02
Step 2: Disable Swap Space on Each Node
For kubelet to work smoothly, we must disable swap space on all the nodes. Run beneath command,
$ sudo swapoff -a
$ sudo sed -i '/ swap / s/^\(.*\)$/#\1/g' /etc/fstab
Step 3: Adjust SELinux and Firewall Rules for Kubernetes
Set SELinux mode as permissive on all the nodes using following commands,
$ sudo setenforce 0
$ sudo sed -i --follow-symlinks 's/SELINUX=enforcing/SELINUX=permissive/g' /etc/sysconfig/selinux
On the master node, allow following ports in the firewall.
$ sudo firewall-cmd --permanent --add-port={6443,2379,2380,10250,10251,10252,10257,10259,179}/tcp
$ sudo firewall-cmd --permanent --add-port=4789/udp
$ sudo firewall-cmd --reload
On the Worker Nodes, allow beneath ports in the firewall,
$ sudo firewall-cmd --permanent --add-port={179,10250,30000-32767}/tcp
$ sudo firewall-cmd --permanent --add-port=4789/udp
$ sudo firewall-cmd --reload
Step 4: Add Kernel Modules and Parameters
For kuberetes cluster, we must add the overlay and br_netfilter kernel modules on all the nodes.
Create a file and add following content to it,
$ sudo tee /etc/modules-load.d/containerd.conf <<EOF
overlay
br_netfilter
EOF
In order to load above modules, run
$ sudo modprobe overlay
$ sudo modprobe br_netfilter
Next, add the following kernel parameters, create a file and with following content,
$ sudo vi /etc/sysctl.d/k8s.conf
net.bridge.bridge-nf-call-iptables  = 1
net.ipv4.ip_forward                 = 1
net.bridge.bridge-nf-call-ip6tables = 1
Save & close the file.
Now add these parameters by running below command
$ sudo sysctl --system
Step 5: Install Conatinerd Runtime
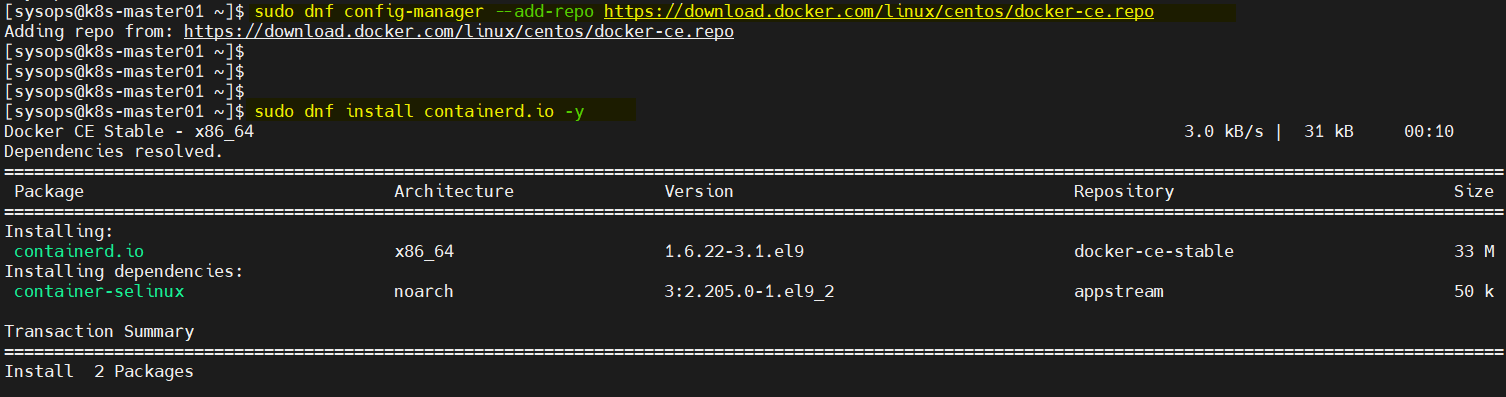
Kubernetes requires a container runtime, and one of the most popular choices is containerd. But It is not available in the default package repositories of Rocky Linux or AlmaLinux, so add the following docker repo on all the nodes.
$ sudo dnf config-manager --add-repo https://download.docker.com/linux/centos/docker-ce.repo
Now, run following dnf command to install containerd on all the nodes.
$ sudo dnf install containerd.io -y
Configure containerd so that it will use systemdcgroup, execute the following commands on each node.
$ containerd config default | sudo tee /etc/containerd/config.toml >/dev/null 2>&1
$ sudo sed -i 's/SystemdCgroup \= false/SystemdCgroup \= true/g' /etc/containerd/config.toml
Restart and enable containerd service using beneath commands,
$ sudo systemctl restart containerd
$ sudo systemctl enable containerd
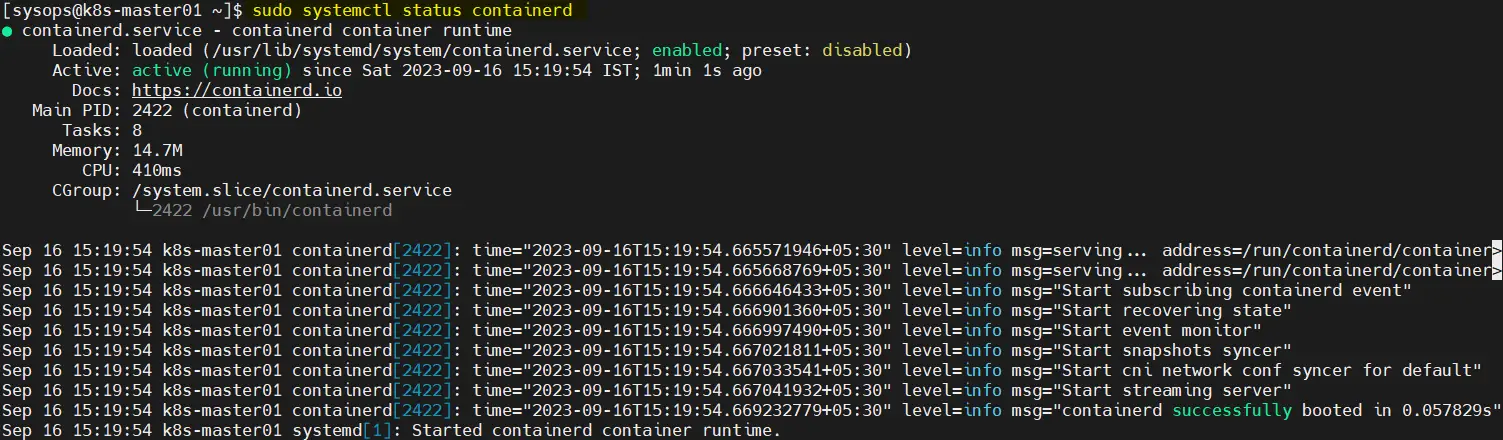
Verify conatinerd service status, run
$ sudo systemctl status containerd
Step 6: Install Kubernetes tools
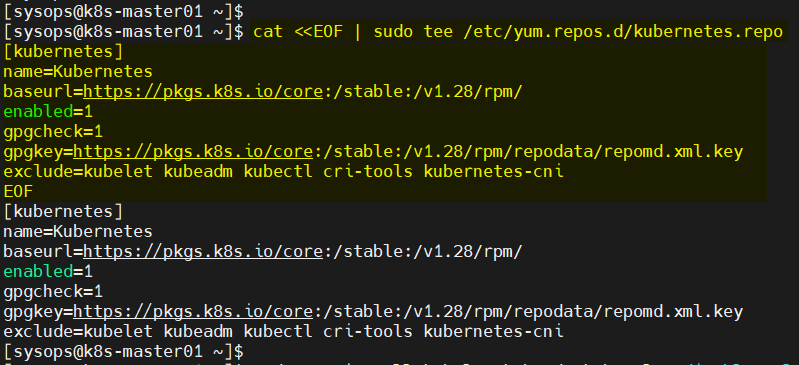
Kubernetes tools like Kubeadm, kubectl and kubelet are not available in the default package repositories of Rocky Linux 9 or AlmaLinux 9. So, to install these tools, add the following repository on all the nodes.
$ cat <<EOF | sudo tee /etc/yum.repos.d/kubernetes.repo
[kubernetes]
name=Kubernetes
baseurl=https://pkgs.k8s.io/core:/stable:/v1.28/rpm/
enabled=1
gpgcheck=1
gpgkey=https://pkgs.k8s.io/core:/stable:/v1.28/rpm/repodata/repomd.xml.key
exclude=kubelet kubeadm kubectl cri-tools kubernetes-cni
EOF
Note: At time of writing this post, Kubernetes 1.28 version was available, that’s why I have mentioned v1.28 while adding the repo.
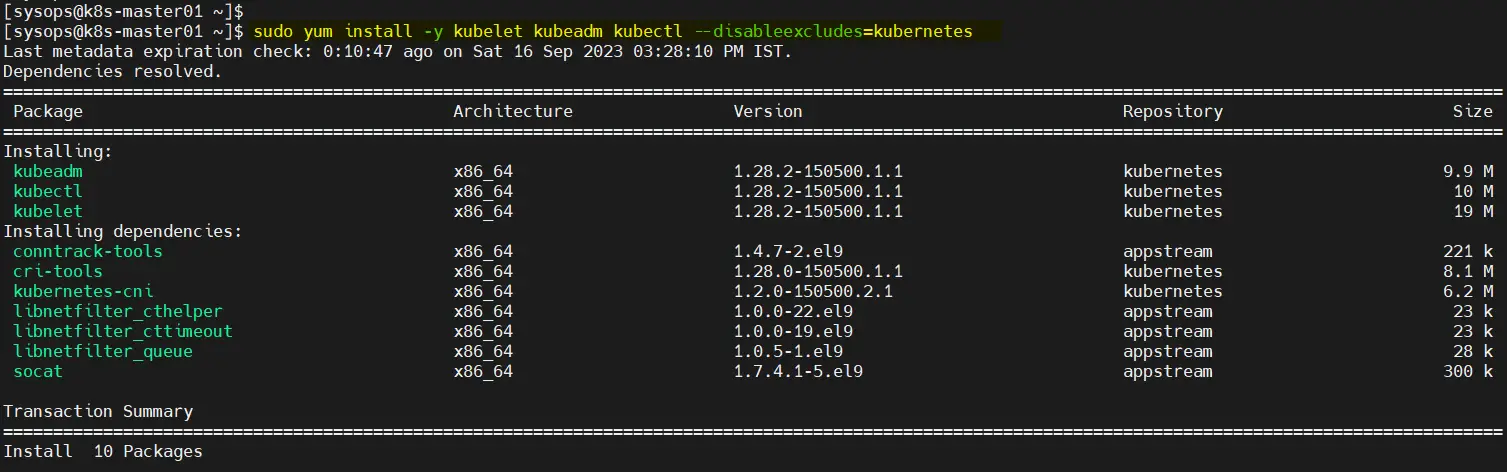
Next, install Kubernetes tools by running following dnf command,
$ sudo yum install -y kubelet kubeadm kubectl --disableexcludes=kubernetes
After installing Kubernetes tools, start the kubelet service on each node.
$ sudo systemctl enable --now kubelet
Step 7: Install Kubernetes Cluster on Rocky Linux 9 / Alma Linux 9
Now, we are all set to install Kubernetes cluster. Run beneath Kubeadm command to initialize the Kubernetes cluster from the master node.
$ sudo kubeadm init --control-plane-endpoint=k8s-master01
Once above command is executed successfully, we will get following output,
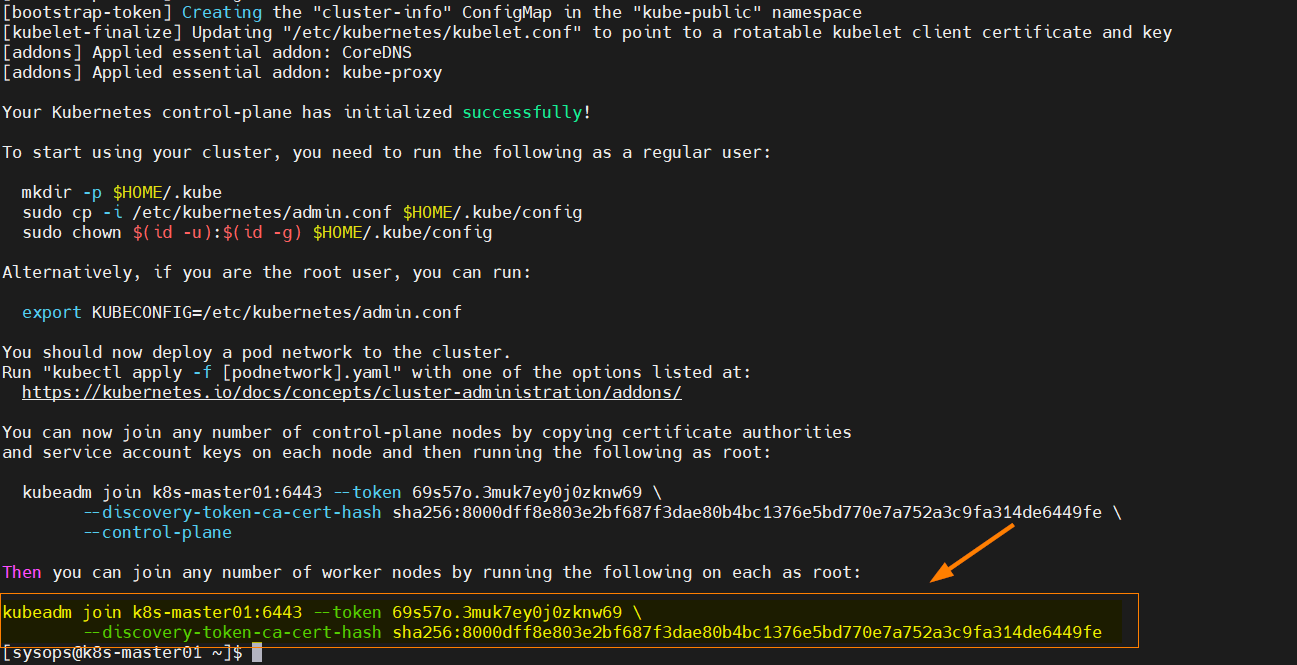
From the output above make a note of the command which will be executed on the worker nodes to join the Kubernetes cluster.
To start interacting with Kubernetes cluster, run the following commands on the master node.
$ mkdir -p $HOME/.kube
$ sudo cp -i /etc/kubernetes/admin.conf $HOME/.kube/config
$ sudo chown $(id -u):$(id -g) $HOME/.kube/config
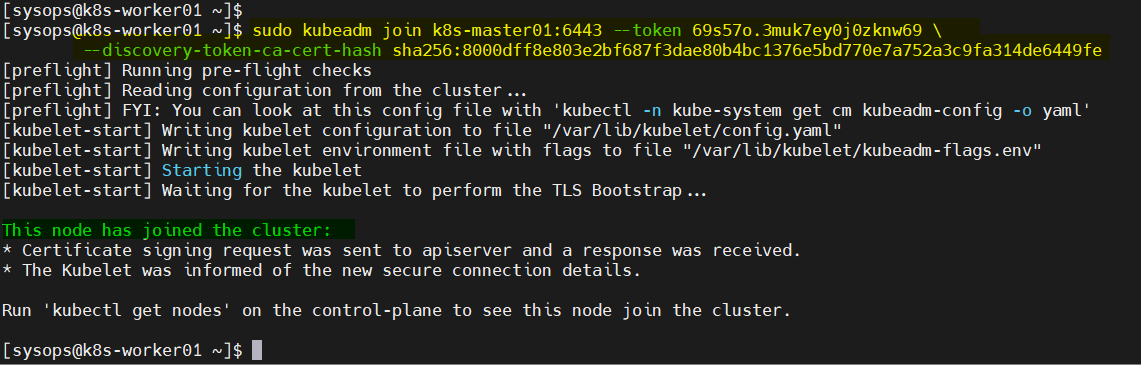
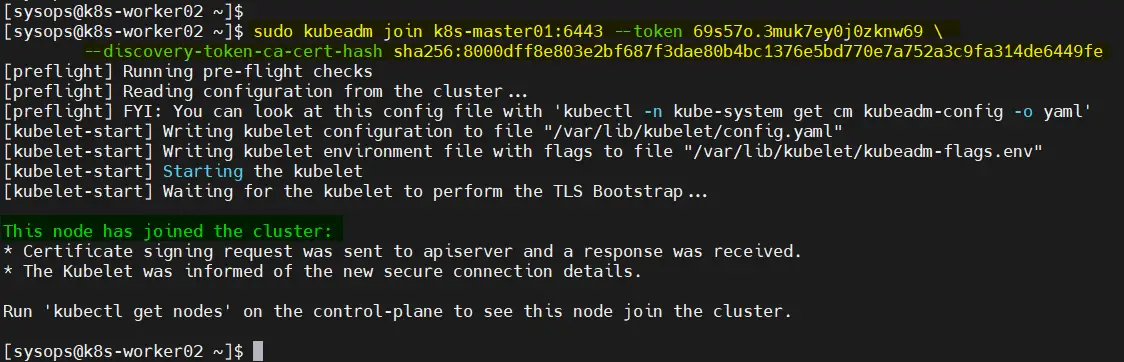
Next, join the worker nodes to the cluster, run following Kubeadm command from the worker nodes.
$ kubeadm join k8s-master01:6443 --token 69s57o.3muk7ey0j0zknw69 \
  --discovery-token-ca-cert-hash sha256:8000dff8e803e2bf687f3dae80b4bc1376e5bd770e7a752a3c9fa314de6449fe
Output from Worker01
Output from Worker02
Now, head back to master node and run kubectl command to verify the nodes status.
$ kubectl get nodes

Output above shows that nodes is “NoteRead”, so to make the nodes status “Ready”, install Calico network addon or plugin in the next step.
Step 8: Install Calico Network Addon
Calico network addon is required on Kubernetes cluster to enable communication between pods, to make DNS service function with the cluster and to make the nodes status as Ready.
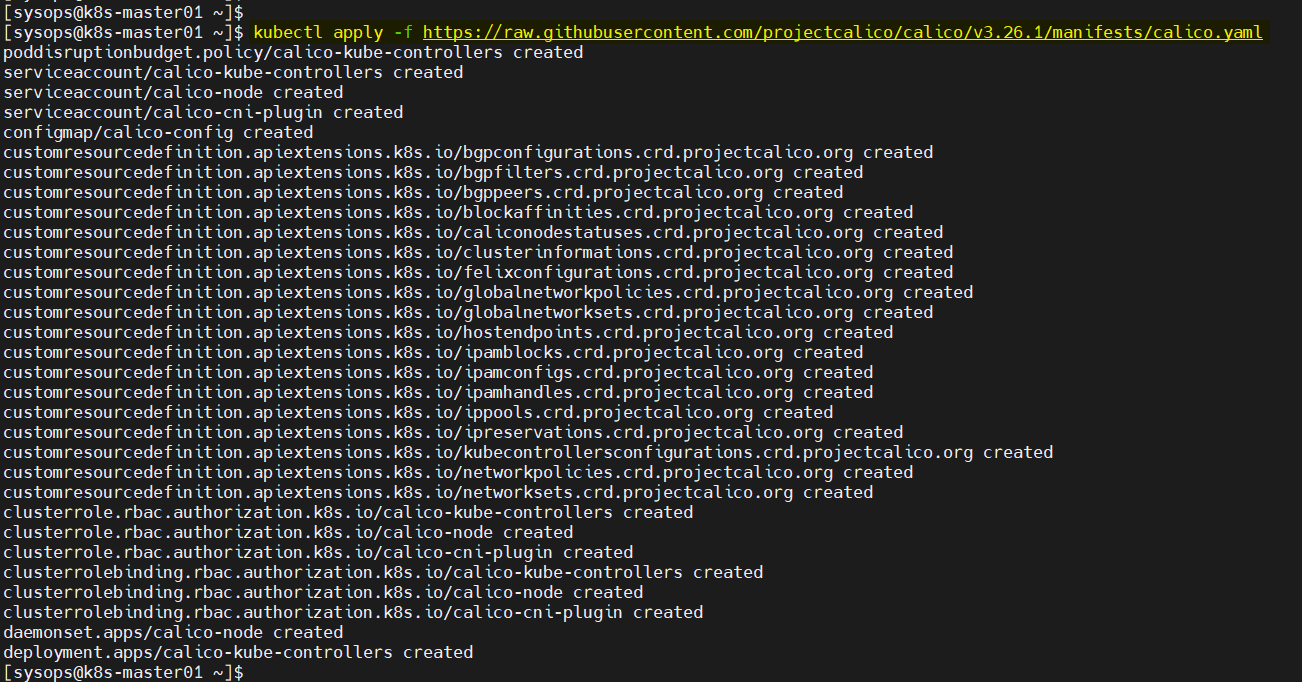
In order to install calico CNI (Container Network Interface) addon, run following kubectl commands from the master node only.
$ kubectl apply -f https://raw.githubusercontent.com/projectcalico/calico/v3.26.1/manifests/calico.yaml
Verify calico pods status,
$ kubectl get pods -n kube-system
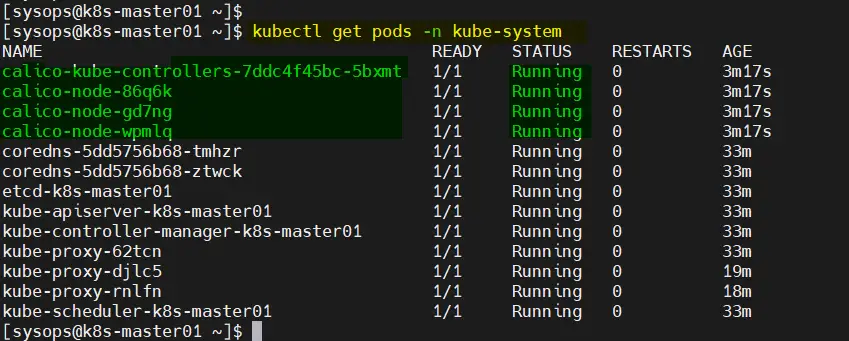
Next, verify the nodes status, this time nodes status should be in Ready State.
$ kubectl get nodes
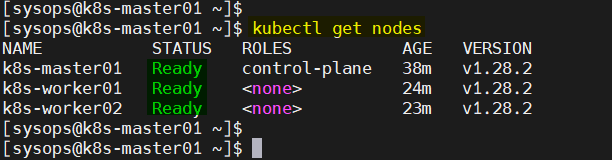
Perfect, output above confirms nodes are in Ready state and can handle workload. Let’s test our Kubernetes installation the next step.
Step 9: Test Kubernetes Cluster Installation
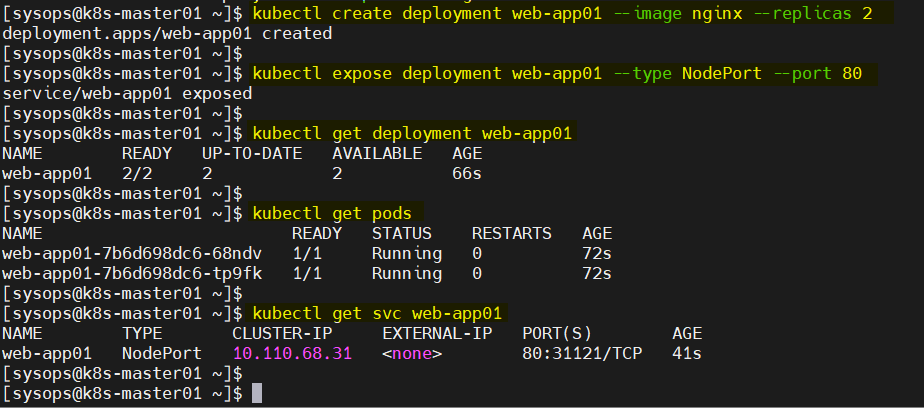
To test Kubernetes cluster installation, let’s try to deploy nginx based application using deployment. Run following kubectl commands,
$ kubectl create deployment web-app01 --image nginx --replicas 2
$ kubectl expose deployment web-app01 --type NodePort --port 80
$ kubectl get deployment web-app01
$ kubectl get pods
$ kubectl get svc web-app01
Try to access the application using nodeport “31121”, run following curl command,
$ curl k8s-worker01:31121
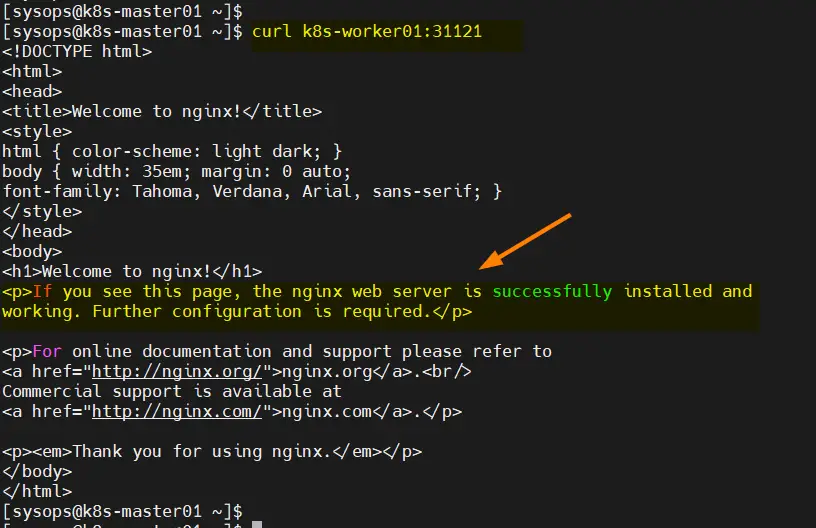
Great, above confirms that we can access our application web page. This also confirms that our Kubernetes cluster has been installed successfully.
That’s all from this post, we believe that you have found informative and useful. If you have any queries and feedback, please do post it in below comments section.