EndeavourOS is a terminal-centric Arch-based Linux distribution that provides a cool and elegant desktop environment and prides itself in having a vibrant community of opensource developers. Like all rolling releases, it’s an evolving distribution that aims at provides the best and the latest software packages. If you fancy an Arch-based distribution with a beginner-friendly User Interface, then EndeavourOS is the go-to Linux flavor.
In this guide, we will journey through a step-by-step installation of EndeavourOS with screenshots.
Prerequisites
As you get started, here is what you need:
- An ISO image of EndeavourOS. You can download the latest release this from the official download page. The latest release combines both the offline & online installer. The offline installer ships with XFCE while the online installer offers you the option of 7 desktop environments including GNOME, LXQt, MATE, Cinnamon, KDE Plasma and GNOME Budgie.
- A 16 GB USB pendrive for creating a bootable installation medium.
- A good internet connection (for the online installation option)
- A System with minimum 4GB RAM and 10 GB hard disk space.
Step 1) Create a bootable USB Drive
The first step is to create a bootable USB drive from the downloaded ISO image. This is simple and you can use the Rufus utility tool which is free to download and use. Once you have made your USB drive bootable, plug it in on the target system where you will install EndeavourOS and reboot. Be sure to set the boot priority in such a way that your bootable USB drive will be detected first.
Step 2) Begin EndeavourOS installation
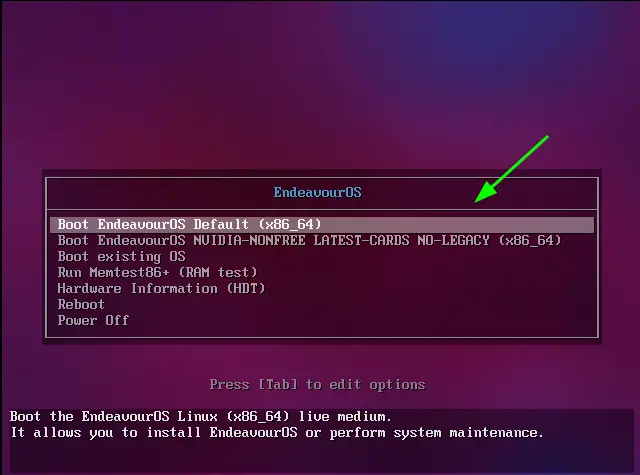
On the boot-up screen, you will see a grub menu with a number of options listed. By default, the first option will be highlighted, and this is the option we will select to kick-start the installation.
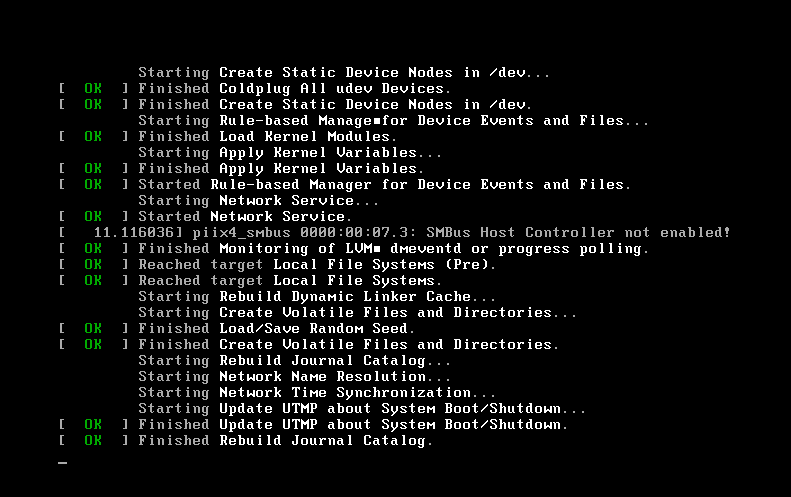
Soon thereafter, you will see a flurry of boot messages on the screen as the live installer gets ready.
In a short moment, the EndeavorOS live environment will come to view, and a pop-up dialogue box will appear with a list of options. Since our goal is to install EndeavorOS select ‘Start the installer‘ to begin the installation.

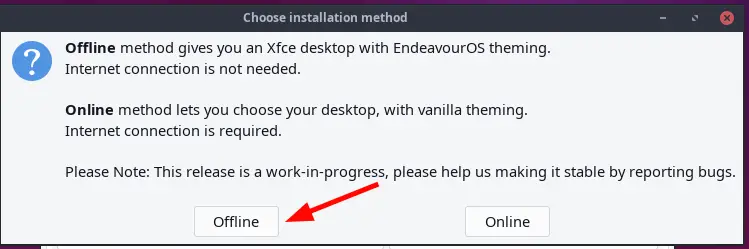
A pop-up will appear providing you with two installation methods: Offline and Online. You can select either depending on your environment. In this case, we went with the offline method.
Step 3) Select installation language
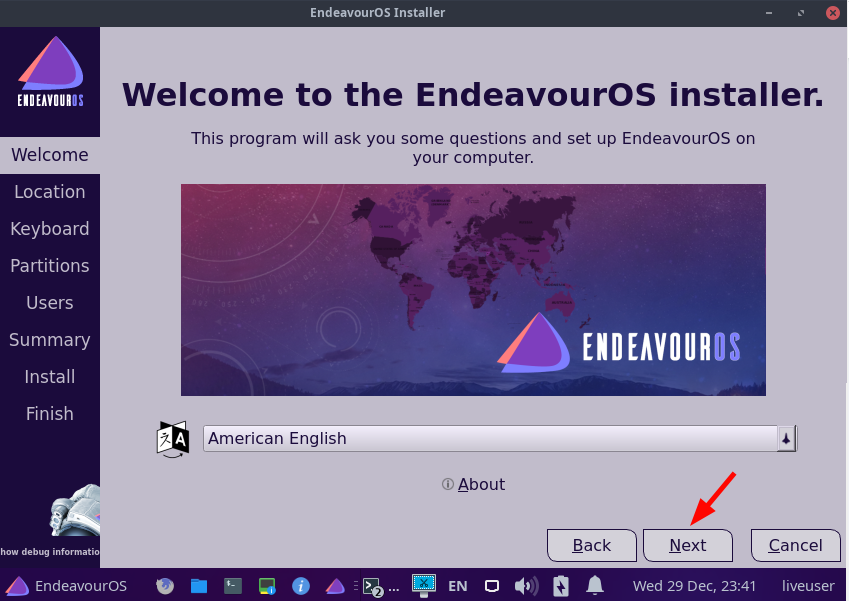
Once you have selected your preferred installation option, The calamares installer will be displayed. The first step will be to select your preferred installation language. Then click on ‘Next’.
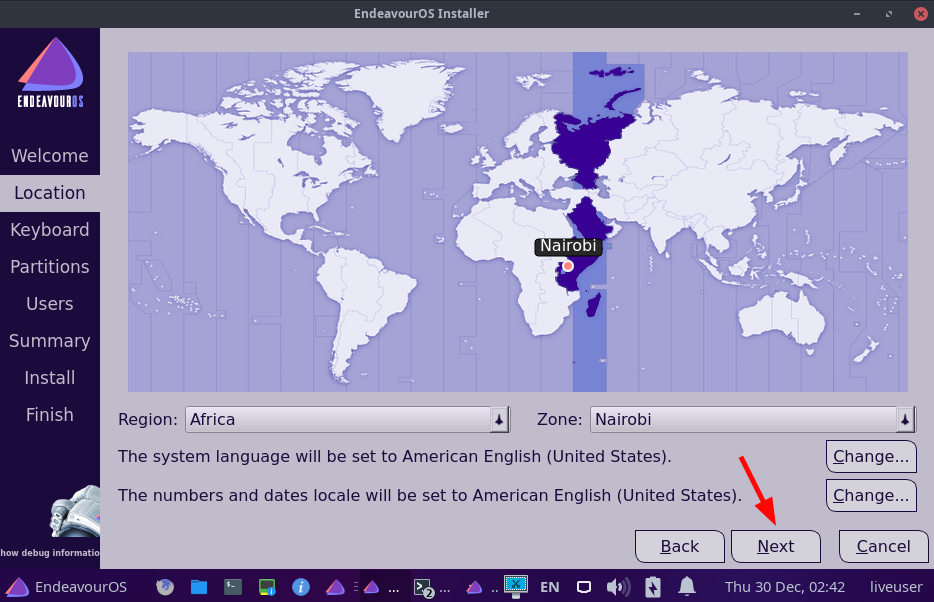
Step 4) Configure locale and timezone settings
In the next step, select your geographical location and set the timezone accordingly. Then click ‘Next’.
Step 5) Configure Keyboard
The next step will require you to configure your keyboard. This is, by default, set to English(US). Feel free to configure it to your preferred language and model and perform a typing test in the text field provided below.
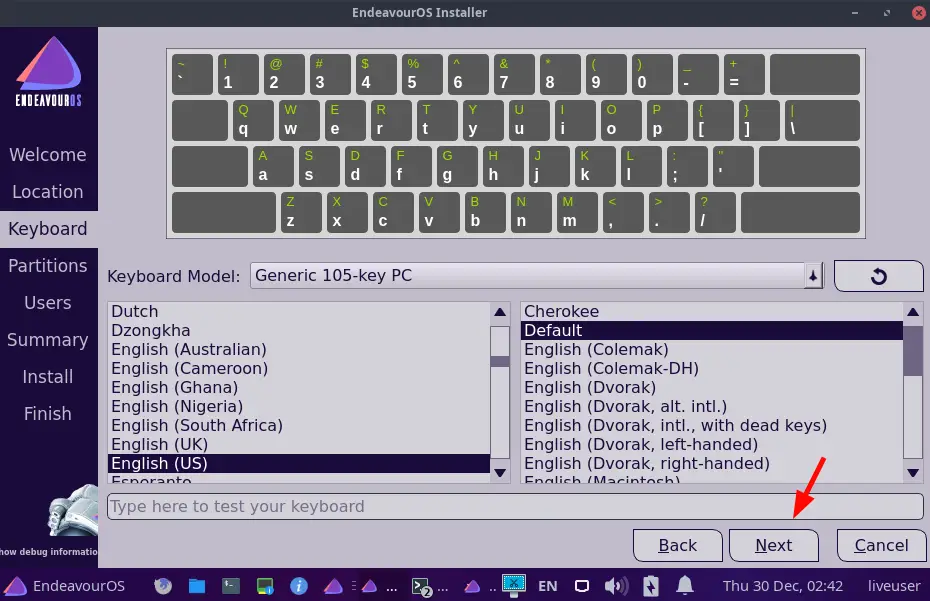
Once you are satisfied with your selection, click on ‘Next’.
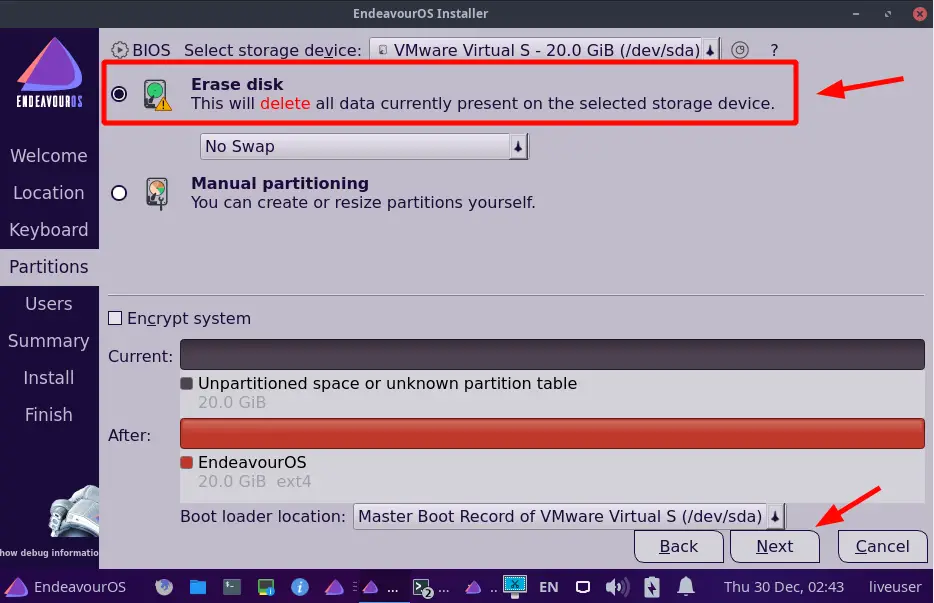
Step 6) Create disk partitions
In disk partitioning, you get two options: Automatic and manual partitioning. The ‘automatic partitioning’ option allows the installer to automatically configure the disk partitions and is especially recommended for beginners in Linux.
The ‘manual partitioning’ option gives you total freedom of creating your disk partitions. It allows you to specify your own partitions and their sizes.
In this guide, we settled for automatic partitioning. To choose this option, click on the ‘Erase disk’ option.
Then click ‘Next’.
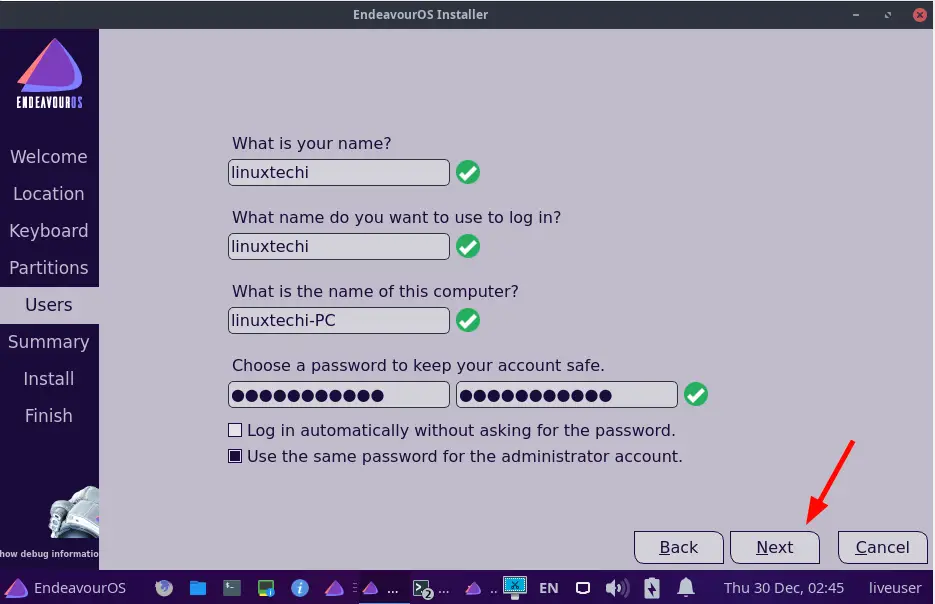
Step 7) Create a regular login user
In this step, create a login user by specifying the username and password. Be sure to also specify your PC name as well.
Step 8) Overview of pre-installation summary
Before the actual installation of EndeavourOS begins with the copying of system files and packages on your PC, a pre-installation summary will be provided with all your configuration selections.
Go through all the settings and ensure that all looks good. If you are satisfied with what you have, click ‘Install’. Otherwise, click on ‘back’ and change your settings.
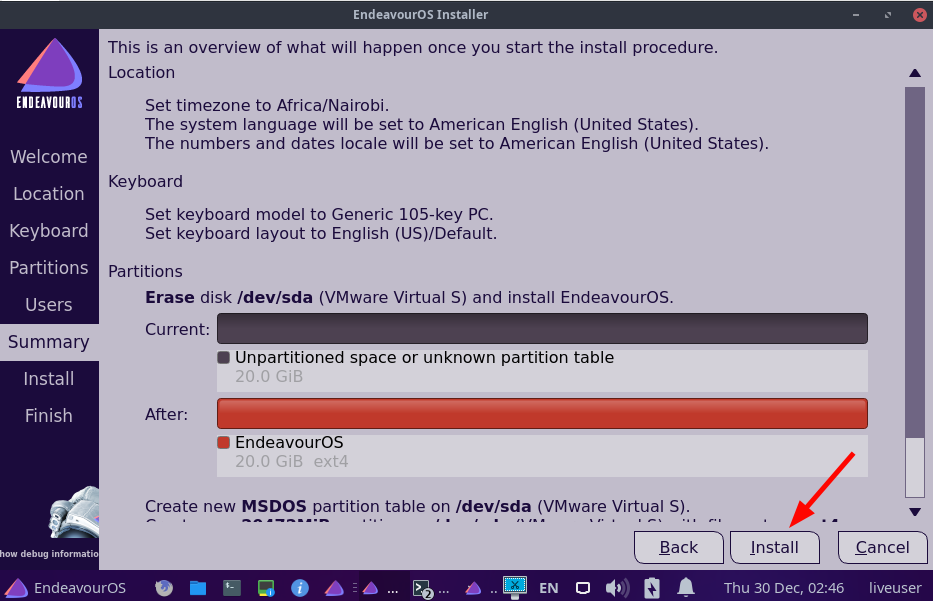
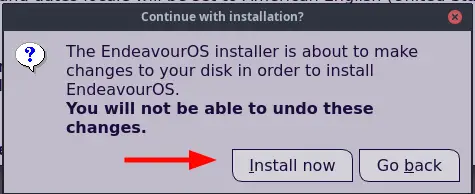
Once you click on the ‘Install’ button, a pop-up will appear prompting you start the installation. So, click ‘Install now’.
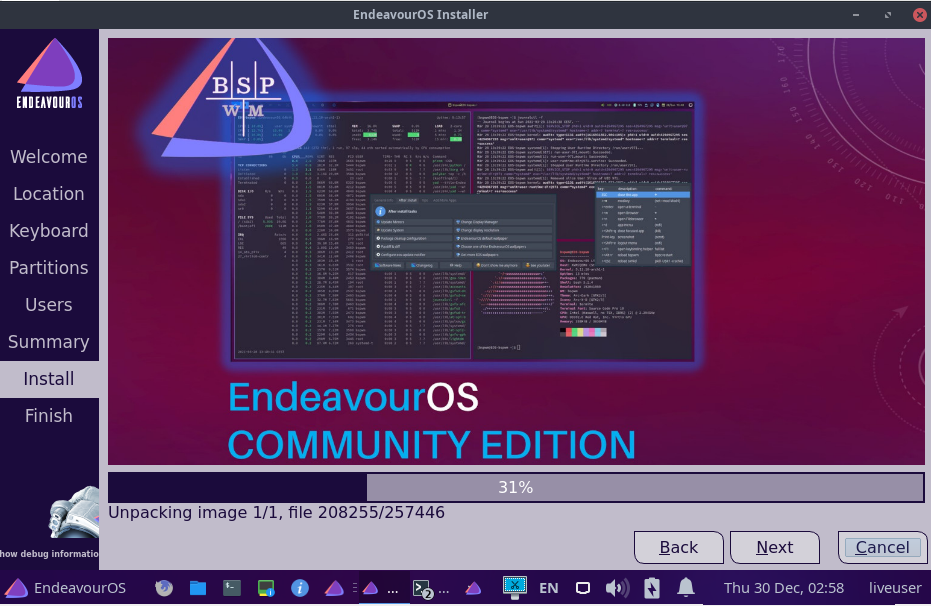
The installation will commence as the installer copies all the required files and software packages on your PC. This takes a while, and in our case, it took roughly 25 minutes. At this point, you can take a break and grab some coffee.
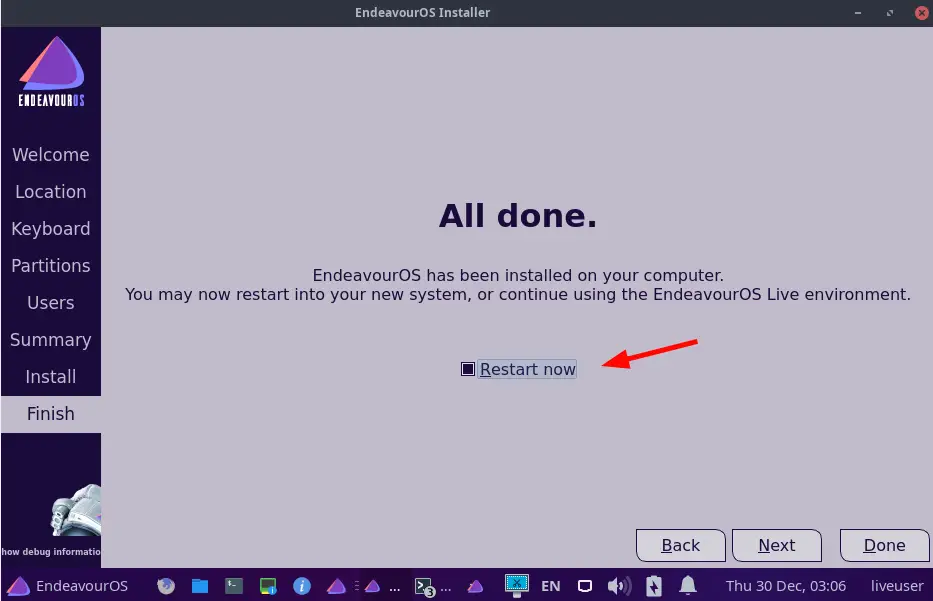
Once the installation is complete, you will be prompted to restart your PC. So, select the ‘Restart now’ button and click ‘Done’ to reboot your PC. At this point, be sure to remove the bootable installation medium.
Step 9) Boot System with EndeavourOS
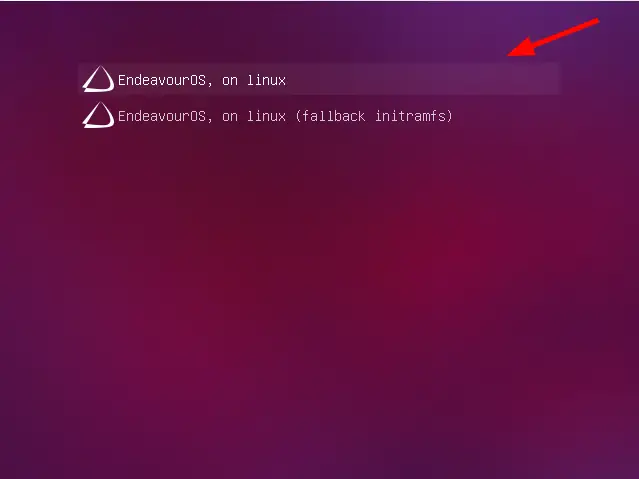
When the system reboots, select the first option as indicated.
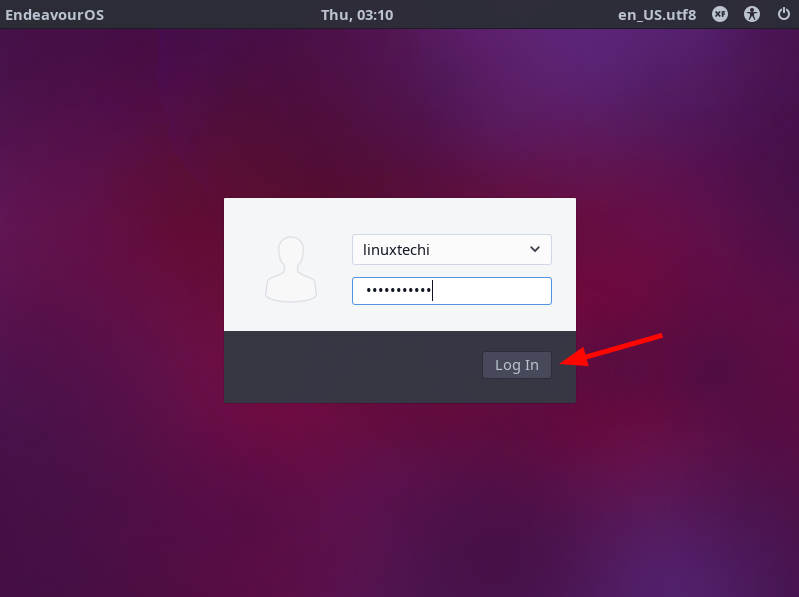
When the login page is presented, provide your password and press the ‘Login’ button.
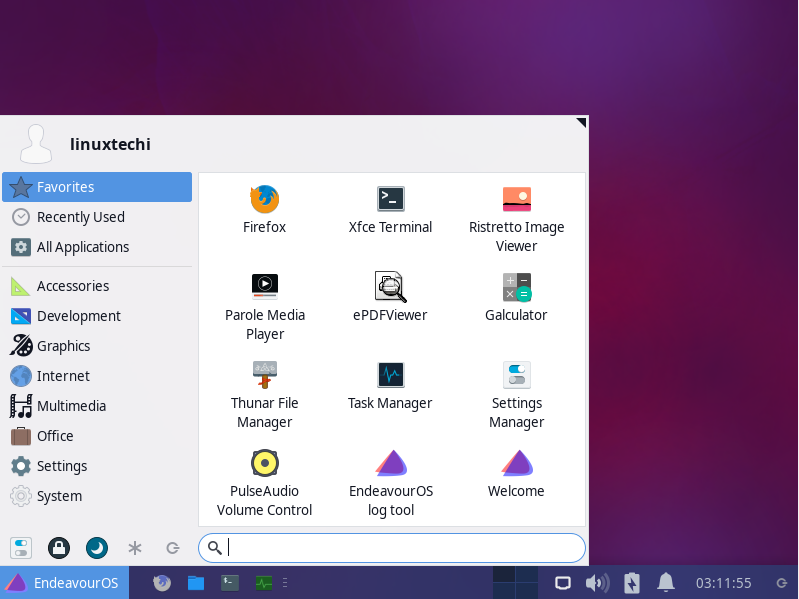
This ushers you to the EndeavourOS XFCE elegant desktop environment. Click on the ‘EndeavourOS’ button to browse various applications and get started.
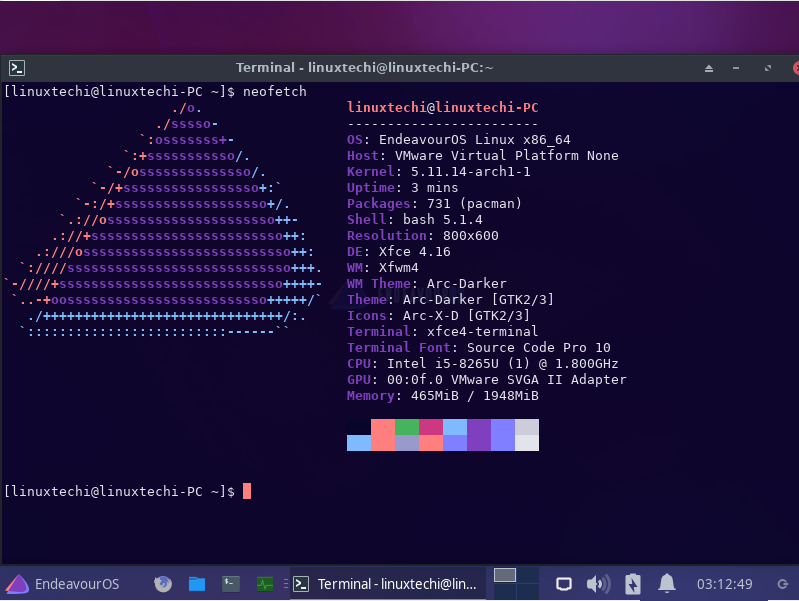
Feel free to run the neofetch utility to probe for more information such as the OS, kernel, uptime, number of installed packages , resolution, CPU type and so much more.
And that’s it. We have successfully walked you through the installation of EndeavourOS.
Also Read: How to Create and Configure Sudo User on Arch Linux