In this guide, we will show you how to install Ansible (Automation Tool) on Debian 12.
Now a days in IT field, automation is the hot topic and every organization is start adopting the automation tools like Puppet, Ansible, Chef, CFEngine, Foreman and Katello. Out of these tools Ansible, a powerful open-source automation tool, stands out for its simplicity and versatility. Using Ansible, we can push the configurations on Linux and Windows system. The system on which Ansible is installed known as “controller node” and the systems which are managed by ansible are known as managed hosts.
Prerequisites
- Pre Install Debian 12
- Regular User with Sudo rights
- Reliable Internet Connectivity
Lab Setup
- Debian 12 – Ansible Server/ controller Node – 192.168.1.151
- RHEL 9 – Managed Host (Web Server) – 192.168.1.170
- RHEL 9 – Managed Host (DB Server) – 192.169.1.180
Without any further delay, let’s deep dive into Ansible Installation Steps.
1) Update Apt Package Index
Open the terminal and run below apt command to update local package index and to provide the system with latest information about available packages from the repositories.
$ sudo apt update
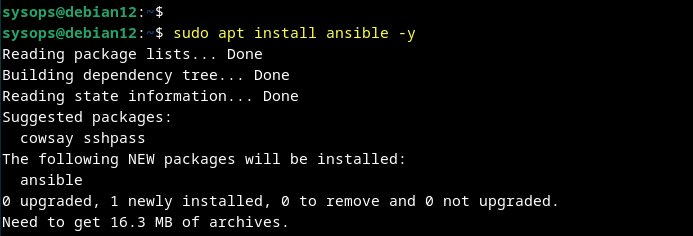
2) Install Ansible (Automation Tool) on Debian 12
Ansible package and its dependencies are available in the package repository of Debian 12. So, its installation is straight forward, execute below command.
$ sudo apt install ansible -y
Once Ansible is installed then verify its version by executing the following command.
$ ansible --version
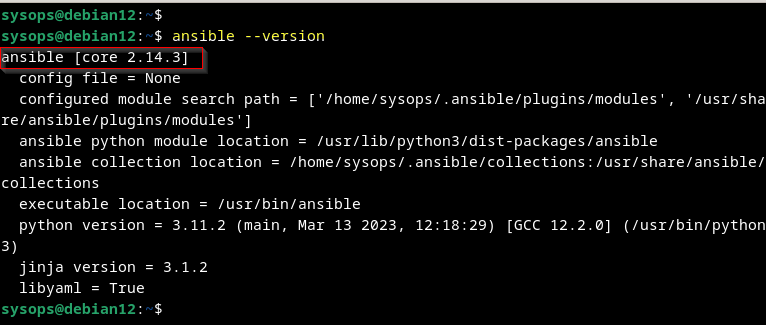
As per above output, Ansible version is 2.14.3, this version could be out of date or not the latest version. So, in order to install latest version of Ansible, we must enable Ansible PPA repository.
Execute the following commands one after the another,
$ DEBIAN_CODENAME=jammy
$ wget -O- "https://keyserver.ubuntu.com/pks/lookup?fingerprint=on&op=get&search=0x6125E2A8C77F2818FB7BD15B93C4A3FD7BB9C367" | sudo gpg --dearmour -o /usr/share/keyrings/ansible-archive-keyring.gpg
$ echo "deb [signed-by=/usr/share/keyrings/ansible-archive-keyring.gpg] http://ppa.launchpad.net/ansible/ansible/ubuntu $DEBIAN_CODENAME main" | sudo tee /etc/apt/sources.list.d/ansible.list
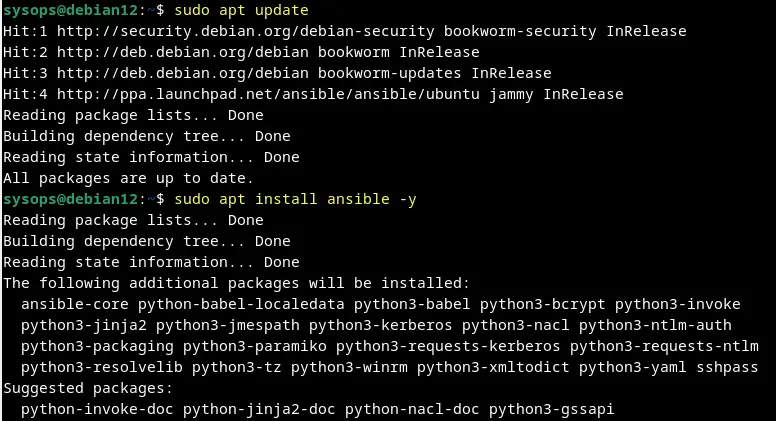
Next, run beneath commands to install latest version of Ansible.
$ sudo apt update$ sudo apt install ansible -y
Post ansible installation, verify its version, run
$ ansible --verison
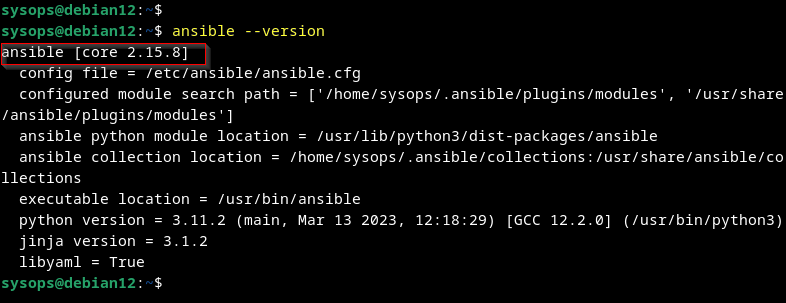
Above shows that we have installed latest version of Ansible “2.15.8”. Now we will manage remote linux system using the ansible.
3) Exchange SSH keys between Control Node and Managed Hosts.
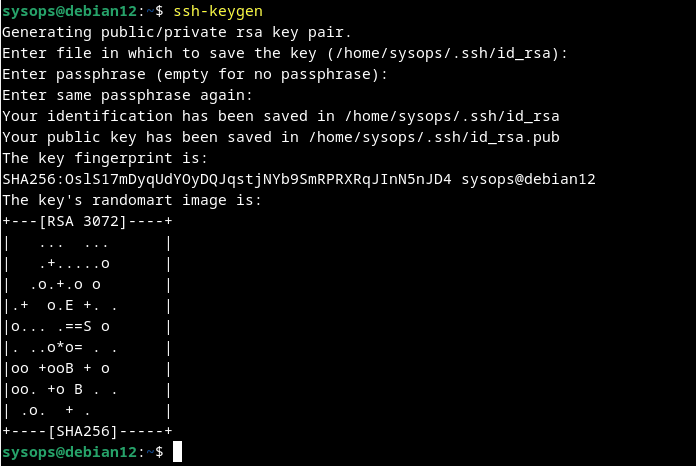
Generate the ssh keys from ansible server and share the keys among the managed hosts.
$ ssh-keygen
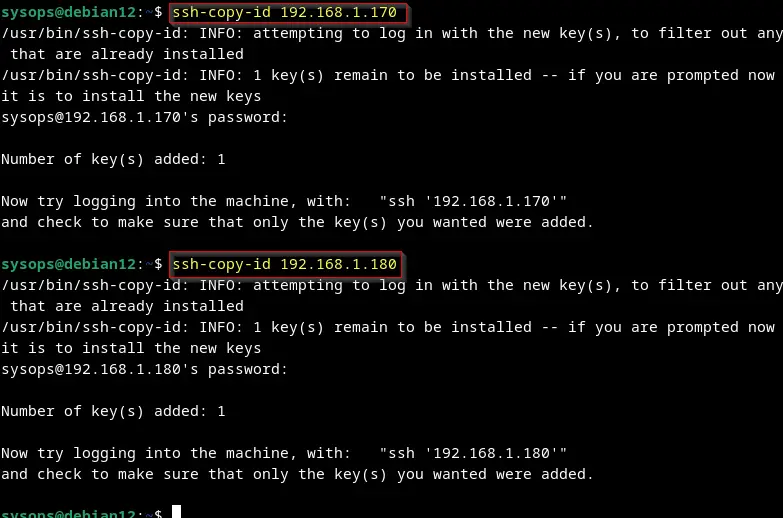
Next, run ssh-copy-id command to copy the ssh keys from Controller to managed hosts.
$ ssh-copy-id 192.168.1.170
$ ssh-copy-id 192.168.1.180
Note: On each remote managed hosts, configure your local user such that it can run all sudo commands without prompting for password. In my case, I am using sysops user on control and remote hosts.
$ echo "sysops ALL=(ALL) NOPASSWD:ALL" | sudo tee /etc/sudoers.d/sysops
4) Create Ansible Config and Inventory File
It is recommended to create a separate ansible.cfg and inventory file for each project. Let’s create a folder with name “automation-demo”.
$ mkdir automation-demo$ cd automation-demo
Now create the ansible configuration file (ansible.cfg) with following content.
$ vi ansible.cfg[defaults]
inventory = ./inventory
host_key_checking = false
remote_user = sysops
ask_pass = False

[privilege_escalation]
become=true
become_method=sudo
become_user=root
become_ask_pass=False
save and close the file. Next, create inventory file with following content.
$ vi inventory
[Web]
192.168.1.170

[DB]
192.168.1.180
Save and exit the file
Note: In above inventory file, we can also use host name or FQDN as well but make sure those hostnames or FQDN are reachable and accessible.
5) Test Ansible Installation
To test ansible installation, let’s first check the connectivity of nodes mentioned in the inventory file using ansible ad-hoc command.
Run the following command from automation-demo folder.
$ ansible all -m ping
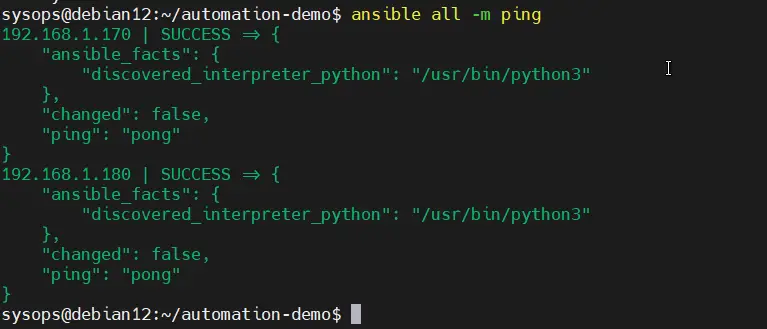
Output shows that ansible node can ping managed hosts.
Next, create a sample playbook which will install apache on web node and MariaDB on DB node.
$ vi demo-install.yml

---
- name: Install Apache Web Server
hosts: Web
tasks:
- name: Install Httpd Package
  yum:
    name: httpd
    state: installed
- name: Start Apache Service
  service:
    name: httpd
    state: started

- name: Install MariaDB Database
hosts: DB
tasks:
- name: Install MariaDB Package
  yum:
    name: mariadb-server
    state: installed
- name: Start DB Service
  service:
    name: mariadb
    state: started
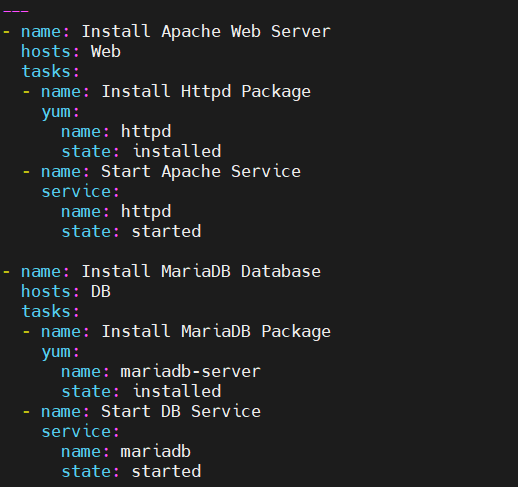
Save and quit the file.
Now run above create ansible playbook using following command.
$ ansible-playbook demo-install.yml
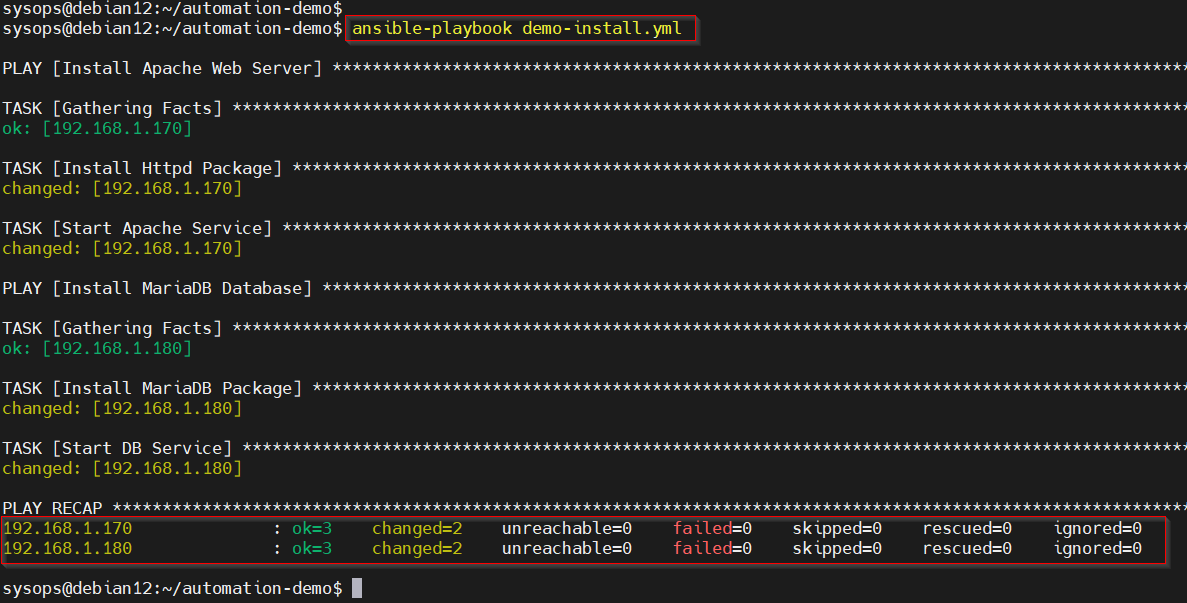
This confirms that Ansible playbook has been executed successfully. That’s all from this guide. We hope you have found it informative and useful. Kindly do post your queries and feedback in below comments section.
Read Also: How to Download and Use Ansible Galaxy Roles in Ansible Playbook