Red Hat has released its latest and stable operating system RHEL 9 (Red Hat Enterprise Linux). RHEL 9 meets the requirements of hybrid cloud environment as it can be installed on a physical server, virtual machine and in a container built from Red Hat Universal images (UBIs).
In this guide, we will cover how to install RHEL 9 step by step along with screenshots. Before jumping into the installation steps, let’s look at new features and improvements in RHEL 9.
Following are new features and improvements in RHEL 9
- Updated GNOME 40
- New Linux Kernel 5.14.0
- Live Kernel Patching via Cockpit Web console
- Updated Developer tool chain like GCC (11.2.1), glibc (2.34),binutils (2.35), PHP 8.0, Node.JS 16, Perl 5.32, Python 3.9, Ruby 3.0
Minimum system requirements for RHEL 9
- 2 GB RAM or more
- 1 GHz Single or multiple CPU
- 20 GB hard disk space
- Installation Media (USB Stick)
Without any further delay, let’s jump into the RHEL 9 installation steps.
1 ) Download RHEL 9 ISO
To download RHEL 9 for free, use following portal Red Hat Enterprise Linux product.
Once the ISO file is downloaded then make a bootable media by burning the ISO file into a USB stick. Size of USB should at least 8GB or more.
Use following to create USB bootable media in Linux,
Note: In Windows operating system, we can use Rufus software for making RHEL 9 bootable media.
2) Boot the System with RHEL 9 Bootable Media
Head to the target system on which you are planning to install RHEL 9, reboot it and change the boot media from Hard disk to USB from its bios settings. In our case USB stick is the bootable media for RHEL 9. Once the system boots up, we will be presented the following screen.
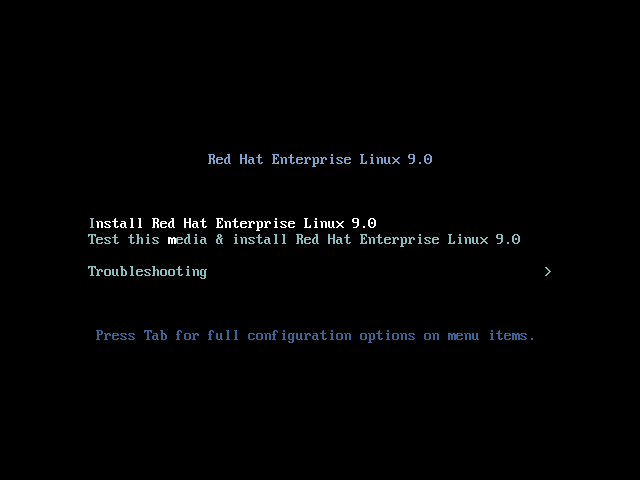
Choose the first option, ‘Install Red Hat Enterprise Linux 9.0’ and hit enter
3) Choose Language for RHEL 9 Installation
Select your preferred language which will be used during OS installation.
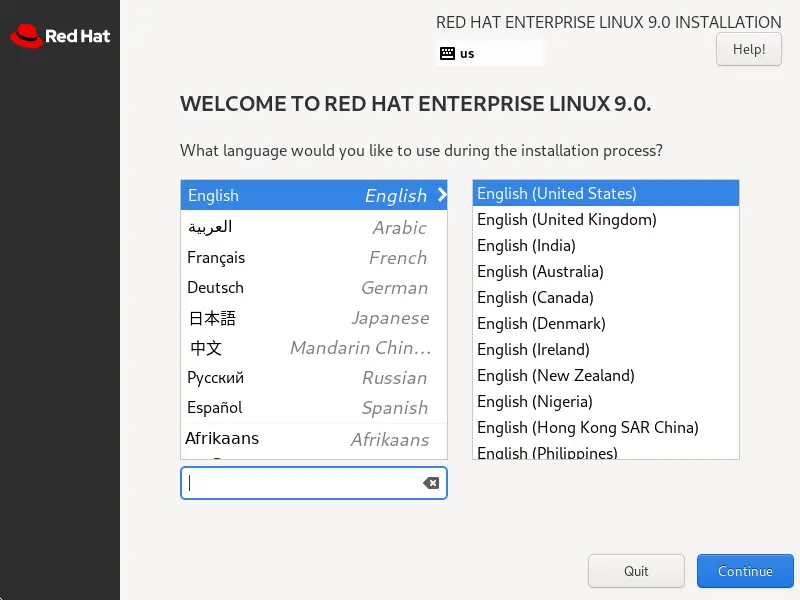
Click on ‘Continue’
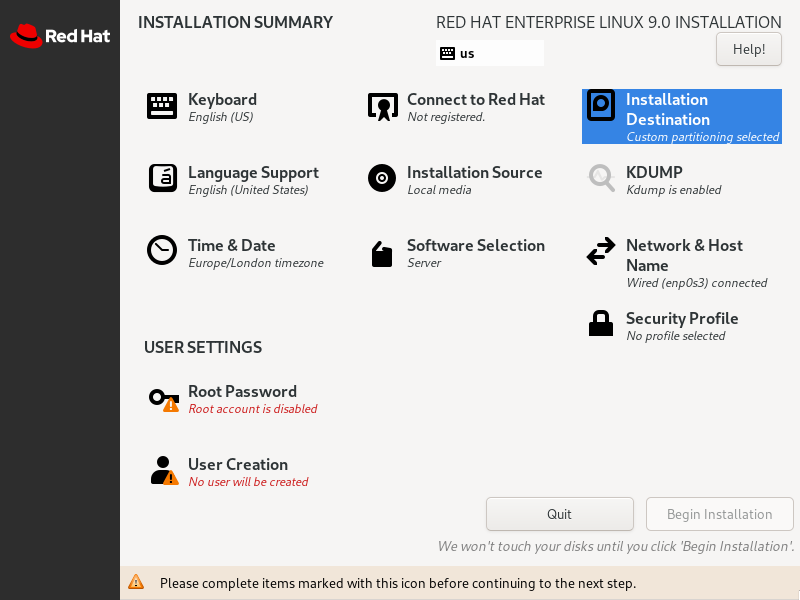
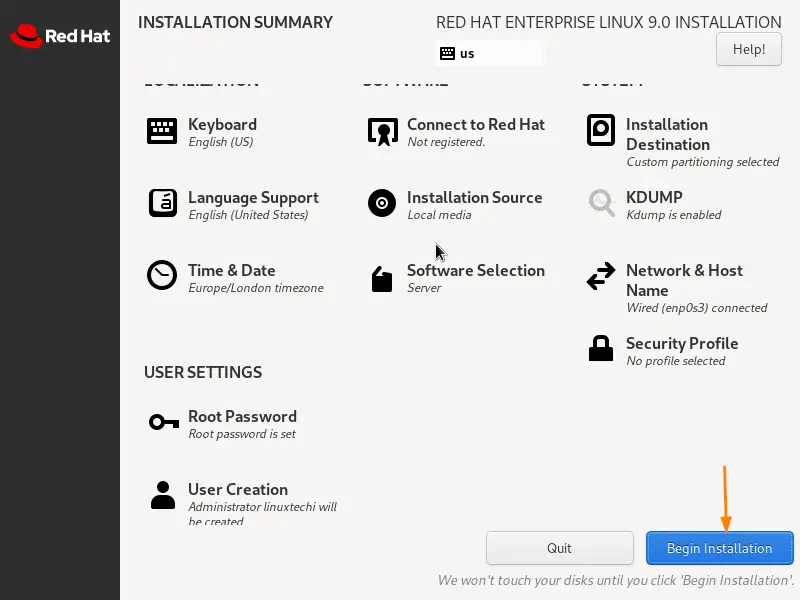
4) Installation Summary
In this step, initially we will get following installation summary screen.
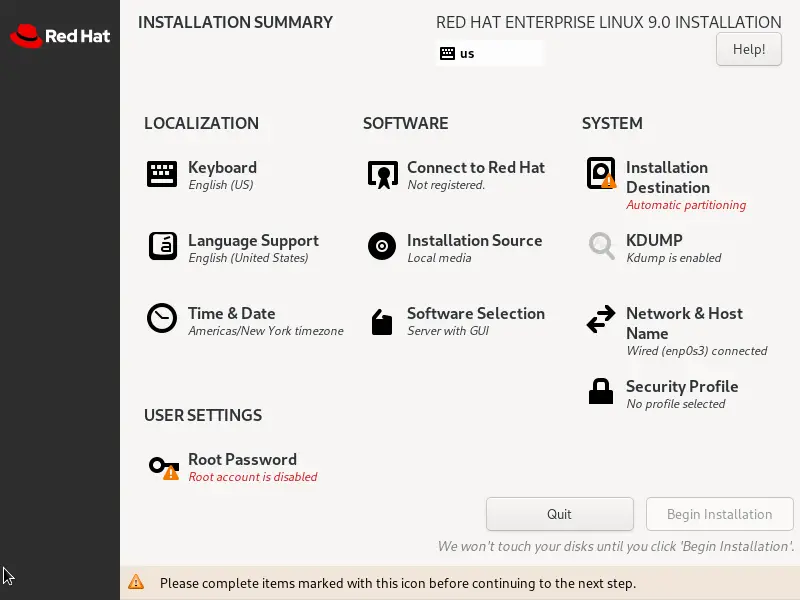
As it is mentioned clearly that we must first complete mandatory items before initiating the installation.
Some of the items are completed automatically by the installer but if you wish to change them then click on the item and make changes as per your requirement.
For the demonstration, we will configure the following items,
- Installation Destination
- Root Password & User Creation
- Software Selection
- Time & Date
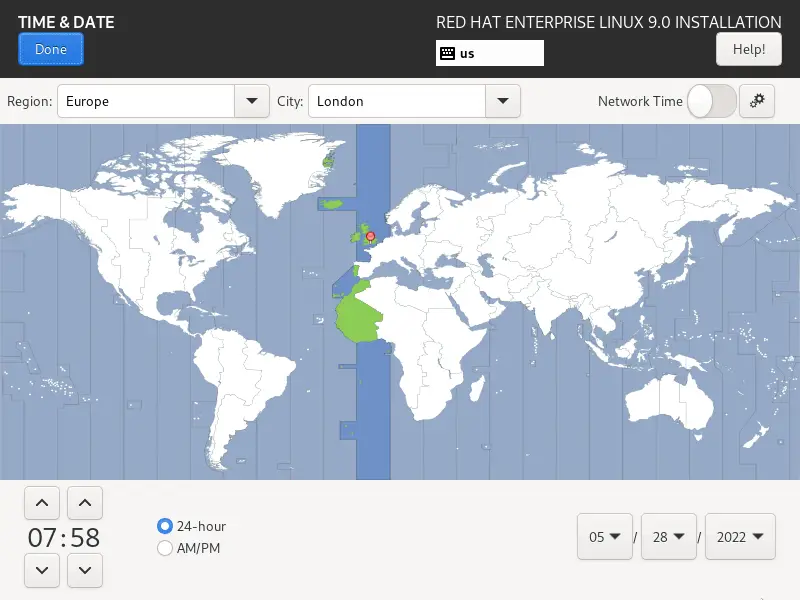
To change Time Zone, click on ‘Time & Date’ and then choose the location as per your setup and then click on ‘Done’
To install the preferred software during the installation, click on ‘Software Selection’
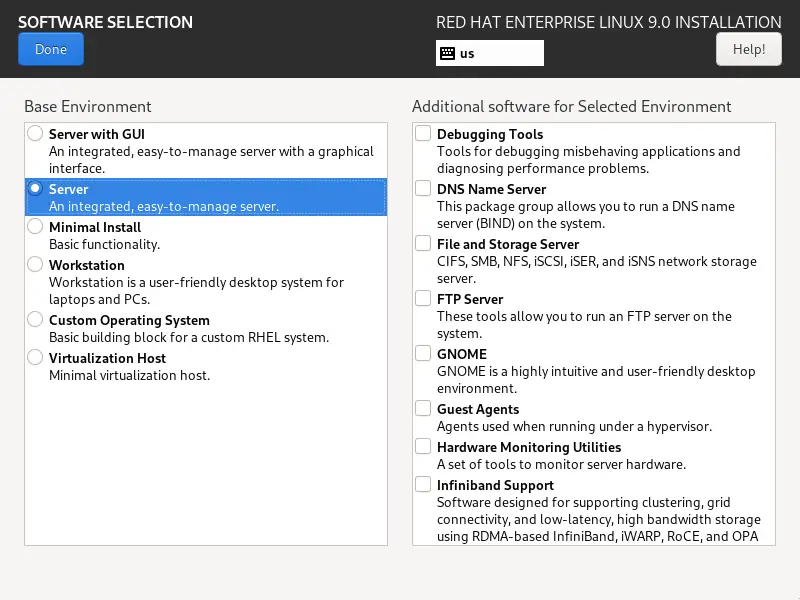
Choose the ‘Base Environment’ for your system, in my case I am going with ‘Server – An Integrated, easy-to-manage server’
To configure partitioning on the disk, click on ‘Installation Destination’ and then following window will be presented.
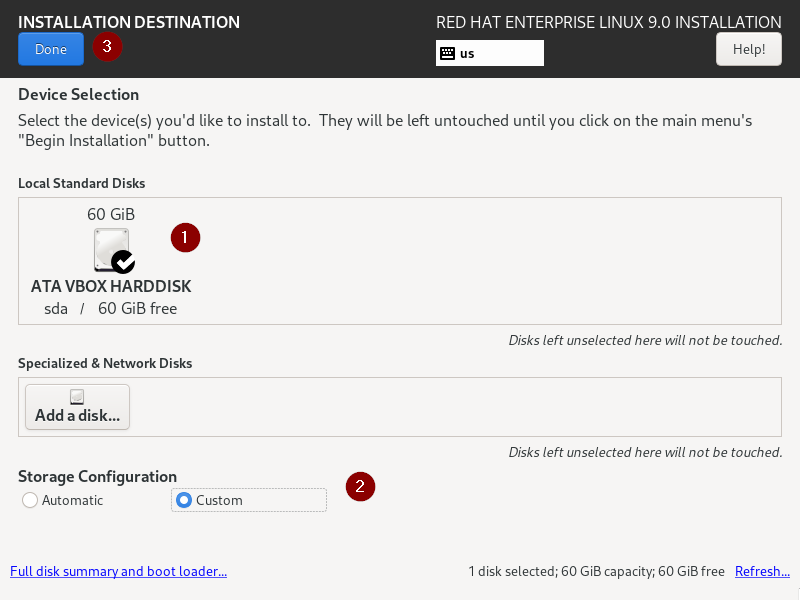
Select the disk on which OS will be installed and then choose either ‘Automatic’ or ‘Custom’ from Storage Configuration.
When automatic is selected then the installer will automatically create partitions on the disk. If you want to create custom partitions, then choose Custom option and click on ‘Done’
In this guide, we will go with custom option. We will create following partitions on 60 GB disk.
- /boot – 2GB (xfs file system)
- / – 10 GB (xfs file system)
- /home – 30 GB (xfs file system)
- /var – 10 GB (xfs file system)
- /tmp – 5 GB (xfs file system)
- Swap – 2 GB
So, to start creating partition, choose ‘Standard Partition’ and click on plus symbol ‘+’ then specify the mount point as /boot and size as 2GB.
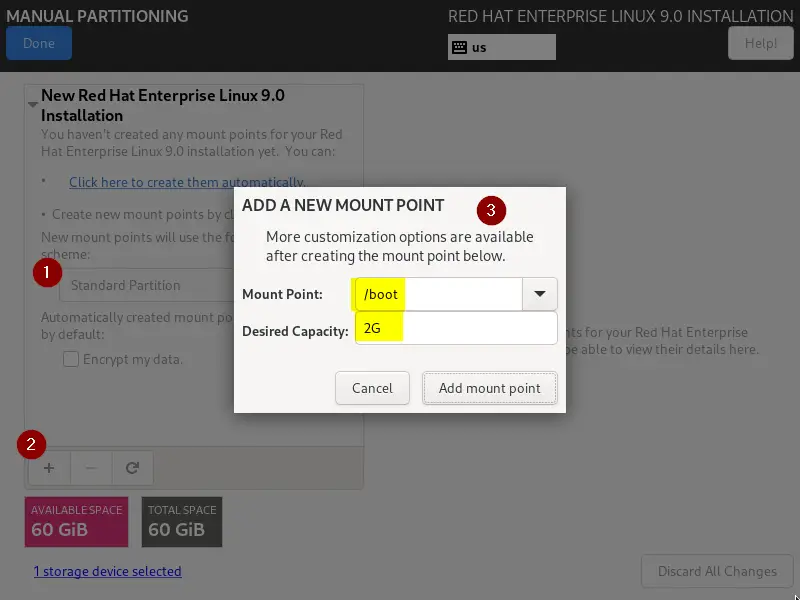
Click on ‘Add mount point’
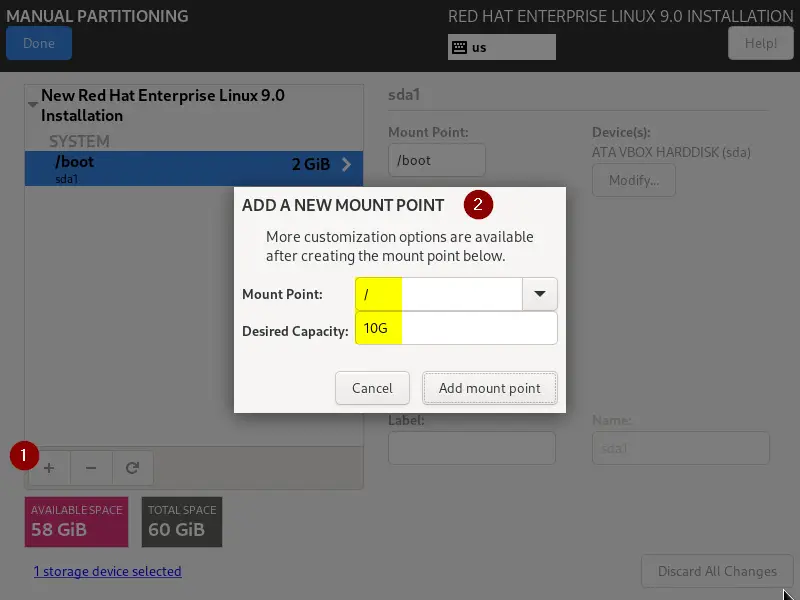
Now, create / partition of size 10 GB,
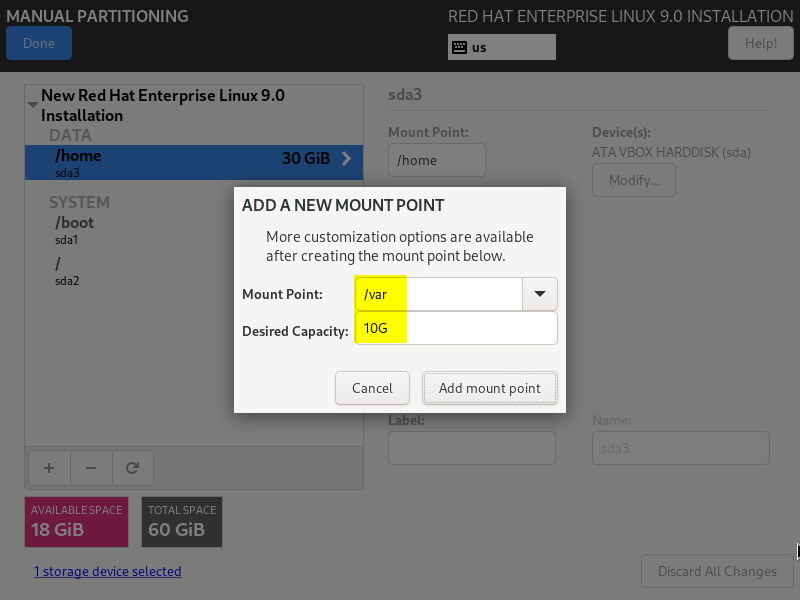
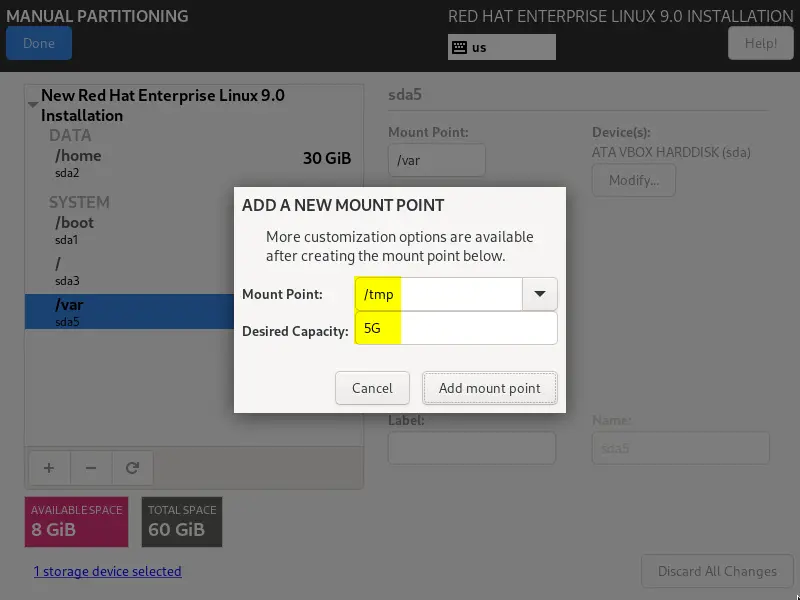
Similarly create /home, /var and /tmp file system of size 30GB, 10GB and 5GB respectively.
/home partition:
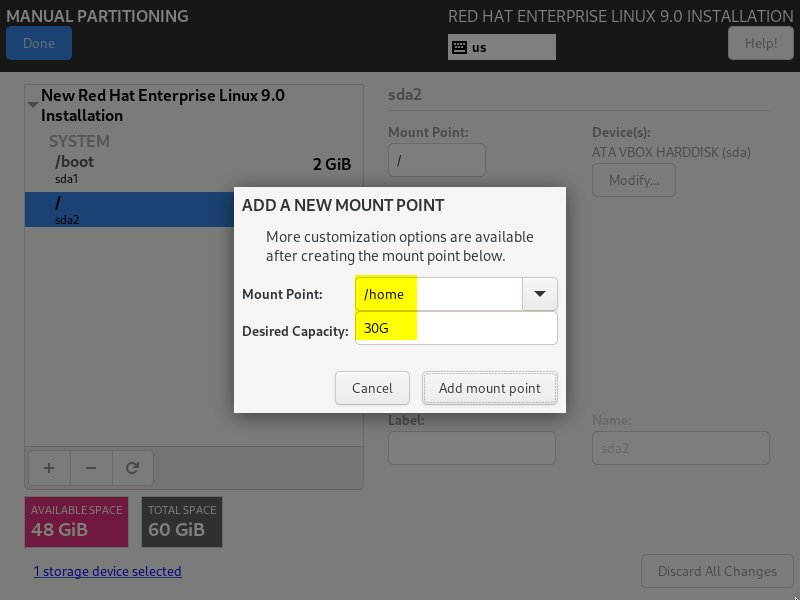
/var partition:
/tmp partition:
In the last create, swap partition of size 2 GB
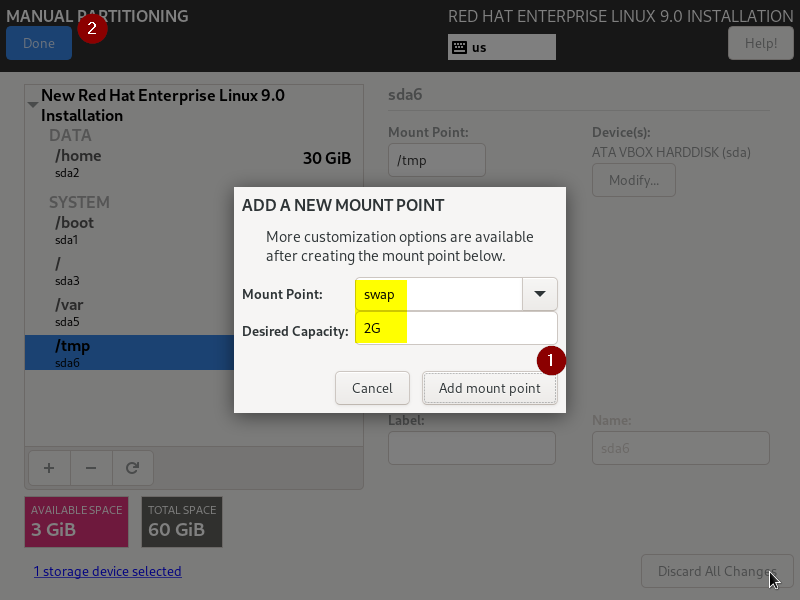
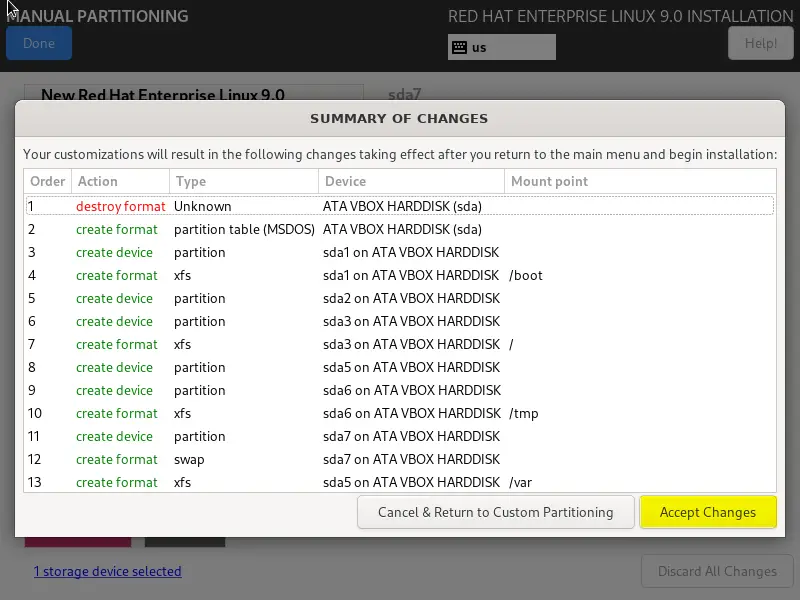
Click on ‘Add mount point’ and then click on ‘Done’ to proceed further.
In the following screen, choose ‘Accept Changes’, it will take us to ‘Installation Summary’ Window.
Now only user settings item is pending, click on ‘Root Password’ to set password for root user.
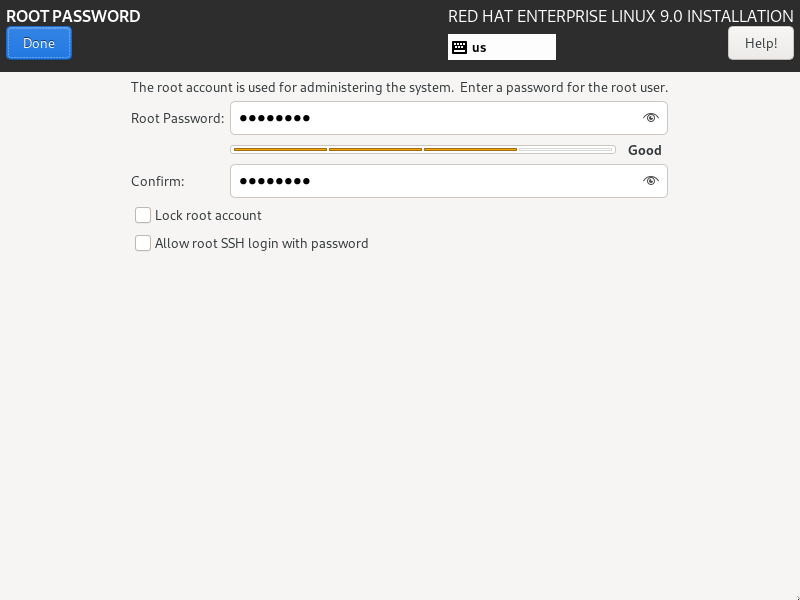
Click on Done and then it will take us to installation summary screen, click on ‘User Creation‘
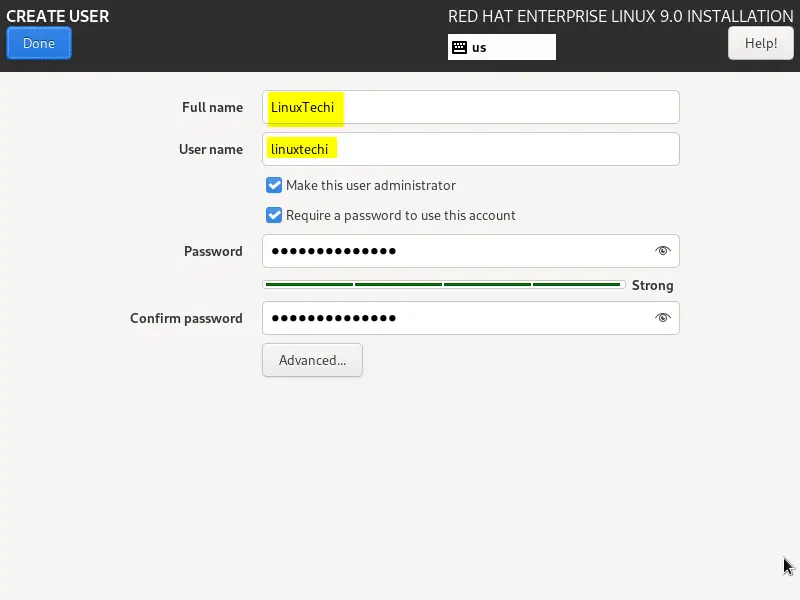
Fill local user details and then click on ‘Done’, it will take us back to installation summary.
Now click on ‘Begin Installation’ to start the installation.
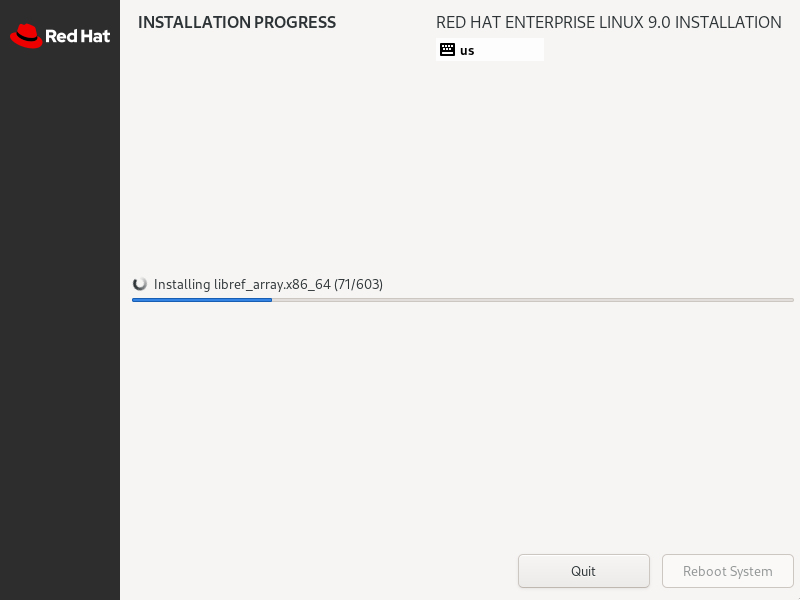
5) Installation Started
At this step, RHEL 9 installation is started and is in progress.
Once the installation is completed, installer will instruct to reboot the system.
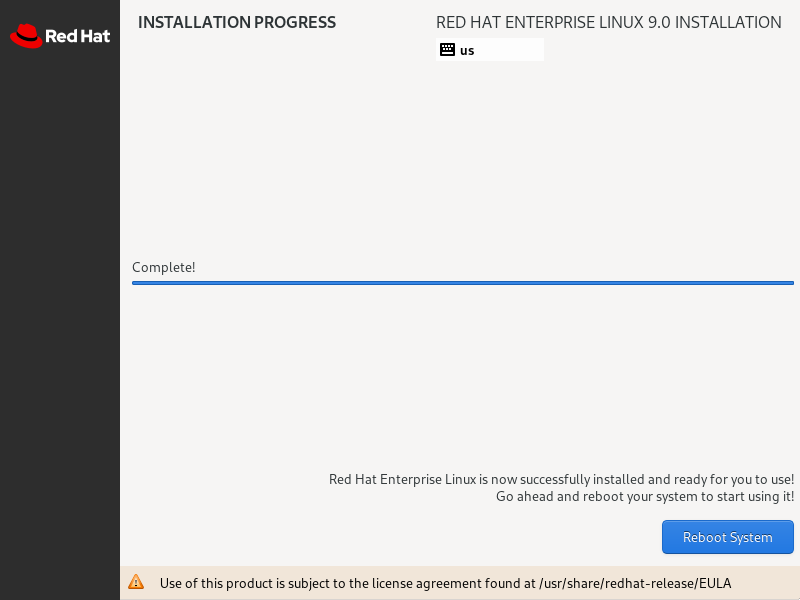
Click on ‘Reboot System’, it will restart the system.
Note: Don’t forget to change the boot medium from USB to hard disk from bios settings.
6) Login Screen After Reboot
When the system boots up after the reboot, we will get beneath login screen. Use either root user or local user credentials to login.
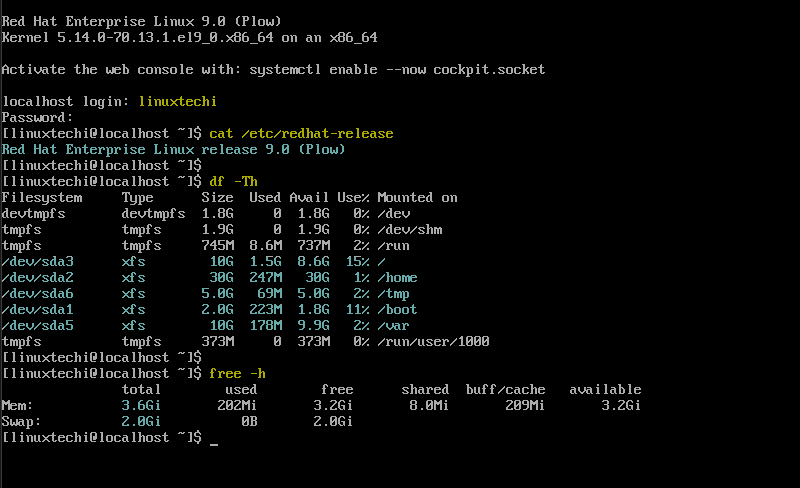
Perfect, above confirms that installation is completed successfully, and also, we can log in as local user. That’s all from this guide, I hope you have found it informative. Kindly do post your queries and feedback in below comments section.
For custom storage option, does the installer insert a /root partition? I didn’t see one shown. Thanks.
Hello. Your instructions look good, but I am having a specific issue. I need to reinstall the OS due to a partitioning (LVM) mistake. I boot from a USB stick. Every time I try reinstalling/repartitioning, the system gives me errors. It won’t let me change the initial selected disks, and when I try changing the partition I get a message that the EFI System Partition cannot be of type lvmpv. I want to reinstall as if it was a brand new system. Even the original machine name is kept stored somewhere. How can this be fixed and all prior config information be wiped? Thanks.