Minikube is a tool that allows developers and system admins to run a single-node Kubernetes cluster on their local machines. It is an excellent way to experiment, learn, and test Kubernetes applications without the need for a full-scale cluster.
In this post, we will walk you through the process of installing Minikube on RHEL 9, enabling you to embark on your Kubernetes journey seamlessly.
Prerequisites
- Minimal Installed RHEL 9 System
- Sudo User with Admin Rights
- Red Hat Subscriptions or locally Configured Repository
- Internet Connectivity
- Minimum 2 GB RAM or more
- 2 vCPUs or more
- 20 GB Free Disk Space
Without any further delay, let’s deep dive into minikube installation steps,
1) Install Podman
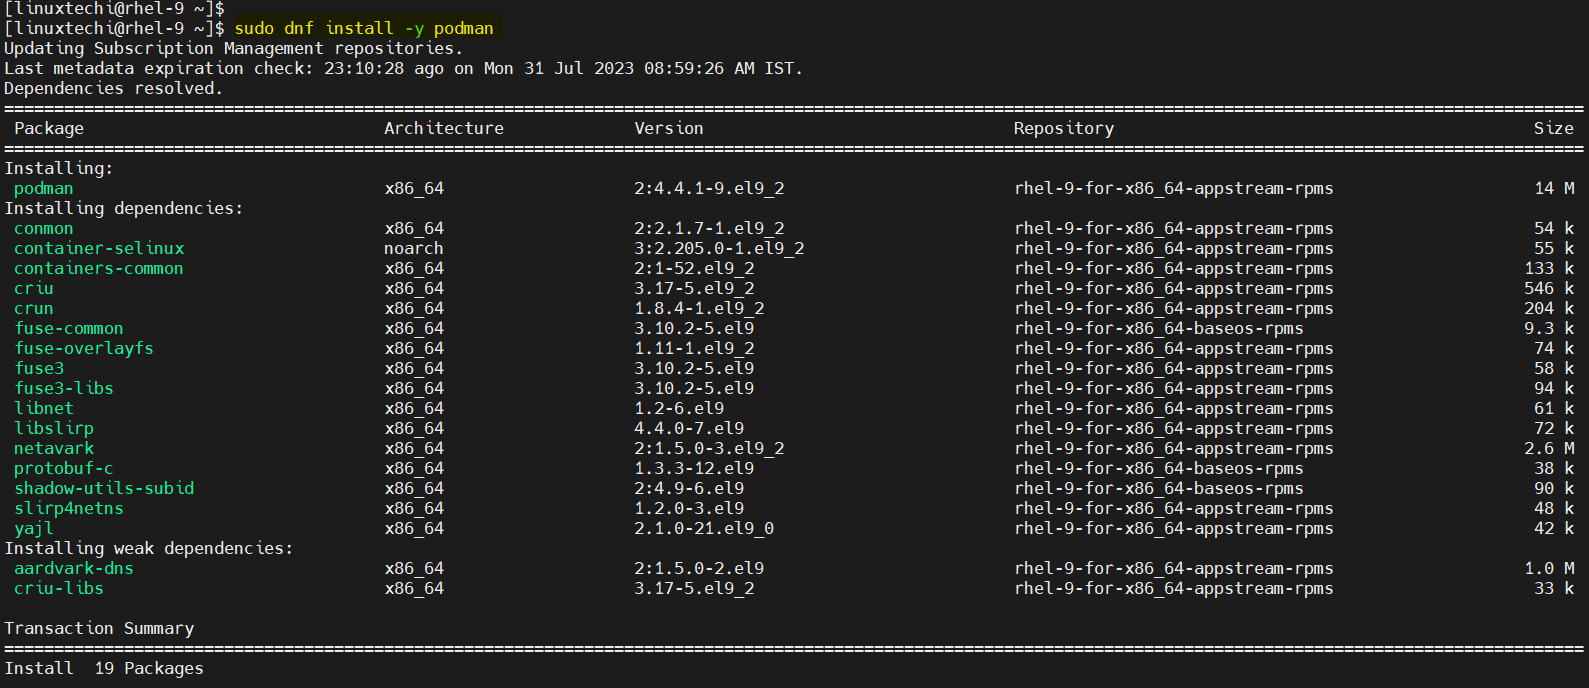
Access your RHEL 9 system and run following dnf command to install podman,
$ sudo dnf install -y podman
Post installation, verify the podman version,
$ podman version
Client:       Podman Engine
Version:      4.4.1
API Version:  4.4.1
Go Version:   go1.19.6
Built:        Wed Apr 26 22:20:28 2023
OS/Arch:      linux/amd64
$
Allow your local user to run podman commands with passwordless sudo.
$ echo "linuxtechi ALL=(ALL) NOPASSWD: /usr/bin/podman" | sudo tee /etc/sudoers.d/linuxtechi
Verify above changes by running beneath command
$ sudo -k -n podman version
It should not prompt you to enter local user password.
2) Install Kubectl
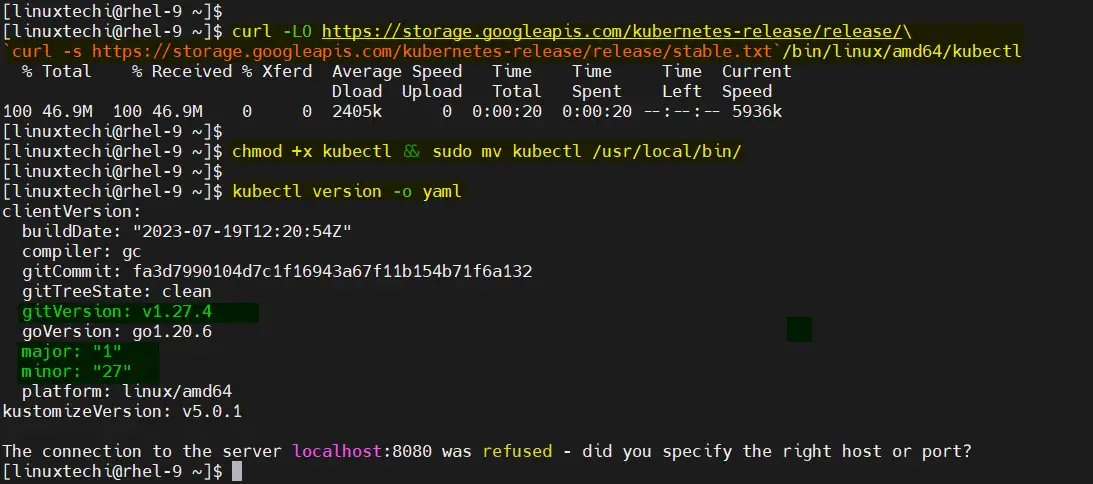
Kubectl is the Kubernetes command-line tool that allows you to interact with the Kubernetes cluster. Install it with the following commands:
$ curl -LO https://storage.googleapis.com/kubernetes-release/release/\
`curl -s https://storage.googleapis.com/kubernetes-release/release/stable.txt`/bin/linux/amd64/kubectl
$ chmod +x kubectl && sudo mv kubectl /usr/local/bin/
$ kubectl version -o yaml
3) Download and Install Minikube Binary
Execute the following commands to download and install minikube,
$ curl -LO https://storage.googleapis.com/minikube/releases/latest/minikube-linux-amd64
$ sudo install minikube-linux-amd64 /usr/local/bin/minikube
$ minikube version
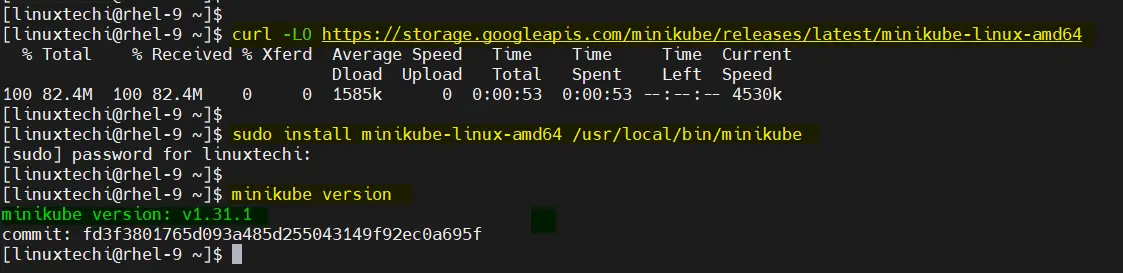
Output above confirms that minikube binary has been installed successfully. In the next step, let’s start the minikube cluster using podman driver.
4) Start Minikube Cluster
As we are using podman as driver for minikube. Run following command to start the cluster,
$ minikube start --driver=podman
Above minikube command will download the necessary Kubernetes components and start the cluster. This process might take a few minutes.
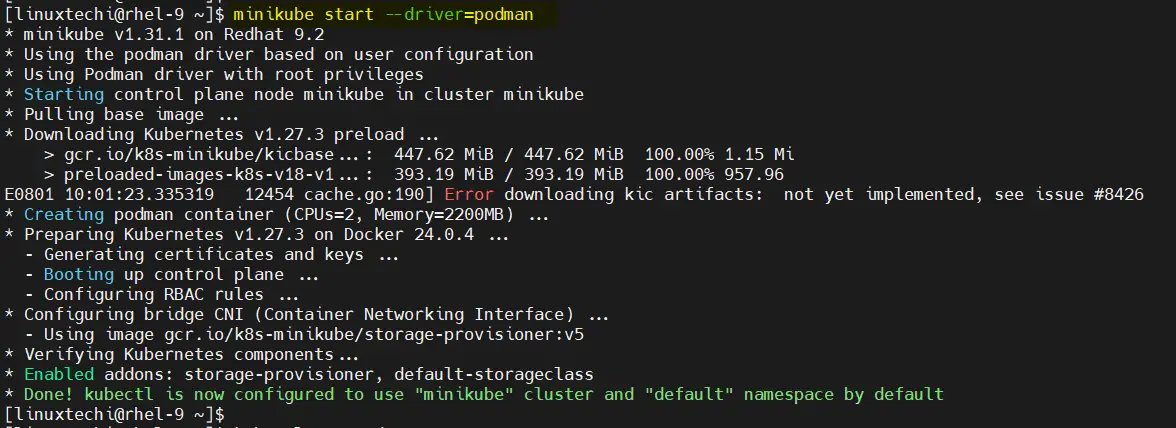
Great, output above shows that cluster has been started successfully.
After the cluster is up and running, you can use kubectl to interact with it. Try the following commands to get the cluster information,
$ kubectl cluster-info
$ kubectl get nodes
$ kubectl get pods -A

5) Manage Minikube Addons
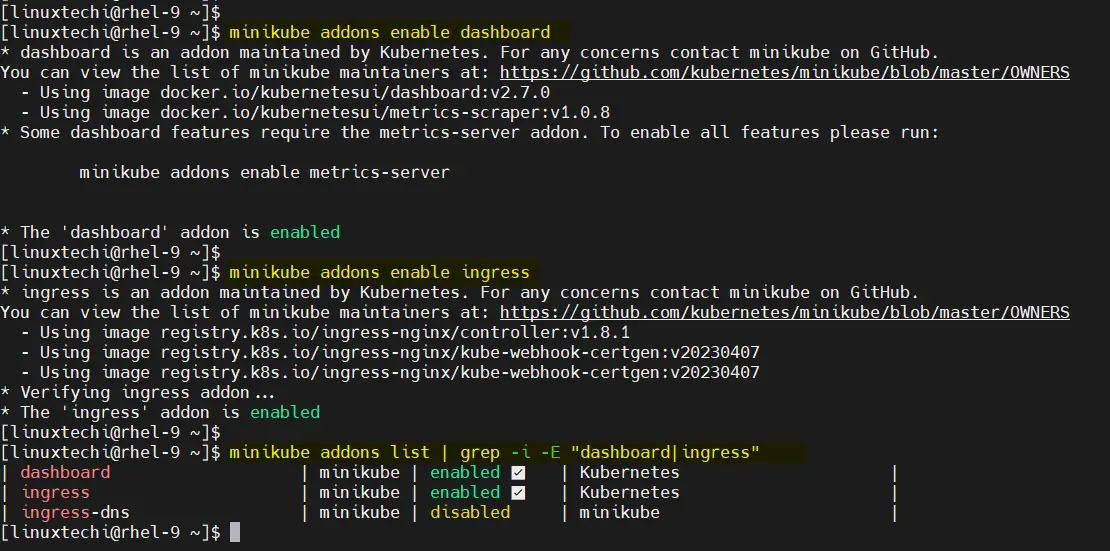
Minikube comes with ready to use addons like Kubernetes dashboard, ingress controller and lot more. By default, they are disabled. So, to enable them, run following minikube command
$ minikube addons list    // This will list available addons
$ minikube addons enable dashboard   // It will enable k8s dashboard
$ minikube addons enable ingress     // It will enable ingress controller
$ minikube addons list | grep -i -E "dashboard|ingress"
To get Kubernetes dashboard url , run
$ minikube dashboard --url
6) Test Kubernetes Cluster
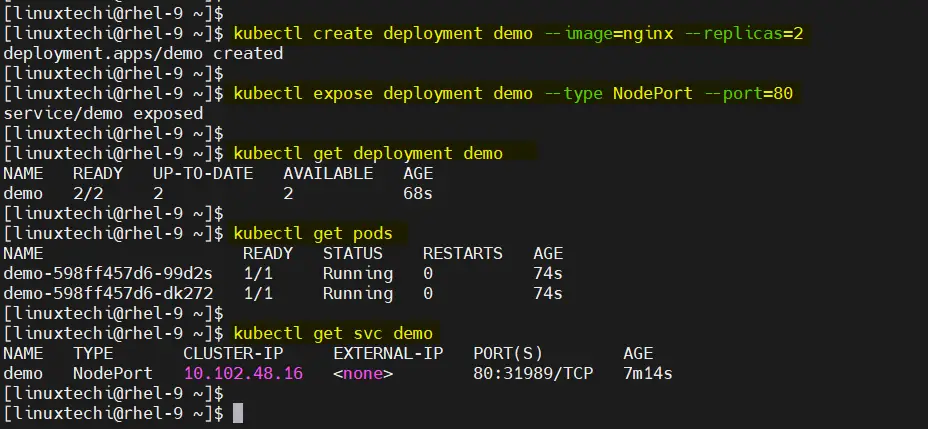
In order to test Kubernetes cluster, we will deploy a sample nginx based deployment, run following kubectl commands,
$ kubectl create deployment demo --image=nginx --replicas=2
$ kubectl expose deployment demo --type NodePort --port=80
$ kubectl get deployment demo
$ kubectl get pods
Get the url for your application, run
$ minikube service demo --url
http://192.168.49.2:31989$
Now, try to access application using following url
$ curl http://192.168.49.2:31989
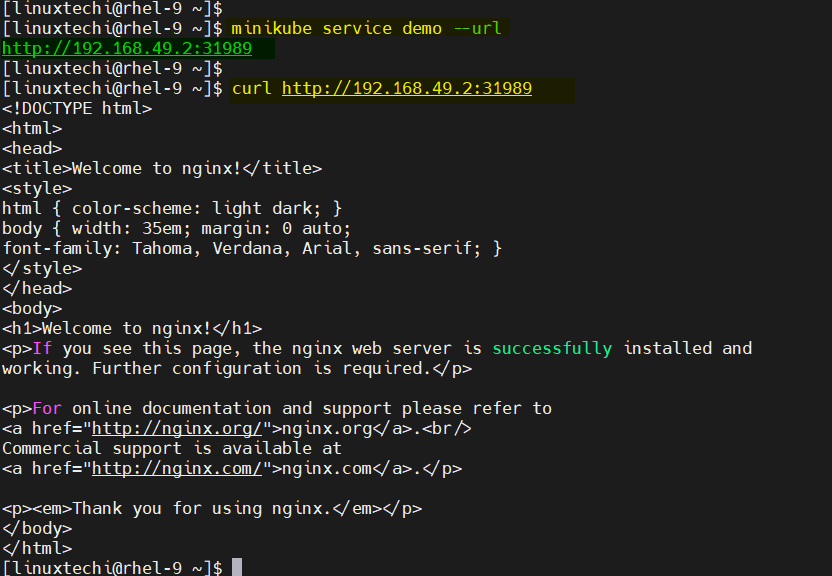
Perfect, above confirms that we can access out sample nginx application.
7) Manage Minikube Cluster
To stop and start the cluster run the following minikube command respectively,
$ minikube stop
$ minikube start
To delete minikube cluster, run
$ minikube delete
That’s all from this post. I hope you have found it informative and useful. Kindly do post your feedback and queries in below comments section.
Conclusion
Minikube provides a fantastic platform to explore Kubernetes in a controlled environment. In this blog post, we walked you through the step-by-step installation of Minikube on RHEL 9, allowing you to experiment with Kubernetes and its features right on your local machine. Now, you can confidently embark on your journey into the world of Kubernetes and container orchestration.
I looked at the post and I want to say that this is a short and well-structured guide for beginners. Instructions with clear commands and explanations. Thanks to the author.