Katello is an open source content management software. Katello is the alternate of Red Hat Satellite Server 6.1 and 6.2. Apart from the content management katello can also perform provisioning and configuration task using foreman. In other words we can say Katello is the open source version of Red Hat Satellite Server which can push updates to its register Linux Servers or clients.
Following are the different components in Satellite Server :
- Katello – It manage all contents or repository and Software Development Life Management (SDLC )
- Foreman – It performs provisioning of physical and virtual servers using methods like kickstart and PXE, It also allows us to automate our tasks using puppet modules.
- Candlepin – It is a service within katello which is responsible for handling subscription management.
- Pulp – It is a service within the katello which handles repositories and it’s content
- Capsule Server – It acts as proxy server for some of the katello services like repository storage, DNS, DHCP and Puppet server configurations
In this article we are going to install Katello 3.14 on CentOS 7.x Server. I am assuming minimal CentOS 7.x is already install on your system.
Beneath are the minimum recommendation for Katello Server :
- Minimum of 8 GB RAM
- Minimum 2 CPU Cores
- 20 GB in / file system
- Separate and maximum Size of /var/ because all the OS repositories will be synced under /var/lib/pulp, ideally allocate 30 GB space for each OS repositories. let’s assume i will sync repositories of three OS then size of /var would be 90 GB.
Installation Steps of Katello on CentOS 7
Step:1 Set Hostname and update the Server
Use the hostnamectl command to set the hostname
[root@localhost ~]# hostnamectl set-hostname "katello.example.com"
Update the /etc/hosts file in case you don’t have your own DNS Server
[root@katello ~]# echo "192.168.1.12 katello.example.com" >> /etc/hosts
Use the below yum command to update the server and then reboot
[root@katello ~]# yum update -y ; reboot
Step:2 Set the firewall rules for katello
Run the below command to open the ports in OS firewall for katello setup.
[root@katello ~]# firewall-cmd --permanent --add-port="80/tcp" --add-port="443/tcp" --add-port="5646/tcp" --add-port="5647/tcp" --add-port="5671/tcp" --add-port="5672/tcp" --add-port="8140/tcp" --add-port="9090/tcp" --add-port="53/udp" --add-port="53/tcp" --add-port="67/udp" --add-port="68/udp" --add-port="69/udp"
Step:3 Set the required repositories for katello
Run the beneath commands one after the other to set the required repositories for katello setup.
[root@katello ~]# yum -y localinstall https://fedorapeople.org/groups/katello/releases/yum/3.14/katello/el7/x86_64/katello-repos-latest.rpm
[root@katello ~]# yum -y localinstall https://yum.theforeman.org/releases/1.24/el7/x86_64/foreman-release.rpm
[root@katello ~]# yum -y localinstall http://yum.puppetlabs.com/puppet-release-el-7.noarch.rpm
[root@katello ~]# yum -y localinstall https://dl.fedoraproject.org/pub/epel/epel-release-latest-7.noarch.rpm
[root@katello ~]# yum -y install foreman-release-scl
Now again update your system as we have added new repositories.
[root@katello ~]# yum -y update
Step:4 Install Katello Package and start the installation
Run the following yum command to install katello packages.
[root@katello ~]# yum -y install katello
Before starting the Installation , Sync Time of Your Server with NTP Server and set the time zone with respect to your location
[root@katello ~]# timedatectl list-timezones  | grep -i Asia/Kol
Asia/Kolkata
[root@katello ~]# timedatectl set-timezone "Asia/Kolkata"
[root@katello ~]#
[root@katello ~]# yum install chrony -y
[root@katello ~]# chronyd -q 'server in.pool.ntp.org iburst'
Note: In case Chronyd service is already running then first stop the service and run above command to sync the time
Read Also : How to Sync Time in Linux Server using Chrony
Start the Katello Installation now using below foreman-installer command
[root@katello ~]# foreman-installer --scenario katello --foreman-admin-username admin --foreman-admin-password <Specify_Password>
Once the Installation is completed , we will get output something like below :

Note : In case your server is running behind the proxy server then run the below command
[root@katello ~]# foreman-installer --scenario katello --katello-proxy-url http://<Proxy-Server_Name_or_IP> --katello-proxy-port <Proxy-port> --foreman-admin-username admin --foreman-admin-password <Specify_Password>
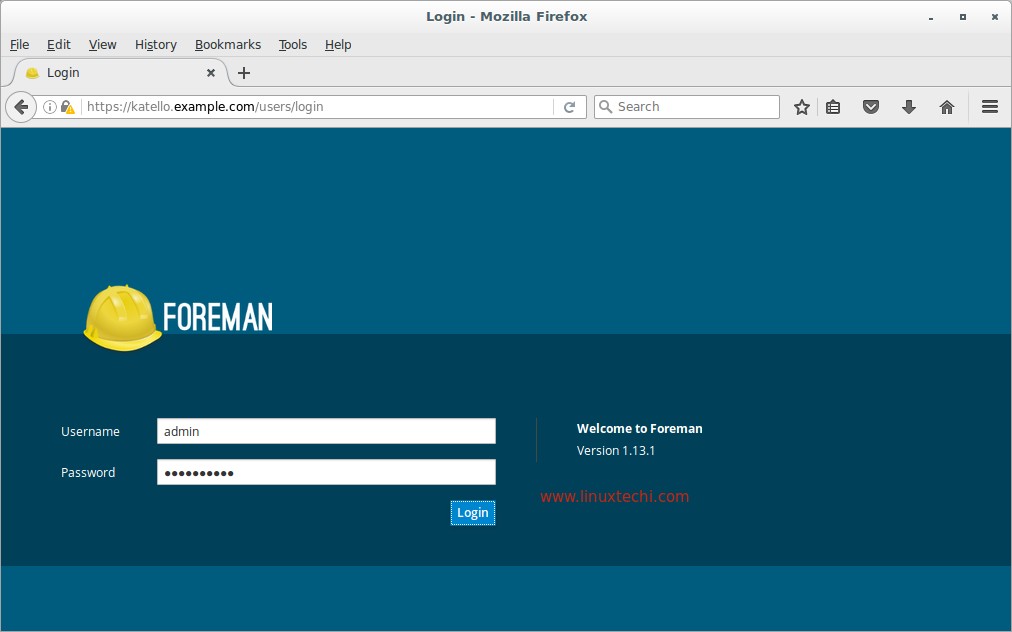
Step:5 Access the Katello Admin Dashboard
Open the Web Browser and type the url “https://katello.example.com/” , Use the username as admin and password that we specify in the above step.
That’s all for this article. Please share your valuable feedback and Comments. Refer the below URL for downloading Yum Repositories and Register Clients for patching in Katello setup.
How to Download Yum Repositories and Register clients in Katello
Few suggestions: Use timedatectl to set time or timezone. I also recommend chrony for the NTP.
Use –foreman-initial-organization and –foreman-initial-location, unless you enjoy using the Default Organisation 🙂
I have tried to install katello so many time but it always fails with ssl validation error.
Hi Yash,
Can you paste the exact error or output here.
Getting dependencies error for following rpms:
libdb_cxx-5.3.so()(64bit)
python-twisted-web
python-blinker
python-blinker
rubygem(rake) >= 0.8.3
python-itsdangerous
python-twisted-core
Any idea which repo can provide them
CentOS Extras
‘http://mirror.centos.org/centos/7/extras/x86_64/’
add centos optional repository
Hey Can you please help me with this error, I dont need need to connect via a proxy though its asking for proxy url
# foreman-installer –scenario katello –katello-proxy-url ‘http://localhost’
Parameter capsule-reverse-proxy invalid: “capsule::params::reverse_proxy” is not a valid boolean
Parameter capsule-qpid-router invalid: “capsule::params::qpid_router” is not a valid boolean
Parameter certs-regenerate invalid: “certs::params::regenerate” is not a valid boolean
Parameter certs-regenerate-ca invalid: “certs::params::regenerate_ca” is not a valid boolean
Parameter katello-repo-export-dir invalid: “katello::params::repo_export_dir” is not an absolute path
CentOS updated their version 7 to 7.4.1708 and packages like shim have been renamed making the new installer fail. Add the following repos to make the installer work again.
‘http://mirror.centos.org/centos/7.3.1611/os/x86_64/’
Thanks for the article Pradeep. I successfully installed on Centos 7.2. It did not work on 7.4 version
I’ve tried installing this several times in several scenarios….AWS EC2 instance, local VM, AWS OpsWorks…and every time, I get as far as running foreman-installer and I always get the same error:
/usr/bin/wget –no-proxy –timeout=30 –tries=40 –wait=20 –retry-connrefused -qO- ‘http://localhost:8080/candlepin/admin/init’ > /var/log/candlepin/cpinit.log 2>&1 && touch /var/lib/candlepin/cpinit_done returned 8 instead of one of [0]
What am I missing here? I don’t see others having this error, so I’m confused. I’m following along with the steps, but still getting this error every time.
Thanks for any help!
Hate to ask again… I’m getting this exact error Centos 7.5 updated to the latest.
Main problem with SSL on CentOS 7 is that candlepin is apparently old and with the default installation tomcat is not allowed to access postgresql server. This is fixed in newer version of candlepin but that is not what is installed so disabling selinux (setenforce 0) allows install to go through for me. Presumably can audit this to find correct command to use. I also tried to use my own certificates and had host of issues with the SSLCertificateChainFile that is added to apache configuration which makes other parts fail. This might not be part of demo install however so not documenting that other than this might help others pinpoint things to look at. I got through a single pass install by hand editing crt files while install was progressing before apache was restarted but after files were written.