In this guide, we will explain how to install MySQL server on Ubuntu 24.04 step-by-step.
MySQL is a widely used open-source relational database management system (RDBMS) that leverages SQL syntax to perform essential database operations like Create, Read, Update, and Delete (CRUD). It also enables user management and permissions control.
Known for its high performance, MySQL is a core component of the LAMP stack, where it efficiently stores website data and works seamlessly with PHP, making it a top choice for web development. MySQL supports large-scale databases with millions of records and is highly customizable. Additionally, it offers features like data replication and redundancy, ensuring fault tolerance and high availability.
Prerequisites
- Pre-Install Ubuntu 24.04 System
- Sudo User with admin access
- Reliable Internet Connection
1) Update Apt Repository Index
To begin, log into your system and update the local APT package index. This index is a list of available packages, defined in the /etc/apt/sources.list file or the /etc/apt/sources.list.d directory.
To update the package index, run the command from the terminal.
$ sudo apt update
2) Install MySQL Server on Ubuntu 24.04
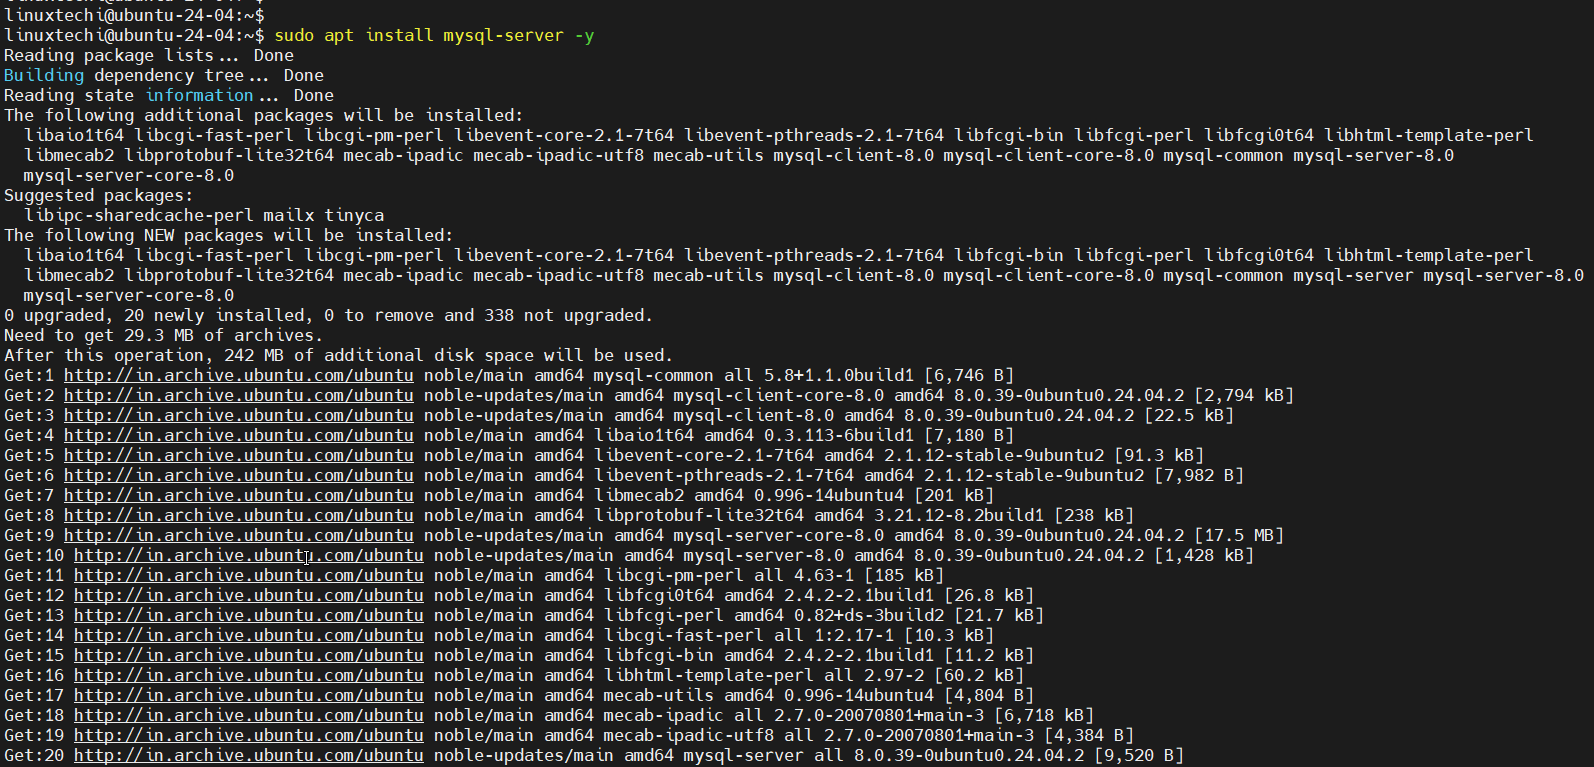
The MySQL server package is freely available on Ubuntu 24.04 repositories. At the time of writing this guide, the latest version is MySQL server 8.0 and is already hosted on the repository. To install it, use the APT package manager as shown.
$ sudo apt install mysql-server -y
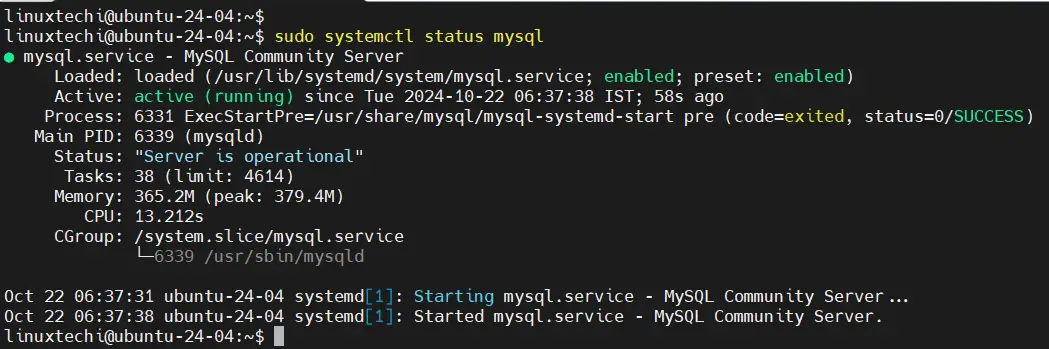
Once installed, the MySQL daemon auto-starts and runs quietly in the background. You can confirm this by running the command:
$ sudo systemctl status mysql
Alternatively, you can run:
$ systemctl is-active mysql
You can set MySQL to start automatically upon system restart as shown.
$ sudo systemctl enable mysql
3) Secure MySQL Server Installation
The default MySQL settings are not secure, especially if you intend to use the database server in production.
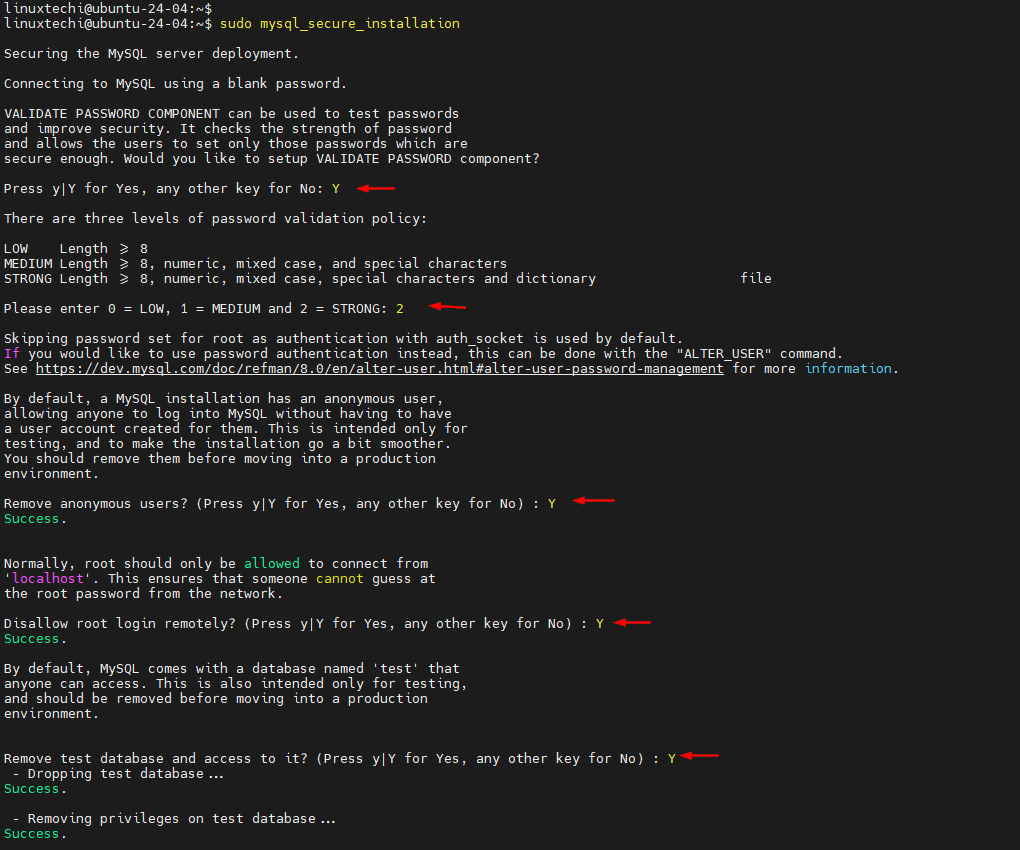
After the installation, it’s crucial to secure your MySQL server by running the built-in security script to provide an additional layer of security, run the following command:
$ sudo mysql_secure_installation
You will be prompted with several options:
- Set Password Validation
- Remove anonymous users
- Disallow root login remotely
- Remove test database.
Answer “yes” to all prompts for a secure setup.
By default, MySQL uses auth_socket for authentication. This is a passwordless authentication that uses the auth_socket plugin that lets users log in to MySQL using their user account credentials and authenticates them.
If you wish to use password authentication, run the ‘sudo mysql’ command and access the MySQL prompt as shown below:
$ sudo mysql
Next, run the ALTER USER command to modify the root user’s authentication method to password authentication as shown.
ALTER USER 'root'@'localhost' IDENTIFIED WITH mysql_native_password BY 'Secure@321#';
Then exit the MySQL prompt.
FLUSH PRIVILEGES;
EXIT

At this point, all the default insecure settings have been removed and replaced with secure and robust ones.
4) Create MySQL Administrative User
By default, MySQL creates a default root user during installation for managing your database. The user has full privileges and thus, absolute control over all databases, tables, users, etc. It’s not a good idea to administer the database server using the database root account.
Best practice recommends the creation of a separate database user for running administrative tasks. So, once again, log in to the MySQL database server as root.
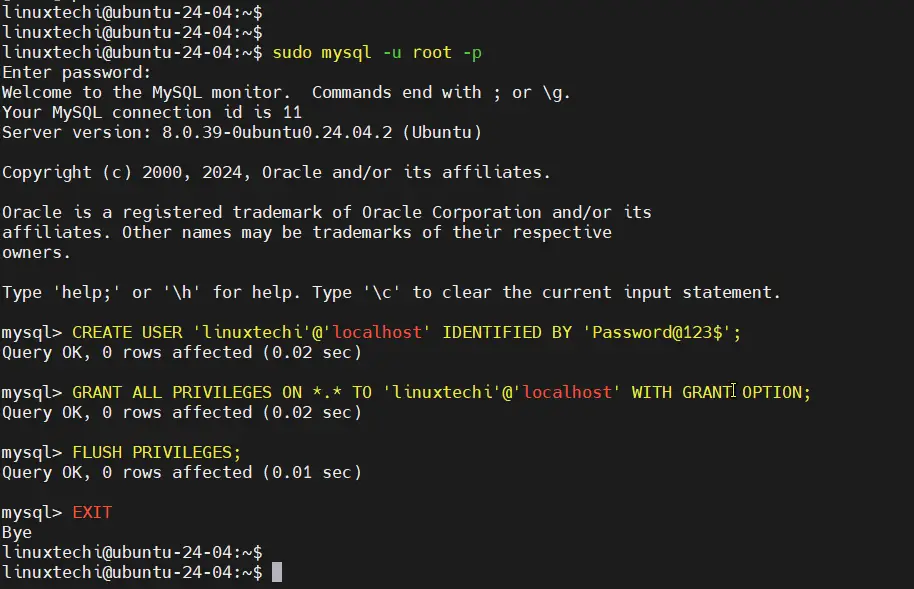
$ sudo mysql -u root -p
Create the database user
CREATE USER 'linuxtechi'@'localhost' IDENTIFIED BY 'Password@123$';
Then grant all privileges to the user. The *.* notation implies all the databases in the database server.
GRANT ALL PRIVILEGES ON *.* TO 'linuxtechi'@'localhost' WITH GRANT OPTION;
Next, flush privileges.
FLUSH PRIVILEGES;
And exit the MySQL prompt.
EXIT
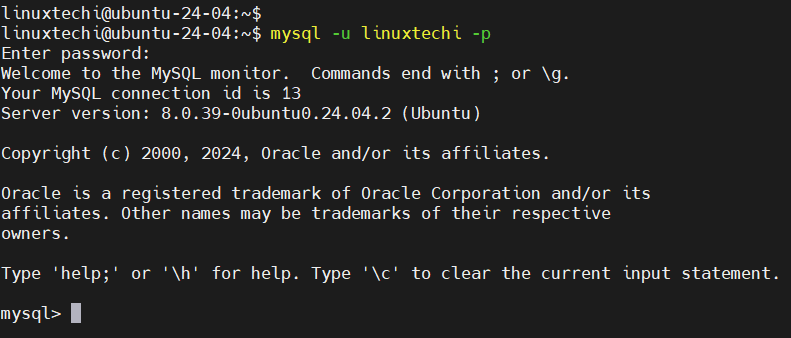
To log in as an administrative user, run the following command:
$ mysql -u linuxtechi -p
Provide the password and hit ENTER.
Conclusion
This wraps up this guide. In this tutorial, you have learned how to install MySQL Server 8.0 on Ubuntu 24.04. In addition, we have demonstrated how to create an administrative user for performing administrative tasks in the database server.
Also Read: How to Install Cockpit Web Console on Ubuntu 22.04
