VPC is a virtual private cloud in public cloud like GCP (Google Cloud Platform) and AWS. In simple terms, VPC is a dedicated private network for your project in google cloud platform. It provides networking for virtual machines, containers and app engine.
In this guide, we will learn how to create customize VPC network in GCP (Google Cloud Platform) step by step. Without any further delay, let’s jump into steps.
1) Login to Google Cloud Console and Go to VPC networks
Login to your google cloud console and search vpc,
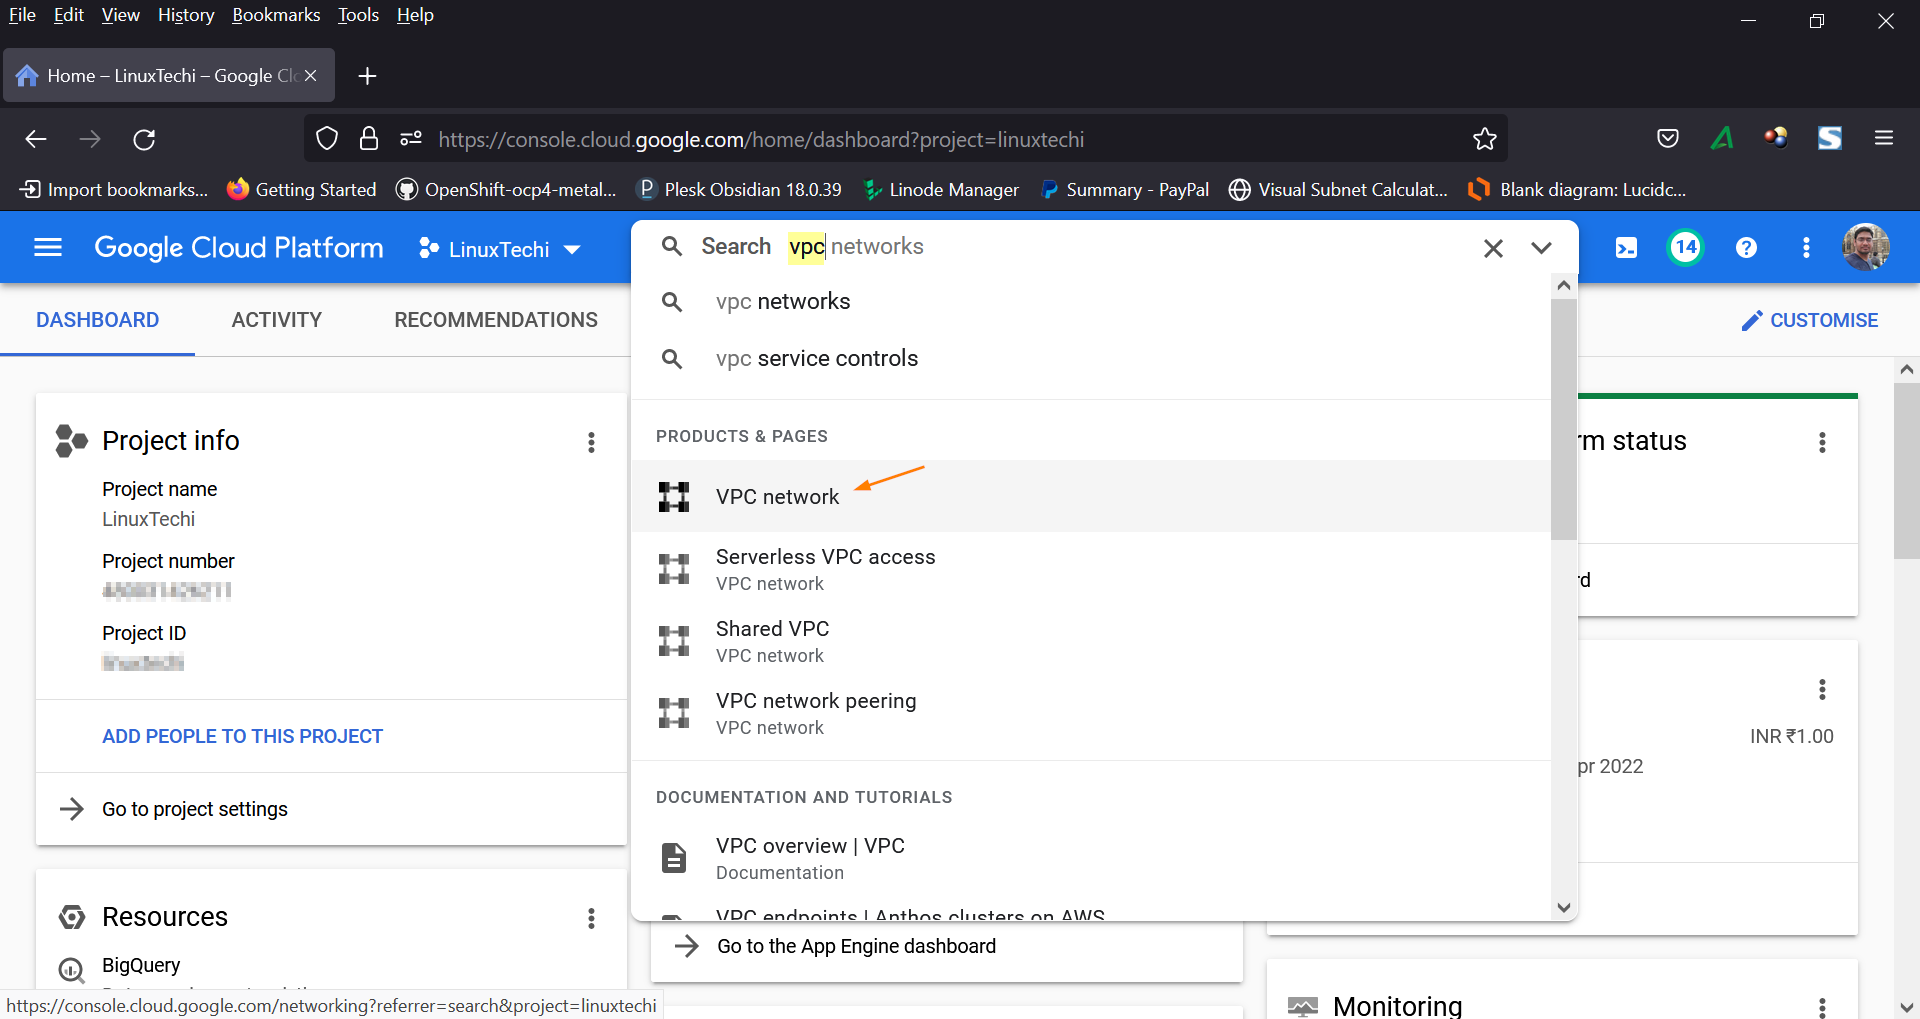
Click on ‘VPC network‘, it will open VPC networks page.
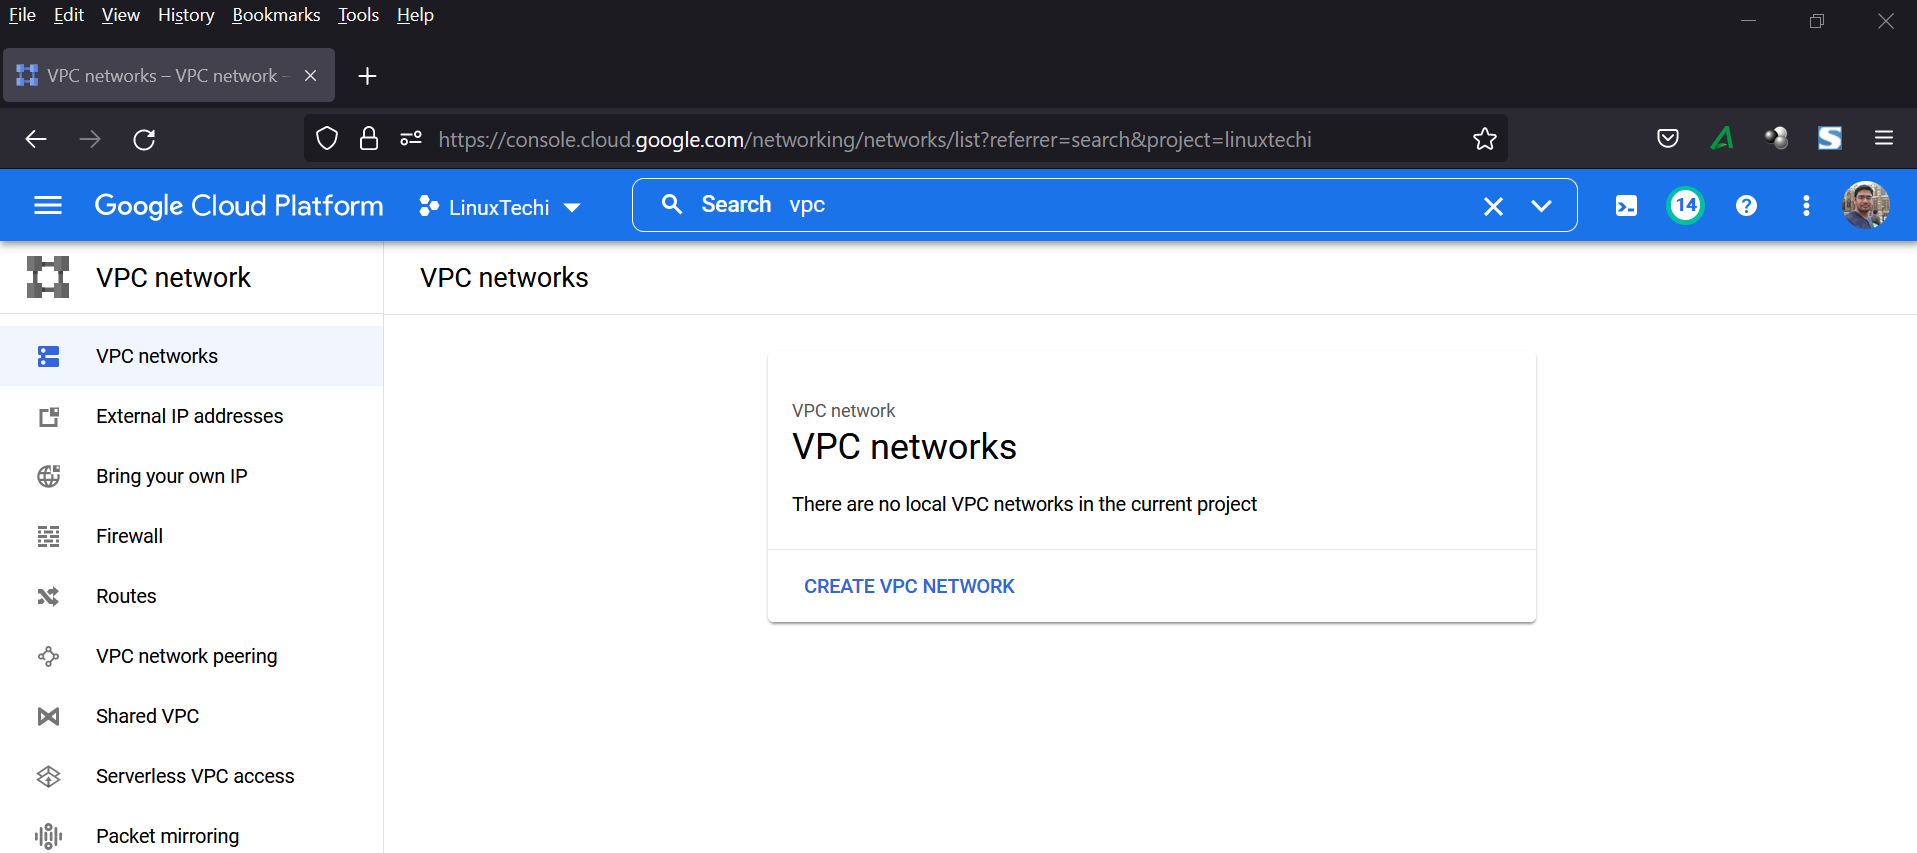
Note: In my case, I am using LinuxTechi project and have deleted the default VPC.
Let’s create new VPC in the next step.
2) Create VPC Network
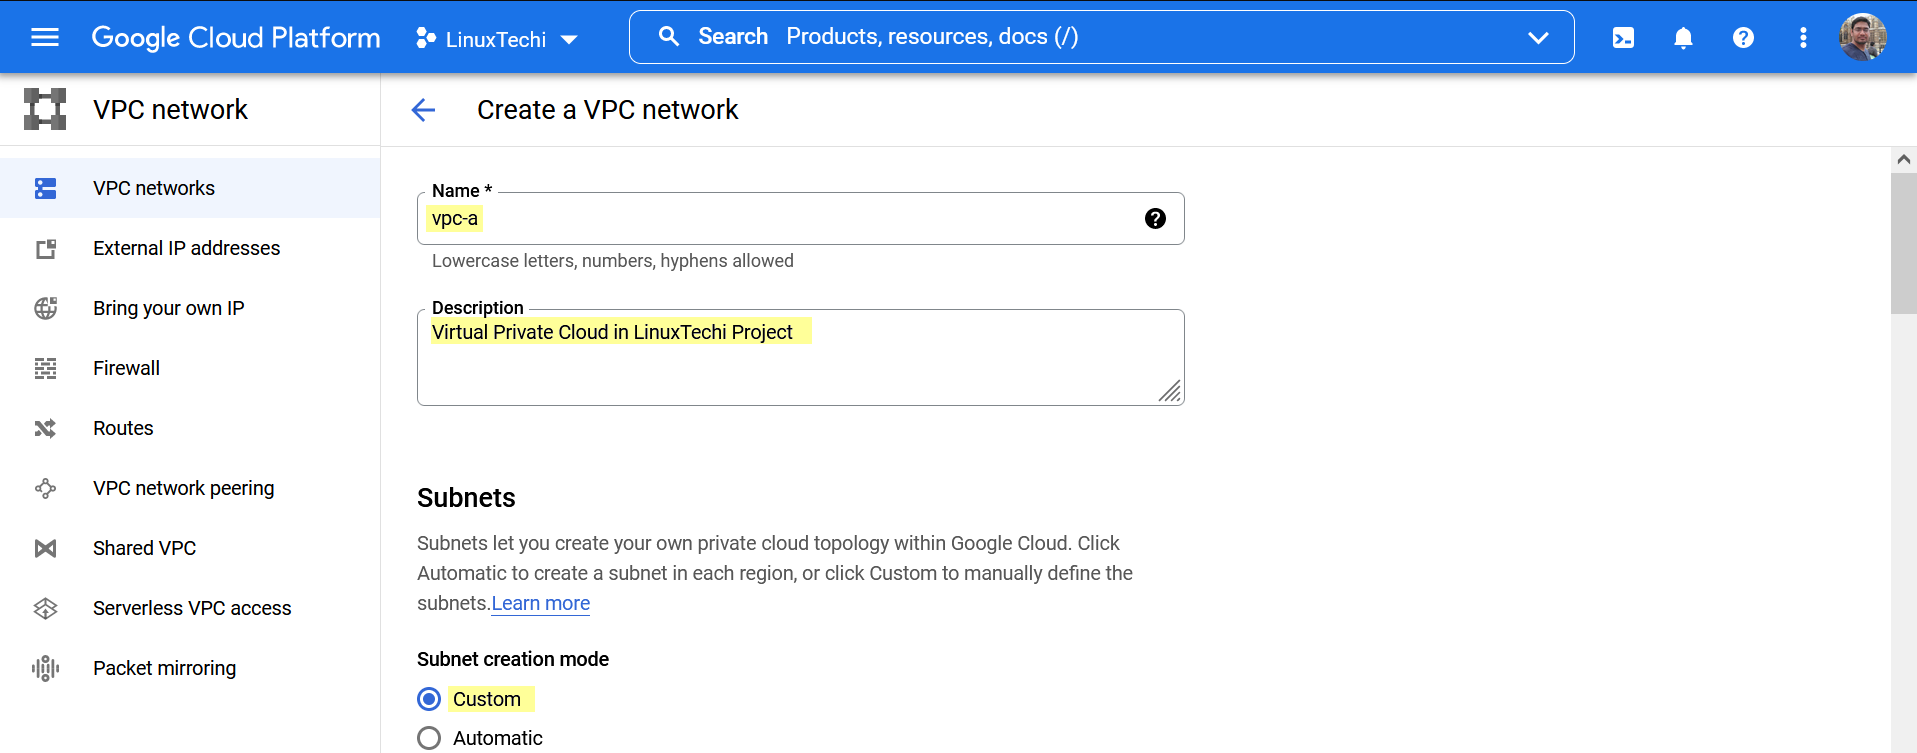
Click on ‘Create VPC network‘ and we will get the following page, specify the following details.
- VPC Name: vpc-a
- Description (Optional): Virtual Private Cloud in LinuxTechi Project
- Subnet Create Mode: custom (If you choose automatic, it will create subnet in all regions automatically)
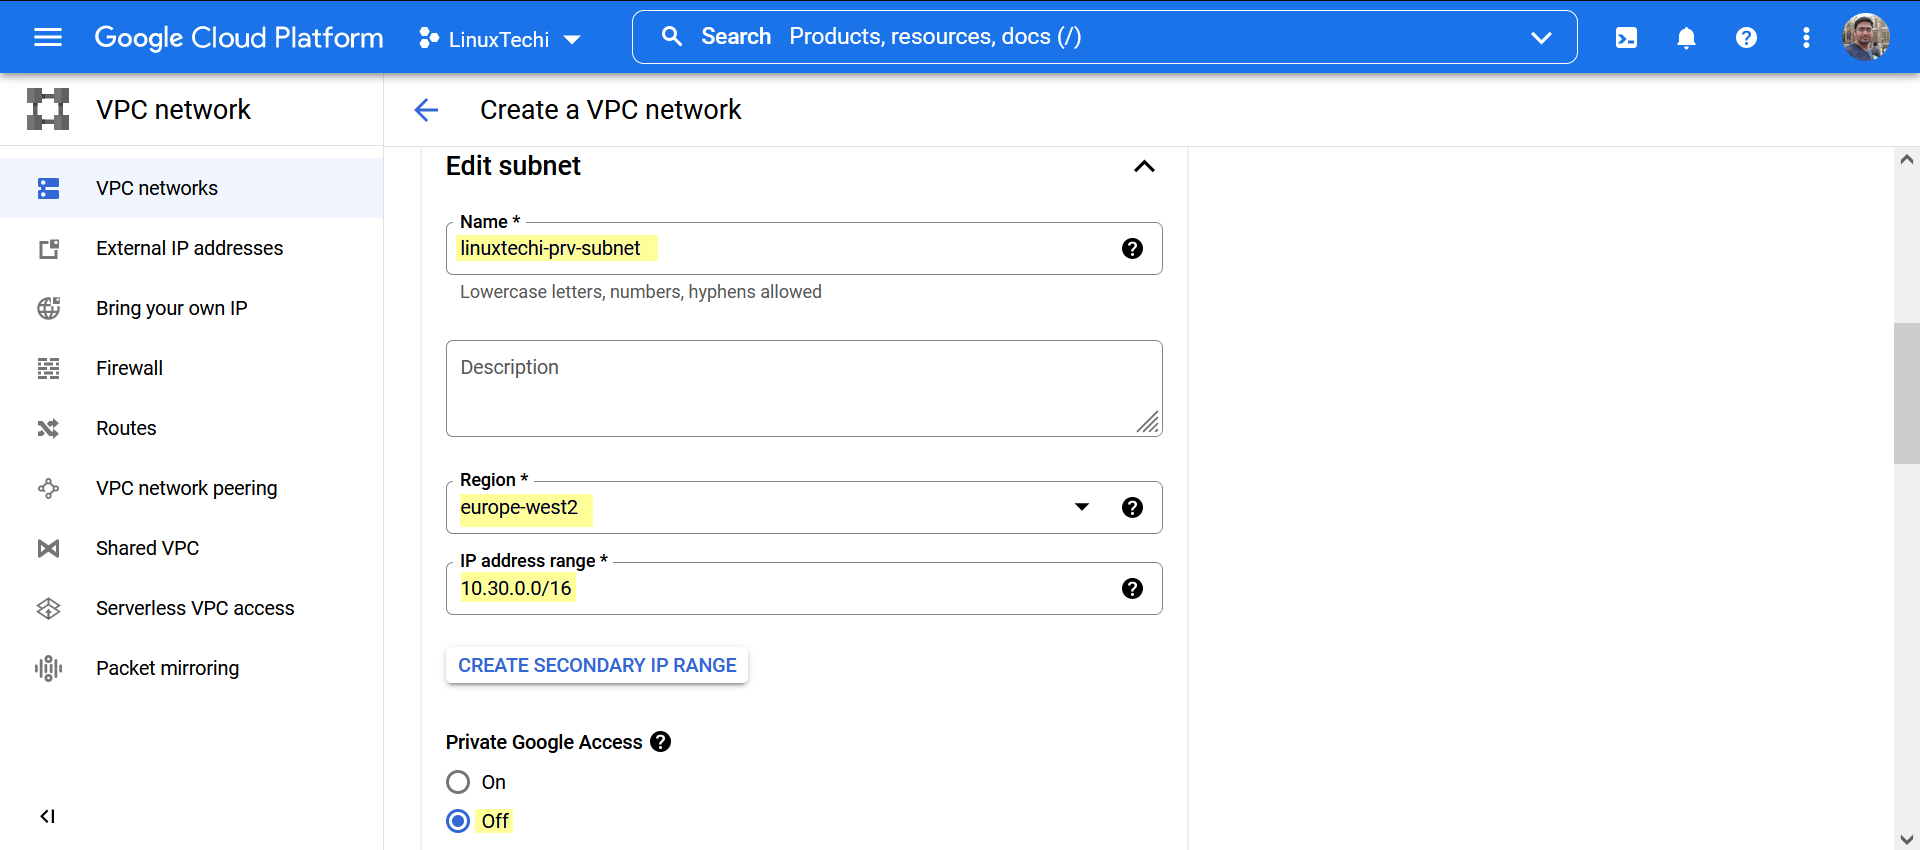
- Subnet Name: linuxtechi-prv-subnet
- Subnet Region: Europe-west2
- IP address range: 10.30.0.0/26 (Specify the CIDR range as per requirement)
- Private Google Access: Off (If you keep this option as ‘ON’ then it will allow this subnet to make API calls to GCP services privately)
- Flow Logs: off
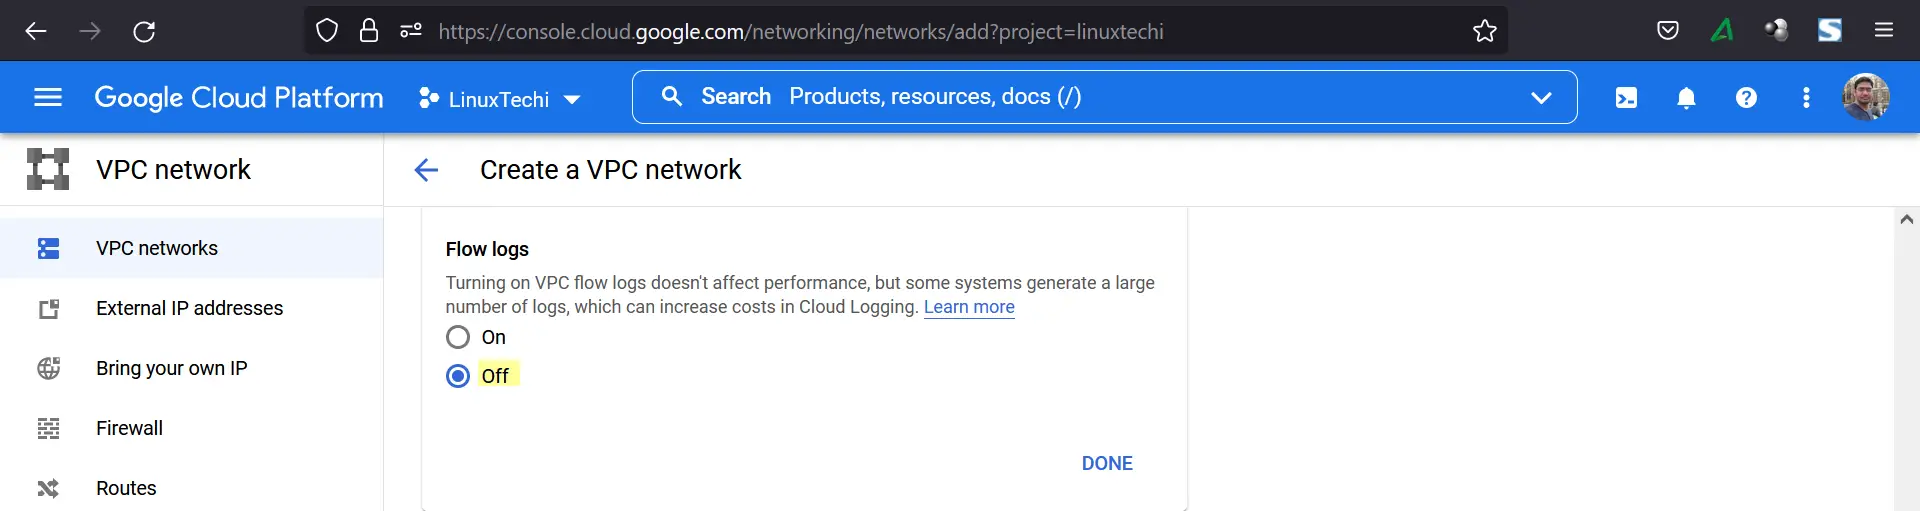
- Firewall Rules: Allow Ingress ICMP, RDP and SSH protocols/ ports. ( You can define your own custom rules)
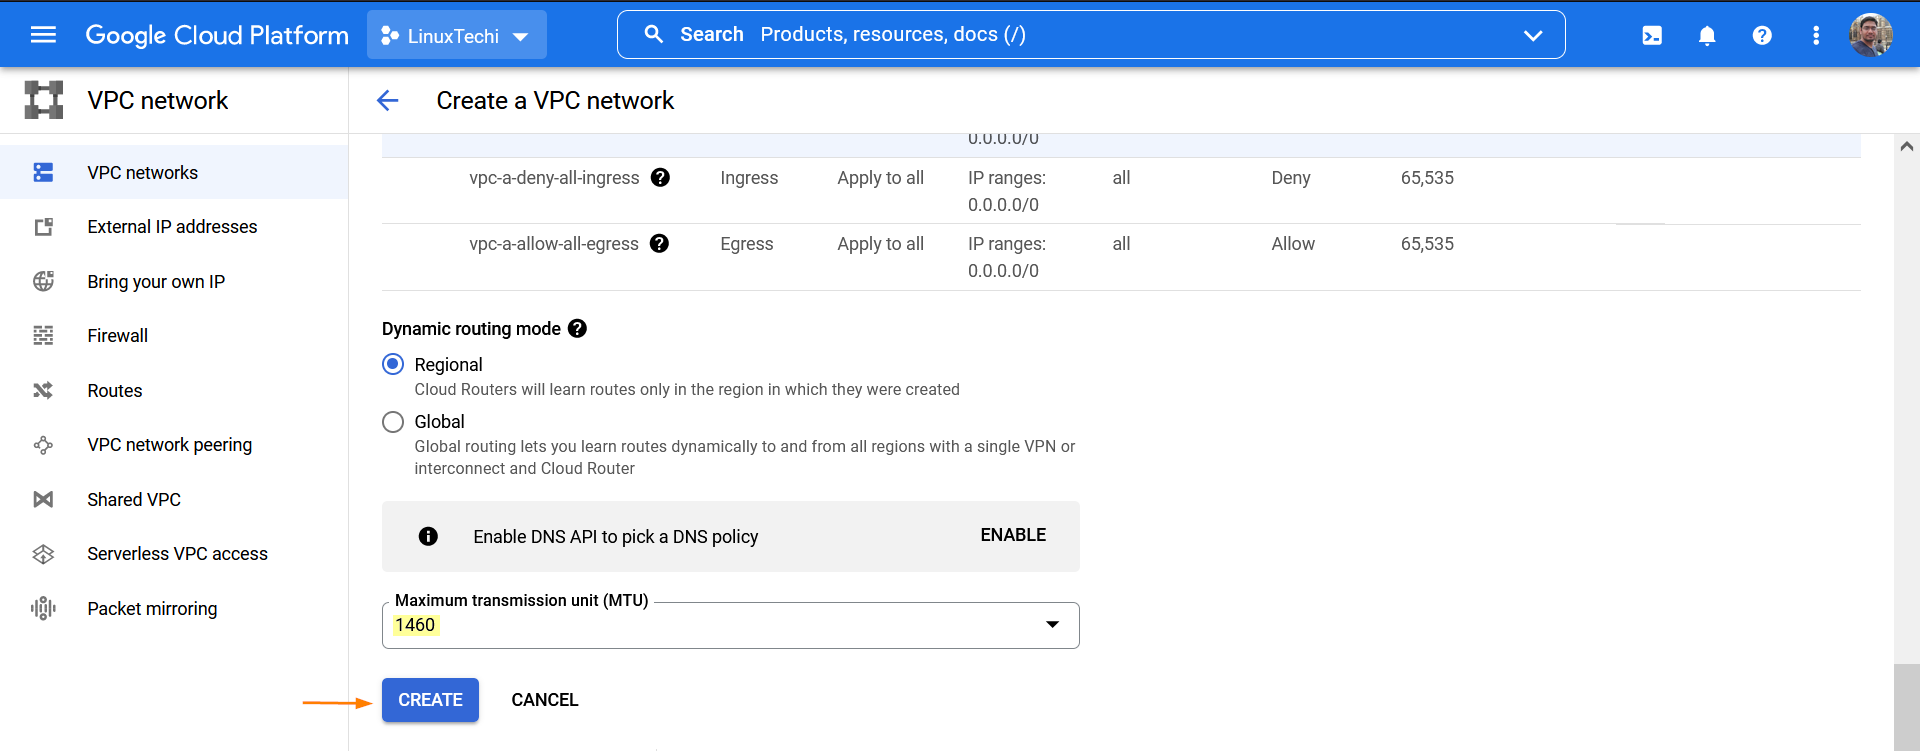
- Dynamic Routing Mode: Regional

In the last step, choose the MTU and then click on ‘Create’ to create VPC along with its subnet.
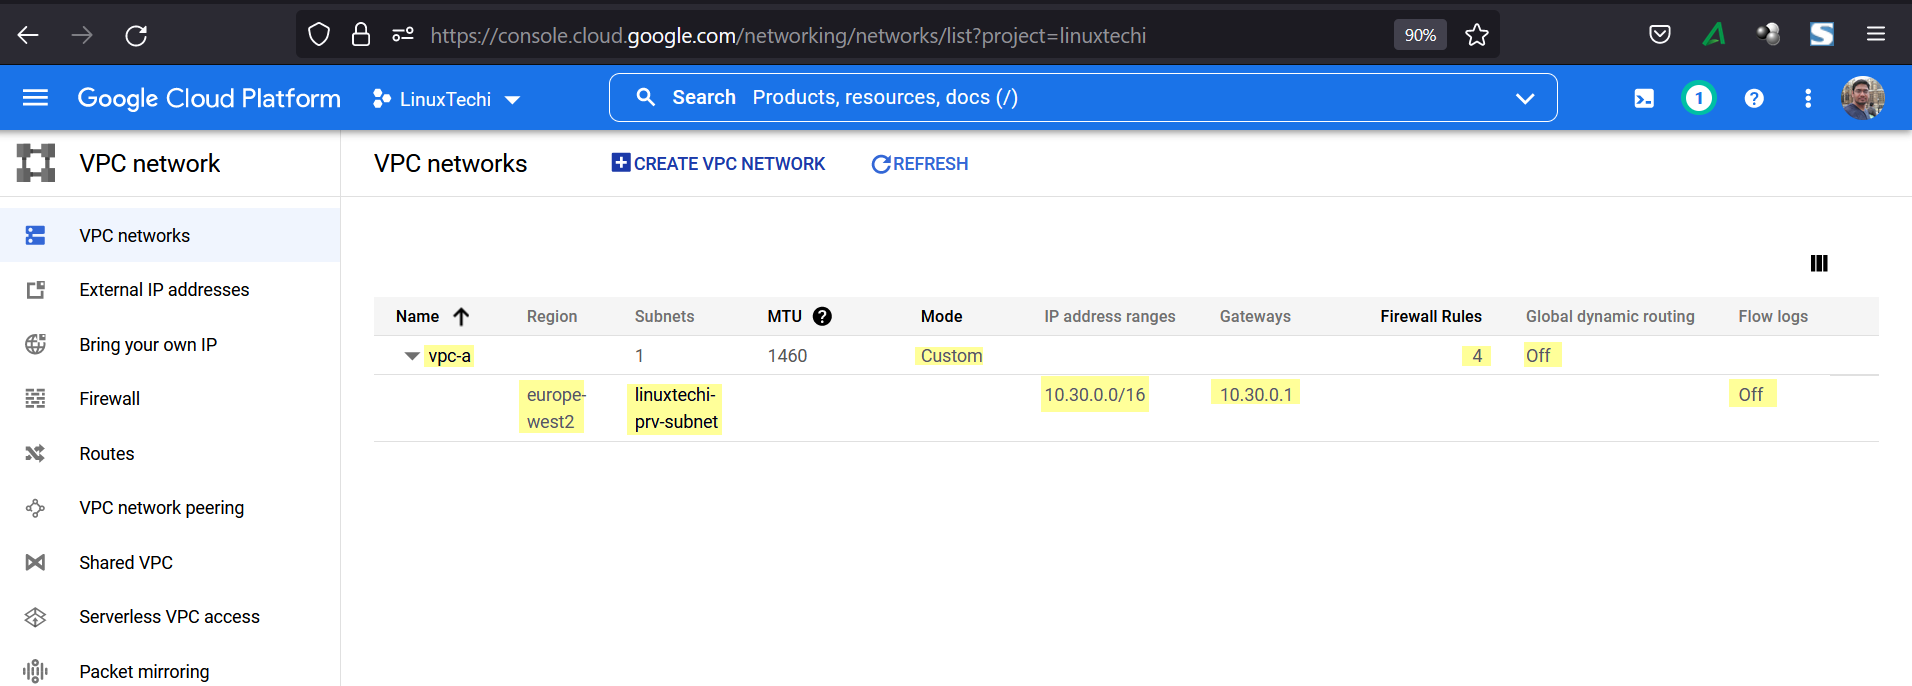
3) Verify VPC Network and Subnet
After the creation of VPC network, we will get following on VPC networks page, verify the VPC and subnet.
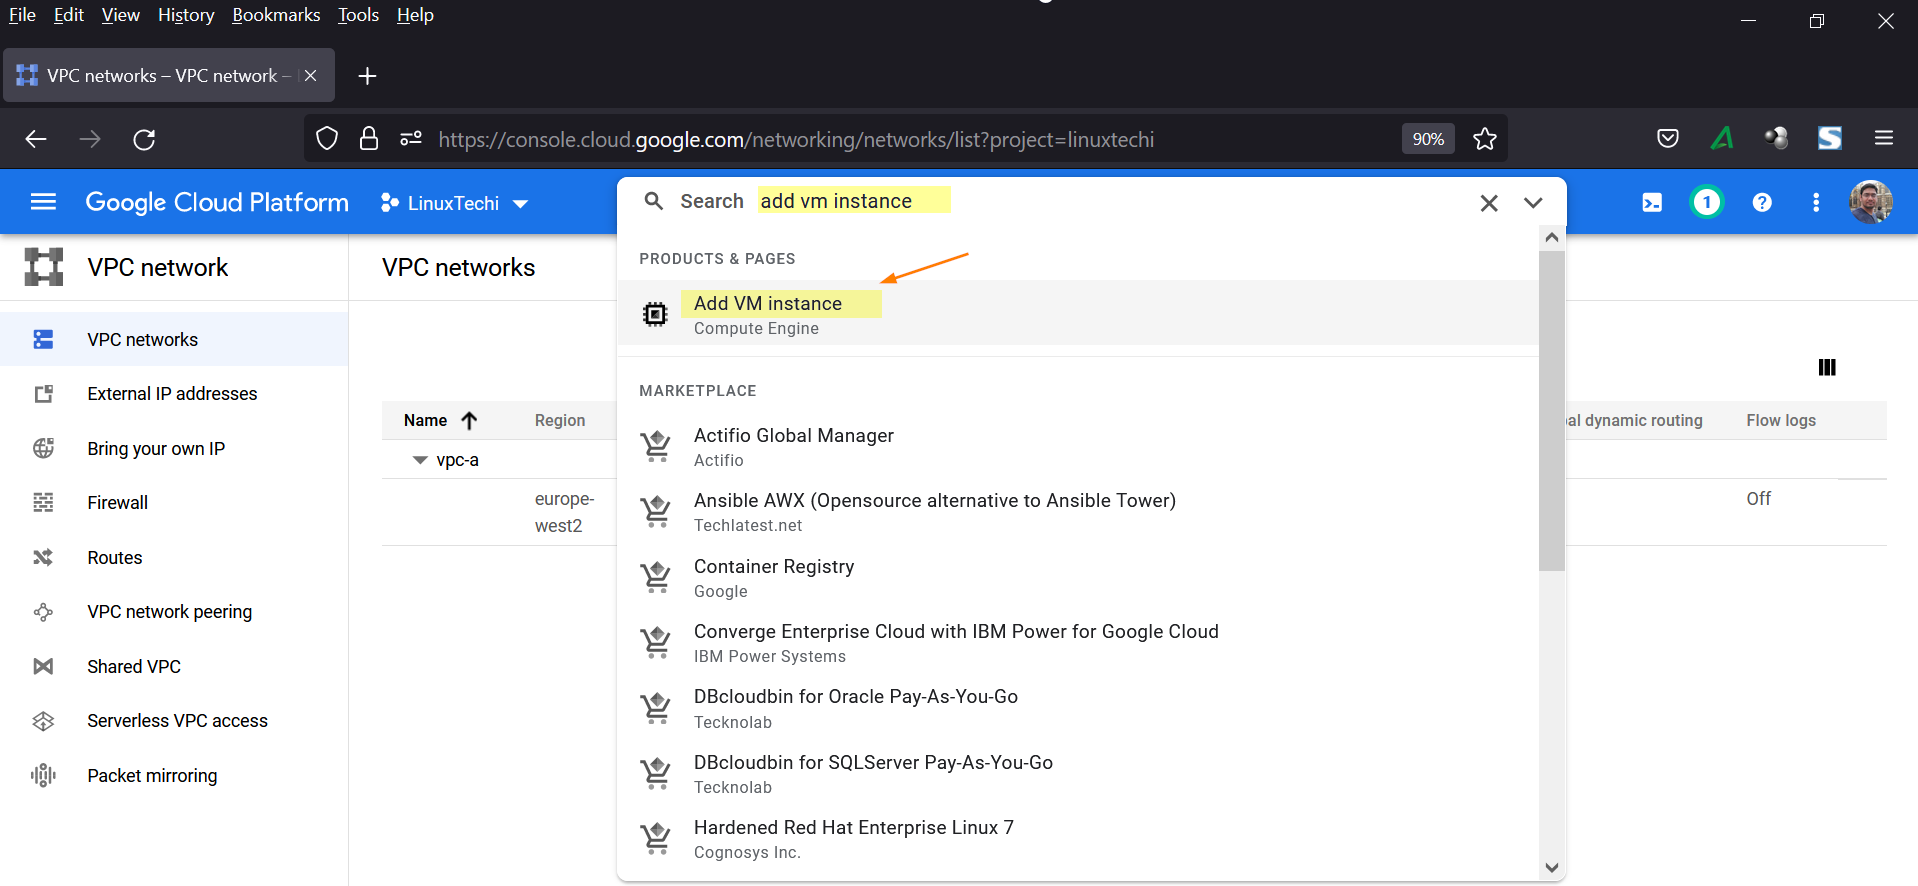
4) Test VPC Network and its Subnet
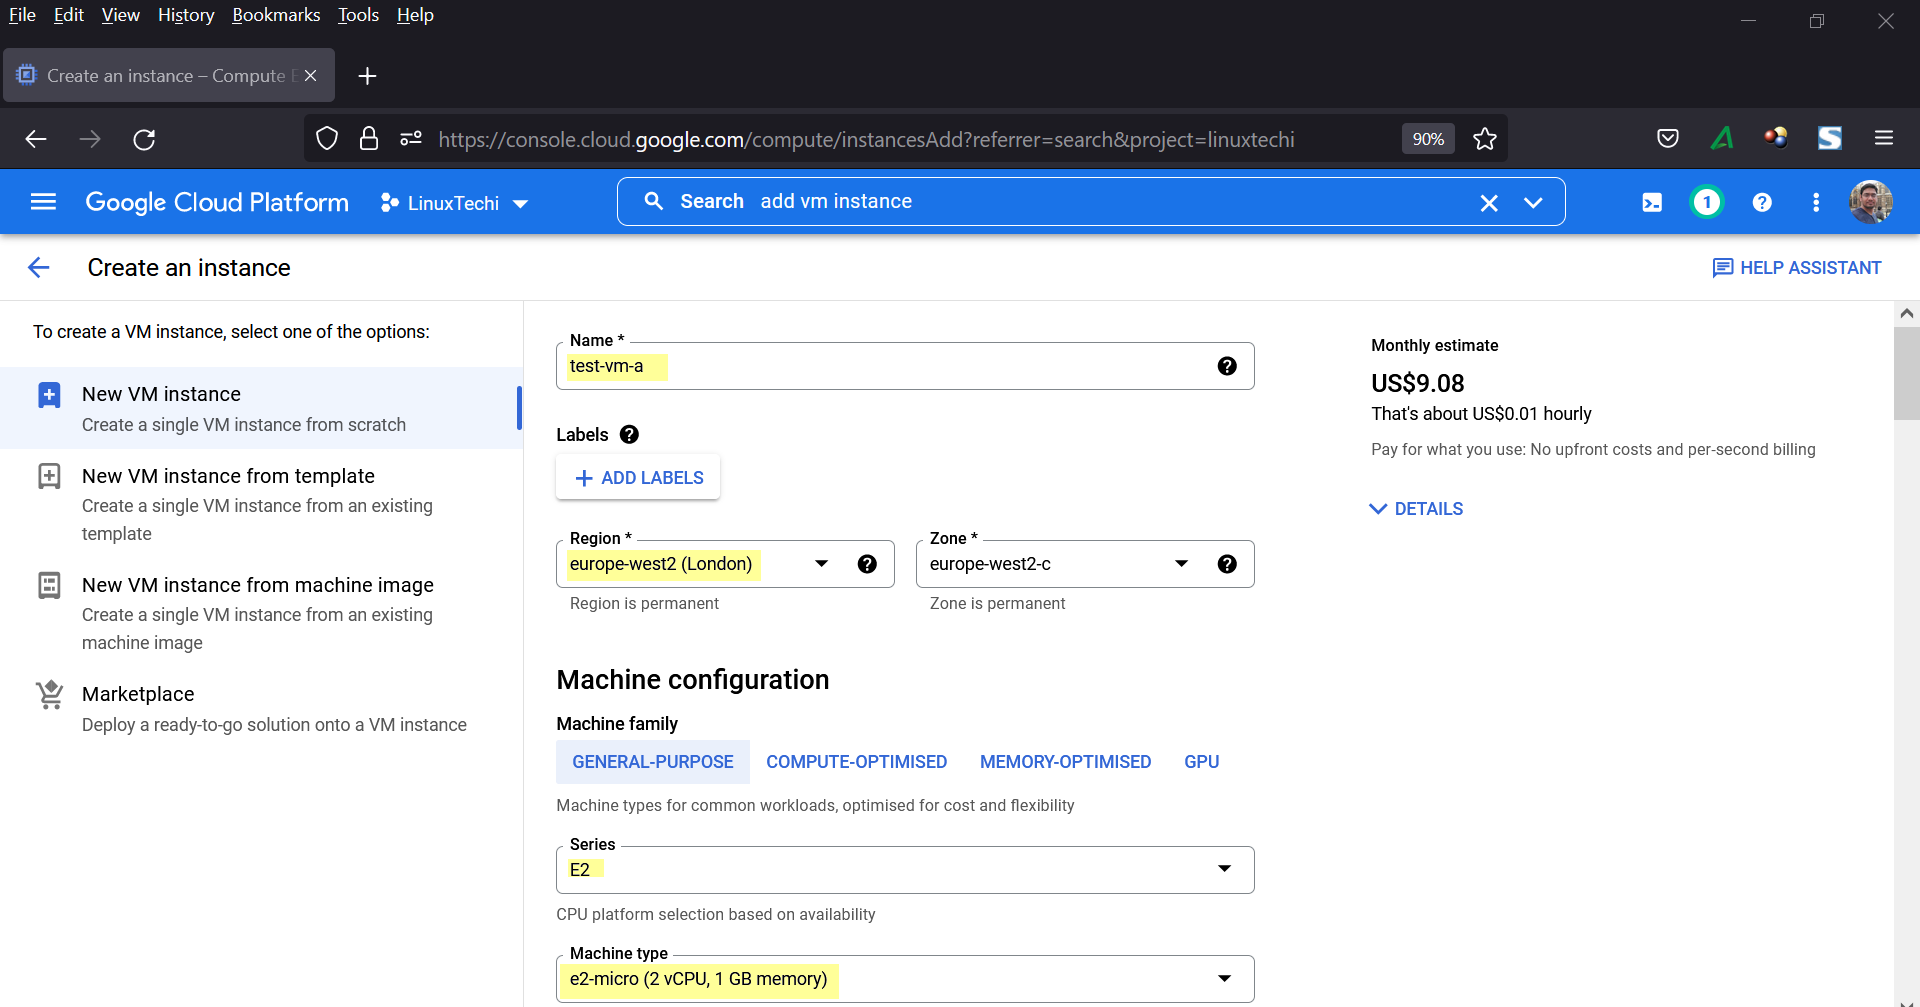
To test above created VPC netwrok, let’s create one virtual machine inside the VPC. From the search bar, search ‘add vm instance’.
Specify the VM details like VM Name, Region (Choose the region where we have created subnet for vpc-a).
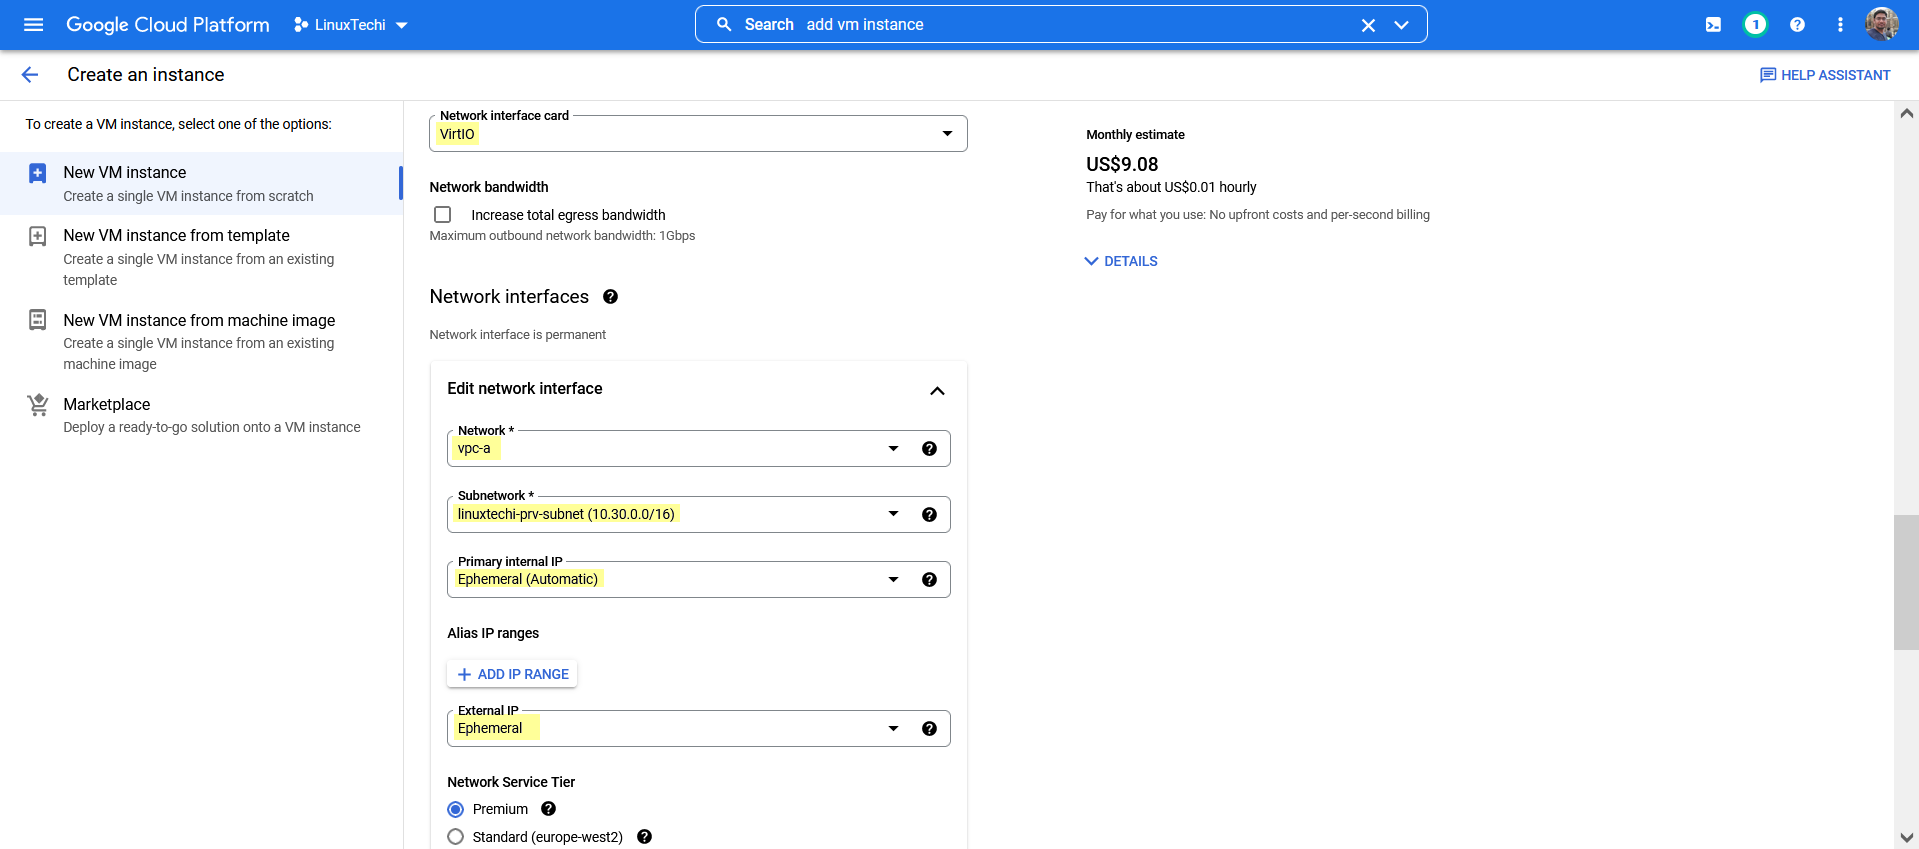
In the networking section, choose the VPC as ‘vpc-a’ and subnet as ‘linuxtechi-prv-subnet’
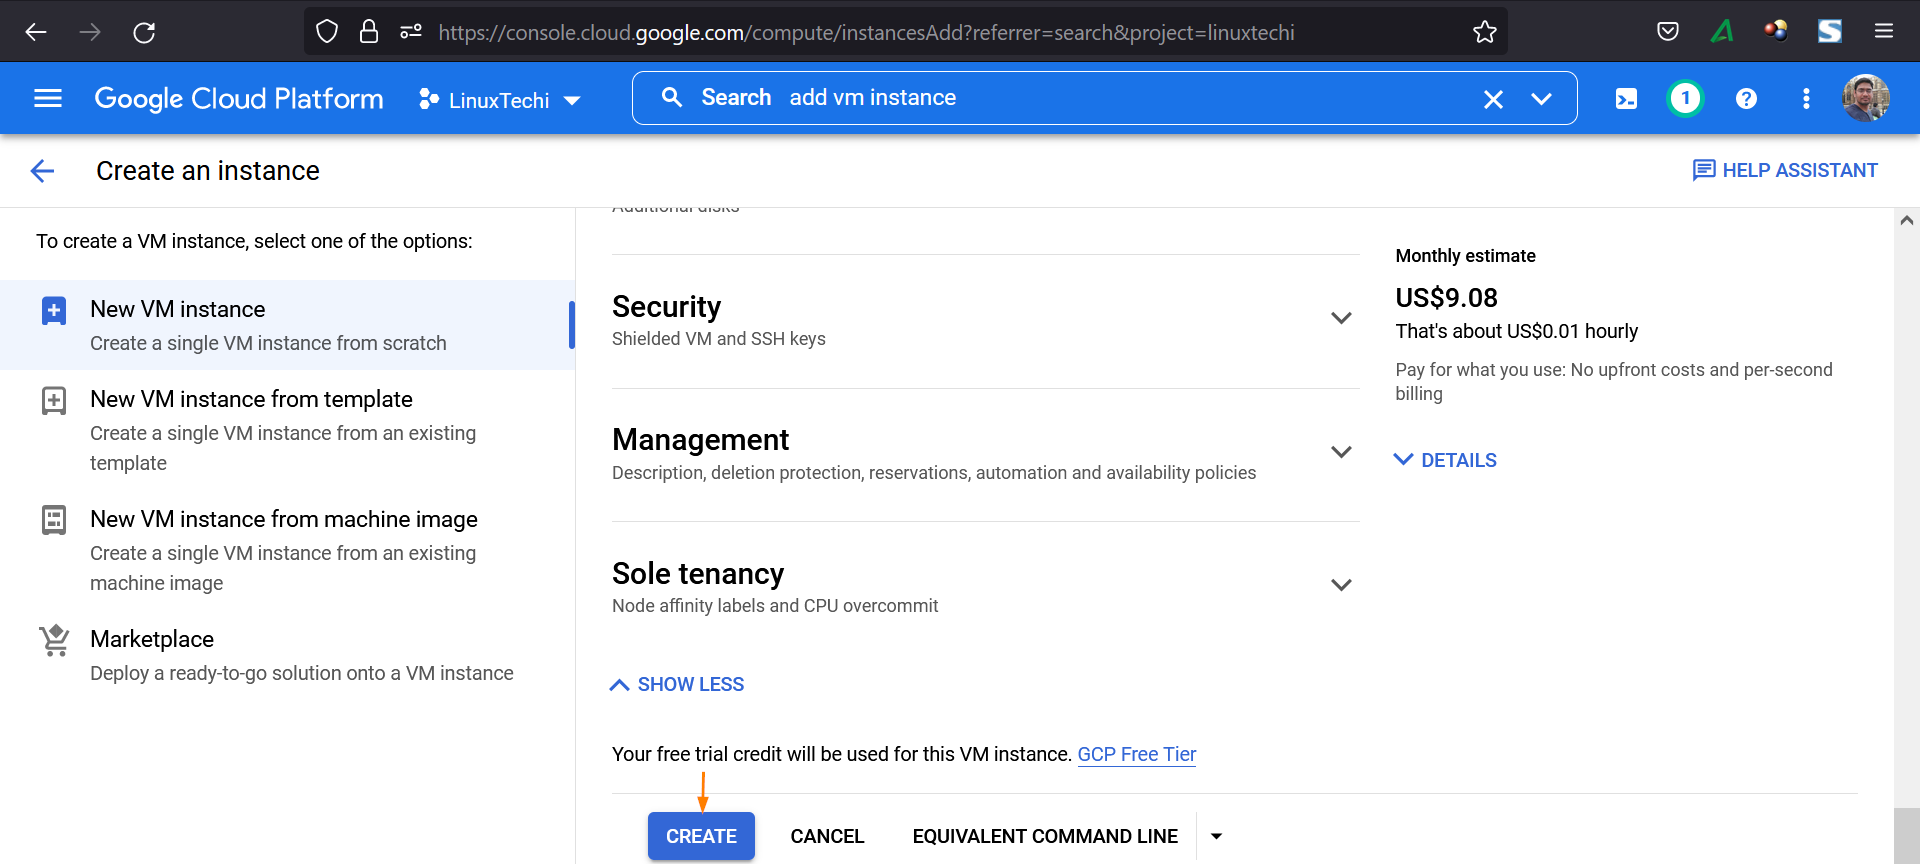
Now, click on ‘Create’ option to launch the virtual machine.
Once the VM comes up, try to take its ssh console and verify the internal IP whether it is coming from subnet of VPC-A.
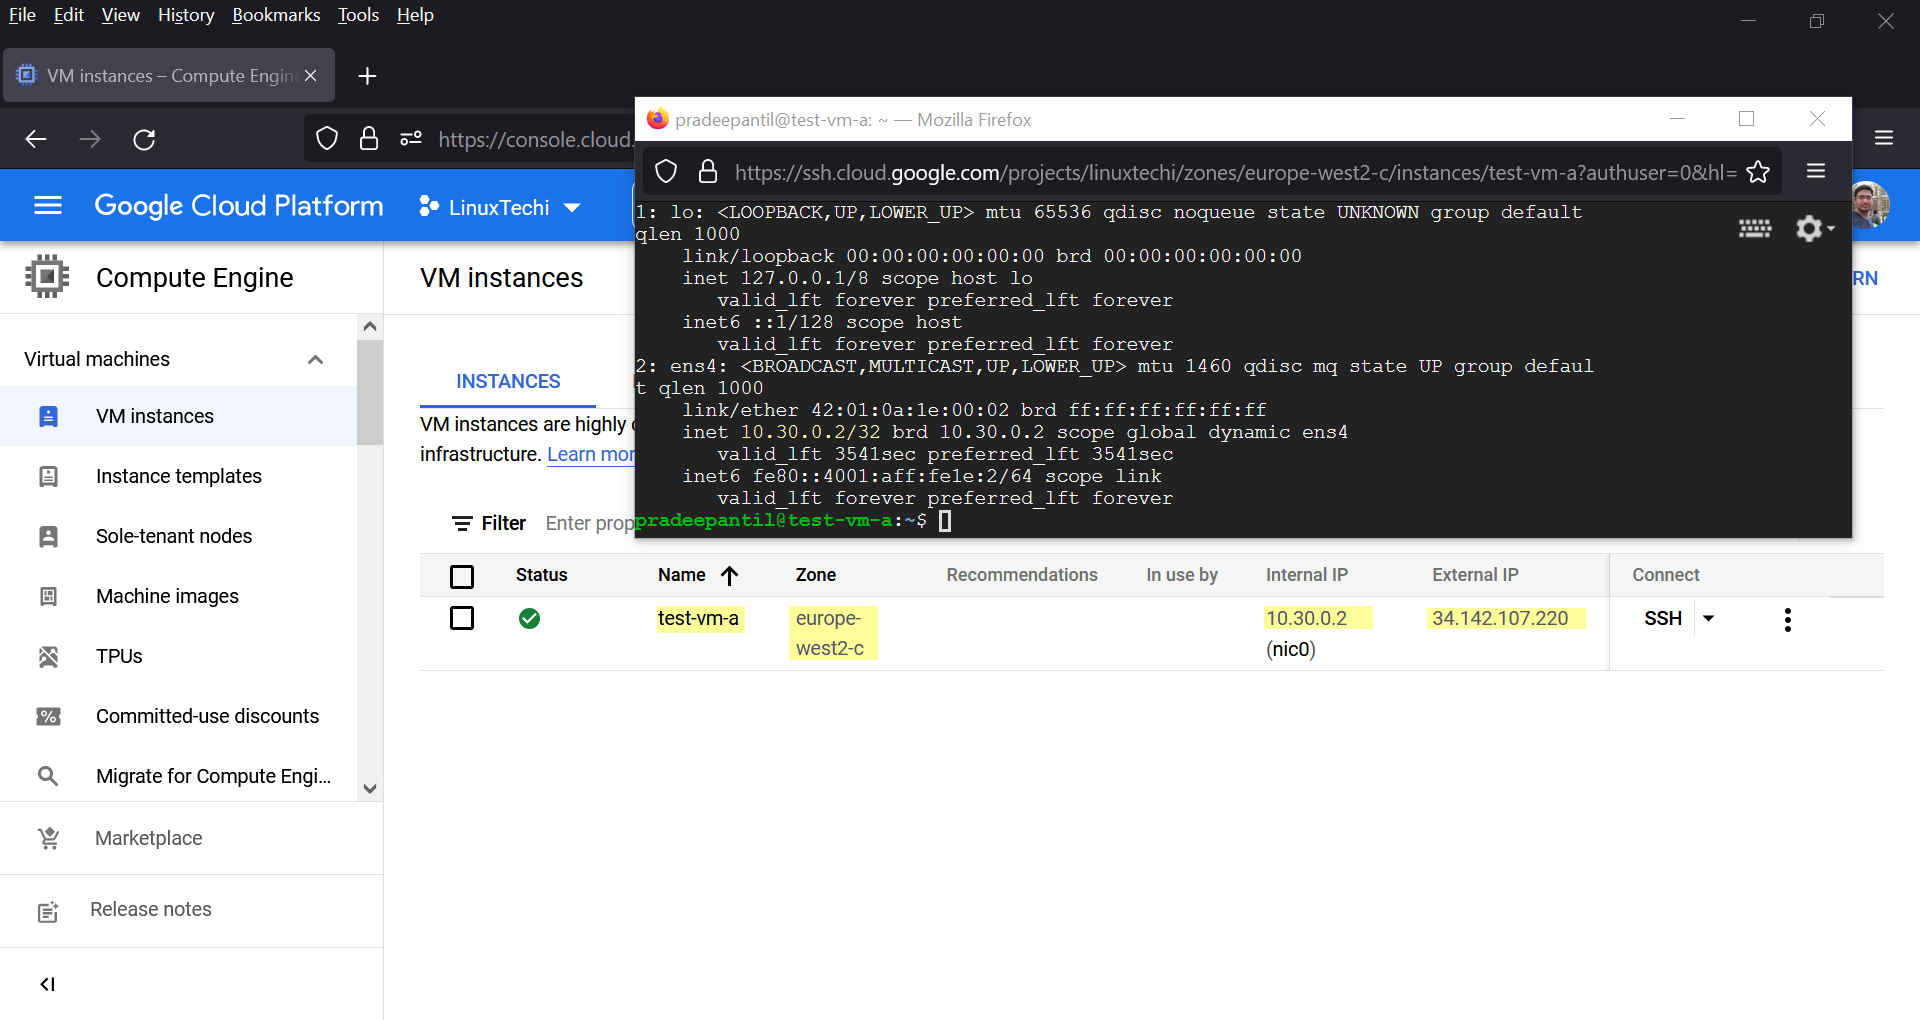
Perfect, above confirms that VM has been created successfully and got the IP from subnet of VPC-A.
Note: Kindly delete the virtual machine after the testing to avoid unnecessary billing.
That’s all from this guide, I hope you have found it informative and insightful. Please do post your feedback and queries in below comments section.
Also Read : How to Setup Kubernetes Cluster on Google Cloud Platform (GCP)