As we know SUSE Linux Enterprise Server(SLES) is highly reliable and scalable. SLES can be used for mission critical work and it can installed on Physical Server as well as on VM(Virtual Machine). One of the benefit of SLES is that we can take backup or snapshot of Whole Operating system and can rollback the full system, but this feature will work only when we are using Btrfs file system.
SLES 12 can be installed on platforms including x86, AMD64/Intel64, System Z, IBM Power, 64-bit ARMv8 and Itanium editions
In this article we will discuss how to install SUSE Linux Enterprise Server SP2 (Service Pack) step by step with screenshots. Following are the minimum system requirements for SLES 12 SP 2 Installation.
- 1 GB Physical RAM
- 5 GB HDD for OS Installation
- 16 GB HDD for OS snapshot and Rollback
Step:1 Download SLES 12 SP2 ISO.
Let’s first download the installation media of SLES 12 SP2 from their official web site:
https://www.suse.com/products/server/download/
We will get 60 Days trail version of SUSE Linux Enterprise Server, after the evaluation period we can purchase its License.
Once the ISO file is downloaded, burn it either into DVD or USB drive.
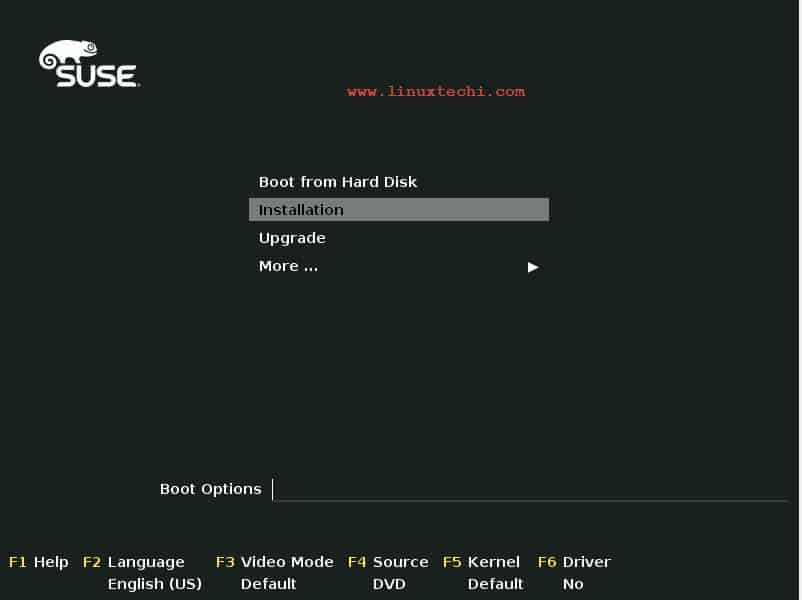
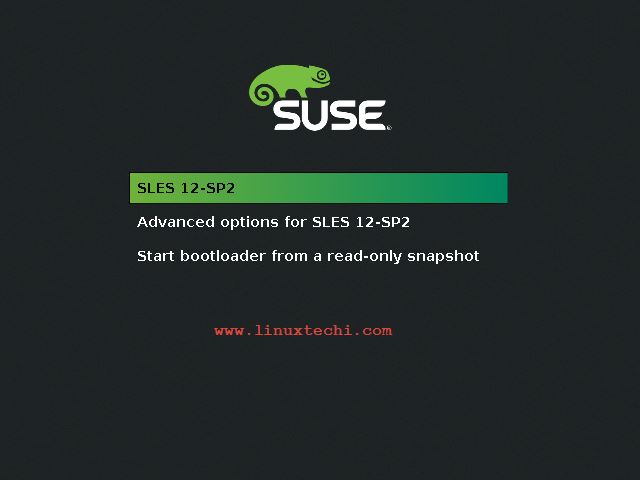
Step:2 Boot your System with Bootable Media
Boot you system with the bootable media whatever you created in above step, after that we will get the below installation screen, select the “Installation” option and press enter
Step:3 Select Language, Keyboard and Accept License Agreement
Select your preferred Language and Keyboard Layout and then accept License agreement,
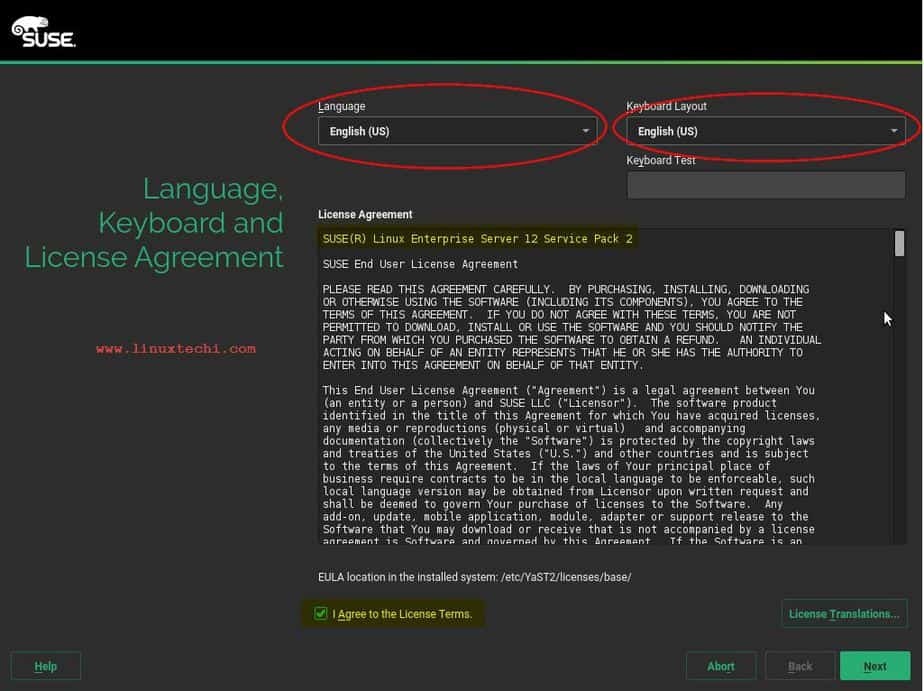
Click on Next
Step:4 Register Your System or Skip Registration
At this step we can register our system with SUSE for latest patches, updates and support. If you want to go for evaluation then select the “Skip Registration” option
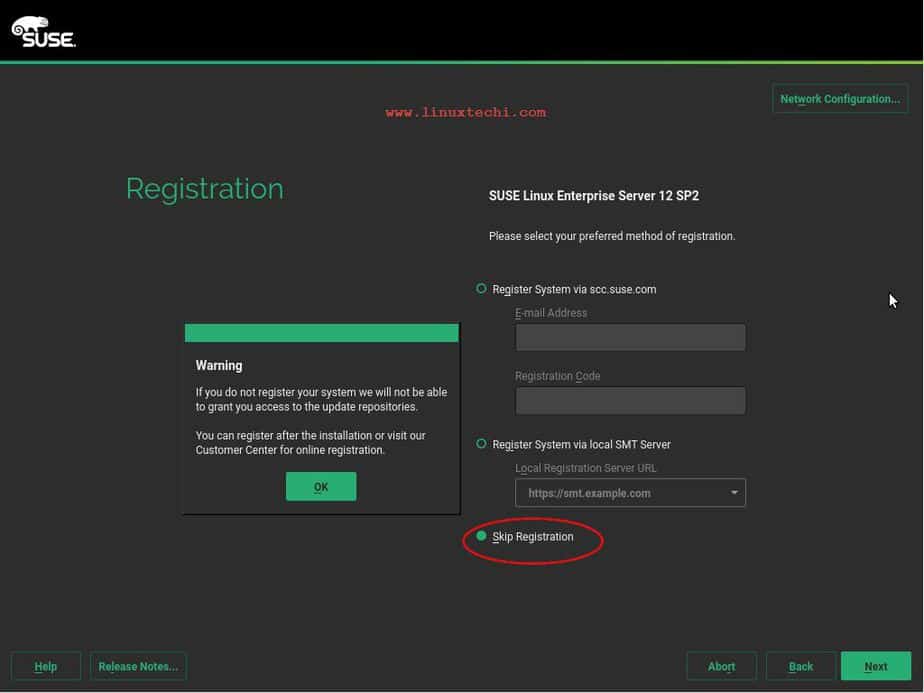
Click on Next to Proceed Further
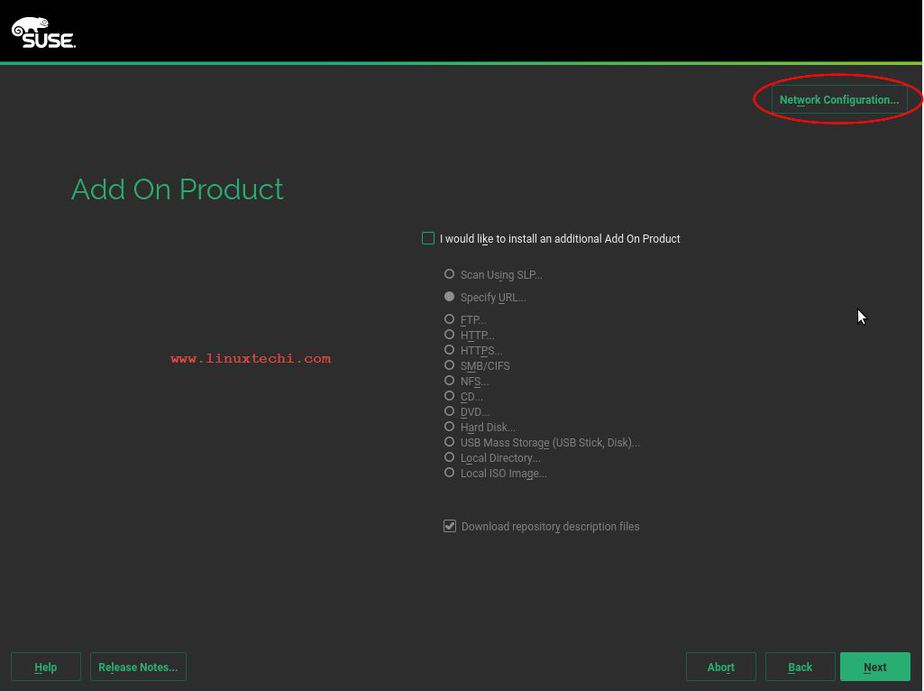
Step:5 Configure Network and Hostname during Installation
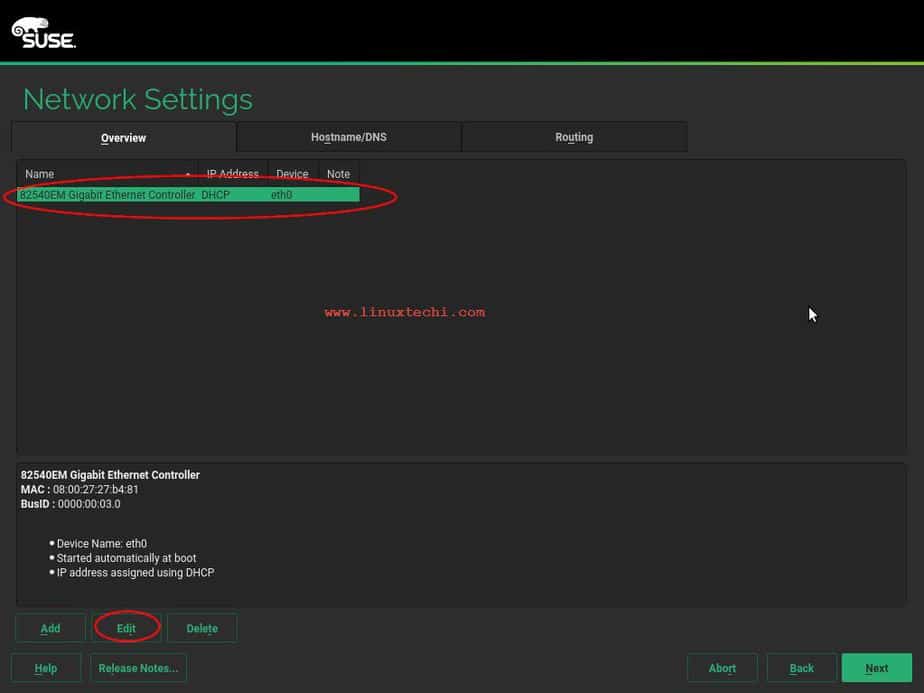
This step is optional, if you want to configure networking then click on “Network configuration” option.
In the Next Window Select the LAN Card and Click on Edit
Assign the Static IP address and Hostname as per your setup
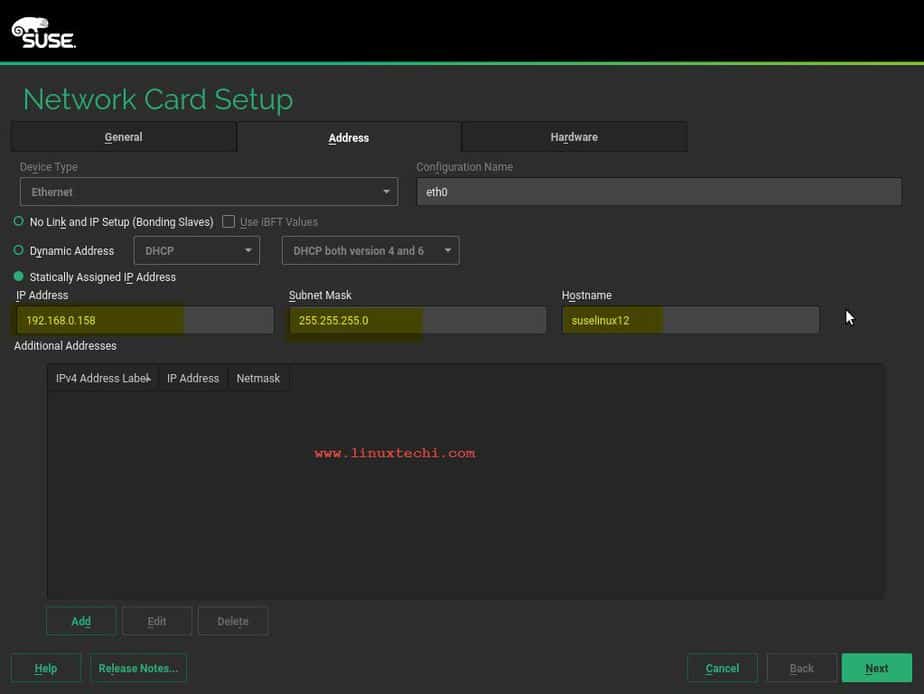
Click on Next.
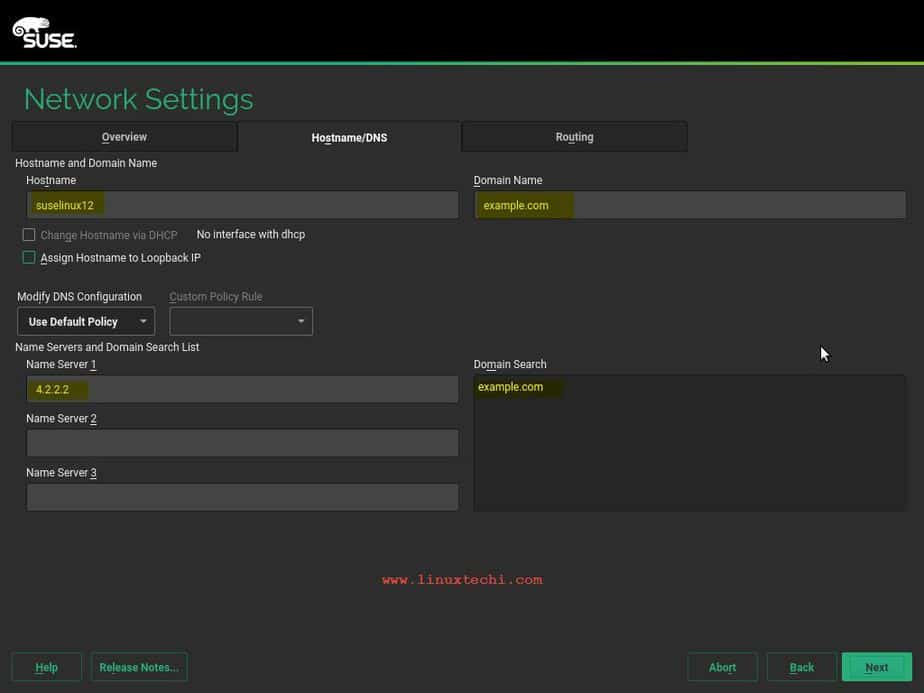
Select Hostname/DNS Tab and mentioned the Hostname, domain name and DNS servers IP address.
From the Routing Tab, Specify the default gateway
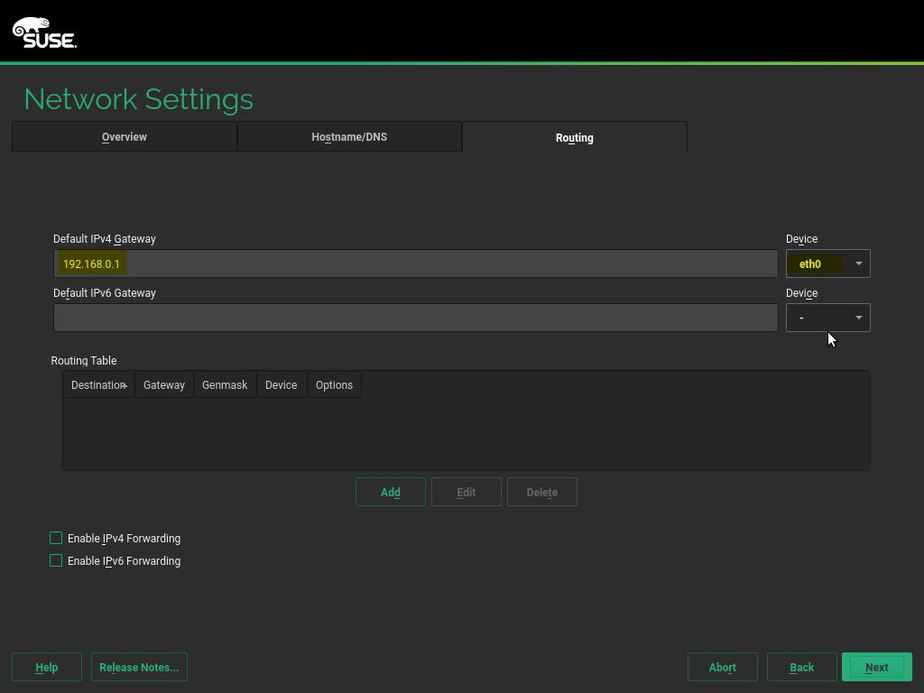
Click on Next to save the network configuration.
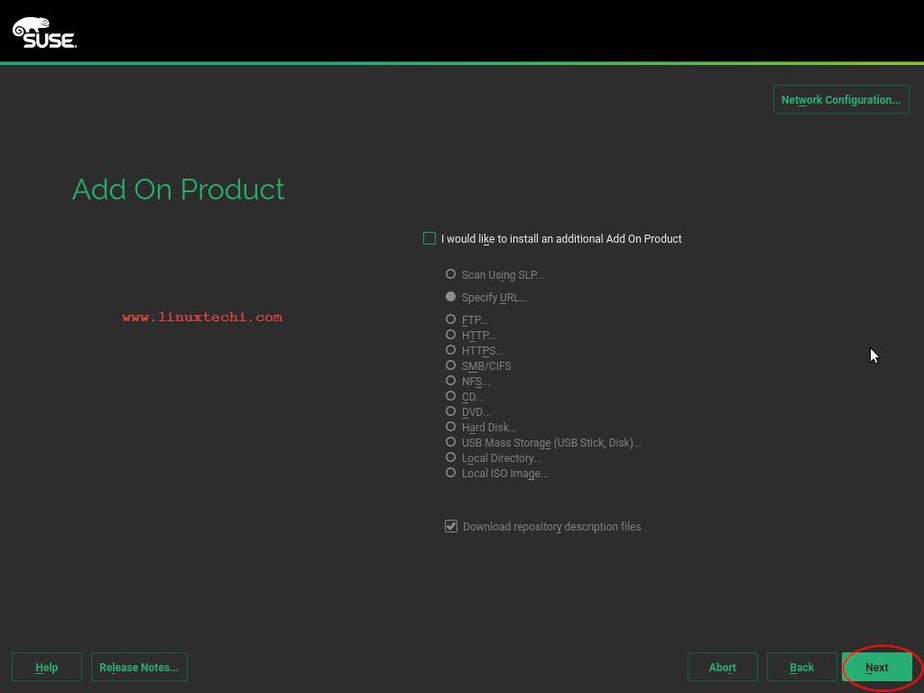
In next windows select the additional product that you want to install during installation and else click on next to start the Installation
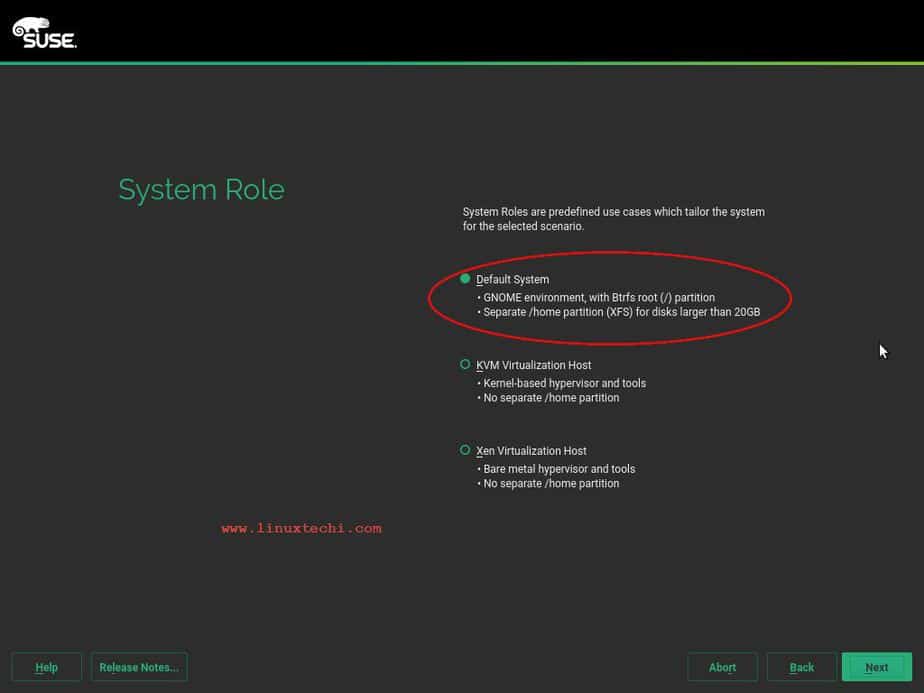
Step:6 Specify your system Role
At this step we have to specify the system role , means how you want to install the system, as we can see there 3 options, so select the option that suits your requirement. In my case I am going to select the “Default system” role.
In the next window a suggested partition scheme will be displayed, if you want to go with default suggested partition scheme then click on Next, else select other options like “create partition setup” or “Expert Partitioner..” to create customize portioning table.
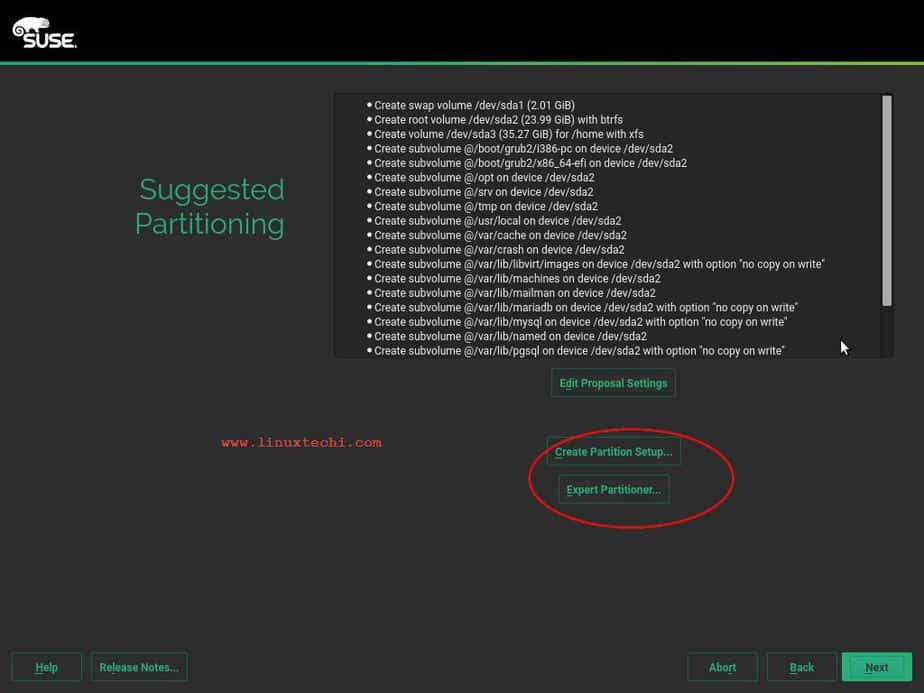
Click on Next to proceed further..
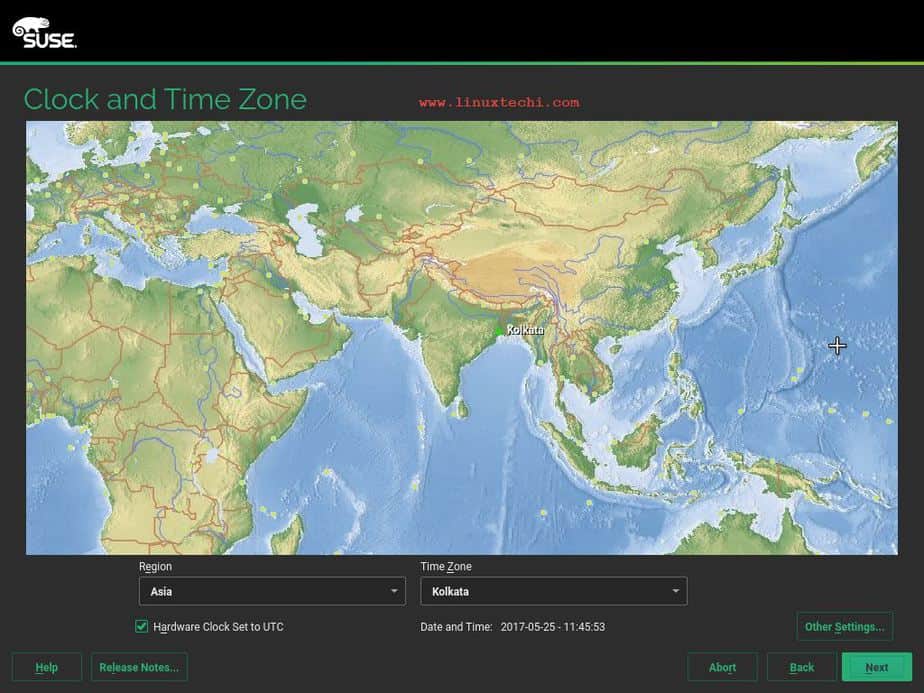
Step:7 Select your preferred Time Zone
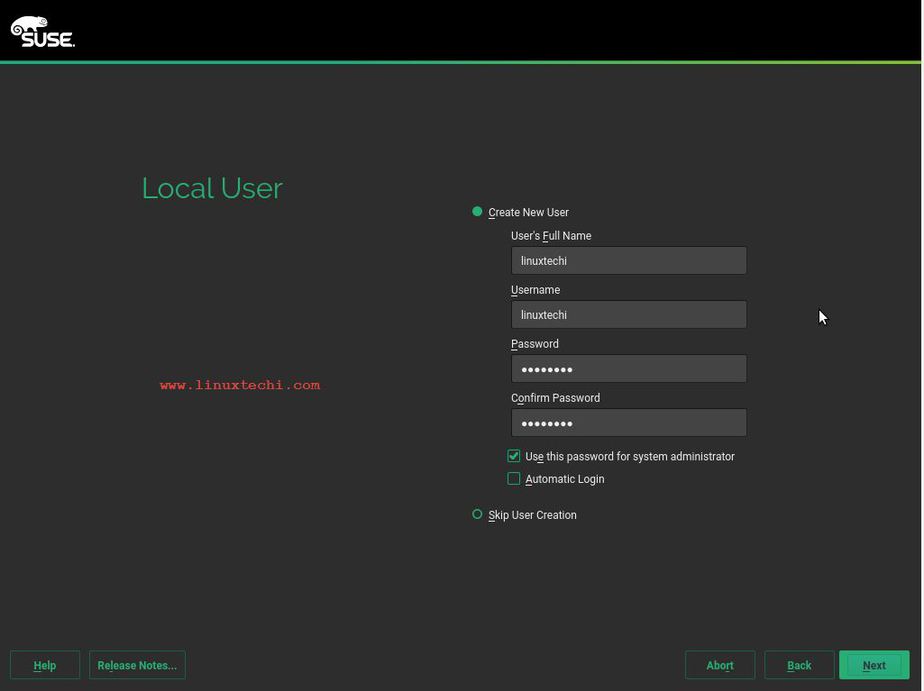
Step:8 Create a Local User
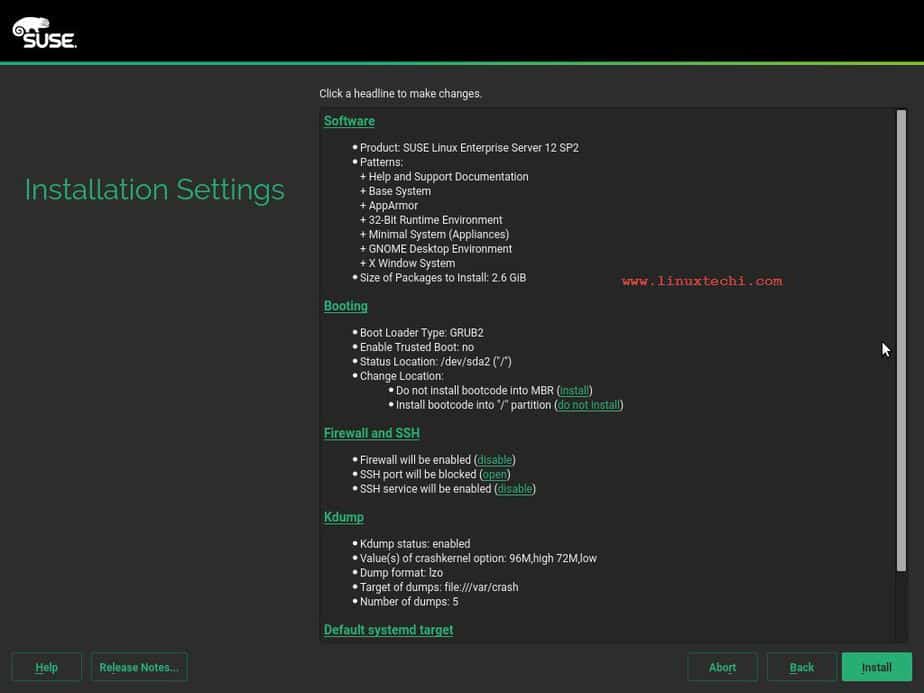
Step:9 Verify Installation settings and start Installation
Cross verify the installation settings and click on install to begin the installation.
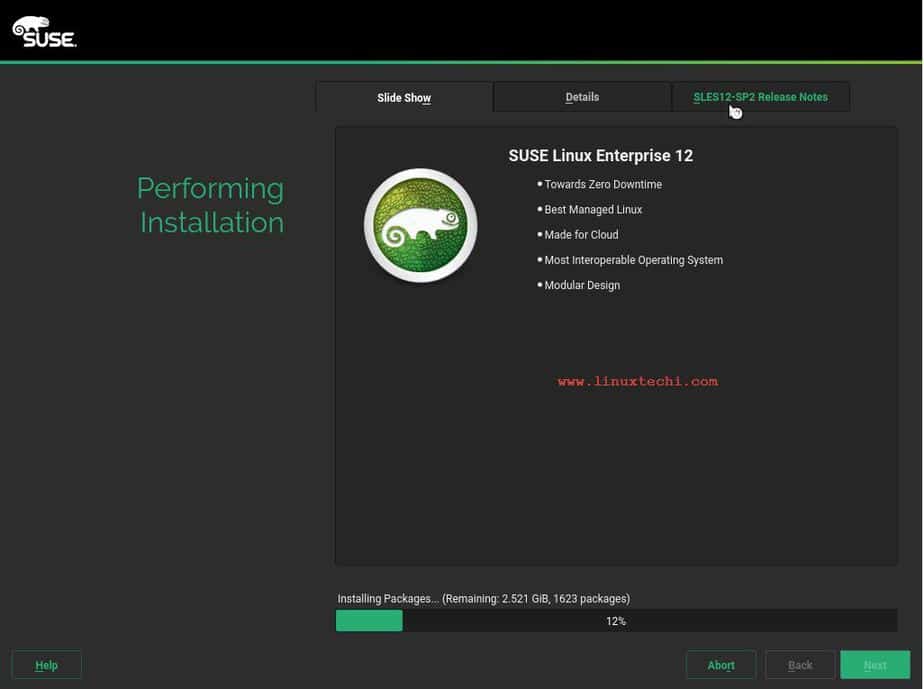
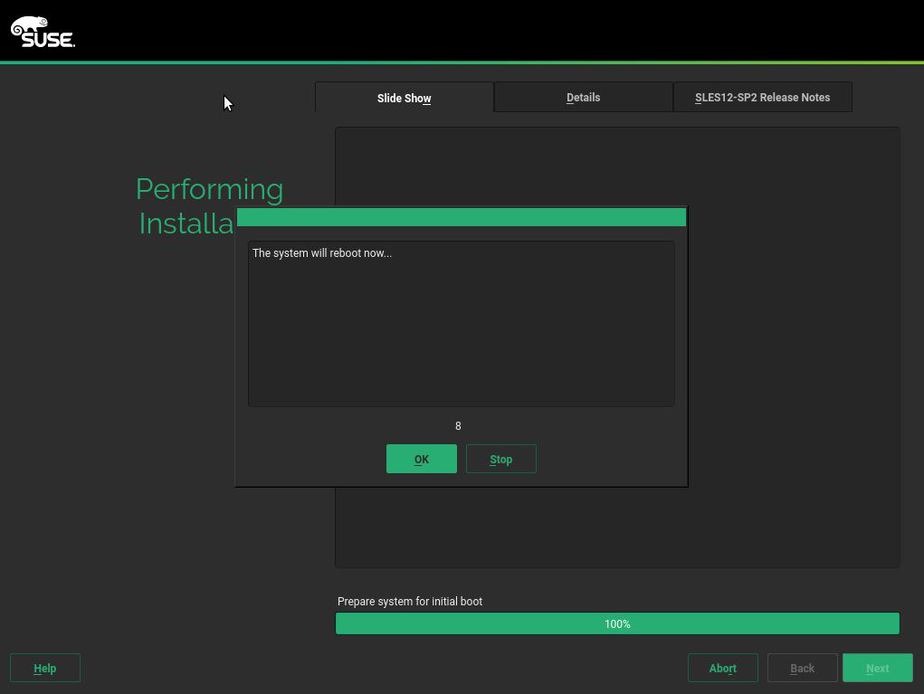
Installation is in Progress…
Once the installation is completed, installer will automatically reboot the system
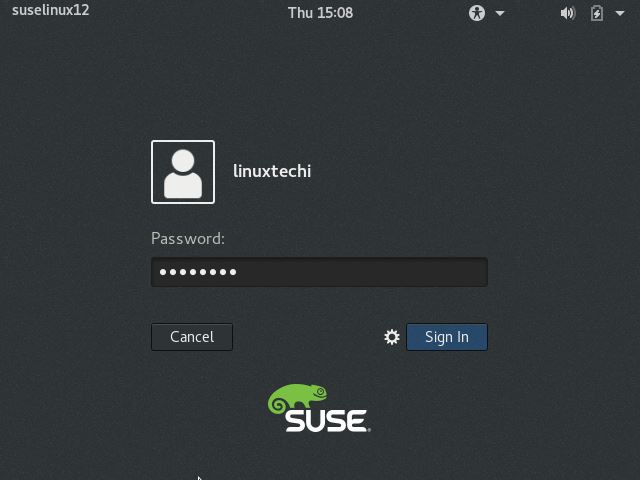
Step:10 Start and Login to your System
Login to the System with the user credentials that we have created during the Installation
That’s all from this article. Hope you guys got an idea how to install SLES12 SP2, Please do share your feedback and comments.
hi,
nice explanation, its so helpful in installing SUSE
Thank you so much