OpenLDAP is a free and open-source implementation of LDAP (Lightweight Directory Access Protocol). It’s a highly customizable LDAP option that comes complete with a software suite for LDAP servers which includes slapd (standalone LDAP daemon), slurpd (standalone LDAP update replication daemon), and other tools, libraries, clients, and utilities used for managing LDAP servers.
In this guide, we focus on how to setup OpenLDAP server on Ubuntu 22.04 step-by-step.
Prerequisites
To follow along in this guide, ensure that you have the following in place:
- An Instance of Ubuntu 22.04
- SSH connection to the server
1) Setup Server Hostname
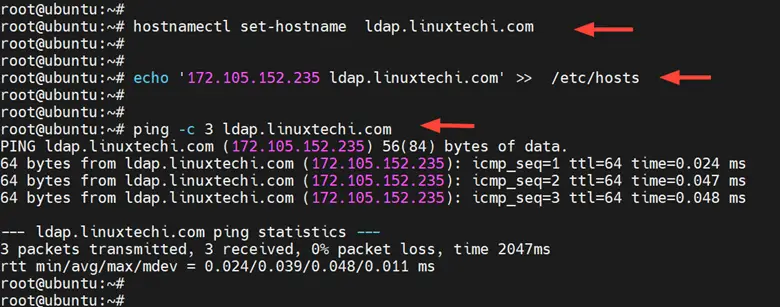
Right off the bat, you need to configure the hostname or Fully Qualified Doman Name ( FQDN) for your server. In this guide, we will configure the OpenLDAP server with the hostname ldap.linuxtechi.com and the IP address 172.105.152.235.
Run the following command as root. Be sure to replace ldap.linuxtechi.com with your preferred server domain and hostname
# hostnamectl set-hostname ldap.linuxtechi.com
Next, update the /etc/hosts file with the server hostname and corresponding IP address for hostname resolution within the network.
# echo '172.105.152.235 ldap.linuxtechi.com' >> /etc/hosts
Now ping the server hostname and you will get a positive ping output.
# ping -c 3 ldap.linuxtechi.com
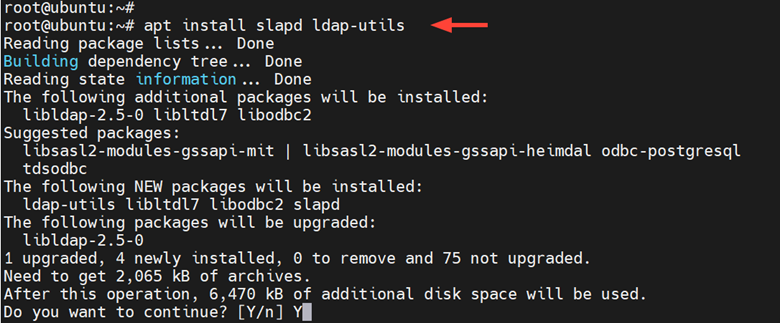
2) Install OpenLDAP Packages
The next step is to install OpenLDAP. To do so run the following command to install the OpenLDAP packages.
# apt install slapd ldap-utils
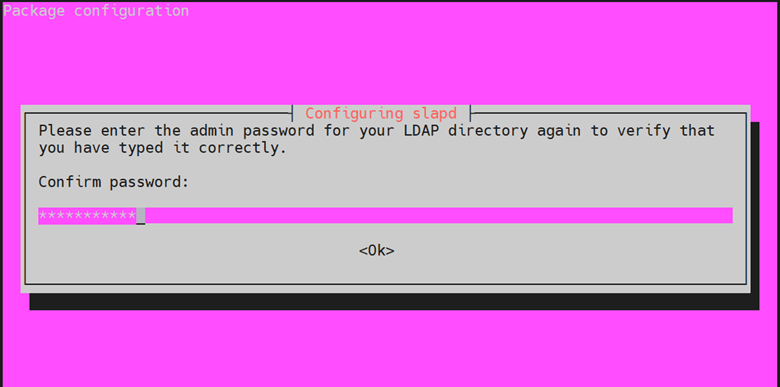
During the installation, you will be prompted to configure administrator password for your LDAP server. Provide a strong one and hit ENTER.

Next, re-enter the password to confirm your password and hit ENTER.
3) Setup OpenLDAP Server
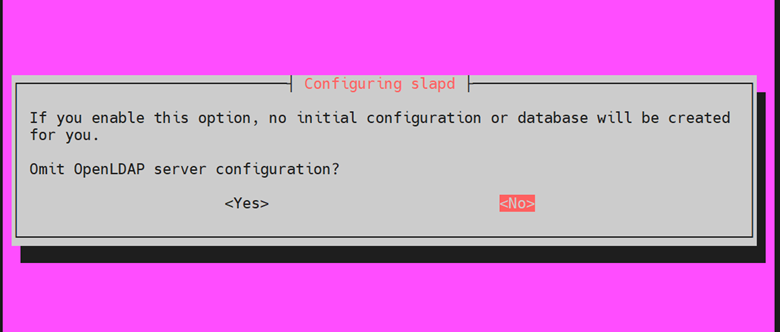
Once OpenLDAP is successfully installed, you need to go a step further and reconfigure the main package. This is the slapd package. To accomplish this, run the following command.
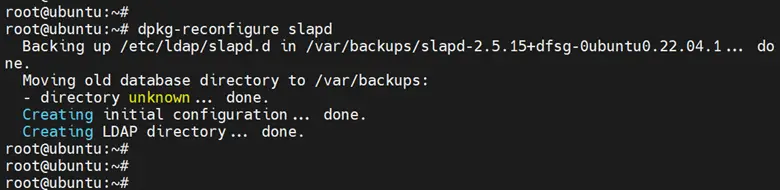
# dpkg-reconfigure slapd
The command will generate a series of prompts on your terminal. First, you need to initialize the OpenLDAP server configuration. On the first prompt, Select the ‘No’ option to prevent the omittance of the OpenLDAP server configuration.
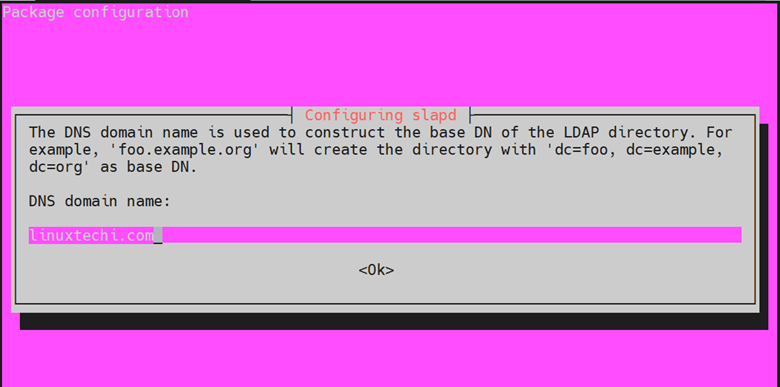
Next, provide a DNS domain name. This will be used to construct the base DN of the LDAP directory. In this example, we will use the domain name linuxtechi.com. As such, the DN will be represented as “dc=linuxtechi,dc=com”. The hit ‘ENTER’
Next, provide a name for your organization that will also form part of the base DN. Once again, we will provide the same name as the domain name.

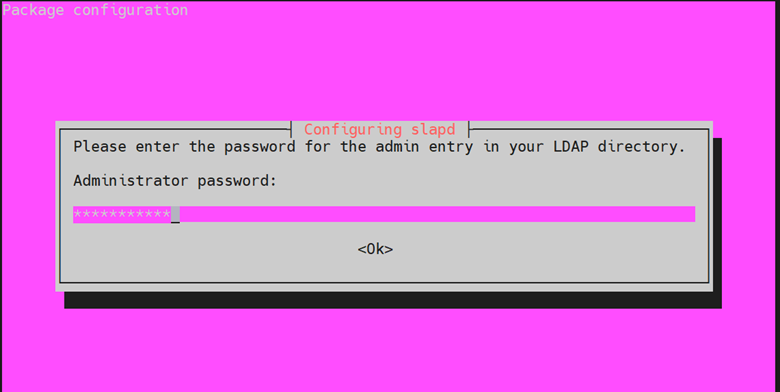
Next, provide the Administrator password for your LDAP directory and hit ‘ENTER’.
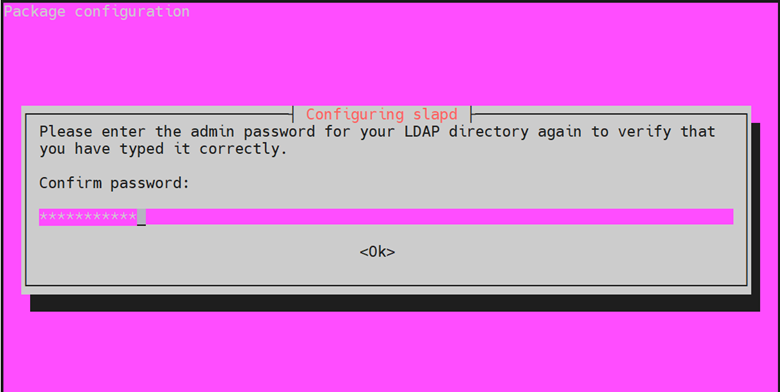
Be sure to confirm it and press ‘ENTER’
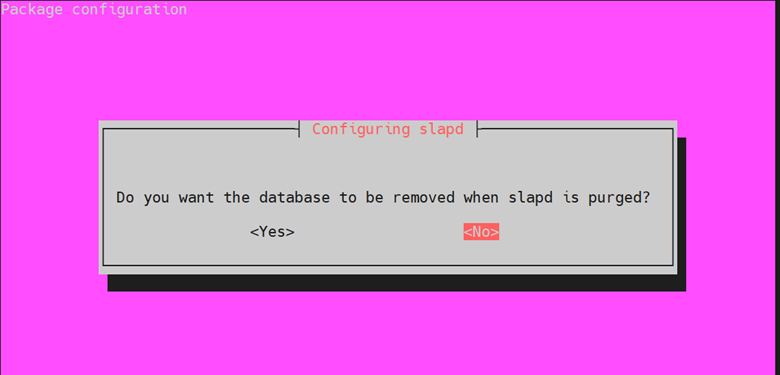
When prompted to remove the database when slapd is purged, select ‘NO’.
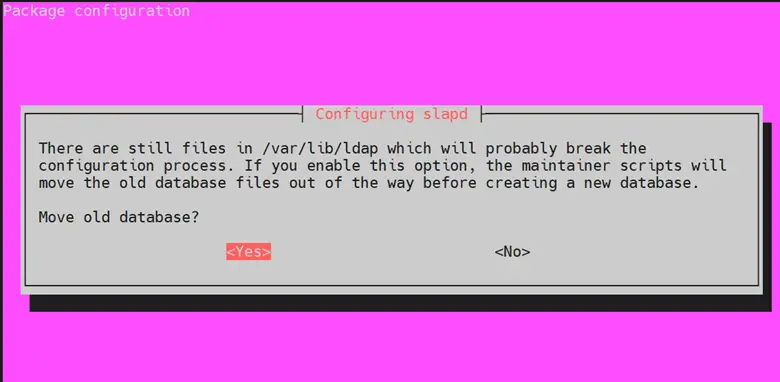
Finally, select ‘Yes’ to remove the old database to create room for a new database.
Finally, you should see the following output.
Next, you need to make changes to the main OpenLDAP configuration file So open it using your preferred editor. Here we are using nano.
$ sudo nano /etc/ldap/ldap.conf
Locate and uncomment the lines beginning with “BASE” and “URI” and provide the domain name for your OpenLDAP server. In our case, the “BASE” is “dc=linuxtechi,dc=com” and the “URI” for the OpenLDAP server is “ldap://ldap.linuxtechi.com“.
BASE dc=linuxtechi,dc=com
URI  ldap://ldap.linuxtechi.com
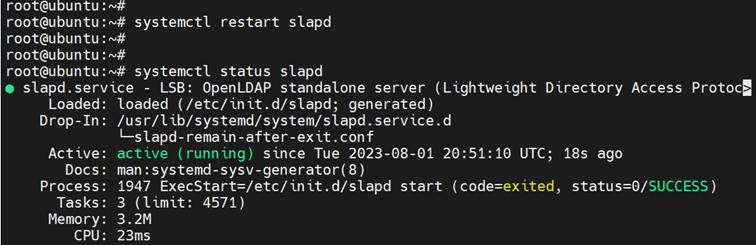
Save the changes and exit the configuration file. Then restart slapd daemon and check its status as follows.
$ systemctl restart slapd
$ systemctl status slapd
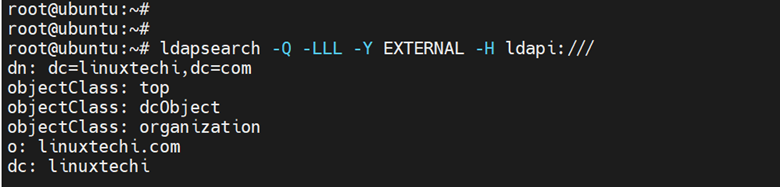
Then run the following command to confirm the OpenLDAP basic configuration. This should give you the following output.
# ldapsearch -Q -LLL -Y EXTERNAL -H ldapi:///
4) Setup Base group for OpenLDAP Users
The next step is to create a new base group for OpenLDAP users. To demonstrate this, we will create two base groups: people and groups. The ‘people’ group will be used for storing regular users while the ‘groups’ group will store the groups on your LDAP server.
Therefore, we will create the base-groups file as follows.
# nano base-groups.ldif
Paste the following lines to the configuration file.
dn: ou=people,dc=linuxtechi,dc=com
objectClass: organizationalUnit
ou: people
dn: ou=groups,dc=linuxtechi,dc=com
objectClass: organizationalUnit
ou: groups
Save the changes and exit.
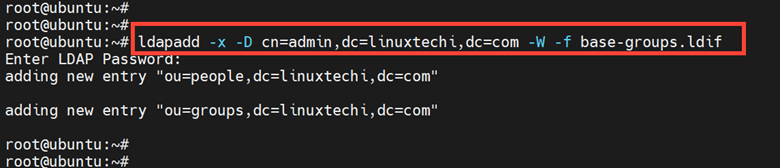
To add the base groups, run the ‘ldapadd ‘ command against the ‘base-groups.ldif’ file. Provide the OpenLDAP admin password when prompted and press ‘ENTER’.
# ldapadd -x -D cn=admin,dc=linuxtechi,dc=com -W -f base-groups.ldif
The output will display information informing you that the groups have successfully been added.
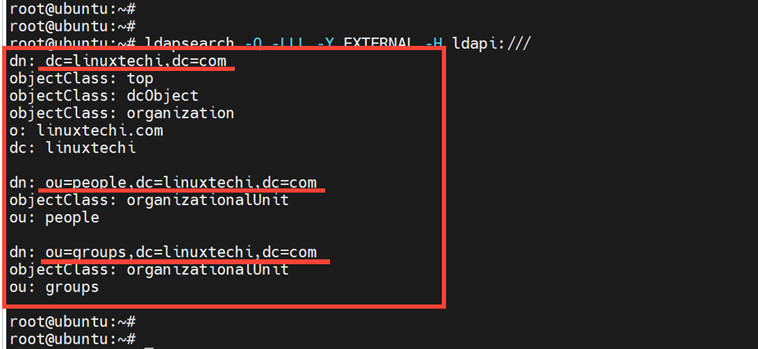
To confirm that the groups have been added, run the following command.
# ldapsearch -Q -LLL -Y EXTERNAL -H ldapi:///
The command generates a block of output displaying all the details of your LDAP configuration including the groups we have just created.
5) Add a new group to the Base Group
With the base groups already created, in this section, we will proceed to add a new group to the ‘groups’ base group.
To achieve this, we will create a new group file called group.ldif.
# nano group.ldif
Paste the following lines of code. Here, we have specified a new group called support_engineers with a group ID of 5000.
dn: cn=support_engineers,ou=groups,dc=linuxtechi,dc=com
objectClass: posixGroup
cn: support_engineers
gidNumber: 5000
Once done, save the changes and exit the configuration file. Then run the command below to add the ‘support_engineers’ group to the ‘groups’ group.
# ldapadd -x -D cn=admin,dc=linuxtechi,dc=com -W -f group.ldif
The command generates the following output confirming that the support_engineers group was successfully added.

Then execute the following command to verify that the group ‘support_engineers’ is part of the ‘groups’ group with a GID of ‘5000’.
# ldapsearch -x -LLL -b dc=linuxtechi,dc=com '(cn=support_engineers)' gidNumber

5) Create a new OpenLDAP User
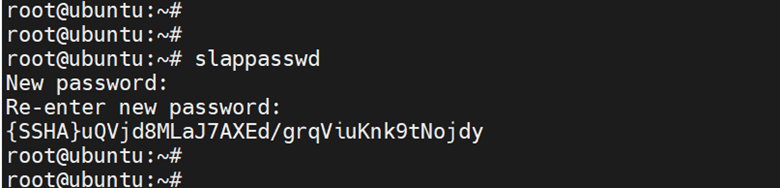
The last step is to create an OpenLDAP user and attach the user to a specific base group. But first, you need to generate an encrypted password for the user. To do so, run the following command, and be sure to provide a strong password.
# slappasswd
The password will be printed in an encrypted format. Copy the entire password beginning with {SSHA}to the last character and paste it somewhere as you will need this in the next step.
Next, create a new user file as shown.
# nano user.ldif
Paste the following lines of code. In this configuration, we are creating a new user called ‘Alex’ with a UID of 7000. The default home directory will be “/home/alex” and the default login shell “/bin/bash”. The new user will be a part of the base group called ‘people’ with a GID of 7000.
Paste the encrypted user’s password in the userPassword attribute or parameter.
dn: uid=alex,ou=people,dc=linuxtechi,dc=com
objectClass: inetOrgPerson
objectClass: posixAccount
objectClass: shadowAccount
uid: alex
sn: smith
givenName: alex
cn: alex smith
displayName: alex smith
uidNumber: 7000
gidNumber: 7000
userPassword: {SSHA}uQVjd8MLaJ7AXEd/grqViuKnk9tNojdy
gecos: Alex Smith
loginShell: /bin/bash
homeDirectory: /home/alex
Save and exit the configuration file
To add the user to the ‘people’ group, run the following command:
# ldapadd -x -D cn=admin,dc=linuxtechi,dc=com -W -f user.ldif
You should get the following confirmation output.

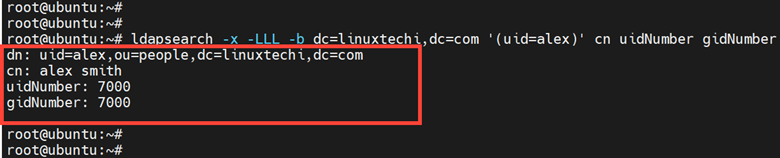
To confirm the creation of the user, execute the command.
# ldapsearch -x -LLL -b dc=linuxtechi,dc=com '(uid=alex)' cn uidNumber gidNumber
This prints out all the user details including the canonical name of the user, UID, and GID.
Conclusion
In this guide, we have successfully installed and configured the OpenLDAP server on Ubuntu 22.04. We have gone a notch higher and created base groups, groups, and users and added them to the base groups. That’s all for this guide, your feedback is welcome.
Thanks man! for detailed documentation. It really helps.
this tutorial is so far perfect… I want to connect this server with Windows clients for authorization and authentication of user SSO and tracking records of their logins and logouts. should I use Samba for this? Can you guide me?