An acronym for Network File Share, NFS is a cross-platform client/server protocol that allows clients machines to access files shared by the NFS server over a network. Client systems can locally mount the filesystems from the NFS server and access files and directories as though they were locally mounted. In this guide, we will walk you through the installation and configuration of NFS Server on CentOS 8 / RHEL 8.
Note: In CentOS 8 or RHEL 8 NFSv3 & v4 both are supported. NFSv3 allows safe asynchronous write and supports 64-bit file sizes & offset. Whereas NFSv4 works through OS firewall and support ACL (Access Control List) and doesn’t require rpcbind service
NFS Server/Client setup
Before we get started, we are going to use the setup below to simulate how the NFS protocol works in a client/server setup.
- Server machine IP: address: 192.168.2.102 CentOS 8
- Client machine IP: address: 192.168.2.103 CentOS 8
With our setup at hand, let’s begin the installation of NFS on the server machine.
Step 1) Install and Configure NFS on the CentOS 8 / RHEL 8 server
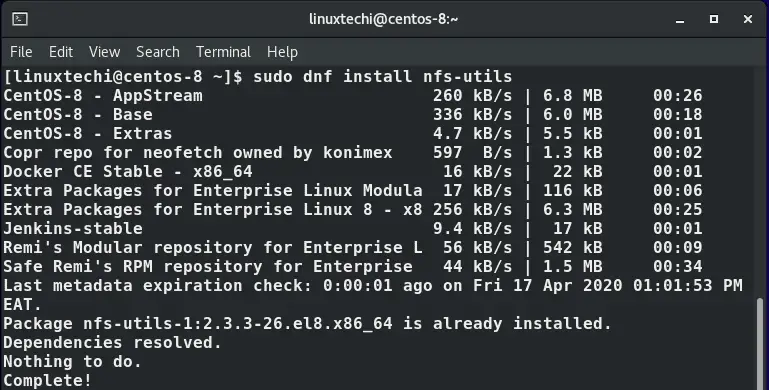
To begin, we will install the NFS server package called nfs-utils which acts as the NFS daemon. To install the nfs-utils package, launch the terminal and run the command:
$ sudo dnf install nfs-utils -y
In the example below, nfs-utils is already installed.
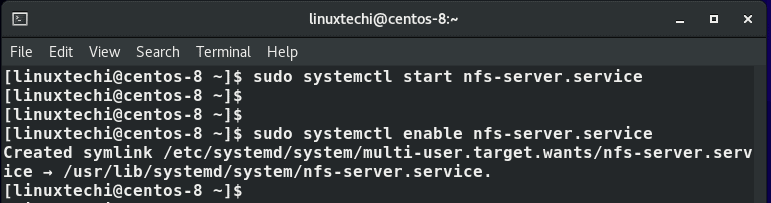
Once the installation is complete, start and enable the nfs-server service so it will be automatically across the reboots. Run the following commands,
$ sudo systemctl start nfs-server.service
$ sudo systemctl enable nfs-server.service
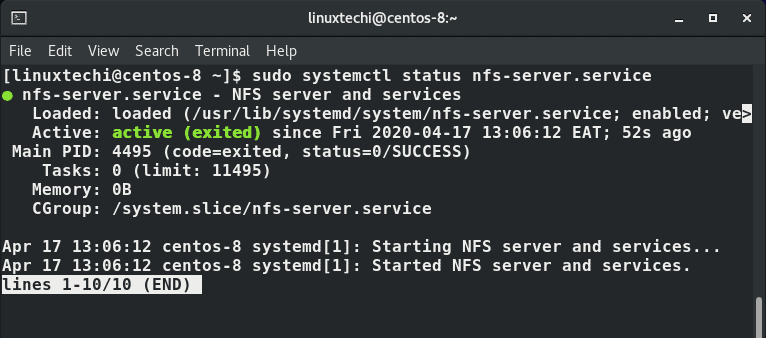
To confirm that NFS service is running, execute:
$ sudo systemctl status nfs-server.service
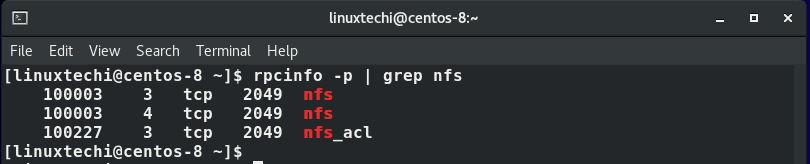
You can verify the version of nfs protocol that you are running by executing the command:
$ rpcinfo -p | grep nfs
The version is indicated by the second column in the output presented below.
For additional configuration of the NFS server, you can find the configuration files at /etc/nfs.conf which is the NFS daemon config file and the /etc/nfsmount.conf which is the configuration file for the NFS mount.
Step 2) Creating and exporting NFS share
In this step, we are going to create a file system that will be shared from the server to client systems. In this guide, we will create a directory at /mnt/nfs_share/docs as shown below
$ sudo mkdir -p /mnt/nfs_shares/docs

To avoid file restrictions on the NFS share directory, it’s advisable to configure directory ownership as shown. This allows creation of files from the client systems without encountering any permission issues.
$ sudo chown -R nobody: /mnt/nfs_shares/docs
Also, you can decide to adjust the directory permissions according to your preference. For instance, in this guide, we will assign all the permissions (read , write and execute) to the NFS share folder
$ sudo chmod -R 777 /mnt/nfs_shares/docs

For the changes to come into effect, restart the NFS daemon:
$ sudo systemctl restart nfs-utils.service
To export the NFS share so that client systems can access it, we need to edit the /etc/exports file. You can allow multiple clients access to the share by specifying a subnet as shown
/mnt/nfs_shares/docs 192.168.2.0/24(rw,sync,no_all_squash,root_squash
Also, you can specify each client on a separate line:
/mnt/nfs_shares/docs client-IP(rw,sync,no_all_squash,root_squash)
/mnt/nfs_shares/docs client-IP(rw,sync,no_all_squash,root_squash)
Using our setup, we will grant access to our client machine with an IP 192.168.2.103. Add the following line in the file ‘/etc/exports’:
$ sudo vi /etc/exports
/mnt/nfs_shares/docs    192.168.2.103(rw,sync,no_all_squash,root_squash)
Save and exit the file. Use the cat command to confirm the entry as shown
[linuxtechi@centos-8] cat /etc/exports
/mnt/nfs_shares/docs    192.168.2.103(rw,sync,no_all_squash,root_squash)
[linuxtechi@centos-8]
Let’s look at the meaning of the parameters used:
- rw – This stands for read/write. It grants read and write permissions to the NFS share.
- sync – The parameter requires the writing of the changes on the disk first before any other operation can be carried out.
- no_all_squash – This will map all the UIDs & GIDs from the client requests to identical UIDS and GIDs residing on the NFS server.
- root_squash – The attribute maps requests from the root user on the client-side to an anonymous UID / GID.
To export the above created folder, use the exportfs command as shown:
$ sudo exportfs -arv

The -a option implies that all the directories will be exported, -r stands for re-exporting all directories and finally -v flag displays verbose output.
Just to be dead-sure about the export list, you can display the export list using the command:
$ sudo exportfs -s

Perfect! Our export list exists. So far so good. The only configuration left on the NFS server is allowing NFS services on the firewall.
Step 3) Configuring the firewall rules for NFS Server
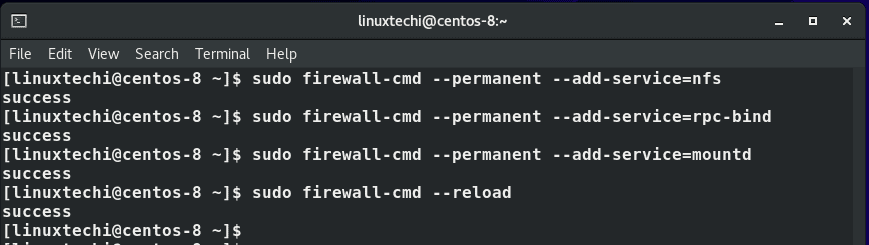
The final step in configuring the server is allowing NFS services through the firewall on the CentOS 8 server machine. These services are nfs, rpc-bind, and mountd. So, execute the commands below.
$ sudo firewall-cmd --permanent --add-service=nfs
$ sudo firewall-cmd --permanent --add-service=rpc-bind
$ sudo firewall-cmd --permanent --add-service=mountd
Then reload the firewall for the changes to come into effect
$ sudo firewall-cmd --reload
Now let’s head out to the client system and set it up to access the NFS shares.
Setting up the NFS Client system
To configure the client system to access the NFS file shares, follow the procedure below
Step 1) Install the required NFS packages
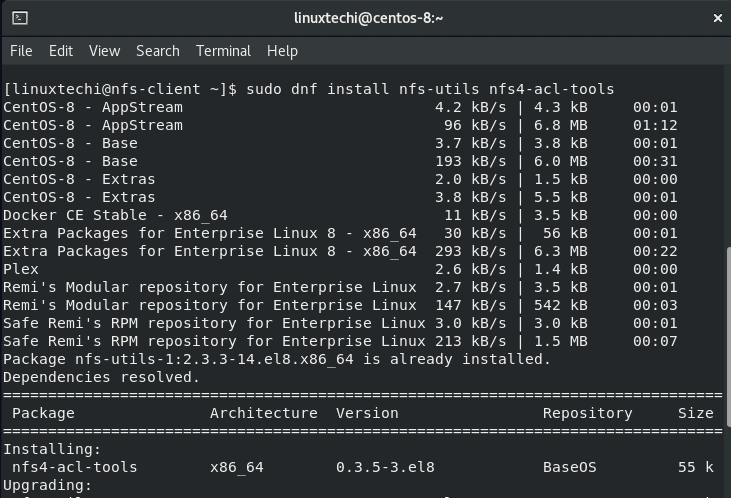
On the CentOS 8 client system, install the requisite packages for accessing the NFS share residing on the NFS server
$ sudo dnf install nfs-utils nfs4-acl-tools -y
For Debian or Ubuntu System:
$ sudo apt install nfs-common nfs4-acl-tools -y
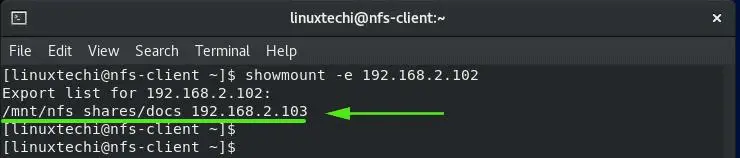
To display the mounted NFS shares on the server, use the showmount command:
$ showmount -e 192.168.2.102
Step 2) Mounting the remote NFS share located on the server
Next, we need to mount the remote NFS share directory sitting on the local client system. But first, let’s create a directory to mount the NFS share.
$ sudo mkdir p /mnt/client_share
To mount the NFS share, execute the command below. Recall that 192.168.2.102 is the IP address of the NFS server.
$ sudo mount -t nfs 192.168.2.102:/mnt/nfs_shares/docs /mnt/client_share

You can verify the remote NFS share has been mounted by executing:
$ sudo mount | grep -i nfs

To make the mount share persistent upon a reboot, you need to edit the /etc/fstab file and append the entry below.
192.168.2.102:/mnt/nfs_shares/docs /mnt/client_share nfs defaults 0 0
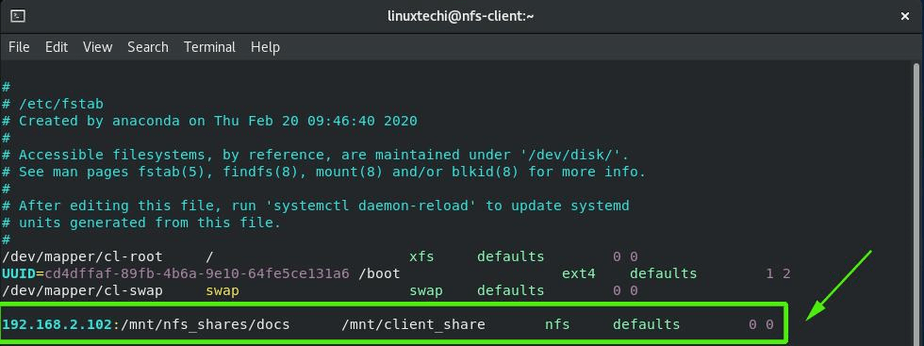
Save and close the file.
Testing NFS Server & Client Setup
At this point, we are done with all the configurations. However, we need to test our setup and ensure everything works. So, first, we are going to create a test file in the NFS server share directory and check whether it is present at the client’s NFS mounted directory.
$ sudo touch /mnt/nfs_shares/docs/server_nfs_file.txt

Now, head out to the client system and check whether the file exists on the client side.
$ ls -l /mnt/client_share/

Great! From the output, we can clearly see that the file exists. Let’s now do the opposite. We are going to create a file on the NFS client system and verify whether it can be accessed from the NFS server.
On the client create the file as shown:
$ sudo touch /mnt/client_share/client_nfs_file.txt
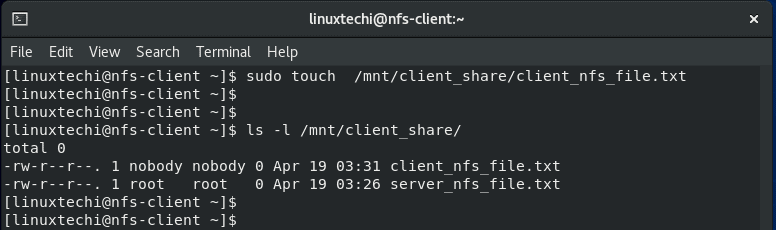
Now, head back to the server and check whether the file is present at the NFS share directory
$ ls -l /mnt/nfs_shares/docs
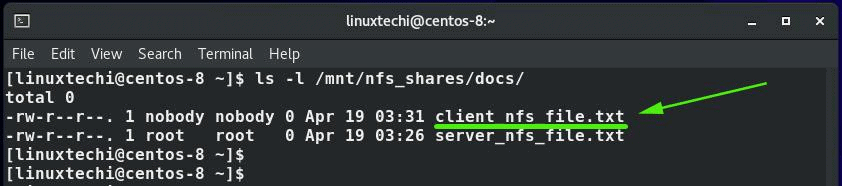
Awesome! We can view and access the file.
As you can see, you can easily create files on both the NFS server and client and share them seamlessly between the two systems as well as other client systems that have been configured to access the shares. And this brings us to the end of our tutorial today. In this guide, we showed you how to install and setup the NFS server and client system setup on CentOS 8 and RHEL 8.
Read Also : How to Setup NFS Server on CentOS 8 / RHEL 8

Are there any prerequisites for Windows clients to get access /mnt/nfs_share/docs?
Thank you!
Hey Alexey,
For Windows systems, e.g Windows 10, you need to enable the NFS client feature in the Control Panel under ‘Add or Remove programs’ section. Thereafter, hit ‘Windows key + R’ and type in the path to the NFS share which is located on the CentOS 8 system and press ENTER. Let me know if that works for you.
$ sudo vi /etc/exports
/mnt/nfs_shares/docs 192.168.2.103(rw,sync,no_all_squash,root_squash
Should be:
$ sudo vi /etc/exports
/mnt/nfs_share/docs 192.168.2.103(rw,sync,no_all_squash,root_squash
(/mnt/nfs_shares/docs should be /mnt/nfs_share/docs because /mnt/nfs_shares/docs doesn’t exist)
Hi Kudzayi,
It was due to the typo, i have fixed it now.
refereed all above but unable to create a file in client system . it is saying below .
touch: cannot touch ‘test2.txt’: Read-only file system
Please update .
Please make sure you have set correct permissions on exported nfs share and your user should have rights to write a file on mounted nfs share.
it should be error with exports
make sure you values in /etc/exports is in one line and have write permission
Thanks for the sharing this details now its very easy.