In this guide, you will learn how to set proxy settings for the APT command in Ubuntu/Debian Linux distributions.
A proxy server is an intermediary server that sits between a client system or end user requesting the resource and the resource itself. In most cases, a proxy server acts as a gateway between end users and the internet.
For organizations and enterprise environments, a proxy server provides a number of benefits. It controls internet usage by blocking sites that are deemed to impact employees’ productivity. It also enhances privacy and improves the organization’s security through data encryption.
There are several ways to set proxy settings for apt command, so let’s jump right in.
Note: For demonstration, we will use Ubuntu 22.04.
Configure Proxy Setting For APT Using A Proxy file
The easiest way to configure proxy settings for the APT command is by creating a proxy.conf file as shown.
$ sudo vi /etc/apt/apt.conf.d/proxy.conf
For a proxy server without a username and password, add the following entries as shown
For the HTTP Proxy, add the following entry:
Acquire::http::Proxy "http://proxy-IP-address:proxyport/";
Do the same for the HTTPS Proxy:
Acquire::https::Proxy "http://proxy-IP-address:proxyport/";
Example:
$ cat  /etc/apt/apt.conf.d/proxy.conf
Acquire::http::Proxy "http://192.168.56.102:3128/";
Acquire::https::Proxy "http://192.168.56.102:3128/";
If your Proxy server requires a username and password details, add them as follows
Acquire::http::Proxy "http://username:password@proxy-IP-address:proxyport";
Acquire::https::Proxy "http://username:password@proxy-IP-address:proxyport";
Example:
$ cat  /etc/apt/apt.conf.d/proxy.conf
Acquire::http::Proxy "http://init@PassW0rd321#@192.168.56.102:3128/";
Acquire::https::Proxy "http://init@PassW0rd321#@192.168.56.102:3128/";
Once you are done, Save the changes and exit the configuration file. The Proxy settings will come into action the next time you run the APT package manager.
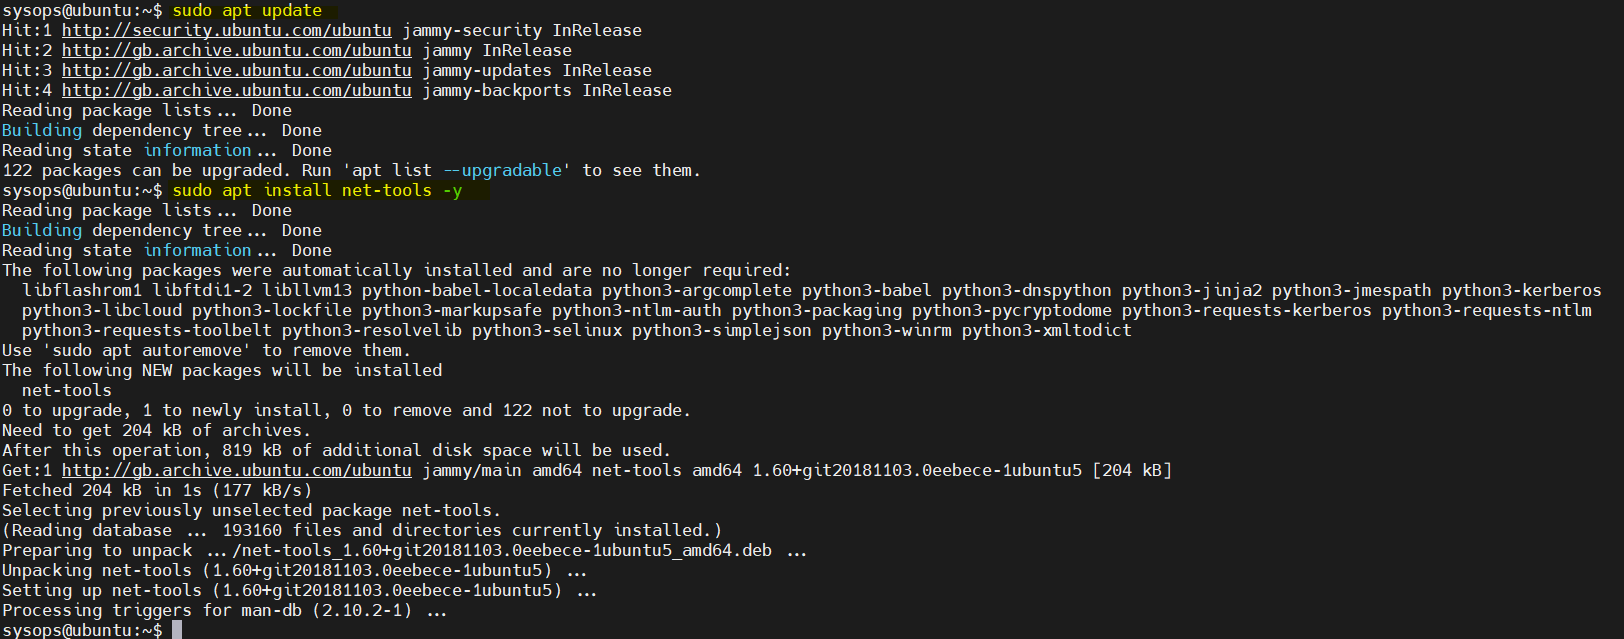
For example, you can update the local package index and then install net-tools package
$ sudo apt update
$ sudo apt install net-tools -y
Verify the proxy server logs to confirm that apt command is using proxy server for downloading packages. On the proxy server run,
# tail -f /var/log/squid/access.log | grep -i 192.168.56.240
Here ‘192.168.56.240’ is the IP address of our Ubuntu machine,
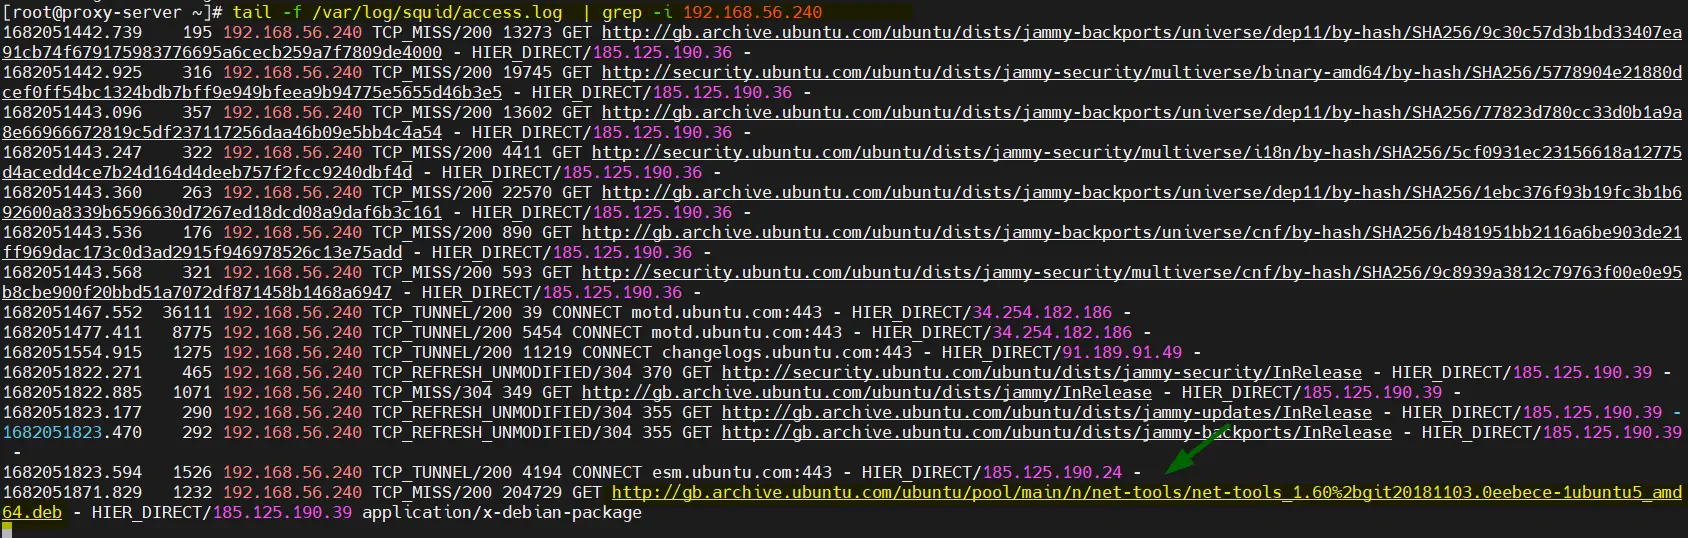
Perfect, output above confirms that apt command of our ubuntu system is downloading the packages via proxy server (192.168.56.102)
An Alternative Way of Specifying Proxy Details
Apart from the first approach, you can specify the proxy details in a much simpler way. Once again, create a proxy.conf file as follows.
$ sudo vi /etc/apt/apt.conf.d/proxy.conf
For a Proxy server without a username and password, define it as shown.
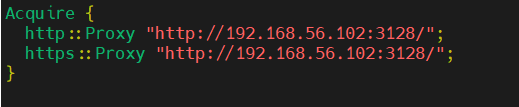
Acquire {
  http::Proxy "http://proxy-IP-address:proxyport/";
  https::Proxy "http://proxy-IP-address:proxyport/";
}
Sample example file would look like below,
$ sudo vi /etc/apt/apt.conf.d/proxy.conf
For a Proxy server with username and login details:
 Acquire {
   http::Proxy "http://username:password@proxy-IP-address:proxyport/";
   https::Proxy "http://username:password@proxy-IP-address:proxyport/";
}
Save the changes and exit the configuration file. Just a reminder that these settings take immediate effect once you start using the APT package manager.
Conclusion
This concludes this guide. In this tutorial, we have demonstrated how you can configure proxy settings for the APT package manager which is used in Debian/Ubuntu Linux distributions. That’s all for now. Keep it Linuxechi!
Also Read: How to Install Go (Golang) on Ubuntu Linux Step-by-Step