In this post, we will show you how to install VirtualBox Guest Additions on RHEL 9.
VirtualBox is a popular virtualization platform that allows you to create and run virtual machines on various host operating systems. While running a virtual machine, you may have experienced limitations in terms of screen resolution, mouse integration, and file sharing between the host and guest systems. Fortunately, VirtualBox Guest Additions can help overcome these limitations by providing additional drivers and features.
Prerequisites
- A Running RHEL 9 Virtual Machine on VirtualBox
- A sudo user with admin rights
- Red Hat Subscription or locally configure Repository.
- Internet Connectivity in case you are using Red Hat subscription.
Without any further delay, let’s jump into VirtualBox guest additions steps.
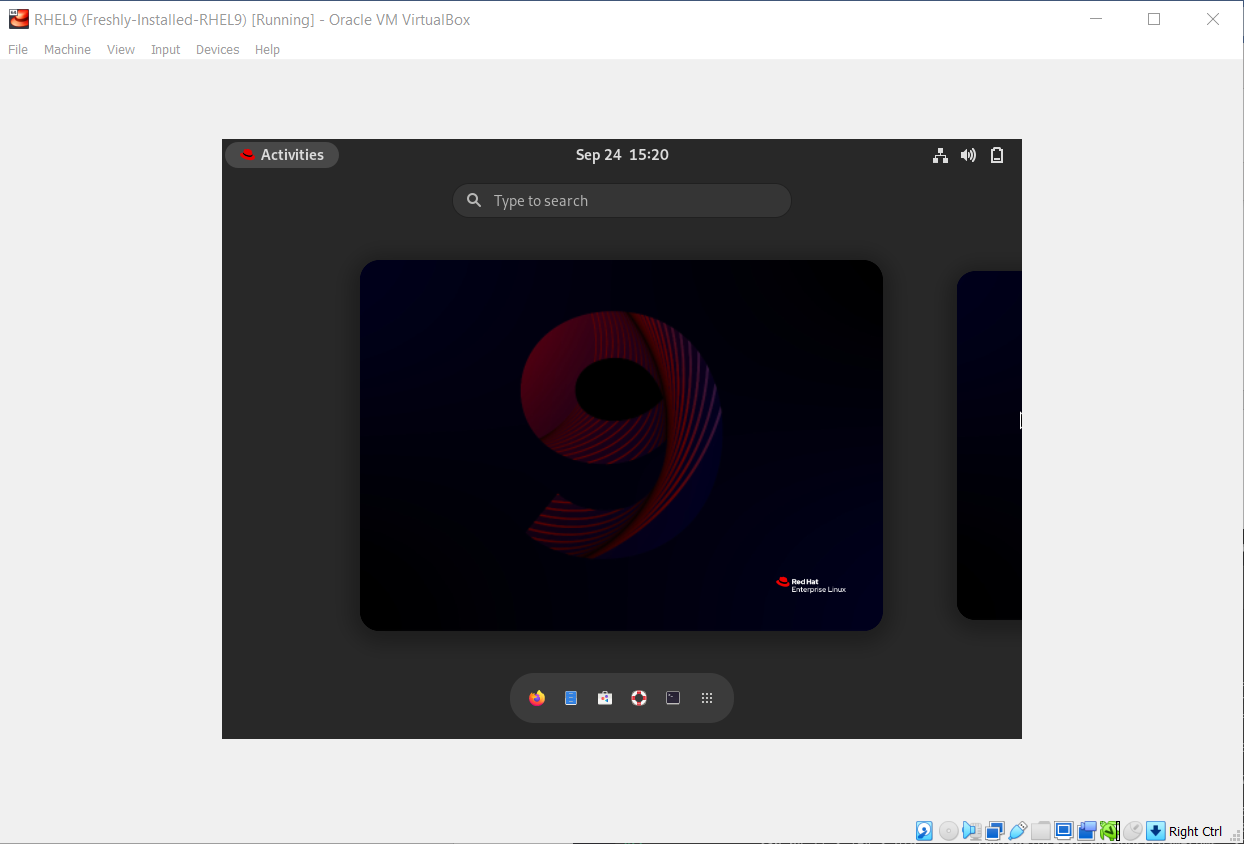
Step 1: Start Your RHEL 9 Virtual Machine
Ensure that your RHEL VM is up and running inside the VirtualBox. Without installing VirtualBox guest additions, VM screen will look like below,
Step 2: Install Required Dependencies
VirtualBox Guest Additions require some prerequisites to be installed on your RHEL virtual machine. Install these dependencies using the following command:
$ sudo dnf install kernel-devel -y
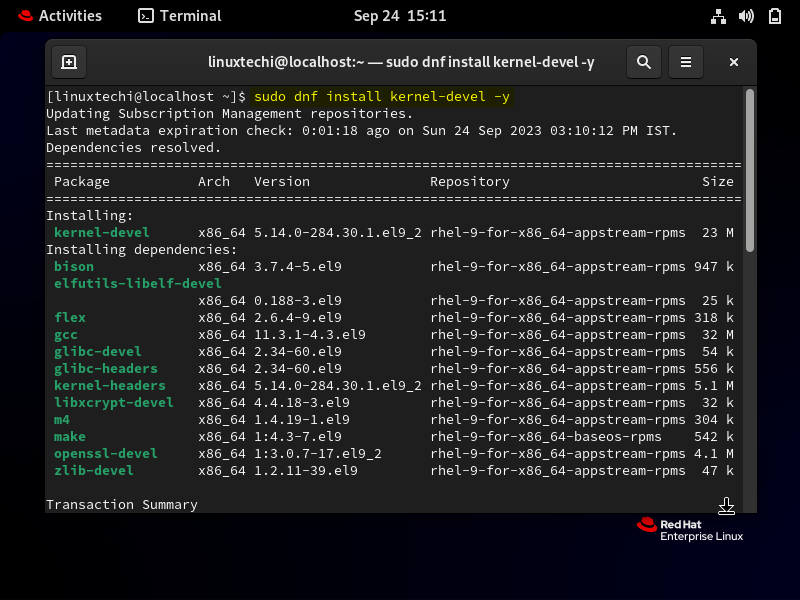
This command will install essential tools and libraries needed for the Guest Additions installation.
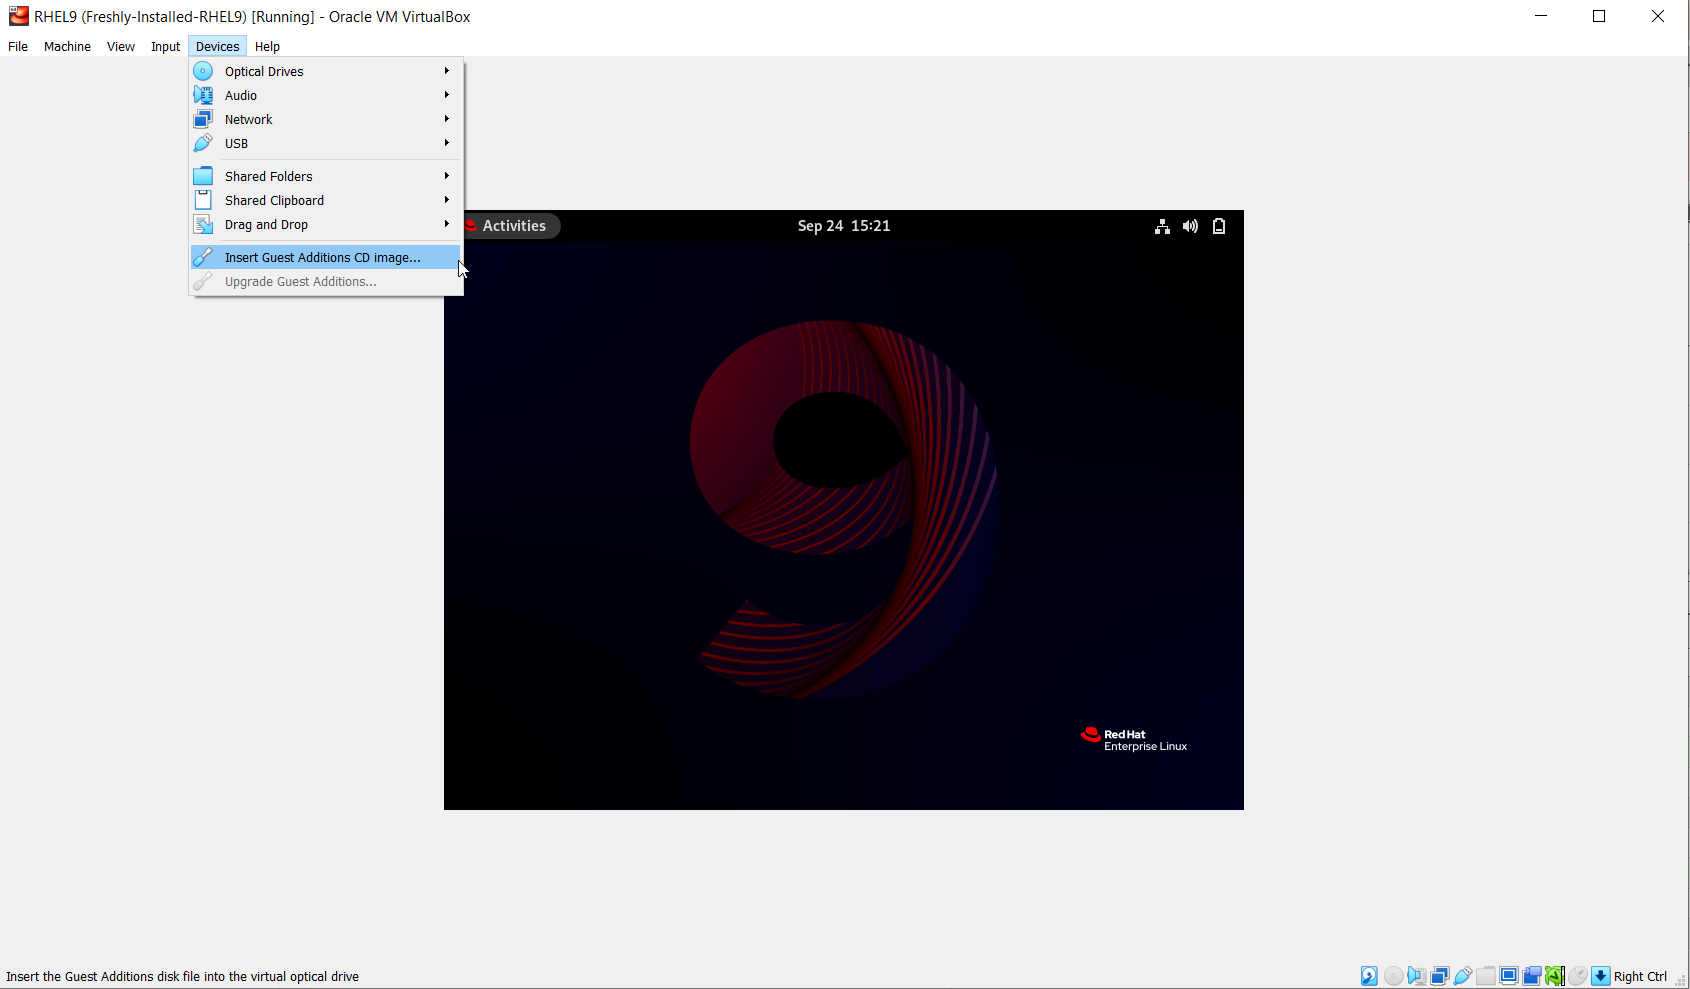
Step 3: Mount the VirtualBox Guest Additions ISO
In the VirtualBox window, select “Devices” from the top menu, and then click “Insert Guest Additions CD Image.” This action will mount the Guest Additions ISO inside your virtual machine.
Step 4: Install VirtualBox Guest Additions on RHEL 9
Open your terminal in RHEL and navigate to the directory where the Guest Additions ISO is mounted. The default path is typically “/run/media/$USER/VirtualBoxGuestAdditions.”
$ cd /run/media/linuxtechi/VBox_GAs_7.0.4/
To install guest additions, run the following command as root or with sudo privileges:
$ sudo ./VBoxLinuxAdditions.run
This script will install the VirtualBox Guest Additions kernel modules and drivers on your RHEL virtual machine.
Step 5: Reboot Your Virtual Machine
After the installation completes successfully, it’s a good practice to reboot your virtual machine for the changes to take effect:
$ sudo reboot
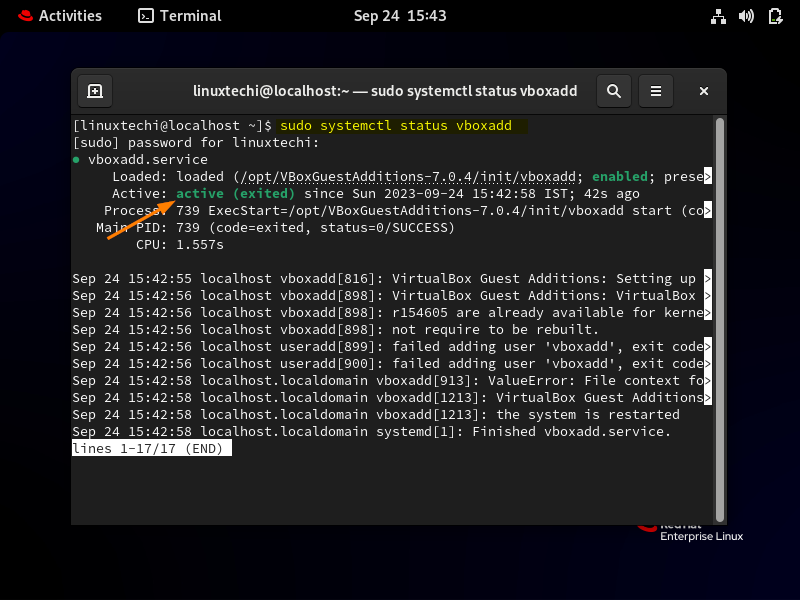
Step 6: Verify Guest Additions Installation
Once your virtual machine has restarted, you can verify the installation by checking the status of the VirtualBox Guest Additions service:
$ sudo systemctl status vboxadd
If the service is active (running), you have successfully installed VirtualBox Guest Additions on your RHEL virtual machine.
With VirtualBox Guest Additions installed, you can now enjoy enhanced features such as improved screen resolution, seamless mouse integration, and the ability to share files between your host and guest operating systems.
Conclusion
VirtualBox Guest Additions are essential for improving the usability and functionality of your virtual machines. By following this step-by-step guide, you’ve learned how to install Guest Additions on RHEL 9, making your virtualization experience smoother and more efficient. Now you can fully harness the power of VirtualBox for your development and testing needs.