Ubuntu 16.04 LTS code name ‘Xenial Xerus‘ has been released recently on 21st April 2016. As this release is under LTS(Long Term Support) so its Desktop support will be for next 5 years and Server support will be for next 3 years. Some of new improved features of Ubuntu 16.04 LTS are listed below :
- New Linux Kernel 4.4
- Snap – New application Package format
- Introduction of LXD – new Container hypervisor on Linux, In Ubuntu 16.04 LTS docker containers can run inside LXD.
- Latest version of Openstack Mitaka included in this release.
- Ubuntu 16.04 will support IBM Z and LinuxONE Servers
- Python 3
- PHP 7
- Gnome Desktop 3.18
- Chromium 48
- LibreOffice 5.1
In this is article i will demonstrate how to install Desktop version of Ubuntu 16.04 LTS on your Laptop or Desktop.
Step:1 Download Ubuntu 16.04 LTS ISO file.
Download ISO file of Ubuntu 16.04 LTS from their official Web site.
http://www.ubuntu.com/download/desktop
Once the ISO file is downloaded, burn it into a USB pendrive or DVD and Boot your system with bootable USB Pen drive or DVD, below screen will appear which is shown in step 2
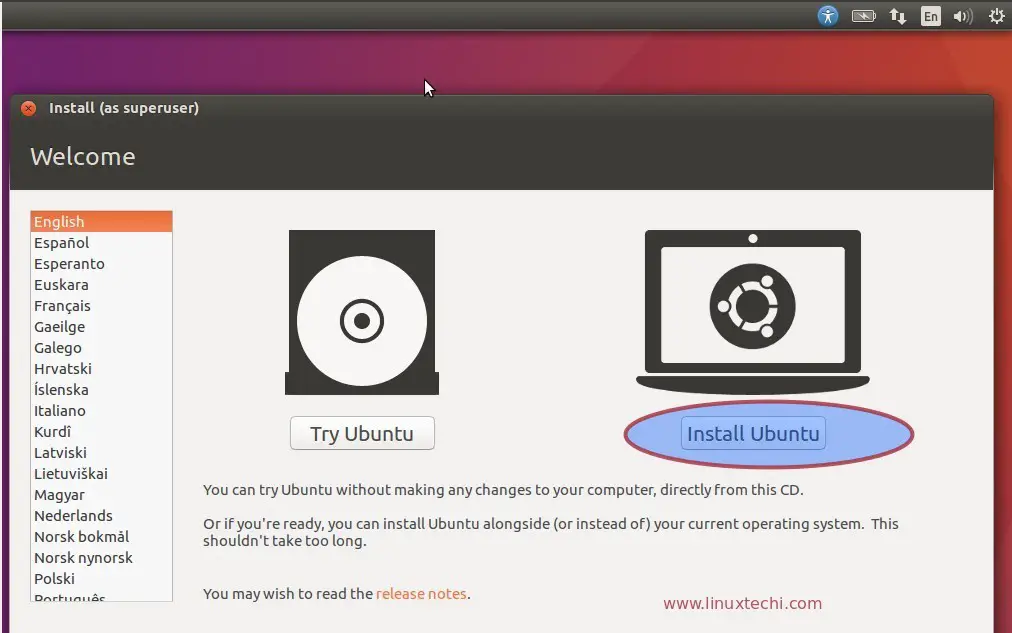
Step:2 Select ‘Install Ubuntu’ to start installation.
Step:3 Preparing to Install Ubuntu 16.06 LTS
In case your system is connected to the Internet and wants to install third party tools during installation, you can select both the options as shown in below snap otherwise leave the options uncheck.

Click on Continue to proceed further.
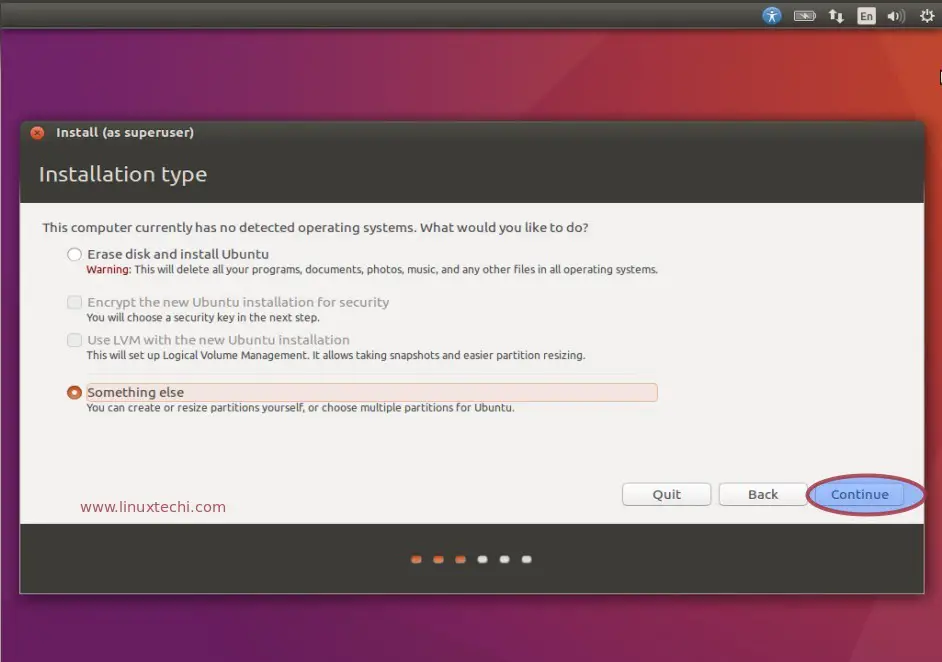
Step:4 Choose ‘something else’ option to create customize partition scheme.
If you are planning to create your own customize partition table then select ‘something else‘ option in the below screen and Click on Continue.
In case you Select the first option ‘erase disk and install ubuntu‘, it will delete all data on disk and will install Ubuntu with the default partition scheme.
Click on New Partition Table.
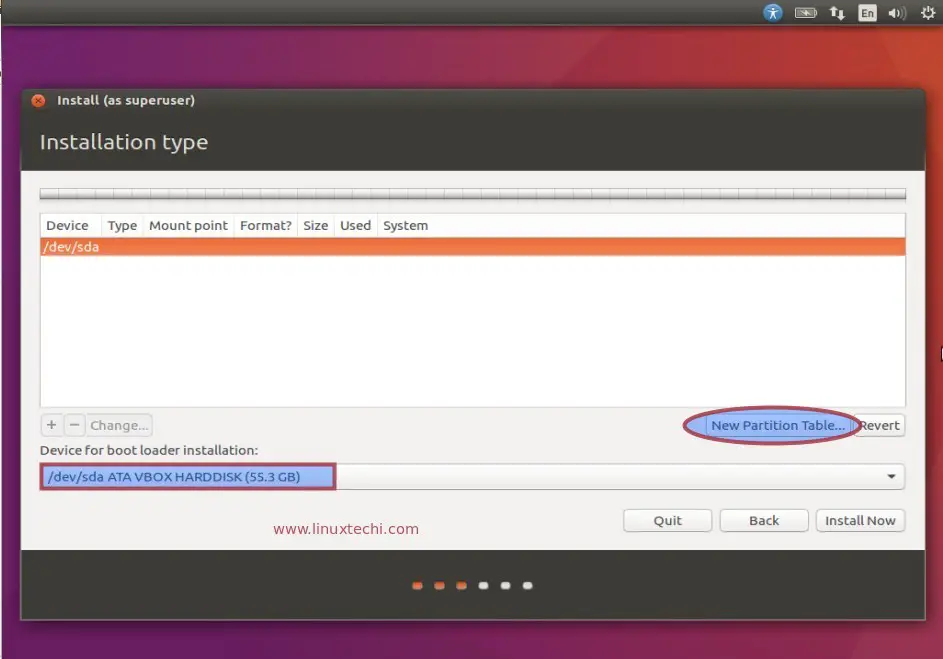
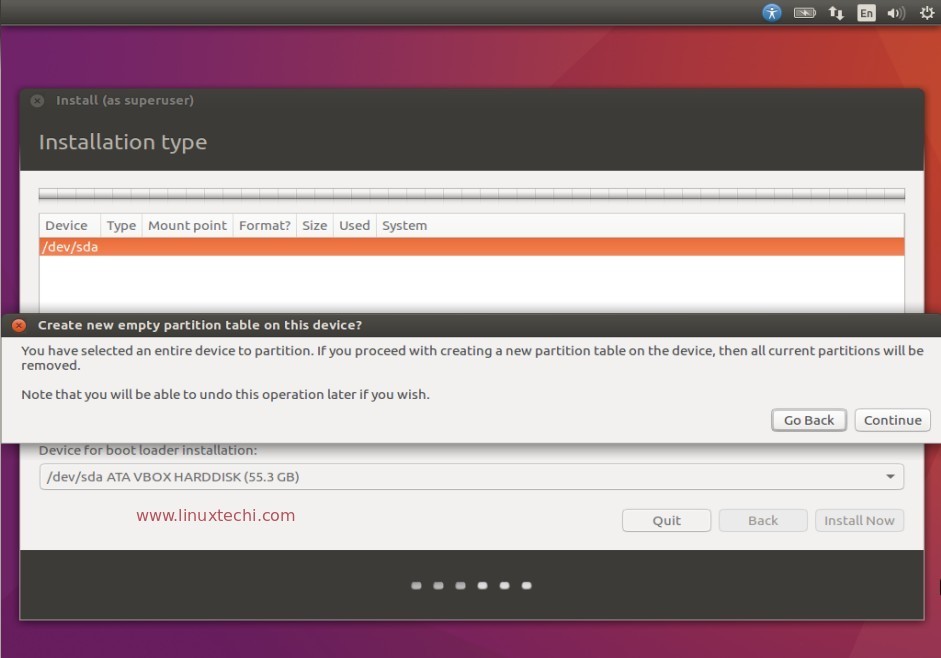
Click on Continue.
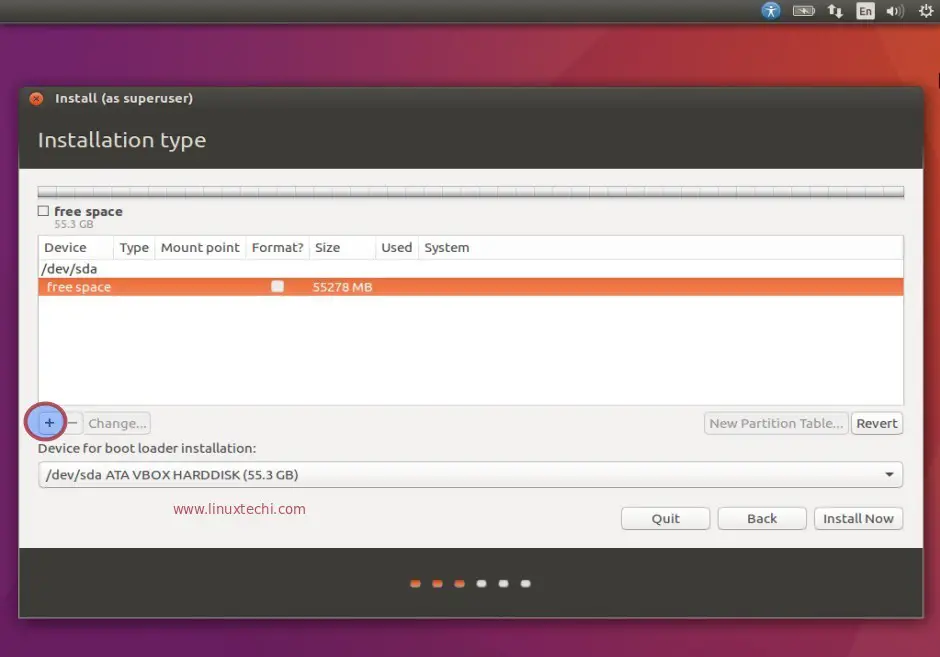
In the below Screen Select the Disk, click on ‘+’ option to create partition.
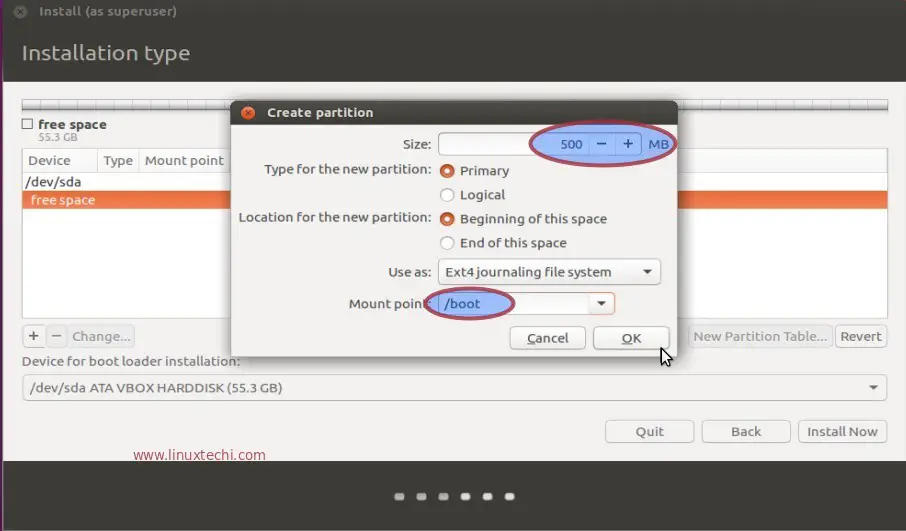
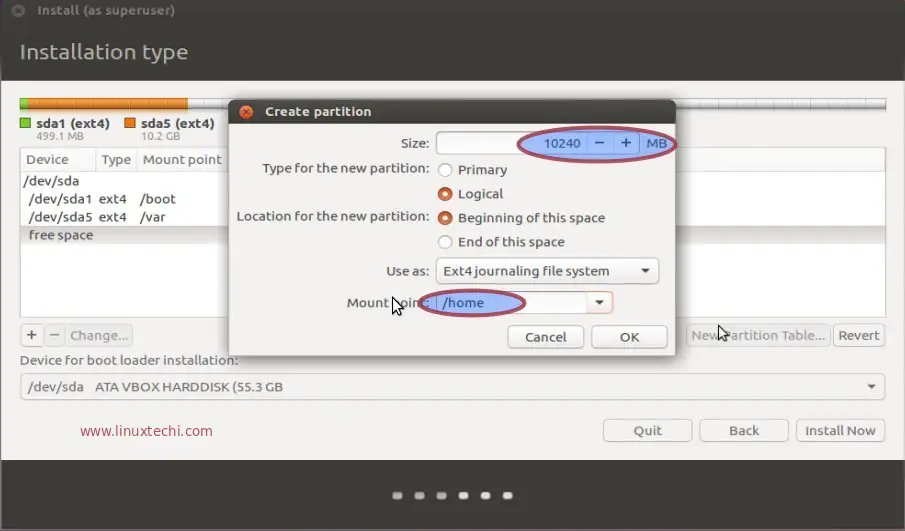
Specify the mount point as /boot and File system type as ext4 and partition size as 500 MB.
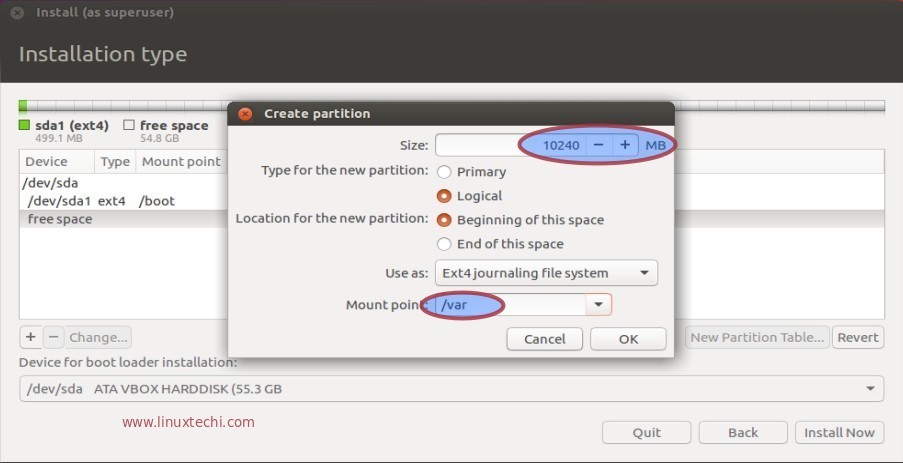
Similarly create /var and /home partitions as per your available disk.
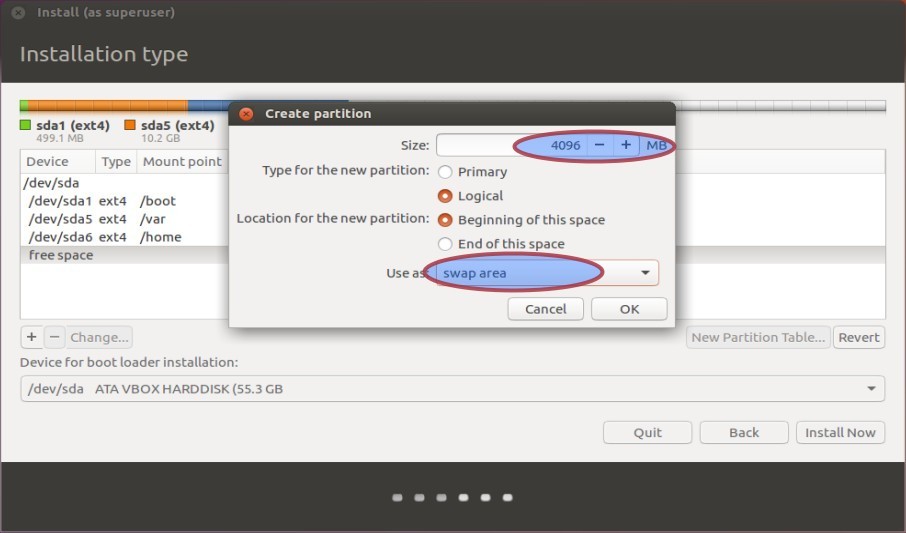
Create a Swap partition and size of swap should be double of your RAM, in my case RAM size is 2 GB so swap size should be 4 GB.
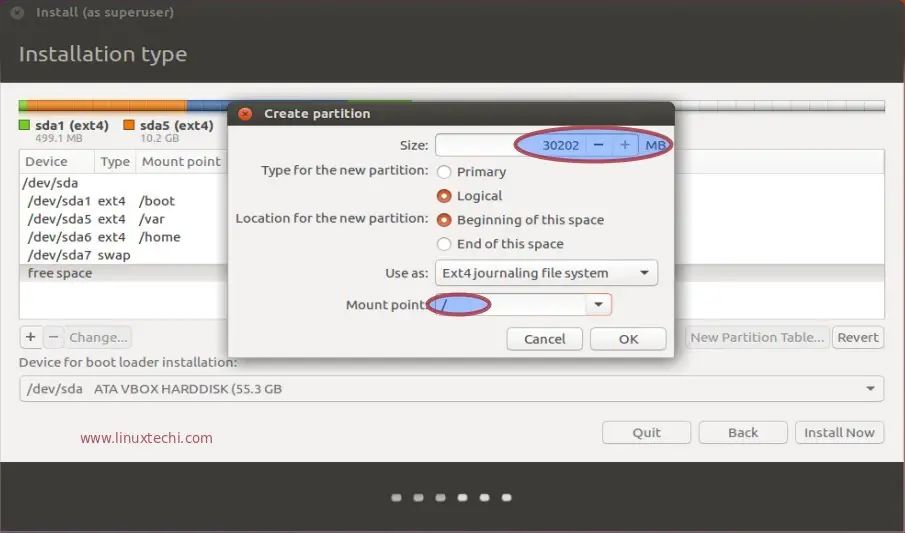
In the last create ‘/’ partition on remaining size and file system type should be ext4.
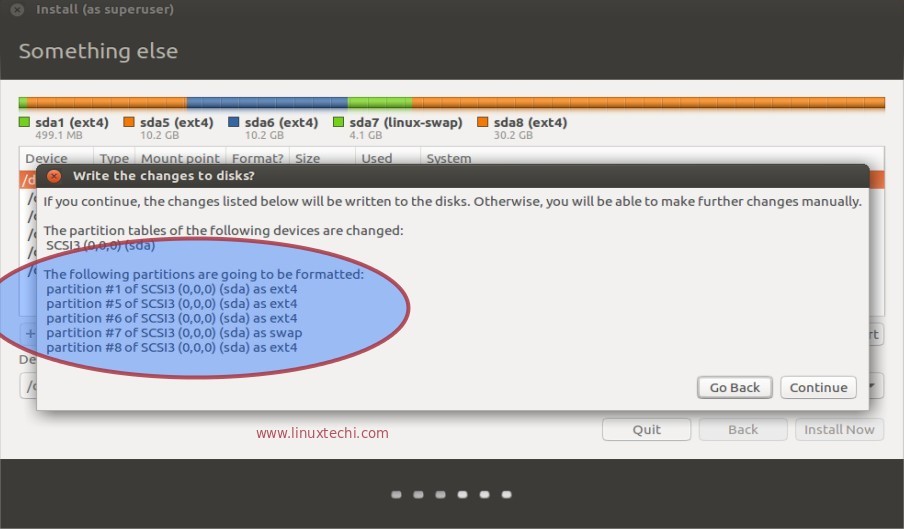
Once you are done with partition table click on ‘Install Now‘. It will show the below screen, click on Continue to Proceed.
Step:5 Specify the Time Zone as per your location.
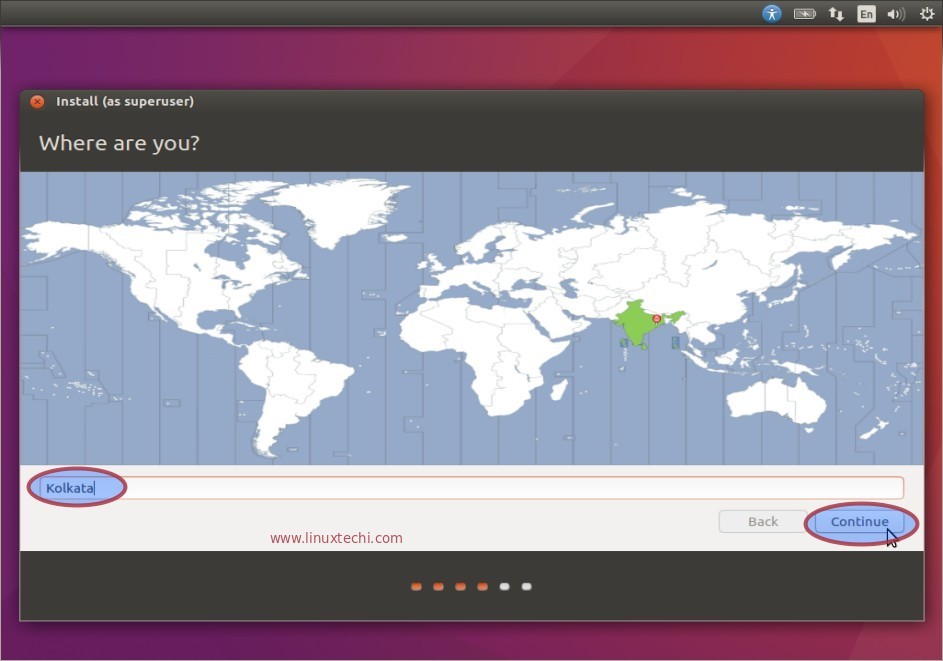
Click on Continue.
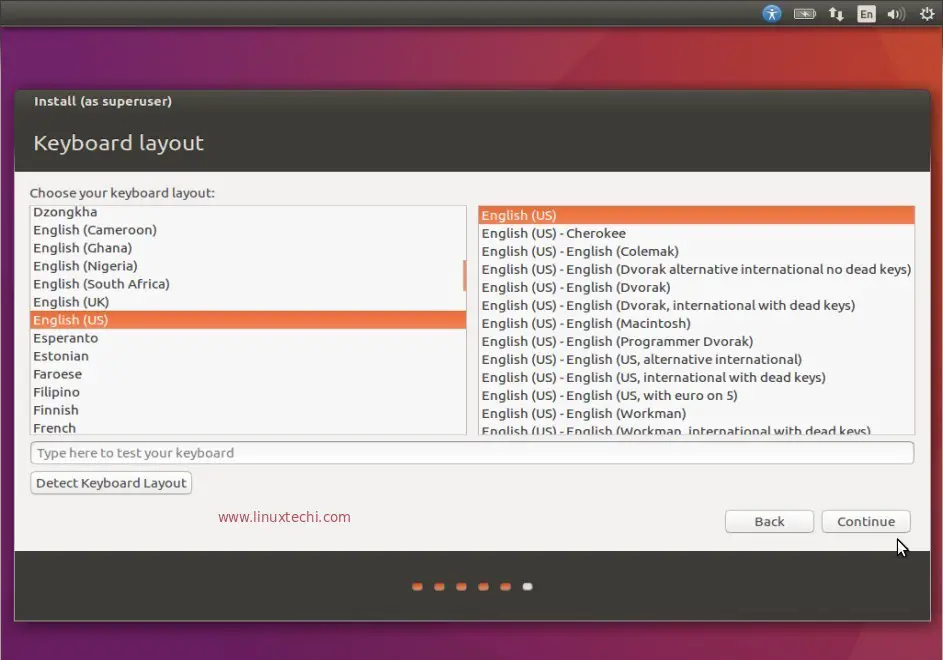
Step:6 Select the Keyboard Layout as per your setup.
Step:7 Specify the Hostname, User name and its password.
In this step specify the hostname for your system, user name and its password. We will using this user to login to the system after the installation.
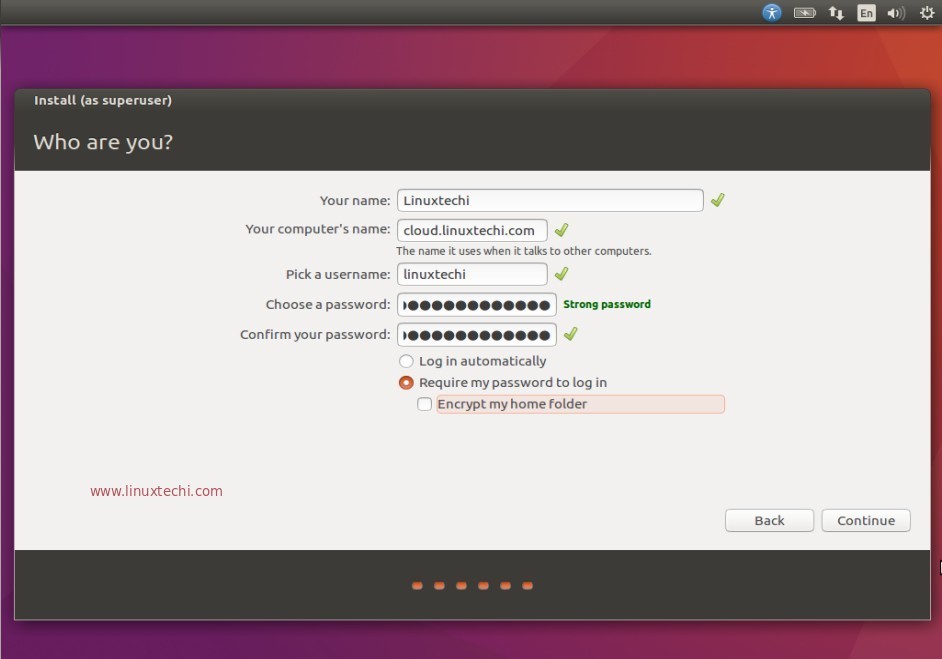
Click on Continue to start the installation
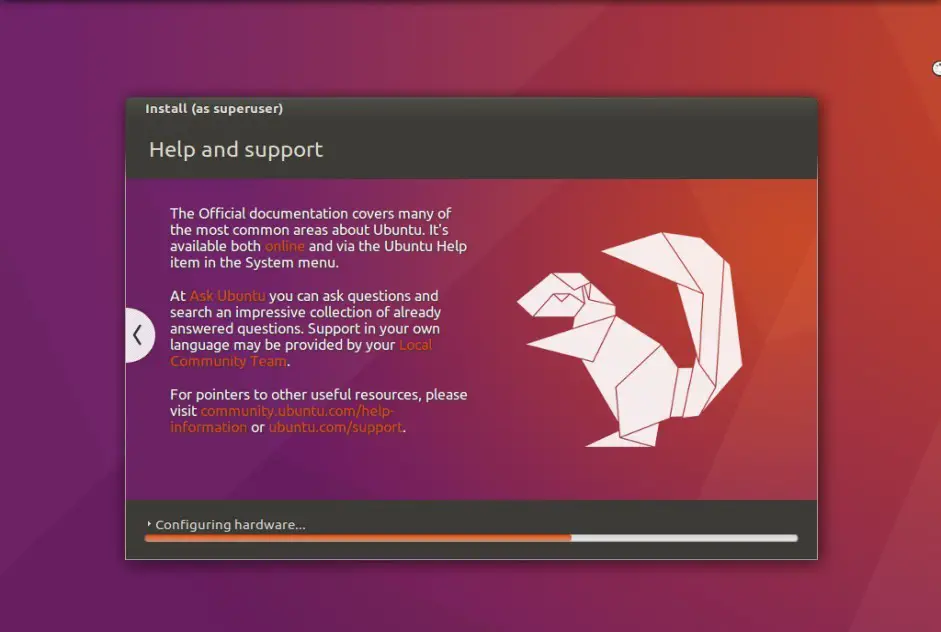
Step:8 Installation is in Progress.
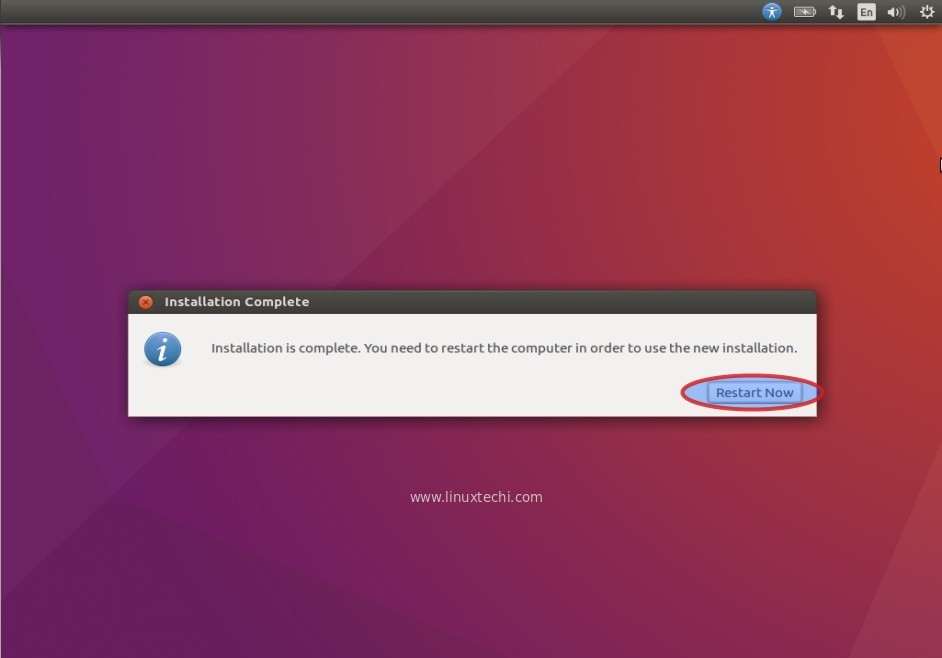
As we can see below that installation is progress, once the installation is completed we will get the message to reboot the system.
To Reboot the system click on ‘Restart Now‘
Step:9 Now login to the system with User that we created during installation.
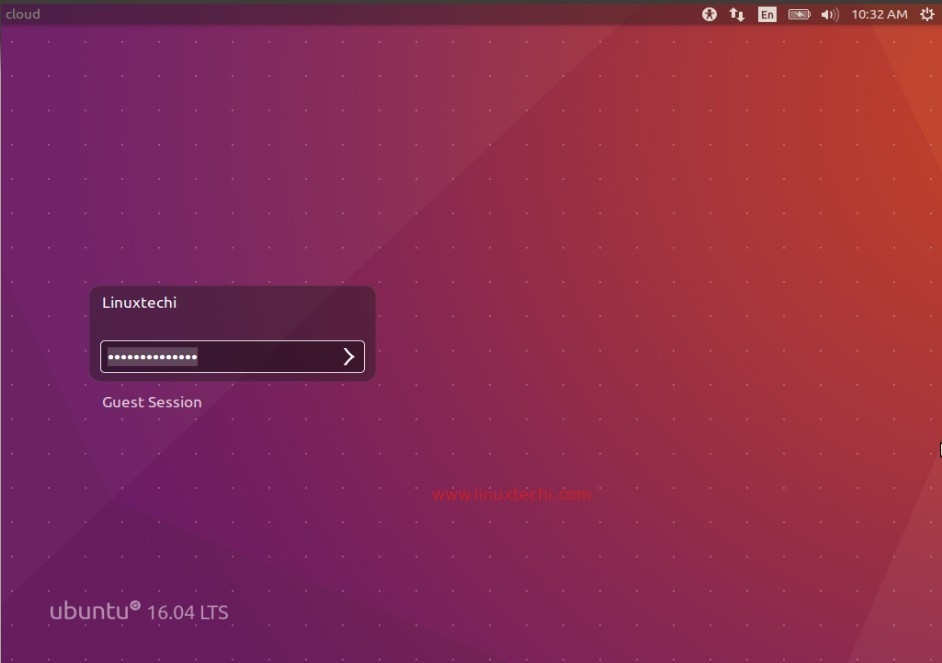
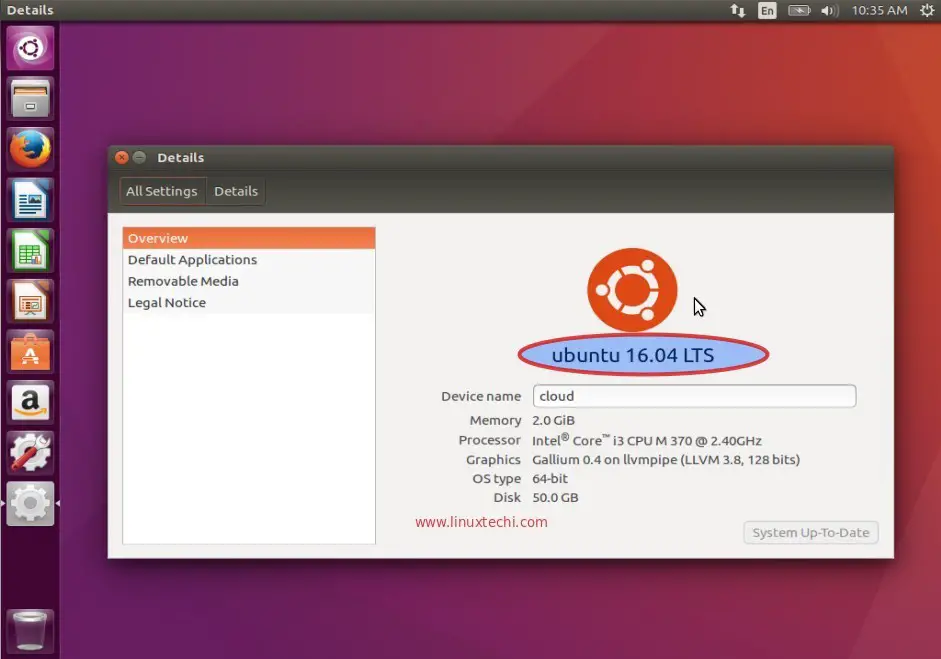
Installation of Ubuntu 16.04 LTS is completed, explore it now and have fun 🙂


I follow these instructions but the installation stops somewhere a bit after halfway down the “Copying files…” progress bar. I receive the error message:
“Installation Failed.
The installer encountered an error copying files to the hard disk: [Errno 5] Input/output error
This is often due to a faulty CD/DVD disk or drive, or a faulty hard disk… (etc.)”
I have not found any reason for the disk or drive to be faulty and googling has not found anything viable, or related to 16.04. I’m completely new to Linux and cannot tell what else to try. When I restart, it tells me “Please remove the installation medium, then press ENTER:” but when I do so, nothing boots and I am left with a black screen. When I restart again with the disk back in and go through the process again, it acts as though the installation was successful and I am asked if I should: “Erase Ubuntu 16.04 LTS and reinstall”, “Install Ubuntu 16.04 LTS alongside Ubuntu 16.04 LTS” which is nonsense because the installation crashed and I cannot actually use it, or “Erase disk and install Ubuntu” (or “Something else”). The process then repeats itself as described.
Indeed, larry. You are not alone. I have got the same problem with the same mumbo-jumbo text.
This is a true pain in the belly. And it also happens with installers of
previous versions (12 and 14). And I am pretty sure that the DVD disk has been correctly
created (using the slowest speed, etc, etc). The fact that a similar problem happens with installers of
previous versions strongly suggests that this has been a festering problem for years. I am therefore pessimistic
about the possibility of it being solved in the immediate future…
Possible work-around: I could successfully install debian, if this is acceptable for you.
Installing linux mint will on the other hand fail with the selfsame problem, which is of course not a surprise,
being itself based on ubuntu…
Second work-around: if you have a windows-OS running on your system
(and assuming you have some free disk space),
you can install wubi within windows, and from wubi you might create a true ubuntu installation in
the free space without installer (just a migration from wubi).
But if you have found a true, genuine solution, please let me know.
Most likely the problem may be circumvented as described in point 4 here:
‘https://sites.google.com/site/easylinuxtipsproject/bugs’
Same problem here is am going tired. How I solve it
What are the purpose of so many partitions?
i understand the boot partition. but var and home?
Hi ADI ,
Here is the purpose for multiple partition, Keeping the system logs and other application logs on /var and all the user’s related data are stored in user’s home directory. Though we can keep minimum two partitions / and swap but in that case all the data will be stored under / file system.
This could serve as guide but not necessarily to copy or follow all the steps because you might have different issue than this. For example I set aside a new partition formatted with NTFS for about 150GB just for Linux Operating System so at the step that you would need to select “swap” to make sure that if your allocated partition is not enough so then the system will swap, you need to bypass this point because you already allocated enough space or a separate partition to install the operating system. After selecting the correct partition just proceed to “install” and the installation will continue without hassle. Note I have existing Windows OS and this Linux is just my second OS. Take note also that if you are using Linux, you could write anything at Windows assigned forders in which when you switch to Windows, you could not delete those stuffs, meaning Linux is really powerful.