In this guide, we will show you how to install Rancher on Rocky Linux 9 and AlmaLinux 9.
Rancher is a versatile and powerful container management platform that simplifies the deployment and orchestration of Kubernetes clusters. If you’re using Rocky Linux 9 or AlmaLinux 9 as your preferred Linux distribution and want to leverage Rancher’s capabilities for managing your containerized applications, you’re in the right place.
Prerequisites
- A fresh installation of Rocky Linux 9 or AlmaLinux 9.
- Minimum 2 vCPU and 4 GB RAM
- Sudo user with administrative privileges
- A stable internet connection to download Rancher Image
Without any delay, let’s jump into Rancher installation steps.
1) Update Your System
Start by updating your system’s package list and upgrading installed packages to their latest versions. Open your terminal and run:
$ sudo dnf update -y
Reboot your system, post installing updates.
$ sudo reboot
2) Install Docker
Rancher relies on Docker as a container runtime. Before installing docker make sure Podman and buildah are removed first.
$ sudo dnf remove podman buildah -y
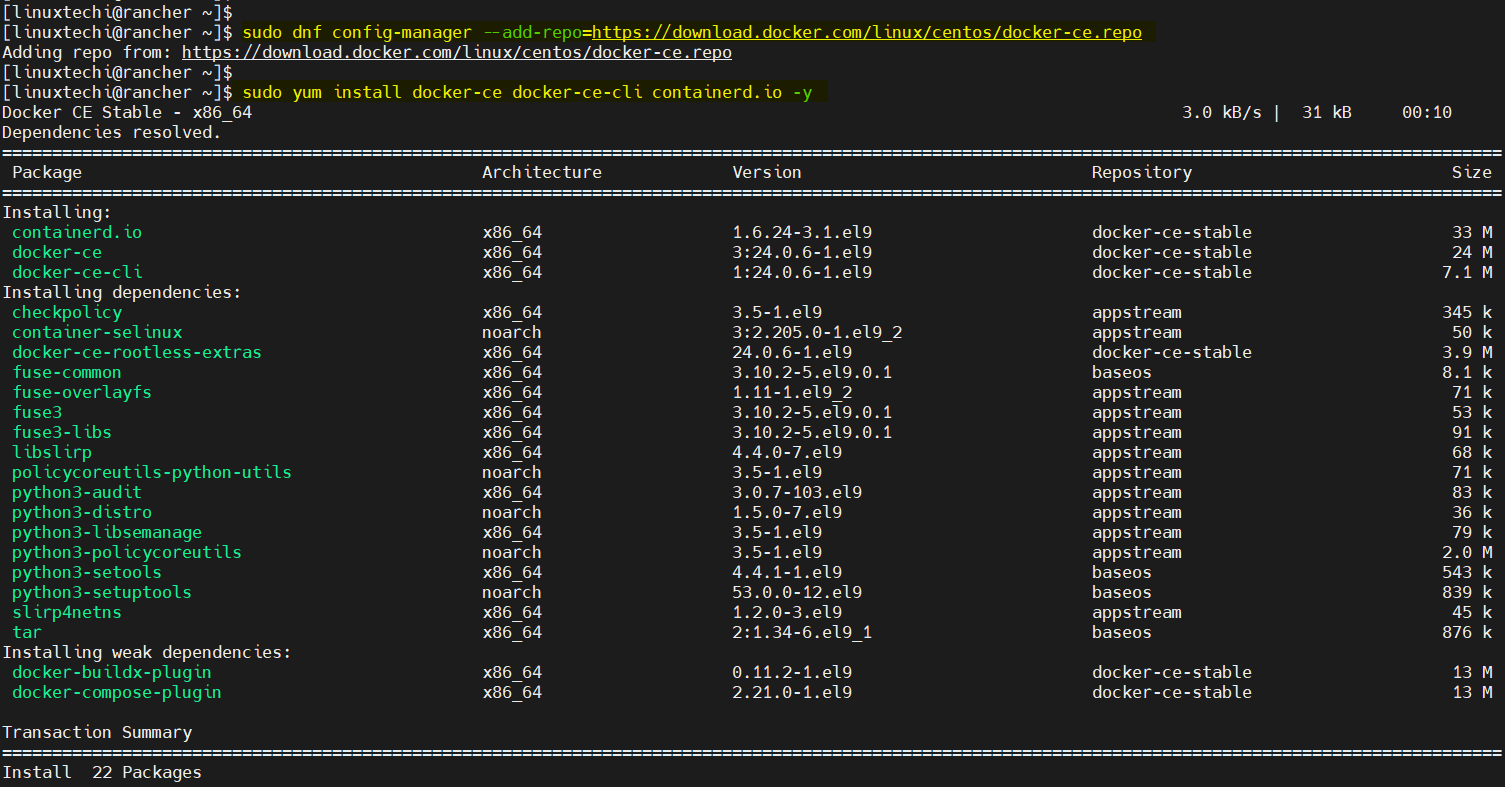
Next , add docker depository using following dnf command.
$ sudo dnf config-manager --add-repo=https://download.docker.com/linux/centos/docker-ce.repo
Now, install docker using beneath command,
$ sudo yum install docker-ce docker-ce-cli containerd.io -y
Post docker installation, add your local user to docker group, run
$ sudo usermod -aG docker $USER
$ newgrp docker
3) Start and Enable Docker Service
Start and enable docker service by running beneath command,
$ sudo systemctl enable docker --now
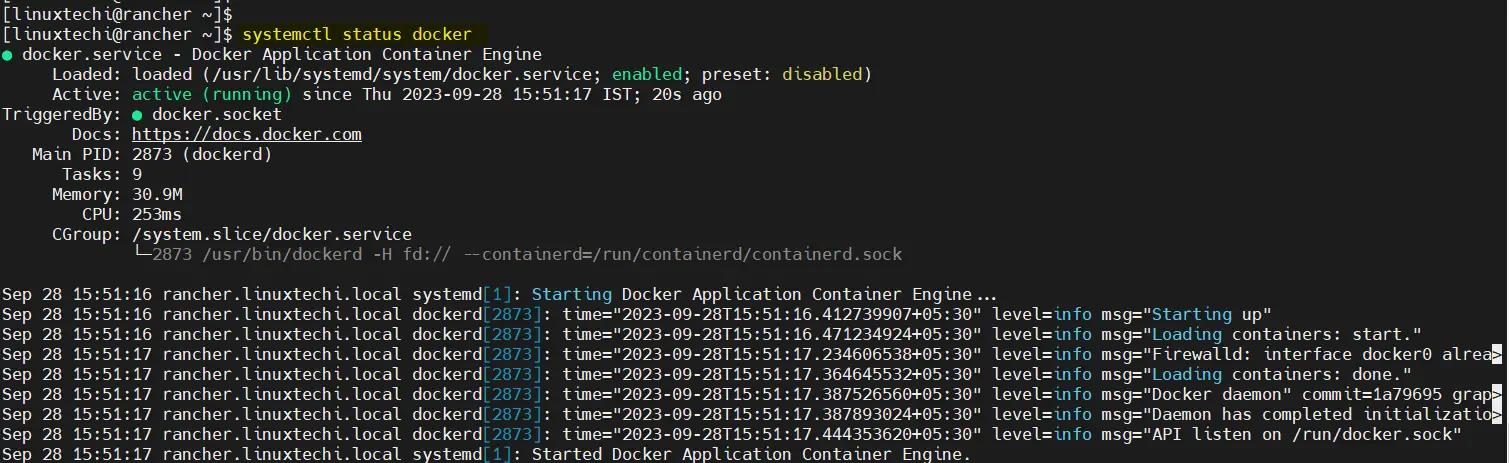
Verify the docker service
$ systemctl status docker
4) Install Rancher on Rocky Linux 9 / AlmaLinux 9
Now, we’ll use Docker to deploy Rancher. Before running the docker command, make sure following kernel modules are loaded, run beneath modprobe command
$ sudo modprobe ip_tables
$ sudo modprobe ip_conntrack
$ sudo modprobe iptable_filter
$ sudo modprobe ipt_state
Next run the following command to start the Rancher container:
$ sudo docker run -d --name=rancher --privileged --restart=unless-stopped -p 80:80 -p 443:443 rancher/rancher:latest
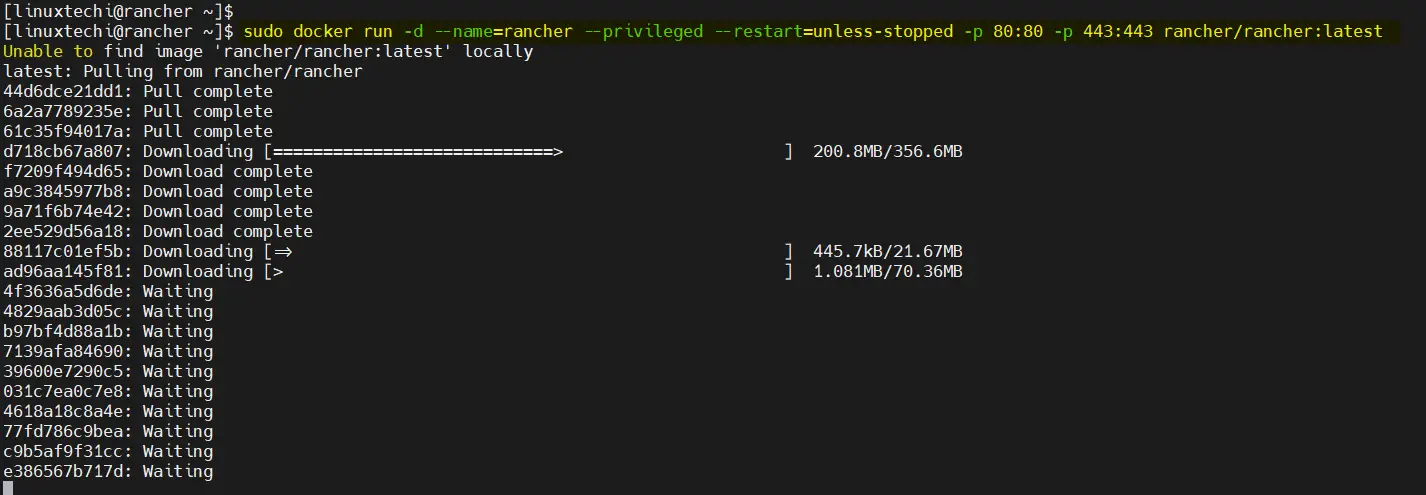
This command will download the latest Rancher image if it’s not already available locally and start the Rancher server. It will also ensure that Rancher starts automatically on system boot. Additionally, it is maps host port 80 & 443 to the container port 80 & 443 respectively and starts the container in privileged mode.
Once the above command is executed successfully, verify rancher container status using below docker command.
$ docker ps

Perfect, above output confirms that rancher container is up and running.
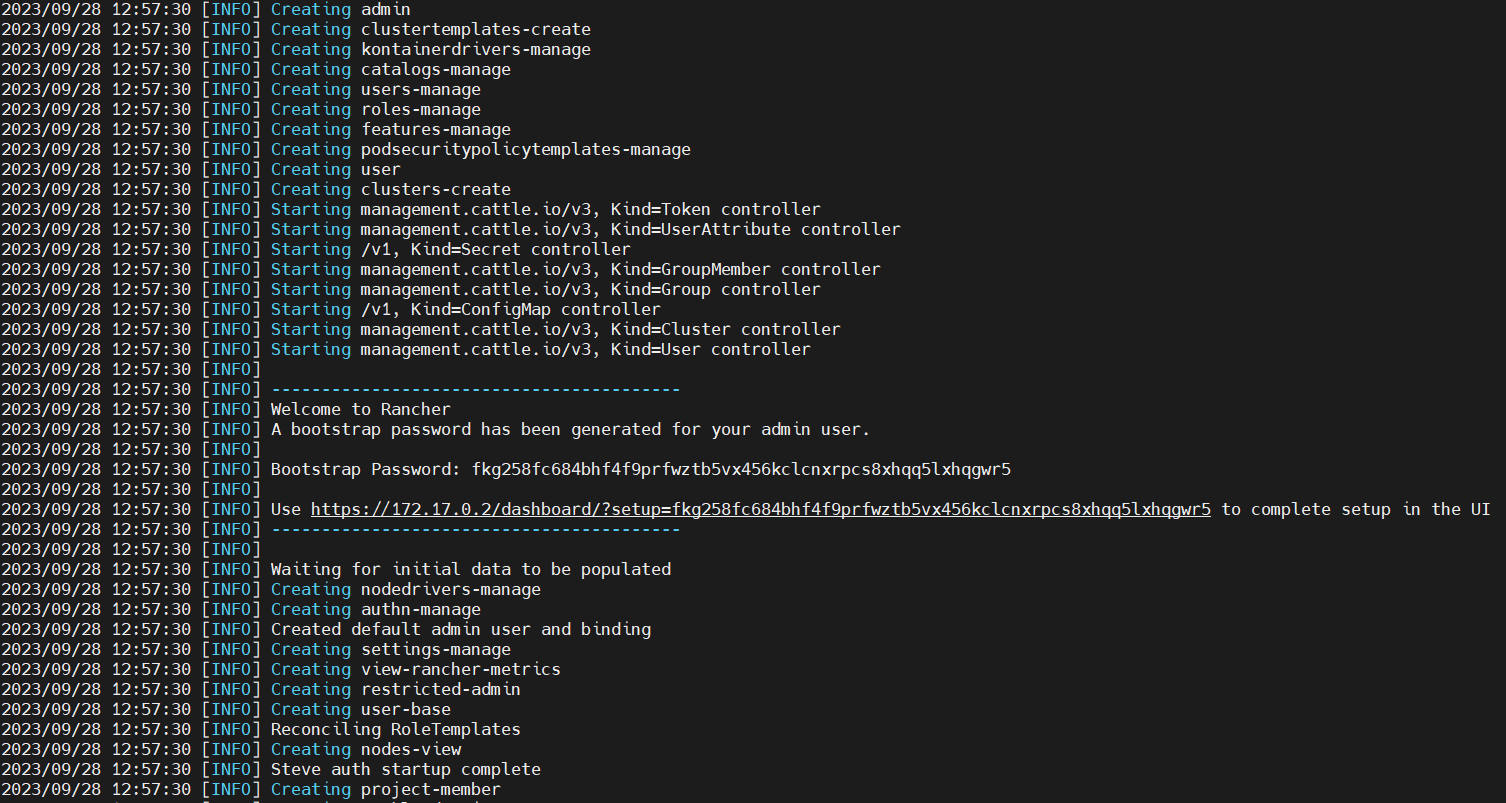
We can check logs of rancher container using following command,
$ docker logs rancher
5) Allow Rancher Ports in Firewall
If OS firewall is enabled on your Rocky Linux or AlmaLinux then allow port 80 and 443. Execute following firewall-cmd commands.
$ sudo firewall-cmd --add-service http --permanent
$ sudo firewall-cmd --add-service https --permanent
$ sudo firewall-cmd --reload
6) Access the Rancher Web Interface
After the Rancher container is up and running, give it a few moments to initialize. Then, open your web browser and type your server’s IP address. You should see the Rancher login screen.
http://<Server-IP-Address>
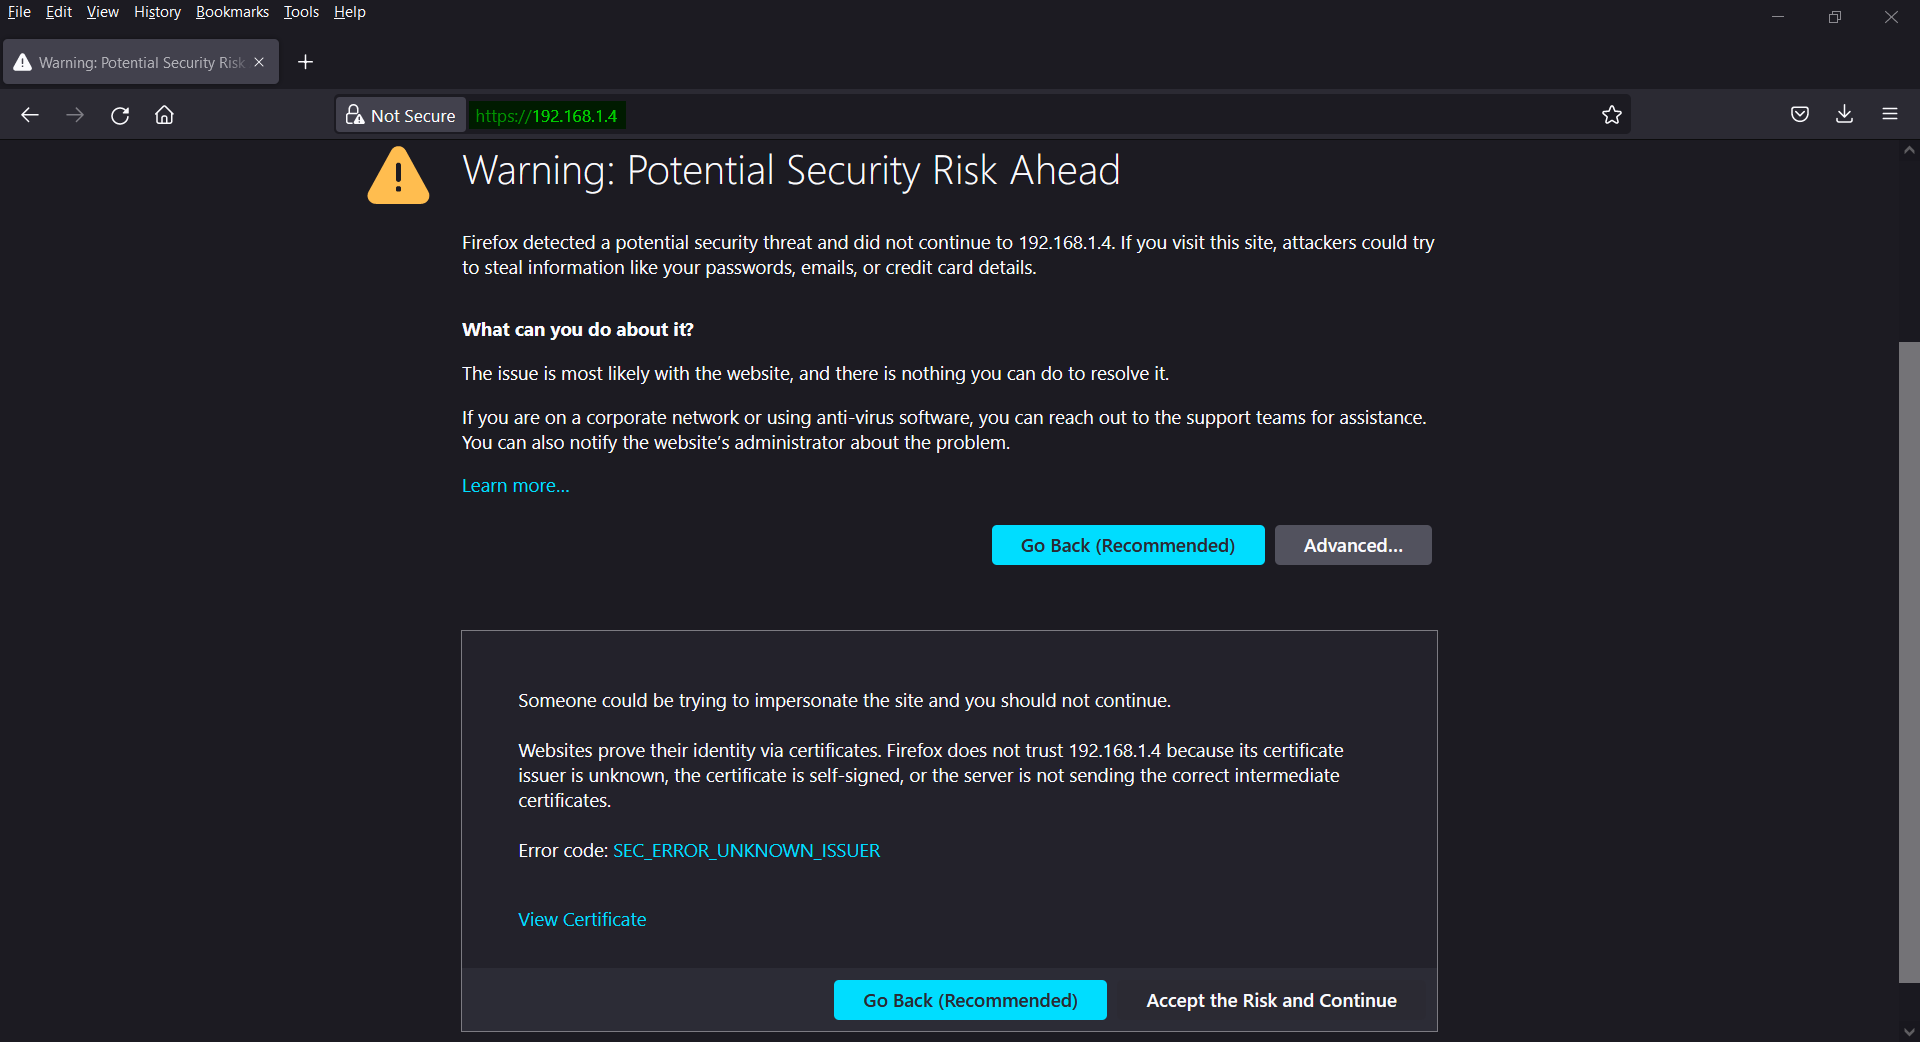
Click on “Accept the Risk and Continue”
In the next screen you will be prompted to enter the password. Retrieve the password by running following command on the terminal.
$ docker ps | grep -i rancher
$ docker logs  container-id  2>&1 | grep "Bootstrap Password:"

Copy the password and past it on the Rancher Web Interface,
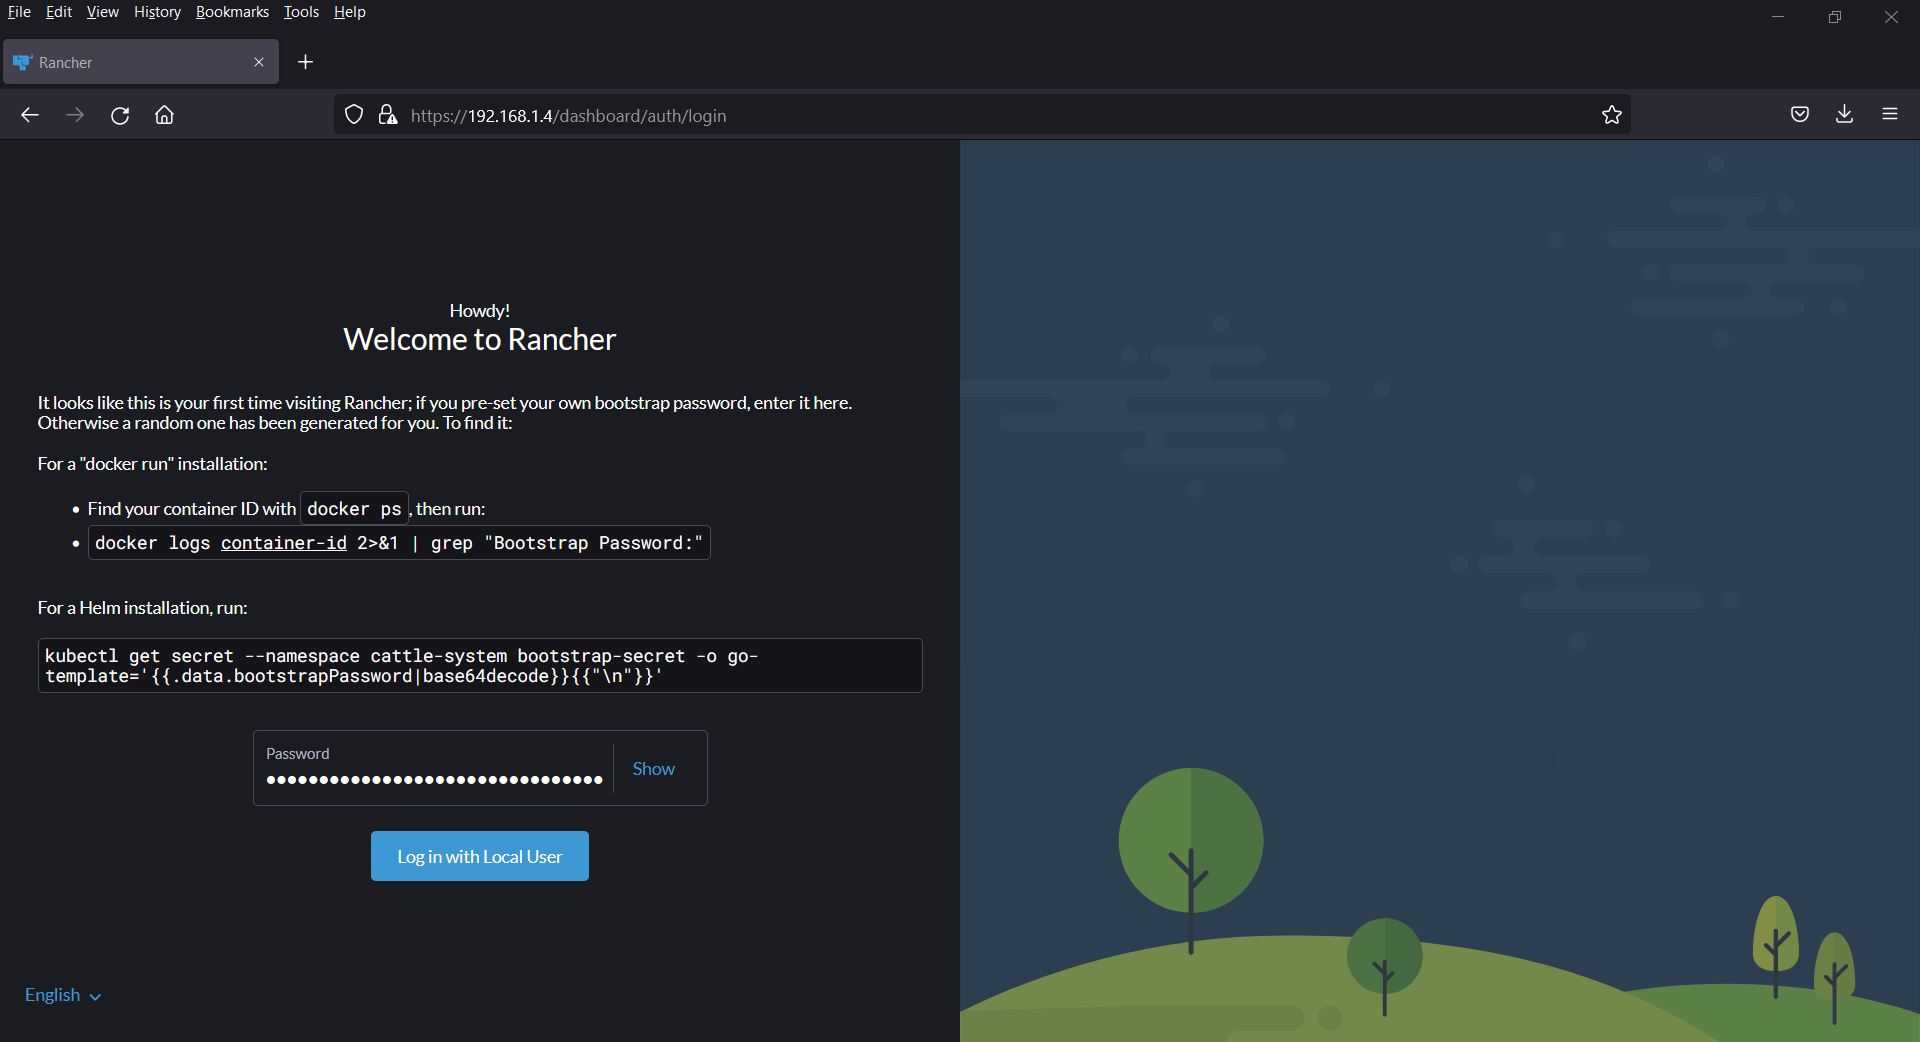
Click on “Log in with Local User”
In the following screen, create an admin password and accept the end user license agreement.
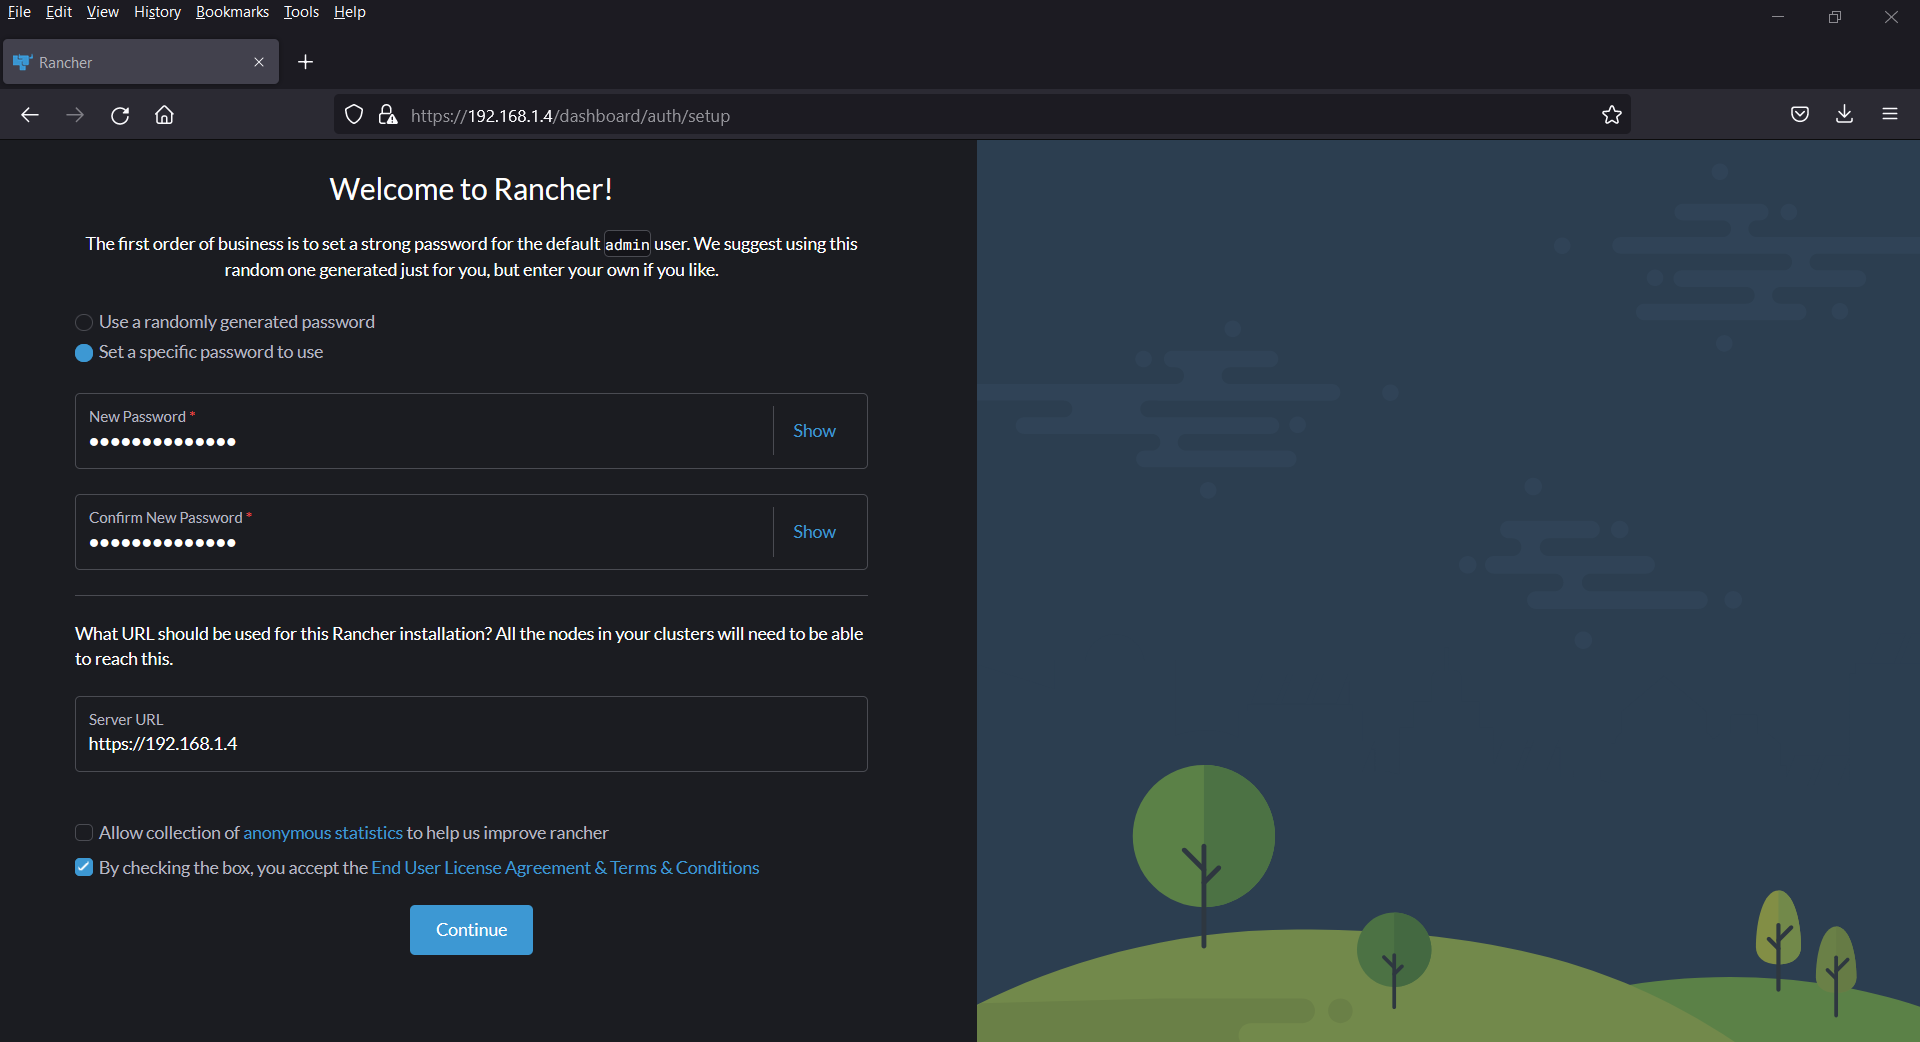
Click Continue to complete the setup process, and you’ll be redirected to the Rancher dashboard.
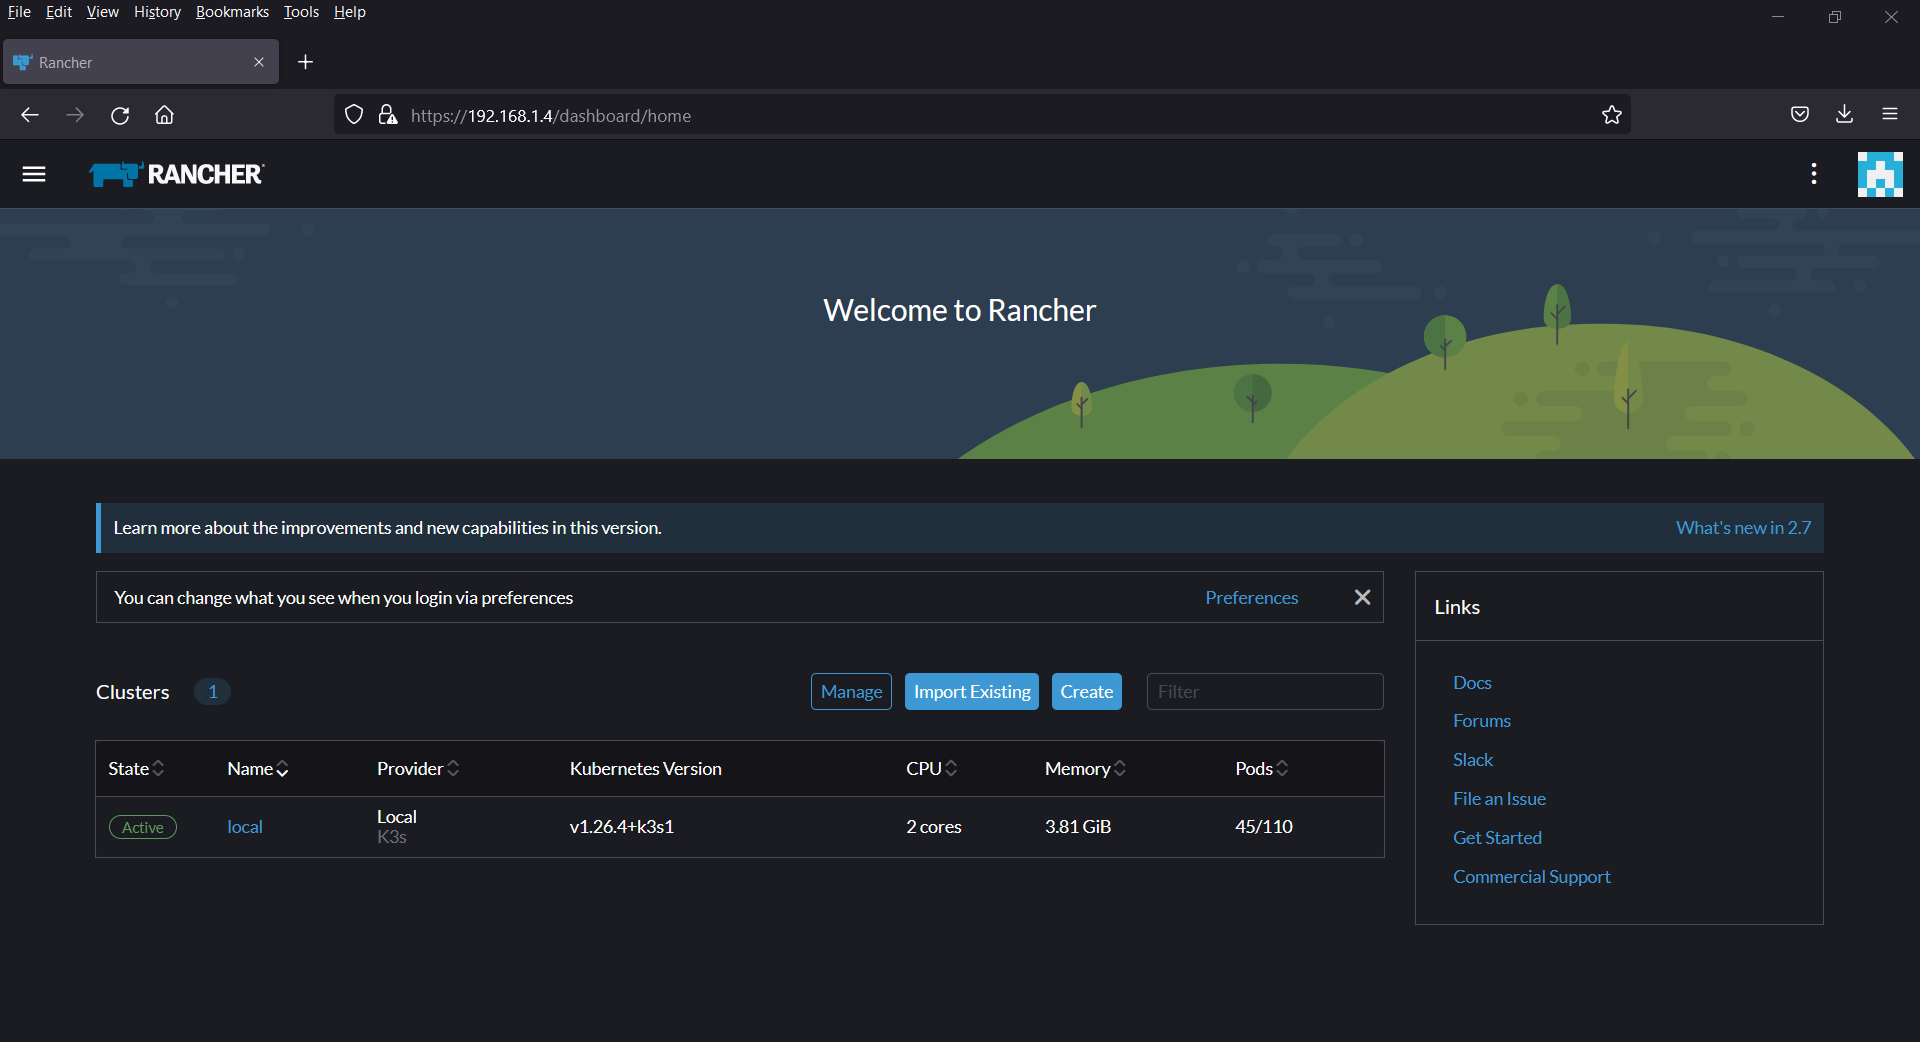
Great, above confirms that Rancher has been setup correctly.
From the Rancher dashboard, you can now start adding Kubernetes clusters, whether they are local clusters, imported clusters, or clusters provisioned on your preferred cloud provider.
That’s all from this guide, we hope you have found it informative and useful. Kindly do post your queries and feedback in below comments section.
Conclusion
You’ve successfully installed Rancher on Rocky Linux 9 or AlmaLinux 9, opening the door to streamlined container management and Kubernetes orchestration. With Rancher, you can easily manage your clusters, deploy applications, and monitor your containerized infrastructure.
Remember that Rancher is a powerful tool with a wide range of features, so take the time to explore its capabilities and make the most of your containerized environment.