When it comes to opensource web servers, Apache and Nginx usually take the lion’s share in the hosting space and will often get the most attention. But those aren’t the only opensource web servers in the market which offer great performance and impressive stability. OpenLiteSpeed is yet another powerful, lightweight and opensource HTTP web server that is developed by LightSpeed technologies under the GPLv3.0 license. Notable features include:
- An intuitive web-based admin GUI that displays real-time statistics.
- Event-drive architecture with low resource overheads (RAM & CPU).
- Efficient page caching.
- Remarkable scalability thanks to worker processes.
- Ability to handle thousands of concurrent connections without yielding load spikes.
- Support for third-party modules.
And so much more.
In this guide, we will walk you the installation of OpenLiteSpeed on CentOS 8 / RHEL 8 system.
Step 1) Configure OpenLiteSpeed Repository
Before anything else, the first step is to add the OpenLiteSpeed repository to your CentOS 8 or RHEL 8 instance. This will allow you to install the OpenLiteSpeed web server and associated packages and dependencies. Therefore, log into your server instance and invoke the command below.
$ sudo rpm -Uvh http://rpms.litespeedtech.com/centos/litespeed-repo-1.1-1.el8.noarch.rpm
Then update the package lists as shown:
$ sudo dnf update
Step 2) Install PHP from OpenLiteSpeed Repositories
In this step, we are going to install PHP 7.4 using OpenLiteSpeed repository colloquially referred to as LSPHP. But before that, ensure that you have added the EPEL repo using the command:
$ sudo dnf install -y epel-release
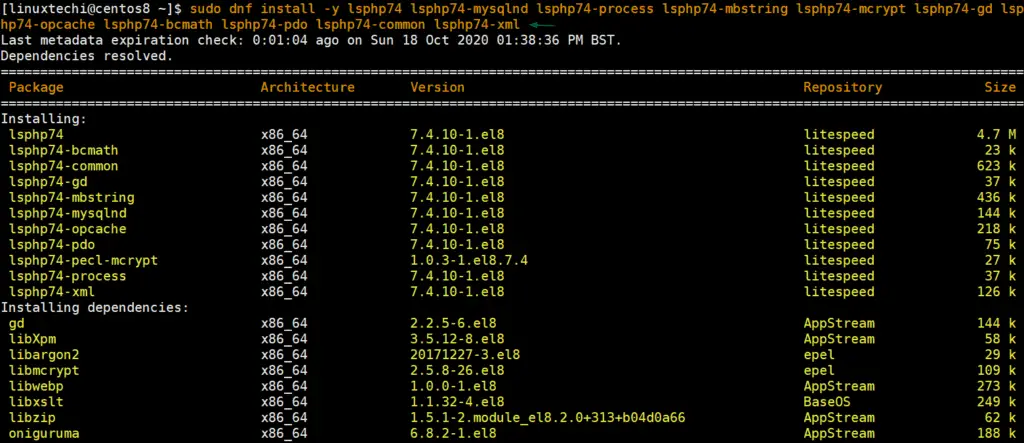
After installing the EPEL repo, install LSPHP as shown
$ sudo dnf install -y lsphp74 lsphp74-mysqlnd lsphp74-process lsphp74-mbstring lsphp74-mcrypt lsphp74-gd lsphp74-opcache lsphp74-bcmath lsphp74-pdo lsphp74-common lsphp74-xml
Once PHP packages have been installed successfully using above dnf command then let’s install MariaDB database server.
Step 3) Install & Secure MariaDB database server
To install MariaDB database server, run:
$ sudo dnf install -y mariadb mariadb-server
Once installed, start mariadb database server by running:
$ sudo systemctl start mariadb
$ sudo systemctl enable mariadb
Run following systemctl command to check status of mariadb service,
$ sudo systemctl status mariadb

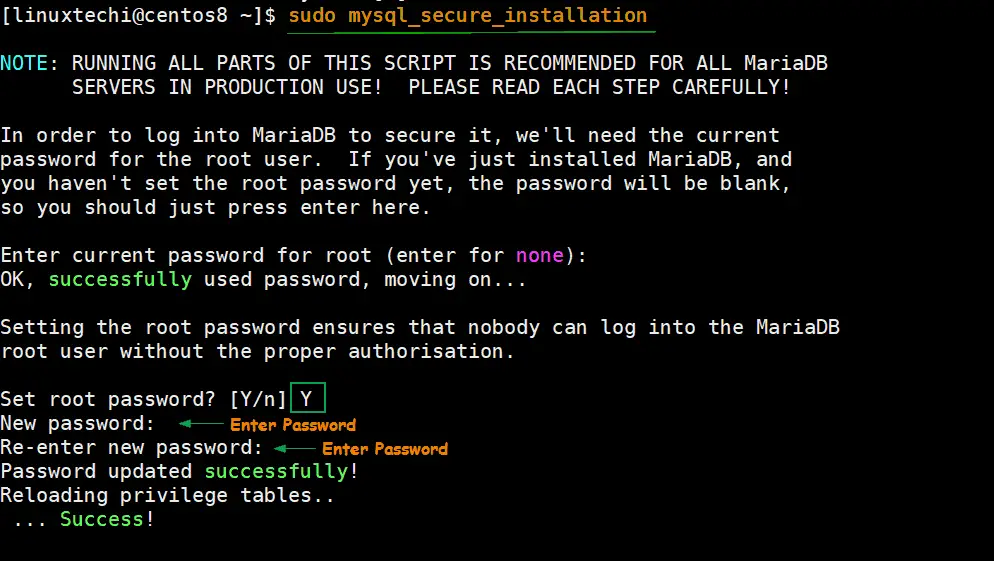
By default, MariaDB is not secure and therefore, we need to take some extra steps to secure it and avoid breaches. To do so, run:
$ sudo mysql_secure_installation
Begin by setting the root password if none was assigned.
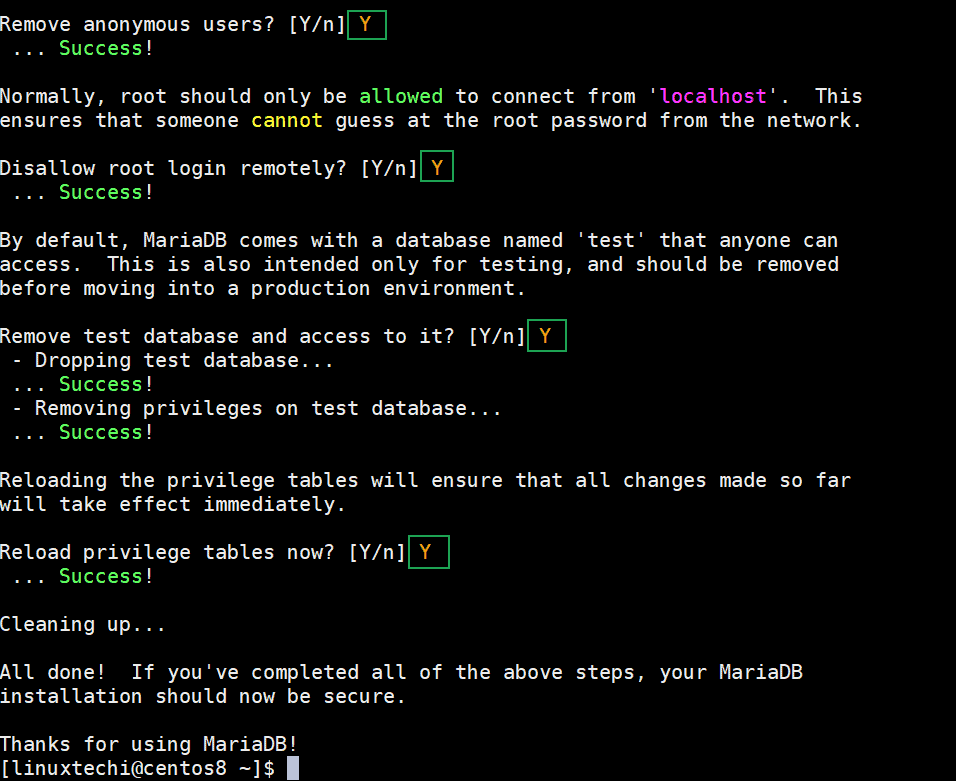
For the remainder of the prompts. Simply press ‘Y’ for Yes to enforce best practice settings.
Step 4) Install OpenLiteSpeed with dnf command
Now, you need to get OpenLiteSpeed installed on your CentOS 8 instance. To install the web server, simply invoke the following dnf command:
$ sudo dnf install -y openlitespeed
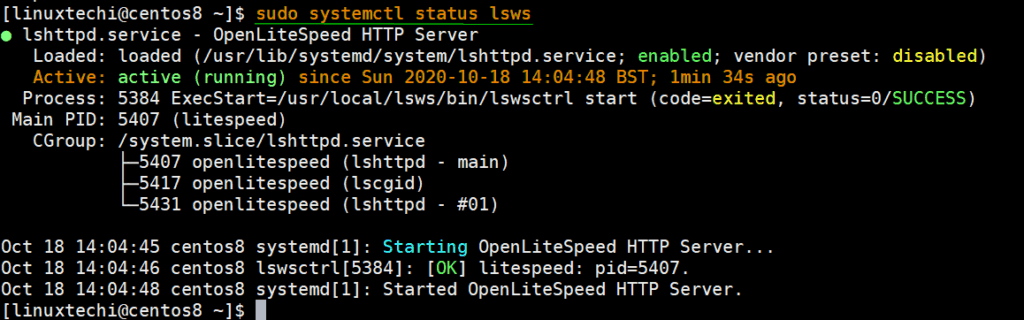
Once the installation is completed, you can check the status of the web server using the command:
$ sudo systemctl status lsws
If the web server is not active and running, you can start it by running the command:
$ sudo systemctl start lsws
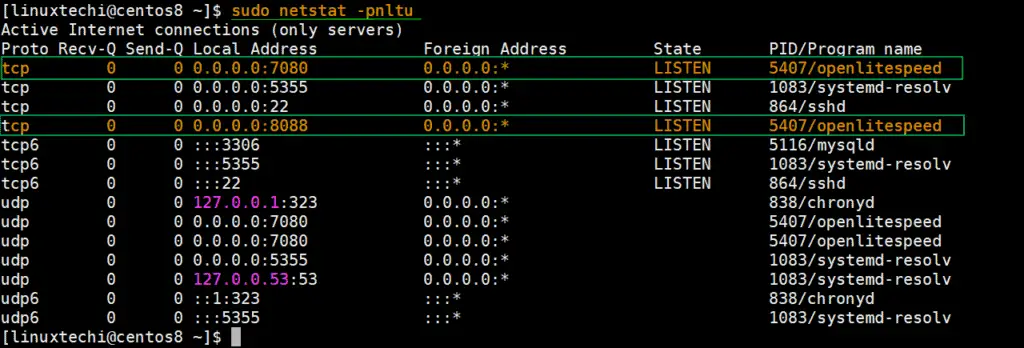
The web server listens on two ports: 8088 and 7080. Port 8088 is for demo purposes while the port 7080 gives you access to the administrative UI.
You can confirm the ports that the web server is listening on using the netstat command as shown:
$ sudo netstat -pnltu
If the firewall is running on your system then you should consider opening these ports as shown.
$ sudo firewall-cmd --zone=public --permanent --add-port=8088/tcp
$ sudo firewall-cmd --zone=public --permanent --add-port=7080/tcp
$ sudo firewall-cmd --reload
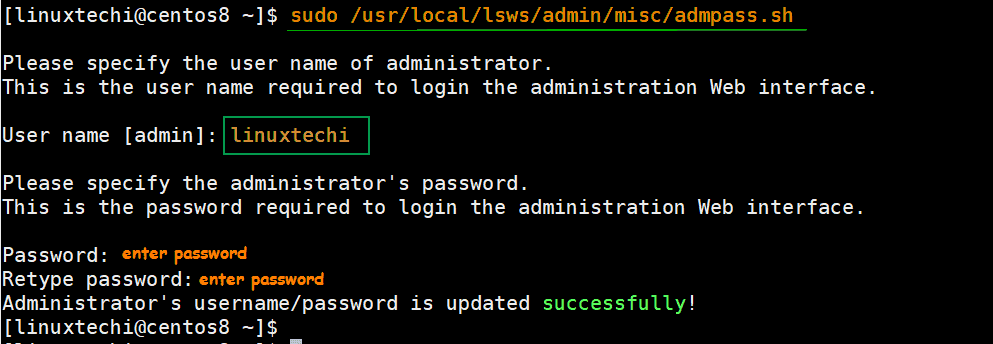
Step 5) Change the default Administrator Password
By default, the Admin’s password is set to ‘123456’, and for obvious reasons, we need to change this password and set a very robust password. Even better, we will specify a different username from the default ‘admin’ username.
To achieve this run the script shown below
$ sudo /usr/local/lsws/admin/misc/admpass.sh
Specify a different username and password as demonstrated below.
Step 6) Accessing OpenLiteSpeed web server
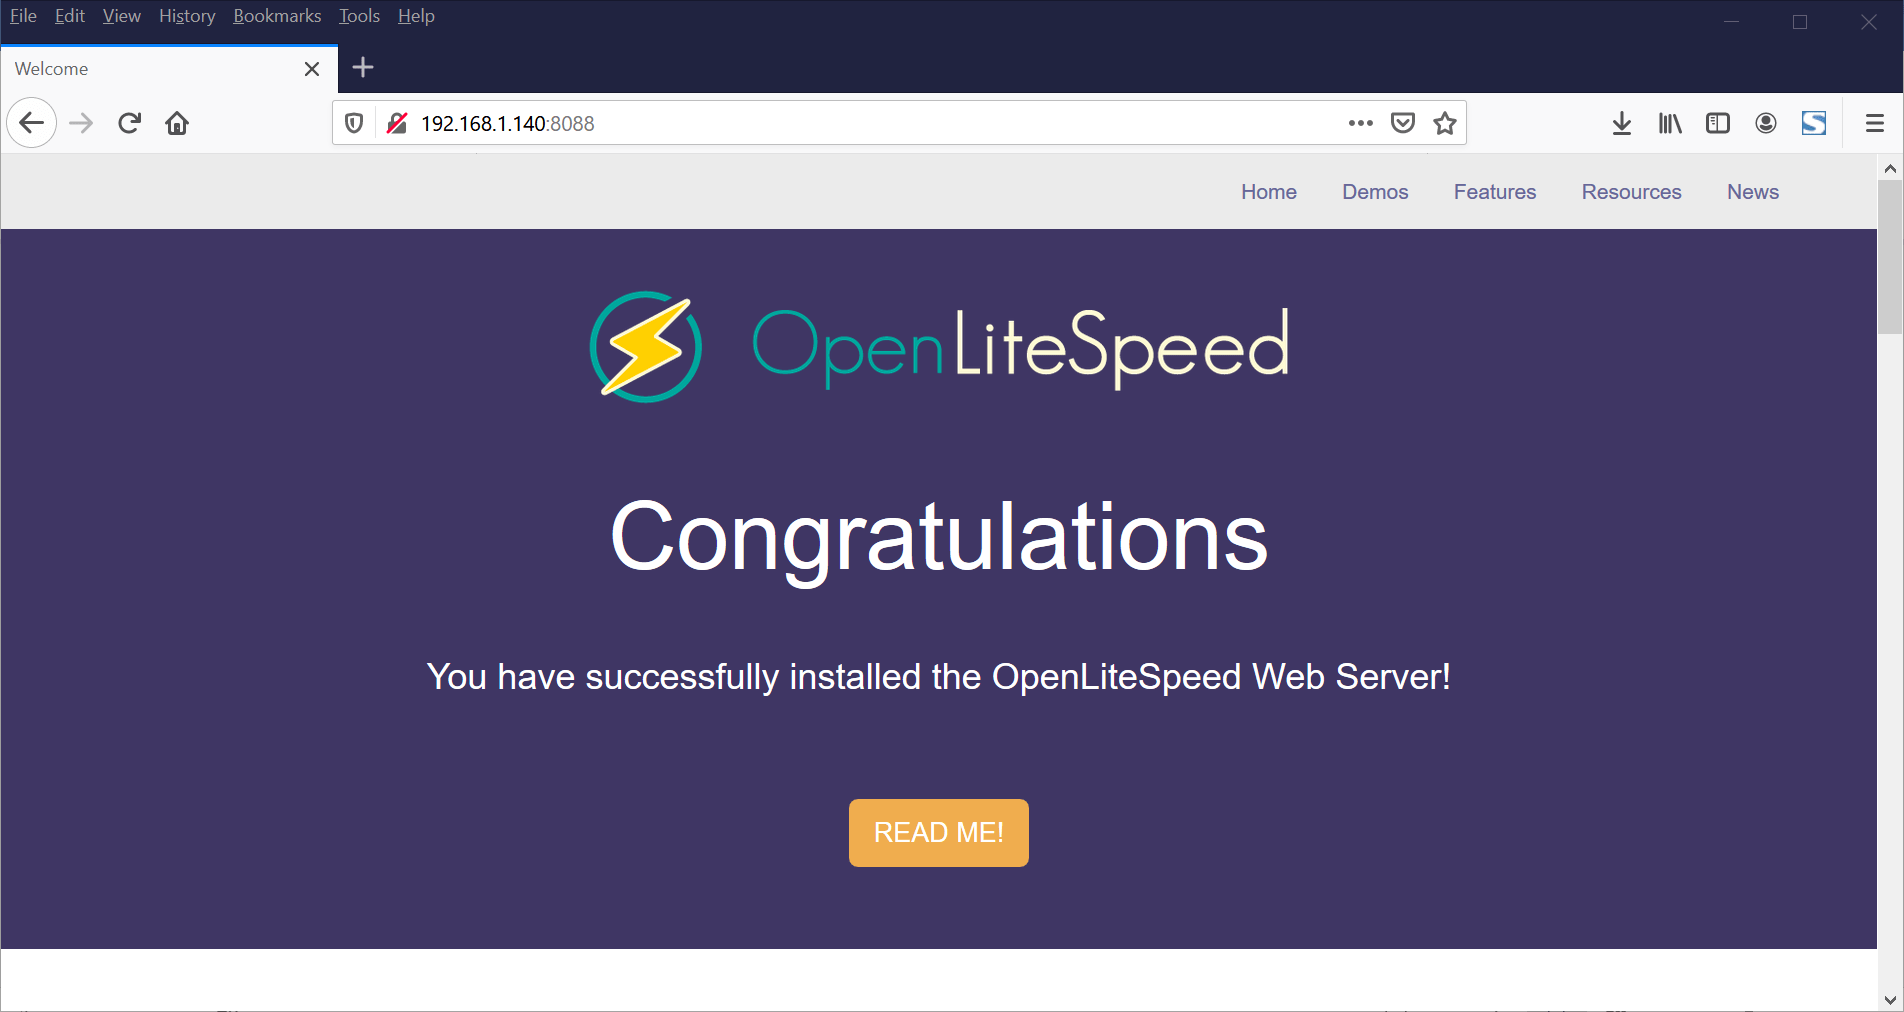
To access the default page for OpeLiteSpeed web server, browser the server’s address as shown:
http://server-ip:8088
This takes you to the demo page as shown.
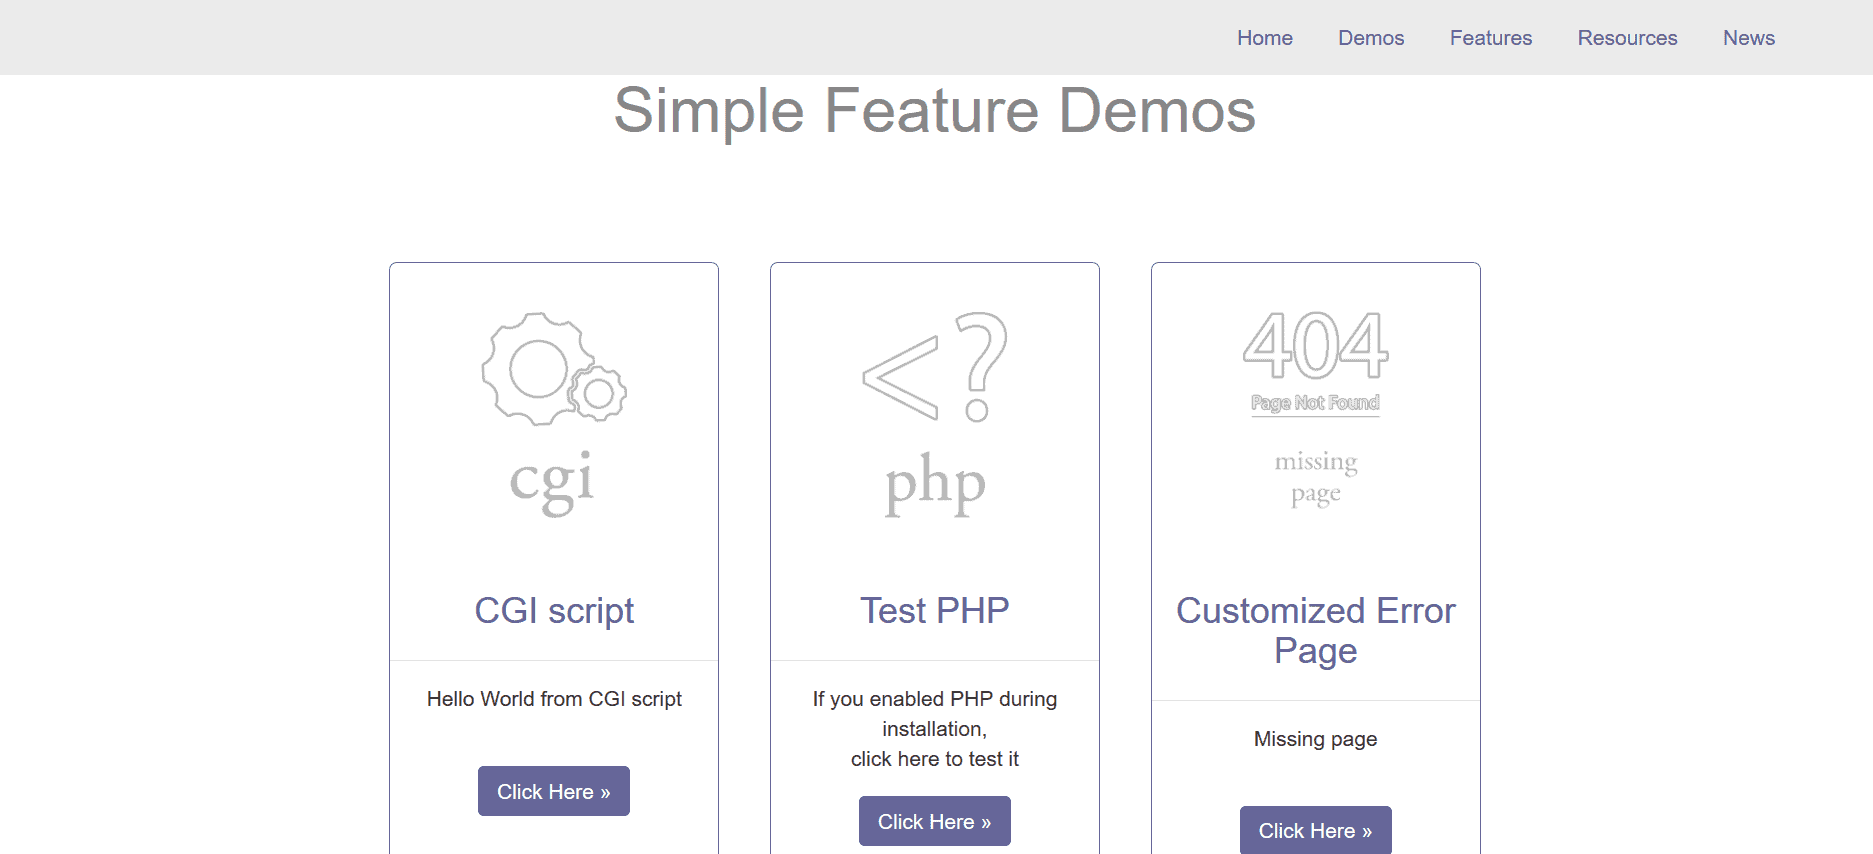
You can click the menu bar options so see what’s in store. For example, when you click on the ‘Demos’ option, you get some featured demos such as testing the output ‘Hello word’ from the CGI script and the PHP version.
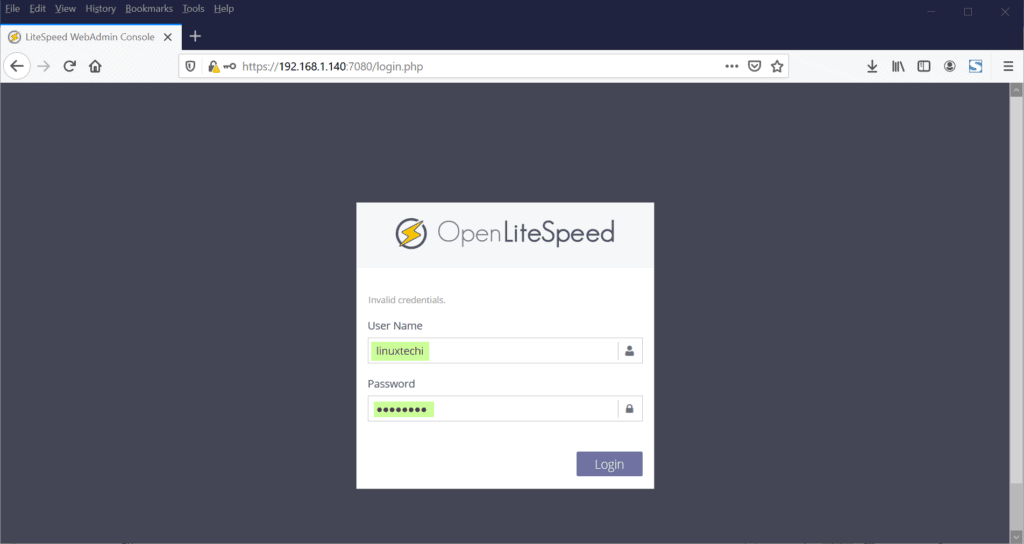
To access the administrative section, browse the server’s IP with the port 7080 using the https protocol.
https://server-ip:7080
Provide the new username and password that you set in the previous step and click the ‘Login’ button.
This takes you to the OpenLiteSpeed dashboard as shown below.
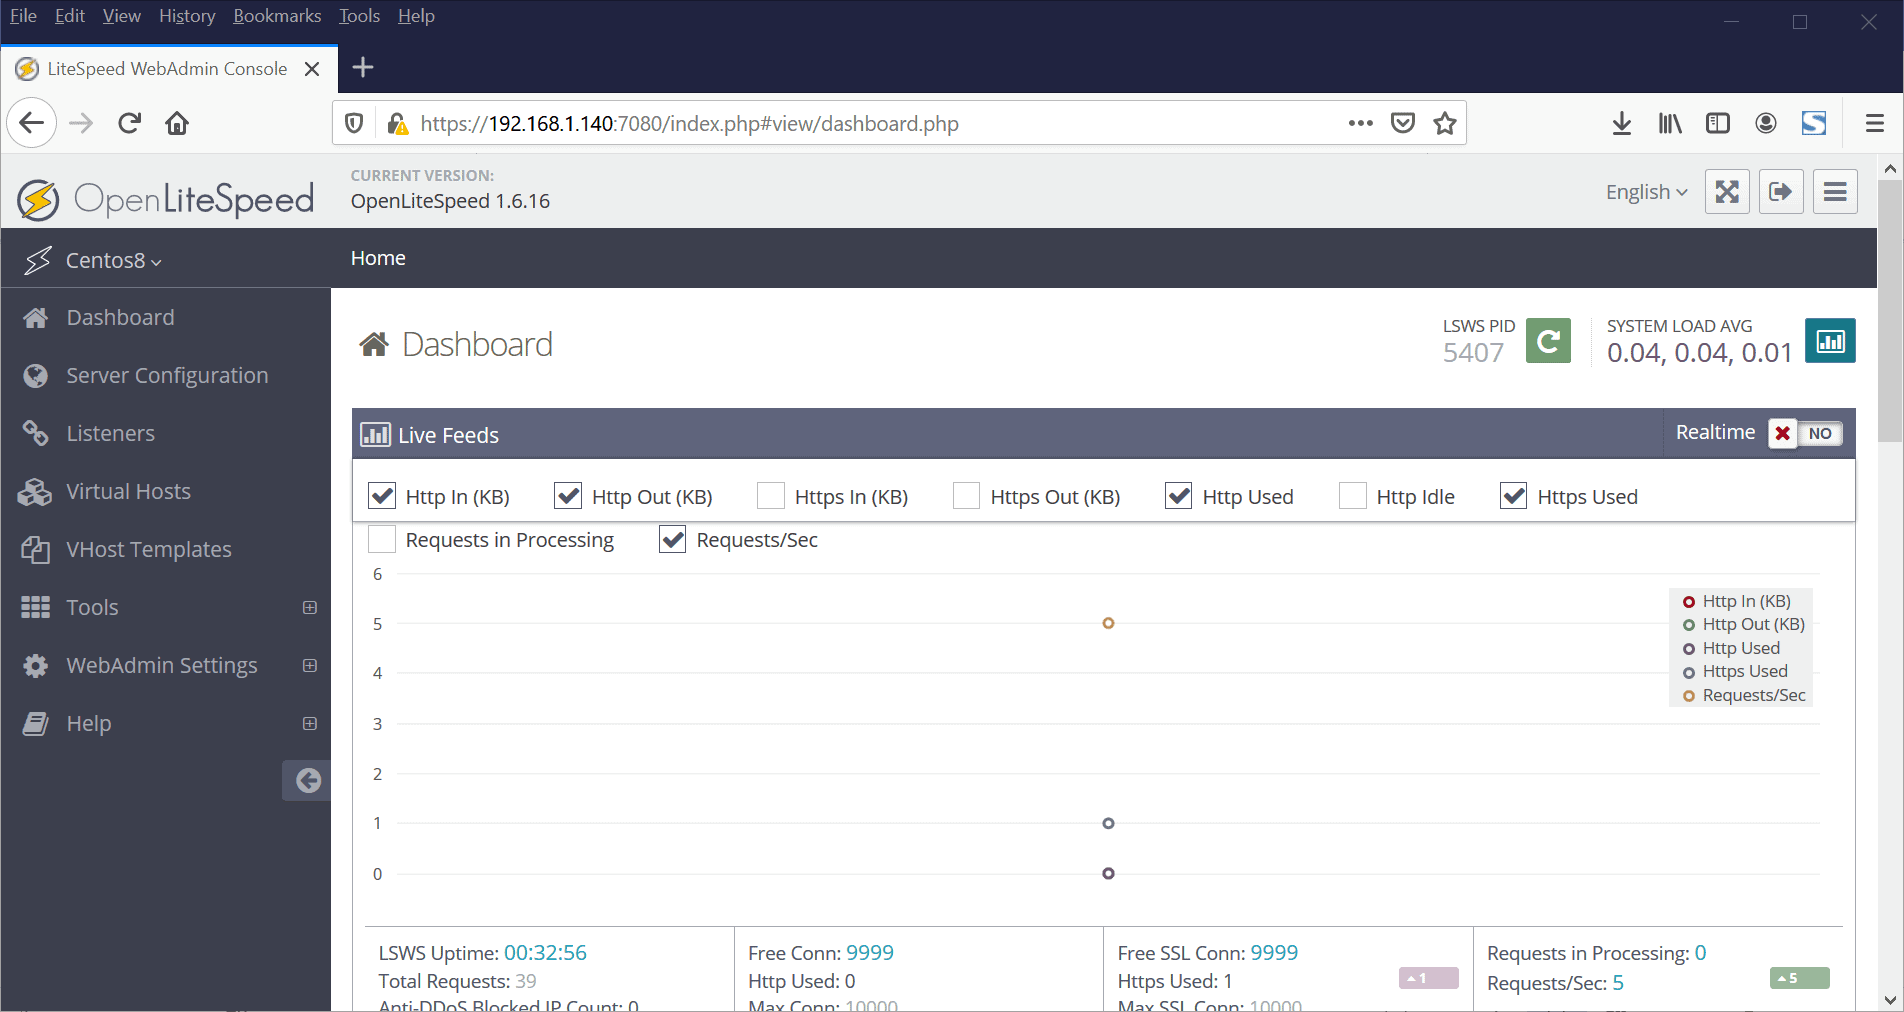
From here, you can configure virtual hosts, change the default port from port 8088 to another port and so much more. And this brings down the curtain on our topic for today. Please don’t hesitate to share your feedback and comments in the comments section below.
Also Read: How to Harden and Secure NGINX Web Server in Linux