Debian, which is a hugely popular Linux distribution, has given rise to a wide selection of popular Debian flavors. Among the most celebrated and hugely popular Debian flavors is MX Linux, which takes the first position in Distrowatch at the time of penning down this tutorial.
MX Linux project is made possible by the collaborative efforts of AntiX and former MEPIS Linux communities. It is a desktop-oriented Linux flavor that provides XFCE as the default desktop environment – although you can get it in KDE Plasma and Fluxbox.
MX Linux is a middleweight Linux distribution that combines a colorful and efficient desktop with rock-solid stability and superb performance. The latest stable version of MX Linux is MX Linux 21, codenamed Wildflower. It is based on Debian 11 Bullseye and ships with all the latest software updates and goodness for an amazing and elegant desktop distribution.
In this guide, we will show you how to install MX Linux 21 step-by-step.
Step 1) Download the MX Linux ISO installation file
The first step is to download the MX Linux ISO image. To do this, head over to the MX Linux 21 release page and download your preferred MX Linux desktop environment and architecture. The download will be initiated from SourceForge.
Once downloaded, create a bootable USB drive from the ISO image using an application such as Rufus or UNetBootin.
With the bootable USB drive in place, plug it into your PC and reboot. Ensure that your BIOS is set to boot from the USB installation media by setting the boot priority accordingly.
Step 2) Begin the installation of MX Linux
Once your system has booted, select the first option labeled ‘MX-21 x64 (October 20, 2021)‘.
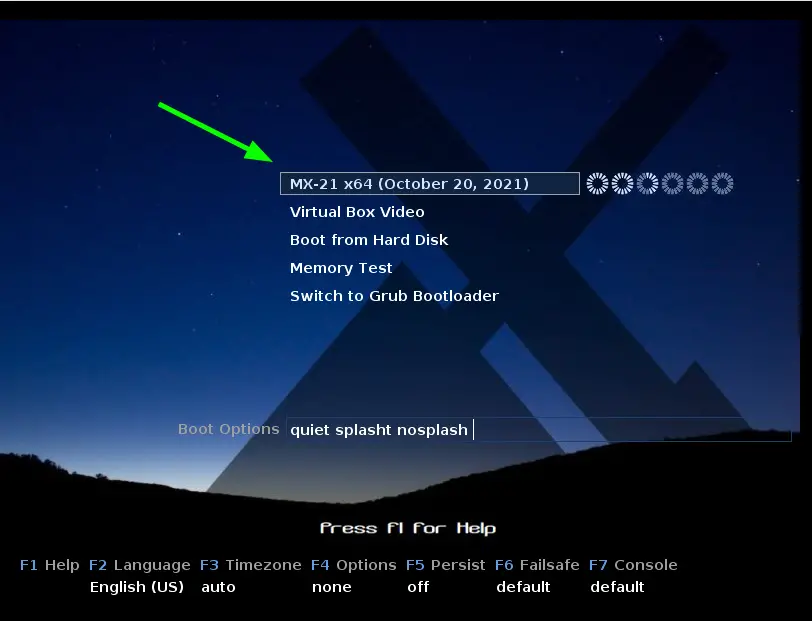
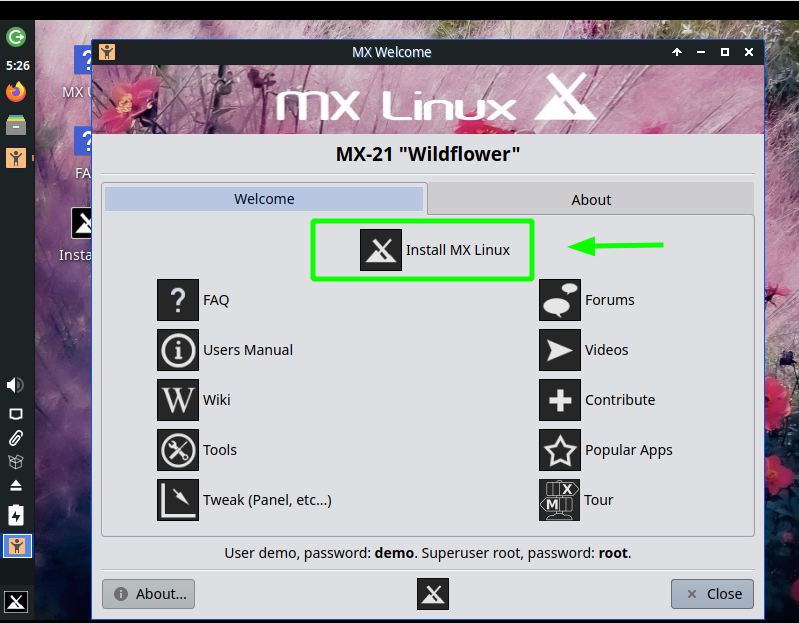
This will boot into the live installation environment and a dialogue pop-up window will appear with an array of options to choose from. Since our objective is to install MX Linux, click on the ‘Install MX Linux’ option.
Step 3) Configure the keyboard
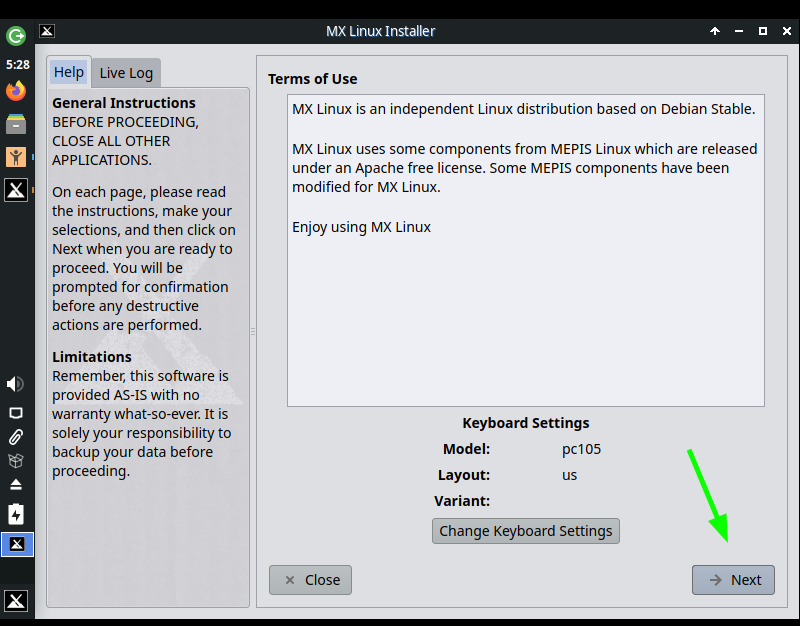
In the next step, read the terms of use, and ensure that your keyboard settings are configured to your preference. To proceed to the next step, click on the ‘Next’ button.
Step 4) Disk partitioning
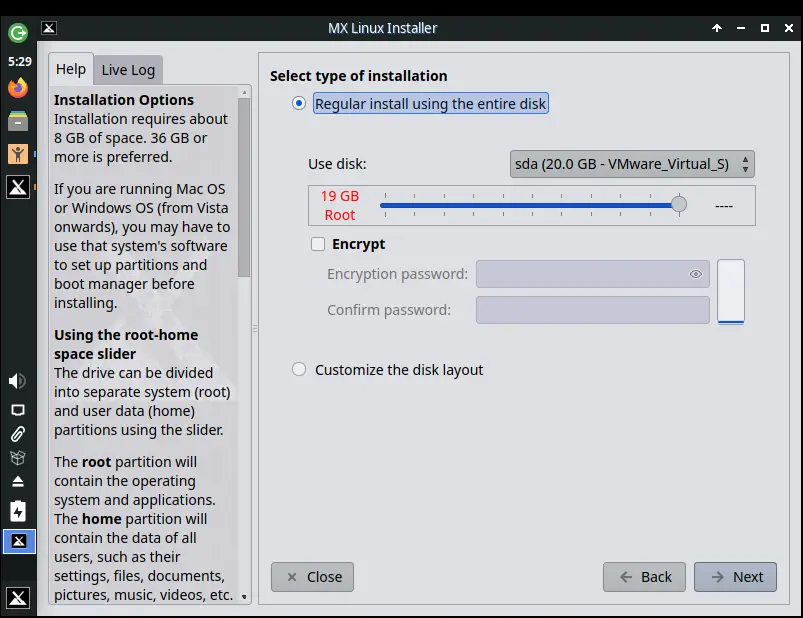
The next step provides you with two installation modes. You can install using the regular installation mode, or alternatively, you can opt to customize the disk layout.
The first option is the easier of the two as it automatically partitions your hard drive, and here, we opted to go with the first option.
To proceed, click ‘Next’.
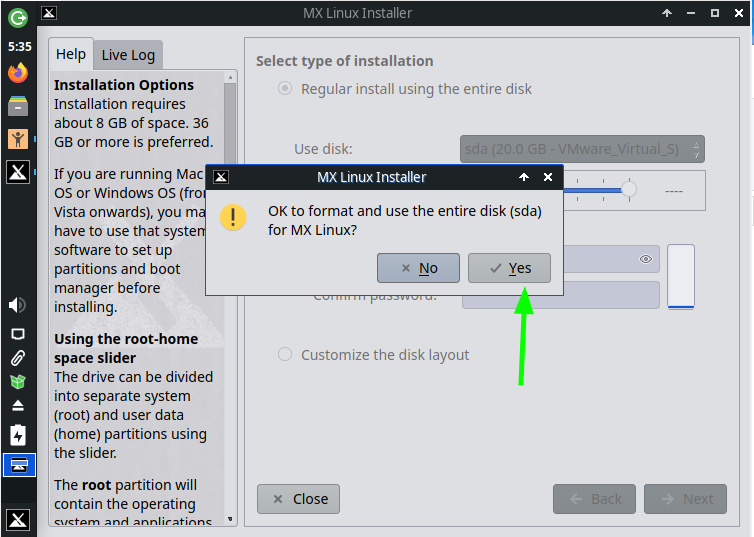
A pop-up will appear prompting you to format and use the entire disk. Click ‘Yes’
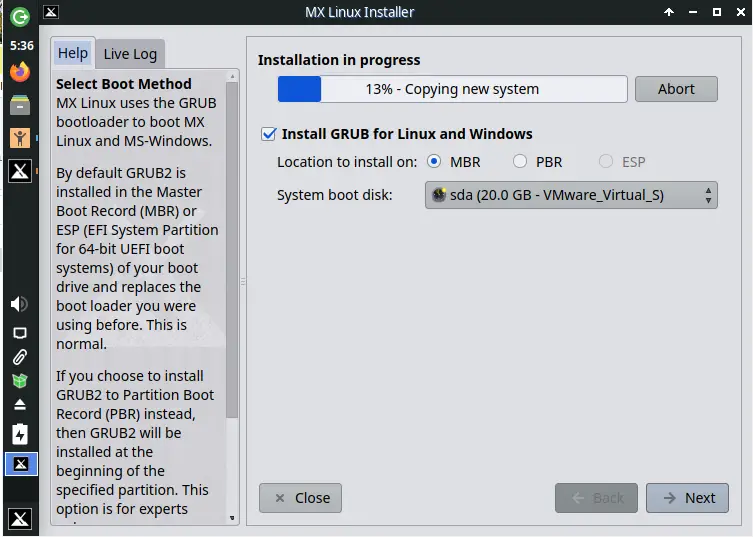
The installation will get underway as the installer copies all the required packages on your hard drive. This will take a while, so just be patient as the installation of MX Linux continues.
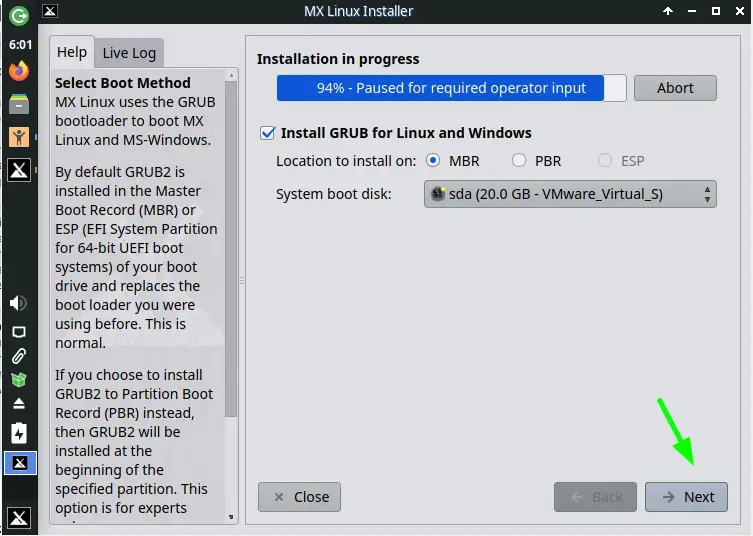
Be on the lookout for the ‘Paused for required operator input’ label on the progress bar. This indicates that some additional information is required. At this point, click on the ‘Next’ button.
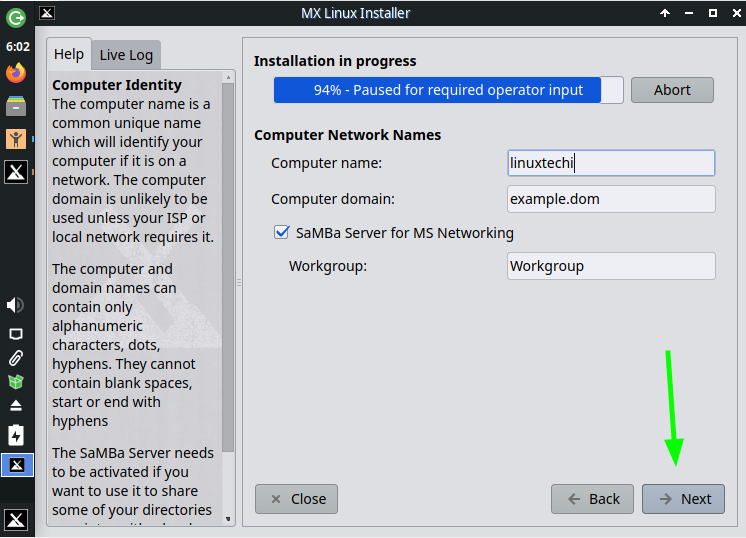
Step 5) Configure computer name
In this section, provide your computer name, and domain (if applicable ) and click ‘Next’.
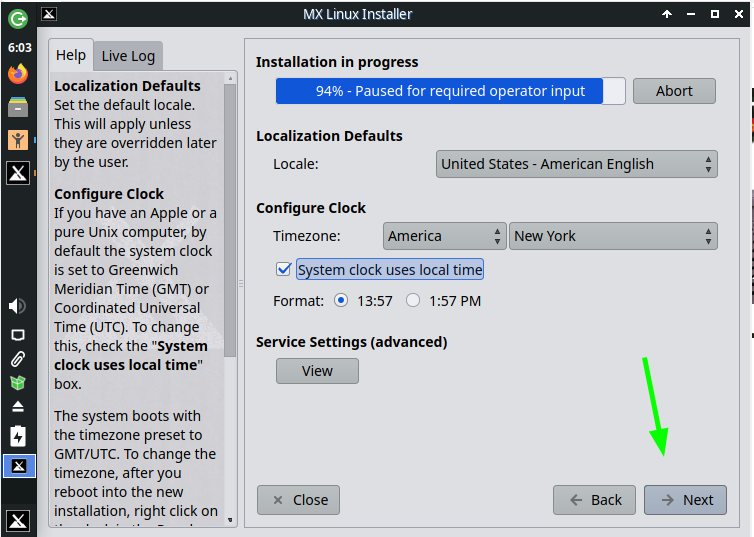
Step 6) Configure system locale, time and date
Be sure to configure your locale, time zone, and system clock format. Once again, click ‘Next’ to proceed.
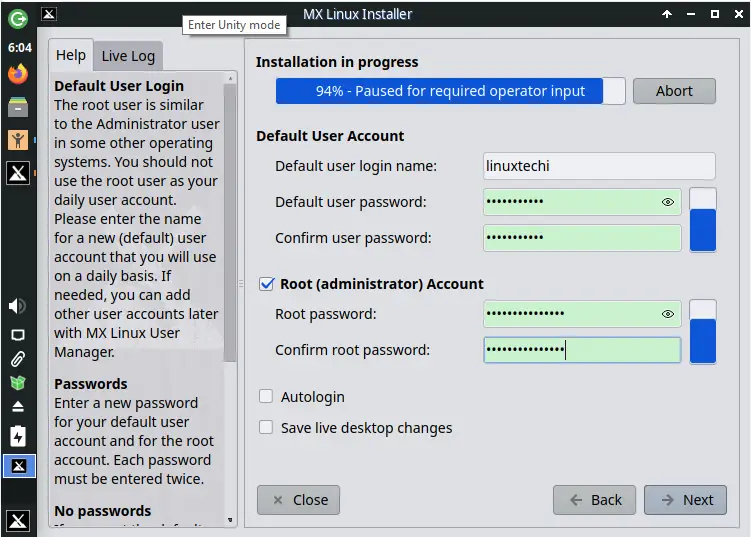
Step 7) Create a regular and root account
In the next section, you will be required to create two accounts: a regular account and a root account. To create a regular login account, provide your preferred username and password. Then create a root account by providing a strong password and confirming it.
Then click ‘Next’ to go to the next step.
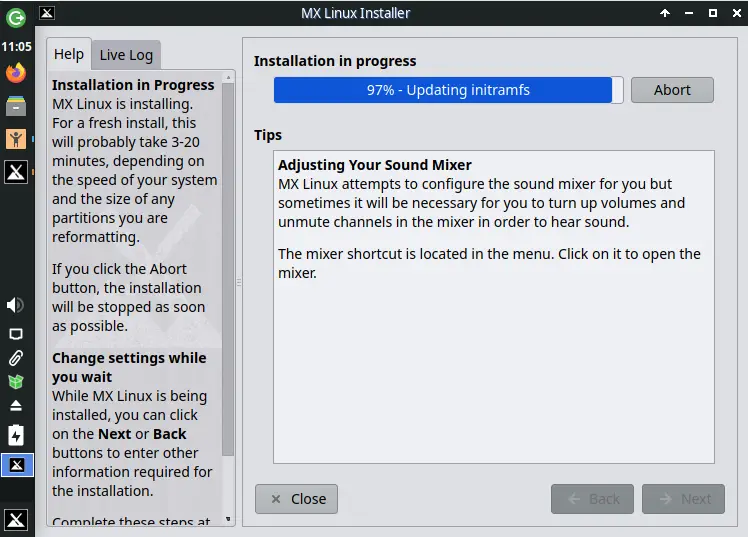
The installer will then proceed to install the remainder of the packages including the GRUB bootloader and perform all the necessary configurations to ensure the system is successfully installed.
Step 8) Wrap up the installation and reboot
When the installation is complete, click on the ‘Finish’ button. This will reboot your system.
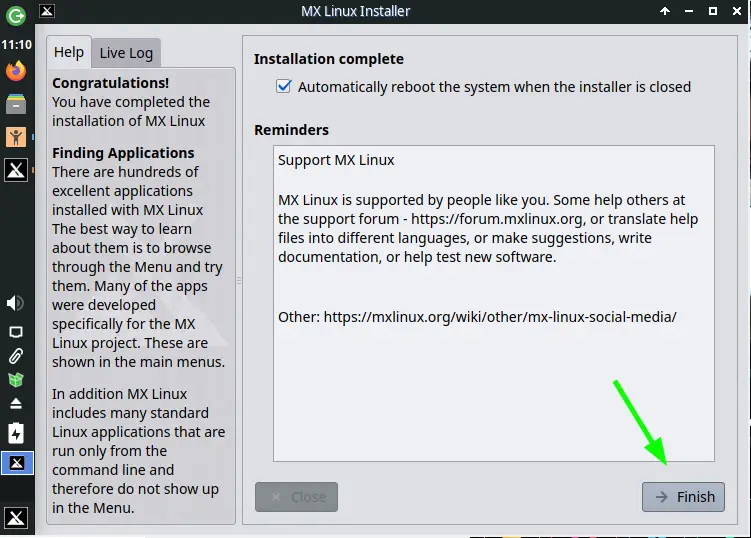
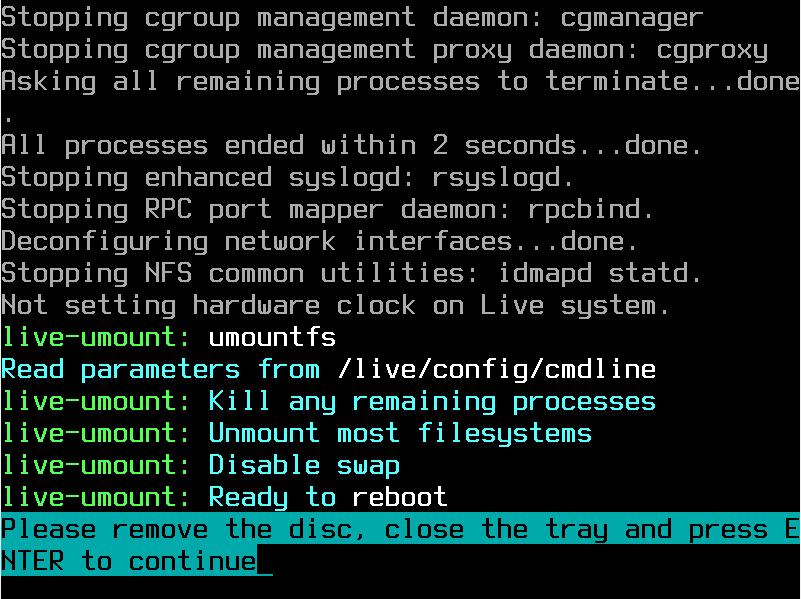
But before the system reboots, you will be prompted to remove your installation media and press ENTER. So, remove your bootable USB drive and hit ENTER to restart your system, and boot into your fresh MX Linux installation.
Step 9 ) Login to MX Linux 21
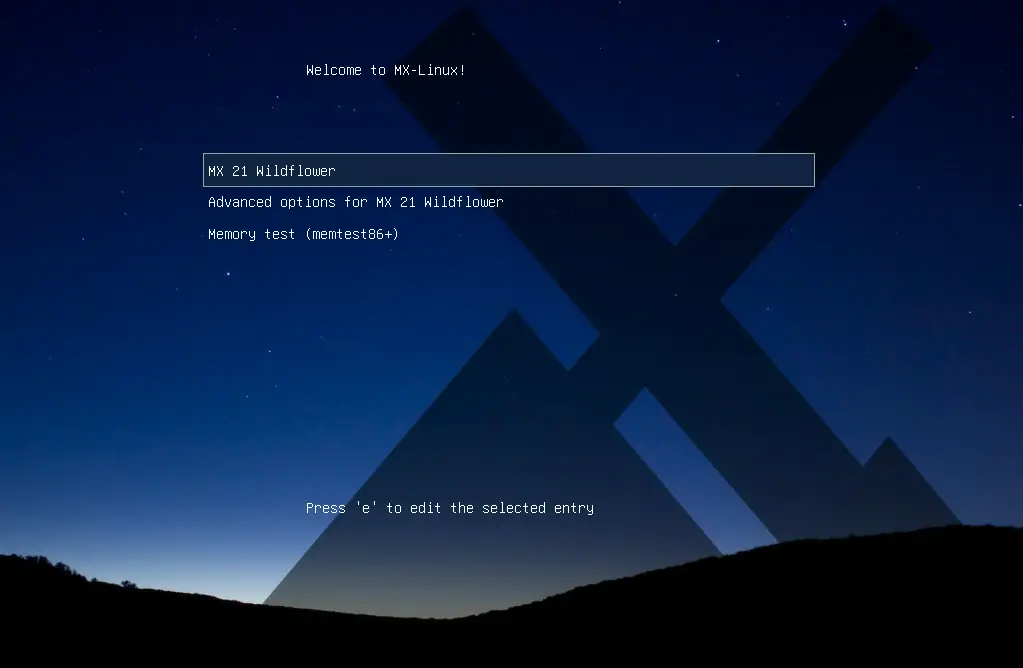
On the GRUB menu, select the first option ‘MX 21 Wildflower’.
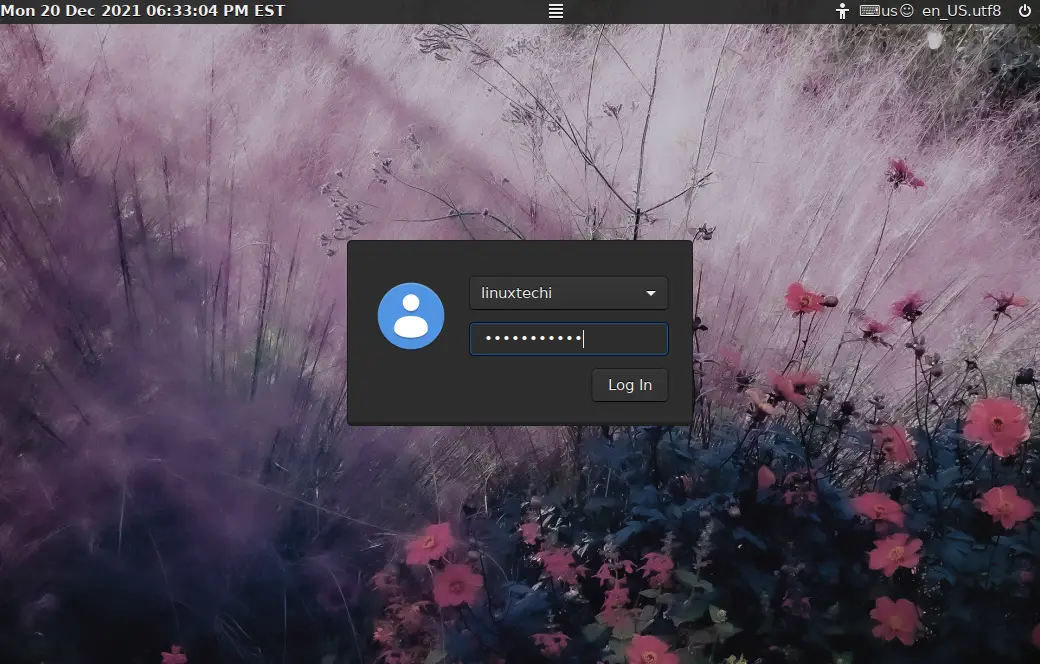
After the booting process, you will be ushered to the login screen as shown. Provide your username and password and click ‘Login’.
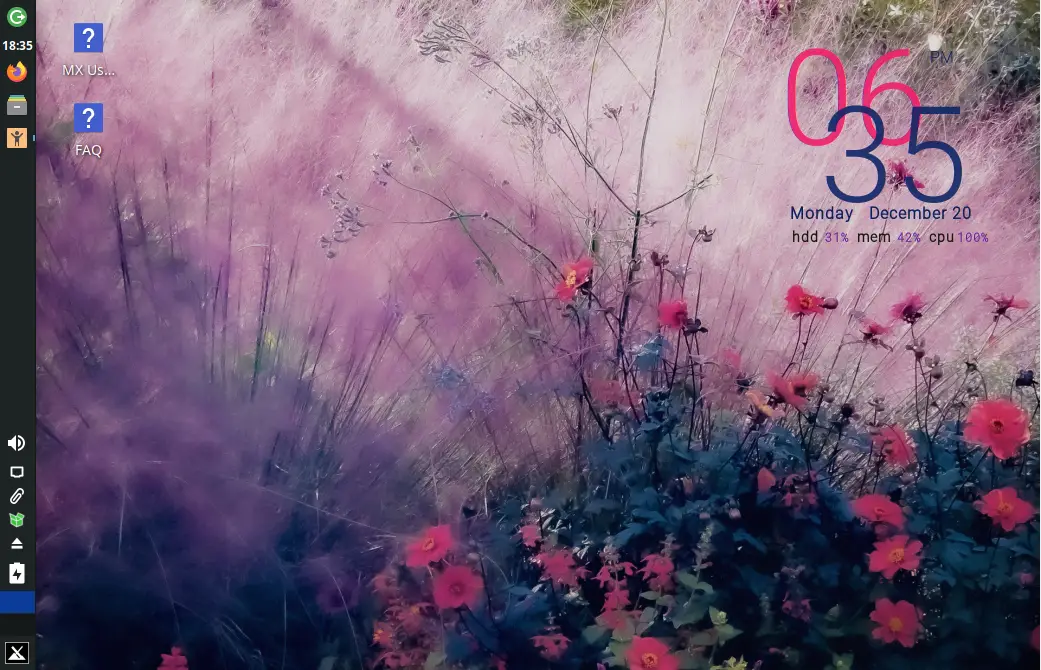
And the beautiful and dazzling MX Linux desktop will come into view.
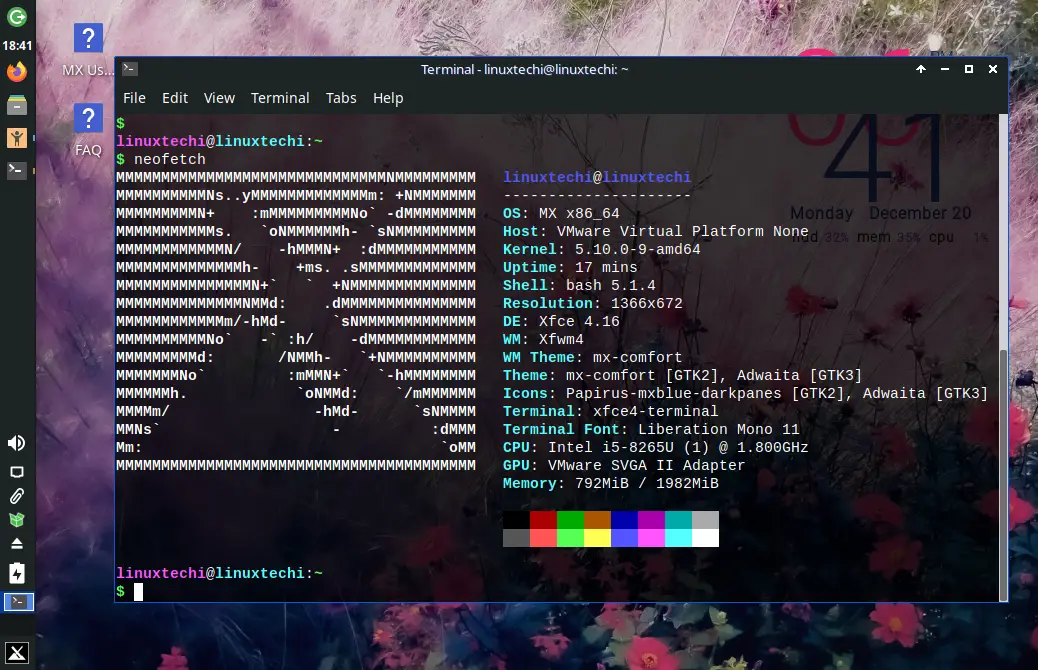
You can use the neofetch command to probe for the OS and system information as shown.
$ neofetch
This provides information such as the OS type, hardware platform, kernel version, uptime, bash version and screen resolution to mention just a few parameters.
To get started with MX Linux, feel free to refresh the package lists and upgrade the packages to their latest versions:
$ sudo apt update -y && sudo apt upgrade -y
Conclusion
And that’s it. We have successfully walked you through a step-by-step installation of MX Linux 21 WildFlower.
nice instructions but what do you do when you get” Fatal error no aufs or overlays” found booting from a USB drive created with Rufus?