This guide takes you through the installation of Graylog with Elasticsearch 7.x on CentOS 8. Graylog is an opensource log management solution that was founded in 2009 for capturing and centralizing real-time logs from various devices in a network. It’s a perfect tool for analyzing crucial logs such as SSH logins, breaches or any fishy or unusual incidents which may point to a system breach. With real-time logging capability, it comes across as perfect cybersecurity tool that operation teams can use to mitigate small issues before they snowball into huge threats.
Graylog is made up of 3 crucial components:
- Elasticsearch: This is an opensource analytics engine that indexes data received from the Graylog server.
- MongoDB: This is an opensource NoSQL database that stores meta information and configurations.
- Graylog server: This passes logs and provides a web interface where logs are visualized.
With that summary, we are going to right away install Graylog on CentOS 8.
Prerequisites for Graylog server
As you get started, ensure your CentOS 8 instance meets the following requirements:
- 2 CPUs
- 4 GB RAM
- Fast and stable internet connection
Step 1) Install Java 8 with dnf command
Elasticsearch is built on Java and thus, we need to install Java and more specifically Java 8 before anything else. You have the option of installing OpenJDK or Oracle Java. In this guide, we are installing OpenJDK 8.
$ sudo dnf install -y java-1.8.0-openjdk java-1.8.0-openjdk-devel
To confirm the version of Java installed, run:
$ java -version

Step 2) Install Elasticsearch 7.x
We are going to install the latest version of Elasticsearch which by the time of penning down this guide, is Elasticsearch 7.9.2. Elasticsearch is not available on CentOS 8 repositories, and so we will create a local repository. But first, let’s import the GPG key as shown.
$ sudo rpm --import https://artifacts.elastic.co/GPG-KEY-elasticsearch
Using your text editor, create a new repository file as shown:
$ sudo vi /etc/yum.repos.d/elasticsearch.repo
Paste the content shown below
[elasticsearch-7.x]
name=Elasticsearch repository for 7.x packages
baseurl=https://artifacts.elastic.co/packages/7.x/yum
gpgcheck=1
gpgkey=https://artifacts.elastic.co/GPG-KEY-elasticsearch
enabled=1
autorefresh=1
type=rpm-md
Save and exit the configuration file. To install Elasticsearch, run the command:
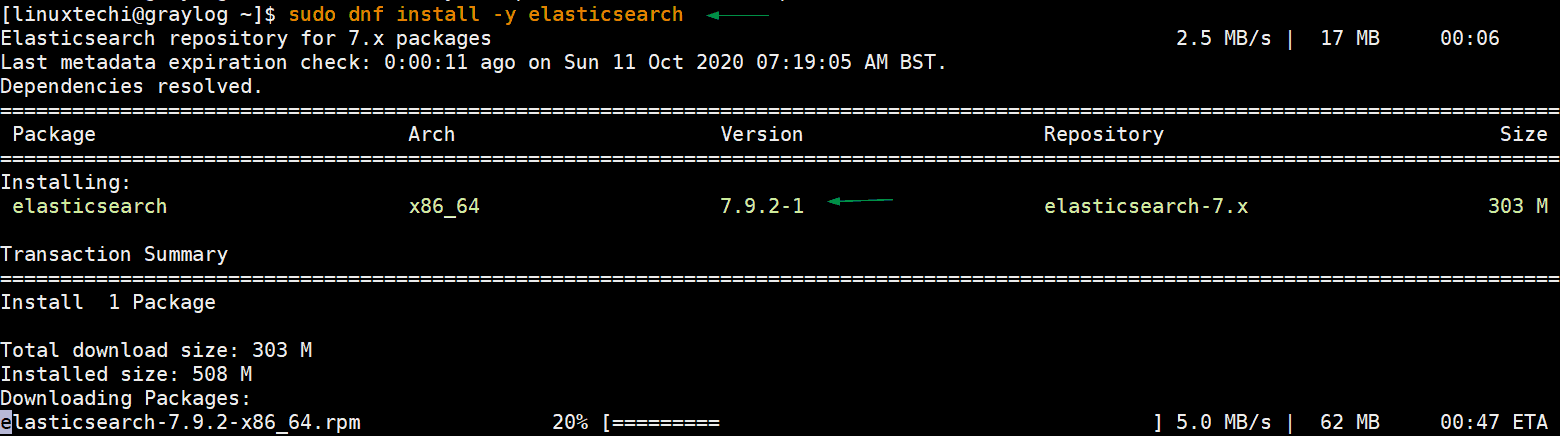
$ sudo dnf install -y elasticsearch
Once the installation is complete, notify systemd and enable Elasticsearch.
$ sudo systemctl daemon-reload
$ sudo systemctl enable elasticsearch
We need to make Elasticsearch work with Graylog and therefore, we will update the cluster name to ‘graylog’ as shown:
$ sudo vi /etc/elasticsearch/elasticsearch.yml
.........
cluster.name:  graylog
.........
Save & exit the file and restart elasticsearch for the changes to take effect.
$ sudo systemctl restart elasticsearch
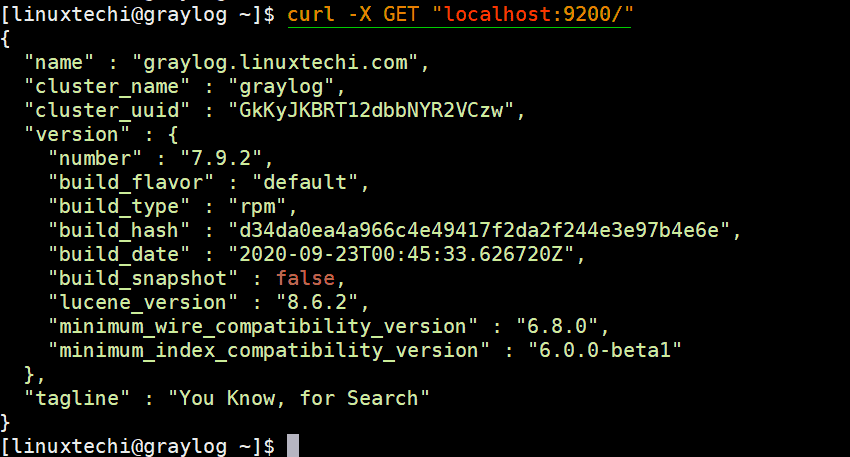
To verify that Elasticsearch is running, we will send a HTTP request via port 9200 as shown.
$ curl -X GET "localhost:9200/"
You should get the output as shown below.
Step 3) Install MongoDB 4
To install MongoDB, create a local repository file
$ sudo vi /etc/yum.repos.d/mongodb-org-4.repo
Paste the configuration shown below
[mongodb-org-4]
name=MongoDB Repository
baseurl=https://repo.mongodb.org/yum/redhat/8/mongodb-org/4.2/x86_64/
gpgcheck=1
enabled=1
gpgkey=https://www.mongodb.org/static/pgp/server-4.2.asc
Save and exit and then install MongoDB using the command shown.
$ sudo dnf install -y mongodb-org
Once MongoDB is installed then start MongoDB and confirm its status as shown
$ sudo systemctl start mongod
$ sudo systemctl enable mongod
$ sudo systemctl status mongod
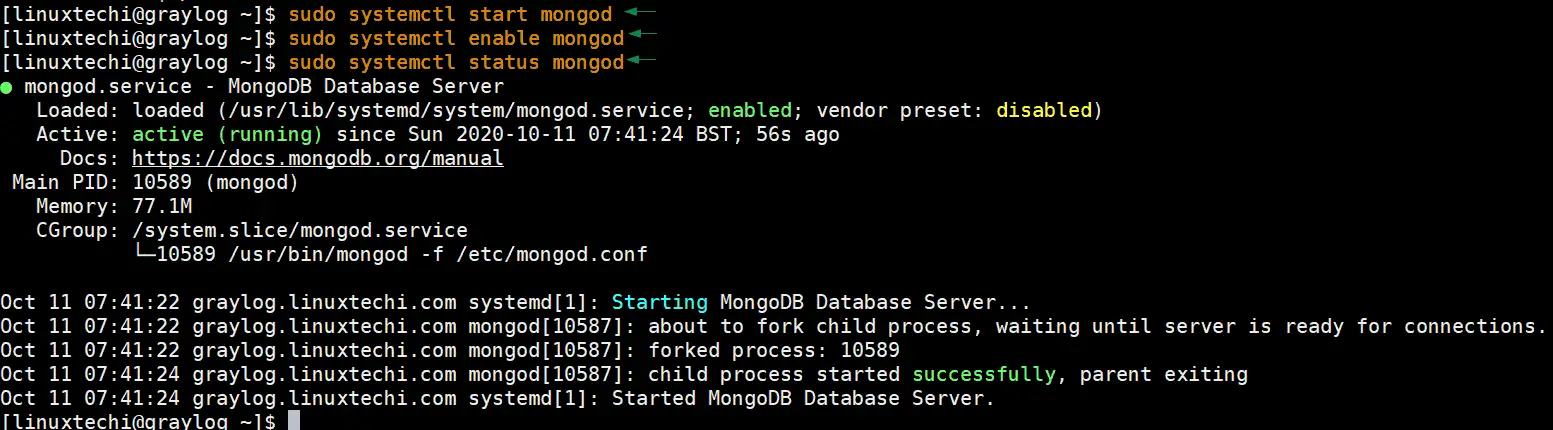
Perfect, above output confirms that mongodb service is started successfully and running fine.
Step 4) Install and configure Graylog server
To install the Graylog server, first begin by installing the Graylog repository as shown:
$ sudo rpm -Uvh https://packages.graylog2.org/repo/packages/graylog-3.3-repository_latest.rpm
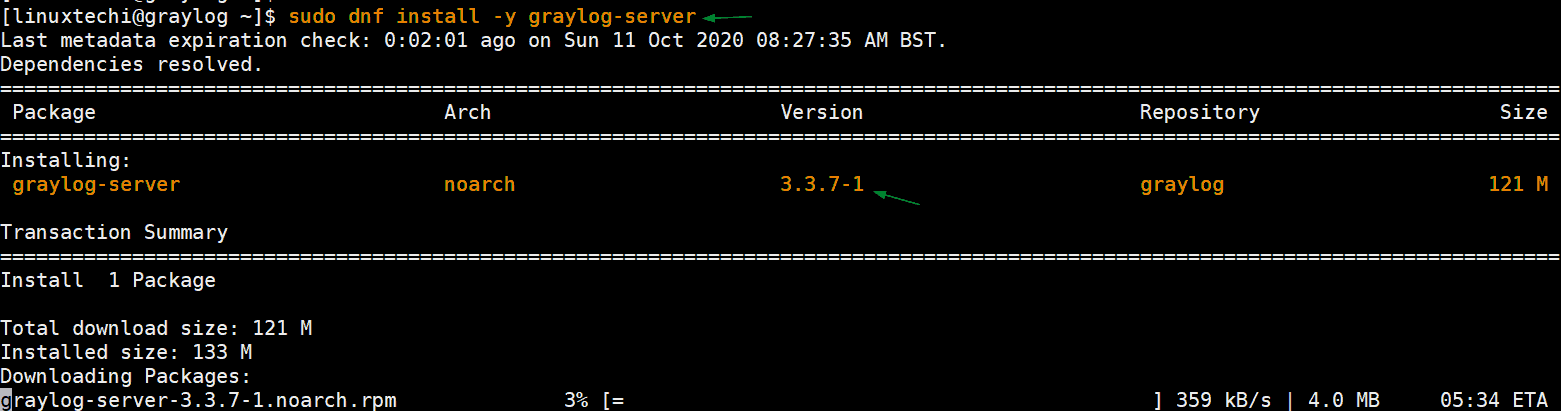
Once the repository is added, install the Graylog server as shown.
$ sudo dnf install -y graylog-server
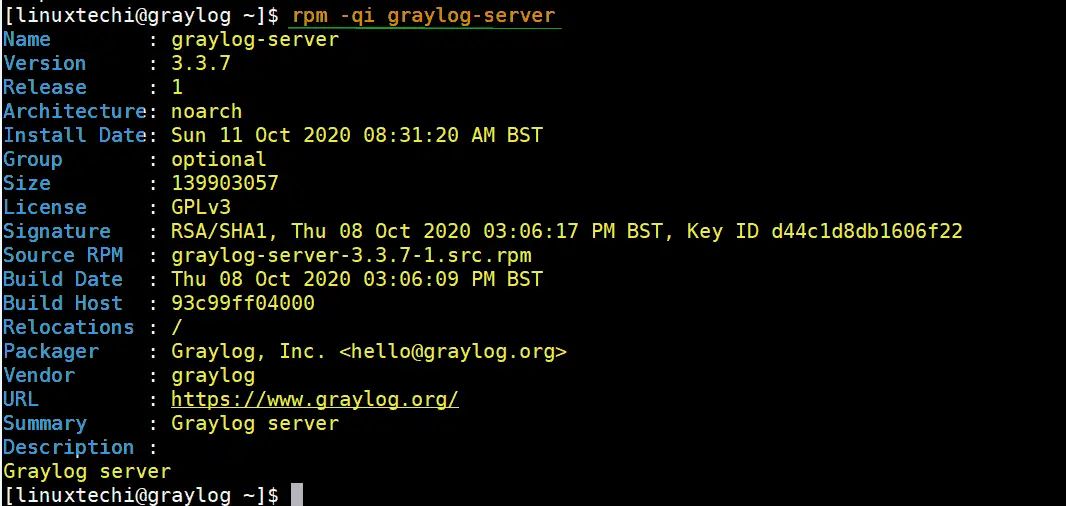
Upon successful installation, you can confirm more details about the Graylog server by running:
$ rpm -qi graylog-server
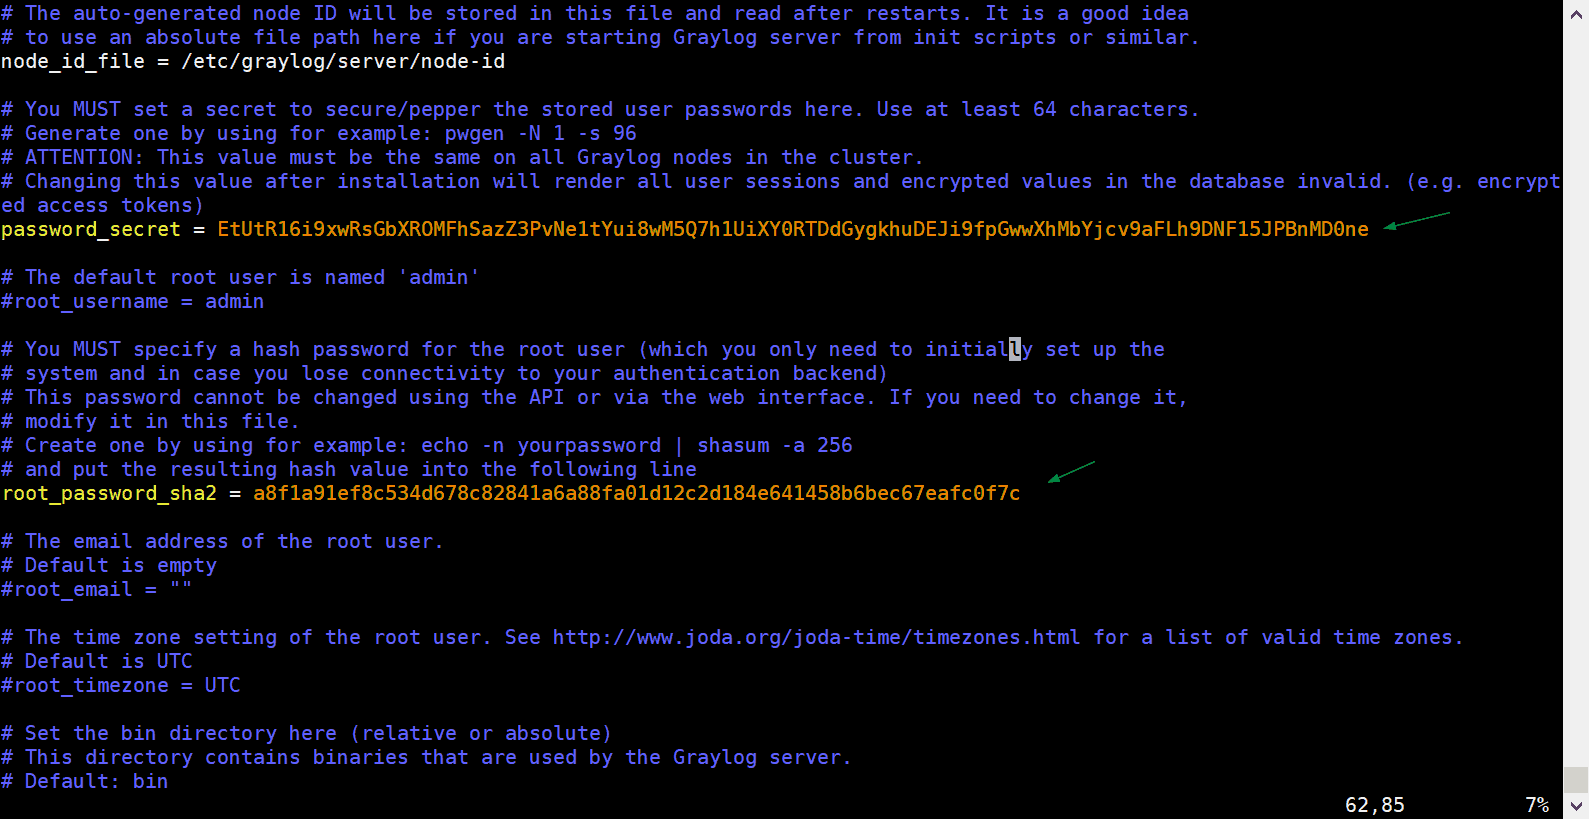
Let’s now make a few configurations. First, we will generate a secret password that will be passed in the password_secret directive in the /etc/graylog/server/server.conf configuration file. To do this we will generate a random password using a random password generator called pwgen. To install it, first we need to enable EPEL repository for CentOS 8.
$ sudo dnf install -y epel-release
$ sudo dnf install -y pwgen
Once installed, you can generate a random password using the command.
$ sudo pwgen -N 1 -s 96
Output of command would be look like below:
[linuxtechi@graylog ~]$ sudo pwgen -N 1 -s 96
EtUtR16i9xwRsGbXROMFhSazZ3PvNe1tYui8wM5Q7h1UiXY0RTDdGygkhuDEJi9fpGwwXhMbYjcv9aFLh9DNF15JPBnMD0ne
[linuxtechi@graylog ~]$
Copy the encrypted password and save it somewhere, preferably on a text editor. You will need this somewhere else.
Next, generate a password for the root_password_sha2 attribute as shown.
$ echo -n Gr@yLog@123# | sha256sum
Output would be,
[linuxtechi@graylog ~]$ echo -n Gr@yLog@123# | sha256sum
a8f1a91ef8c534d678c82841a6a88fa01d12c2d184e641458b6bec67eafc0f7c  -
[linuxtechi@graylog ~]$
Once again, save this encrypted password somewhere. Now open Graylog’s configuration file.
$ sudo vi /etc/graylog/server/server.conf
Locate the password_secret and root_password_sha2 attributes and paste the corresponding encrypted passwords.
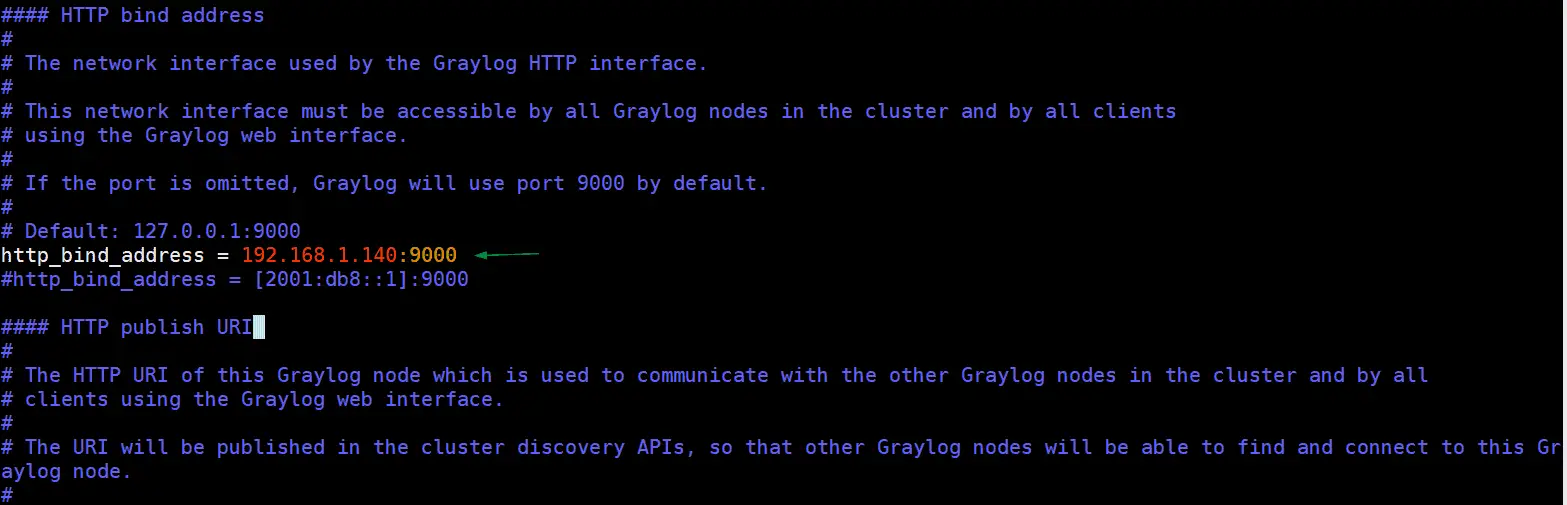
Next, uncomment the http_bind_address attribute and enter your server’s IP.
Reload systemd, start and enable Graylog.
$ sudo systemctl daemon-reload
$ sudo systemctl start graylog-server
$ sudo systemctl enable graylog-server
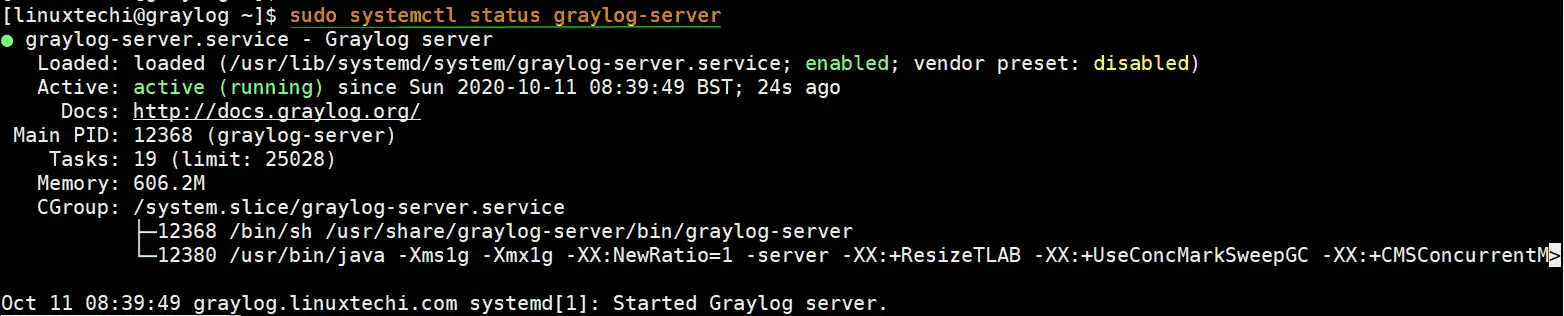
Run following command to verify the Graylog service status:
$ sudo systemctl status graylog-server
You can also verify the graylog service status using its log file “/var/log/graylog-server/server.log”
Allow Graylog Server in firewall:
In case firewall is enabled and running then allow 9000 tcp port using beneath commands,
$ sudo firewall-cmd --permanent --add-port=9000/tcp
$ sudo firewall-cmd --reload
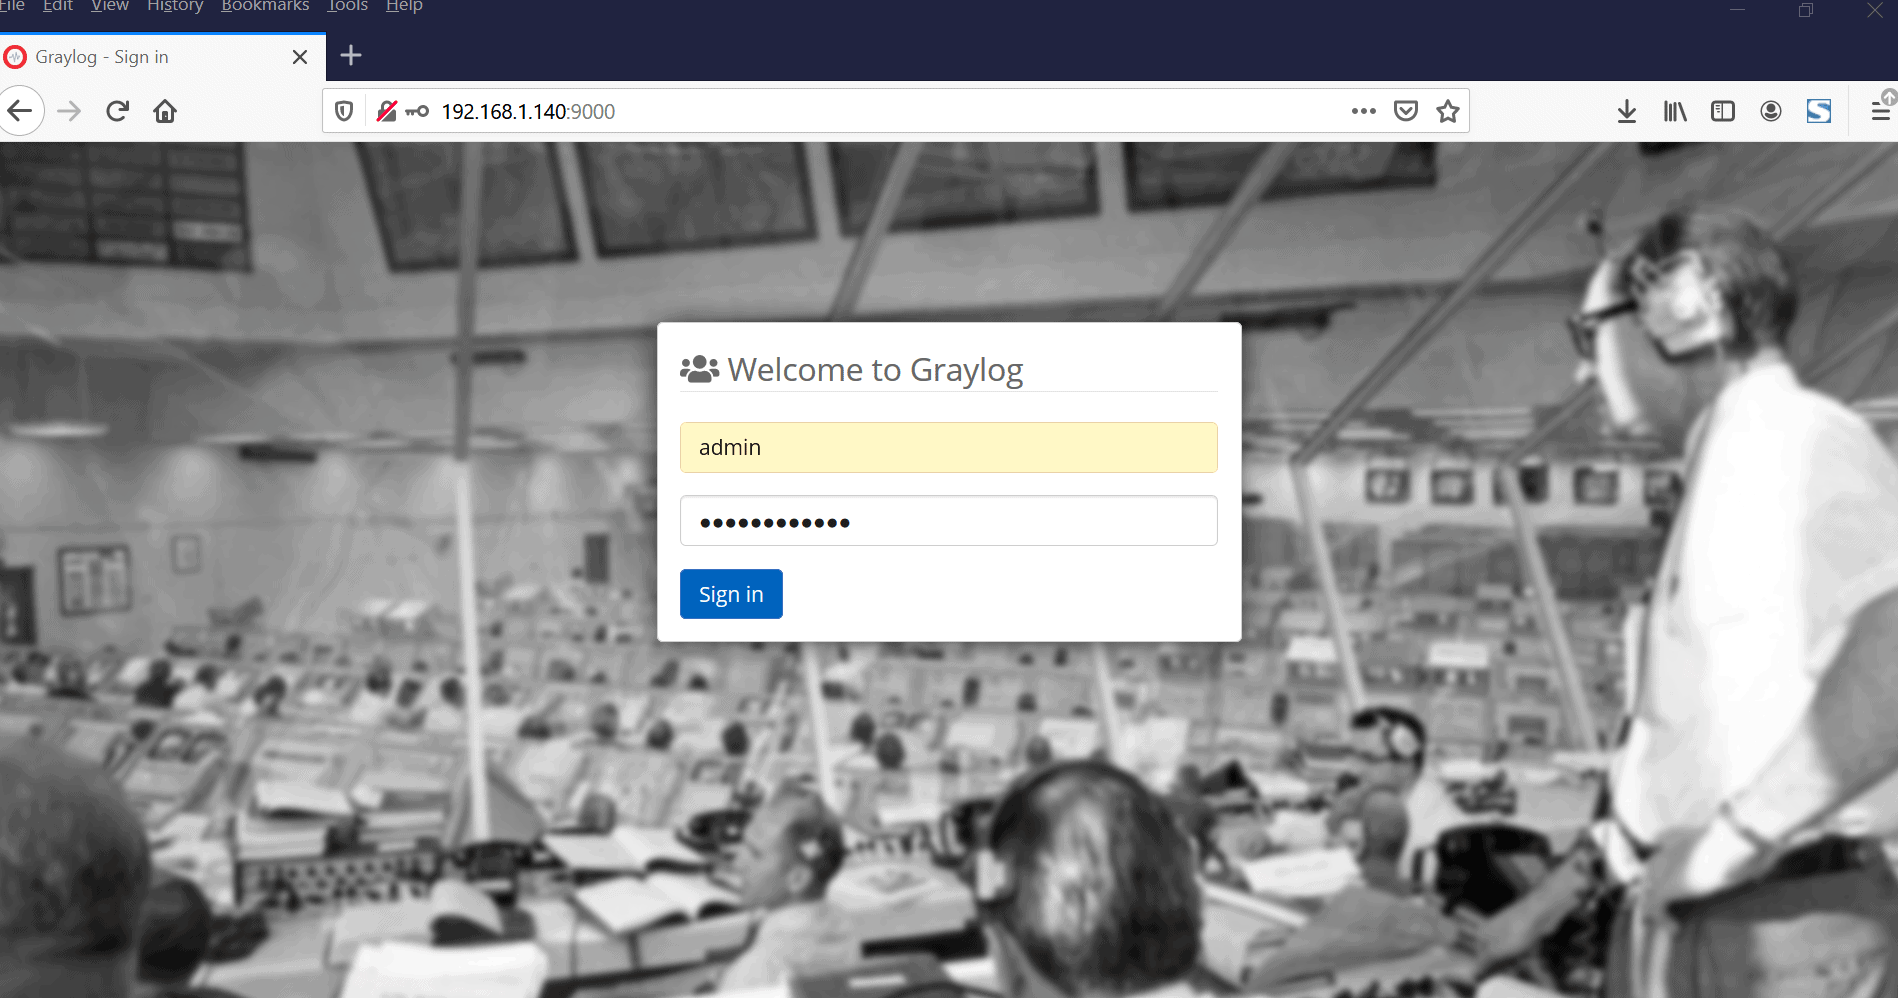
To access Graylog on a browser, browse your server’s IP address as shown:
http://server-IP:9000
Be sure to log in with the username admin and the password that your set for the root user as specified in the configuration file.
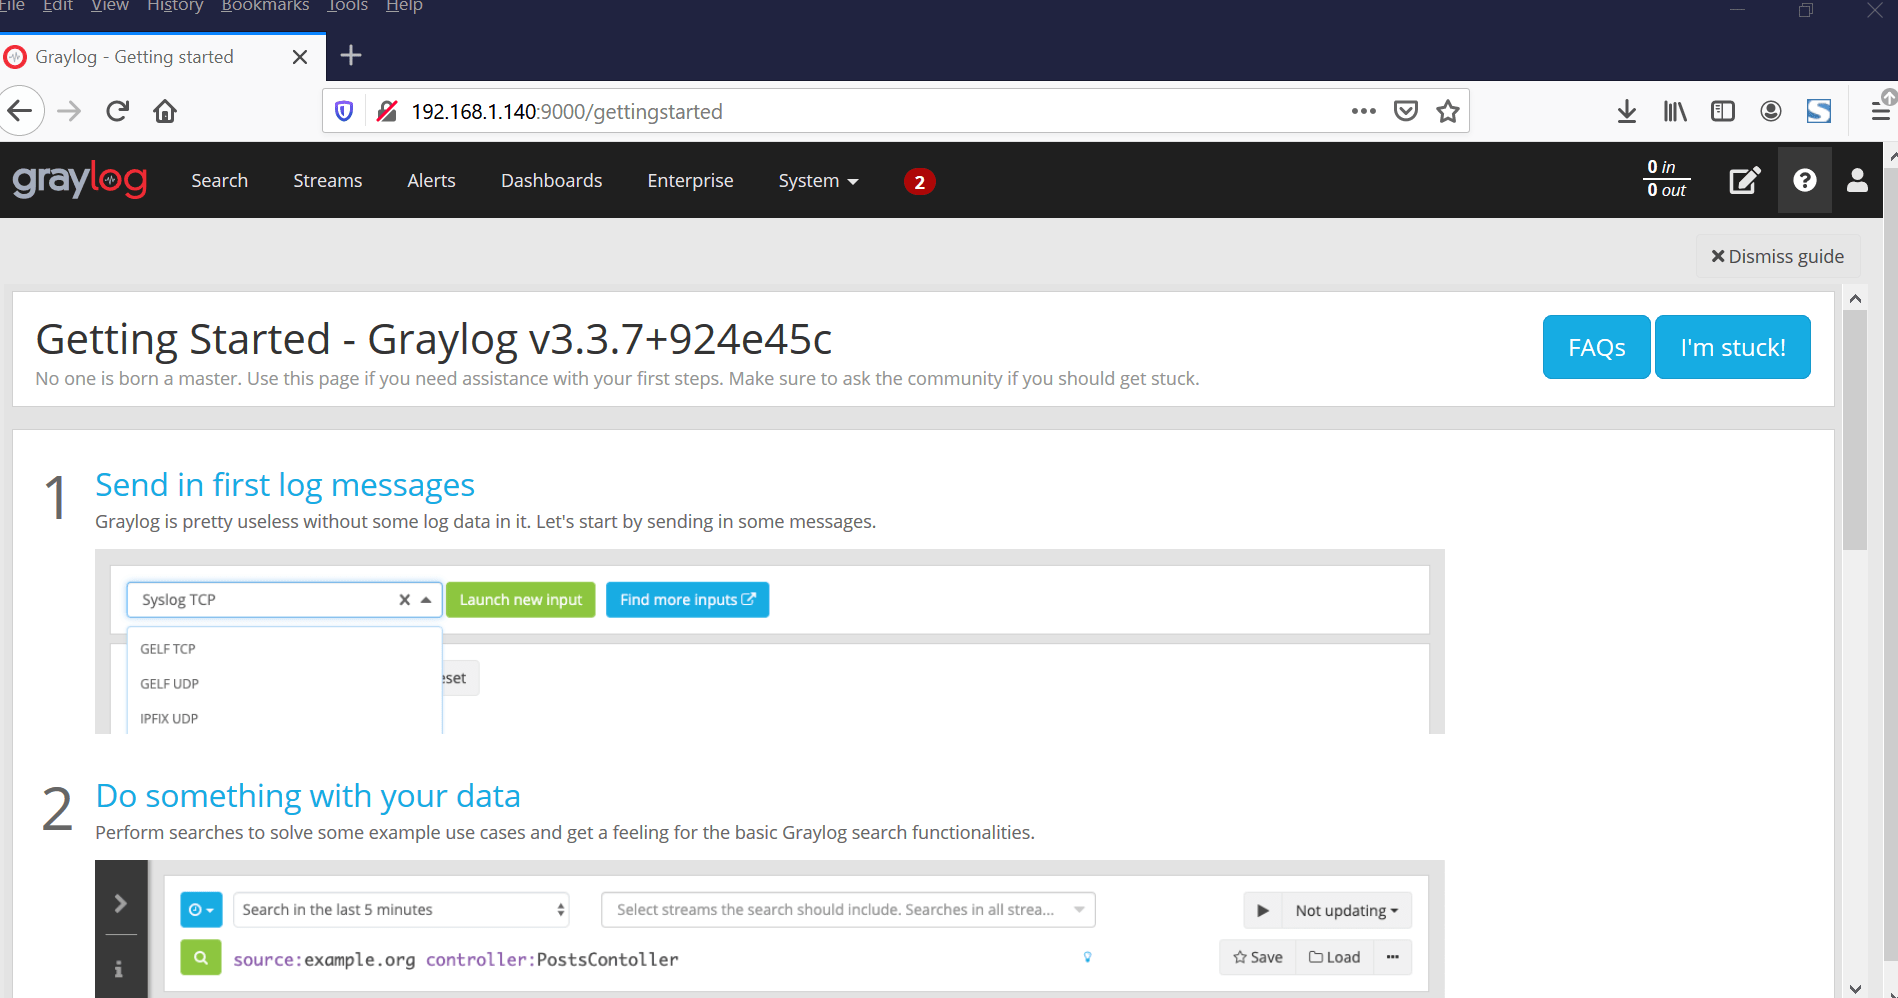
This wraps up our topic for today. We have taken you a step-by-step procedure of installing Graylog on CentOS 8. Please do share your feedback and comments.