CRI-O is an opensource and lightweight container runtime for Kubernetes. It is an implementation of the Kubernetes Container Runtime Interface (CRI) using Open Container Initiative (OCI) compatible runtimes. It’s a perfect alternative to Docker when running Kubernetes.
In this guide, we will demonstrate how to install CRI-O on Ubuntu 22.04 LTS step by step.
Prerequisites
Before you start out, here is what you need:
- An instance of Ubuntu 22.04 with SSH access
- A sudo user configured on the instance
- Fast and stable internet connectivity
With that out of the way, let us get started out.
Step 1: Update the system and Install dependencies
Right off the bat, log into your server instance and update the package lists as follows.
$ sudo apt update
Once the local package index has been updated, install the dependencies as follows.
$ sudo apt install apt-transport-https ca-certificates curl gnupg2 software-properties-common -y
Step 2: Add CRI-O repository
To install CRI-O, we need to add or enable its repository on Ubuntu. But first, you need to define the variables based on the operating systems and the CRI-O version that you want to install.
As such, define the variables as shown below.
$ export OS=xUbuntu_22.04
$ export CRIO_VERSION=1.24
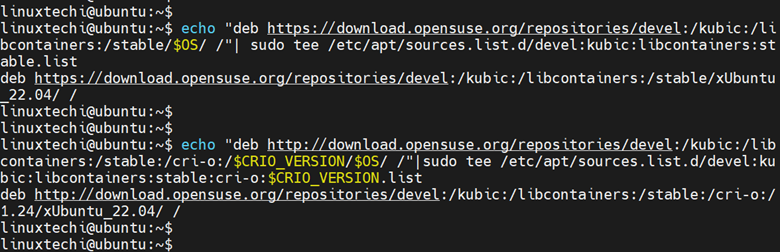
Once that is done, run the following set of commands to add the CRI-O Kubic repository.
$ echo "deb https://download.opensuse.org/repositories/devel:/kubic:/libcontainers:/stable/$OS/ /"| sudo tee /etc/apt/sources.list.d/devel:kubic:libcontainers:stable.list
$ echo "deb http://download.opensuse.org/repositories/devel:/kubic:/libcontainers:/stable:/cri-o:/$CRIO_VERSION/$OS/ /"|sudo tee /etc/apt/sources.list.d/devel:kubic:libcontainers:stable:cri-o:$CRIO_VERSION.list
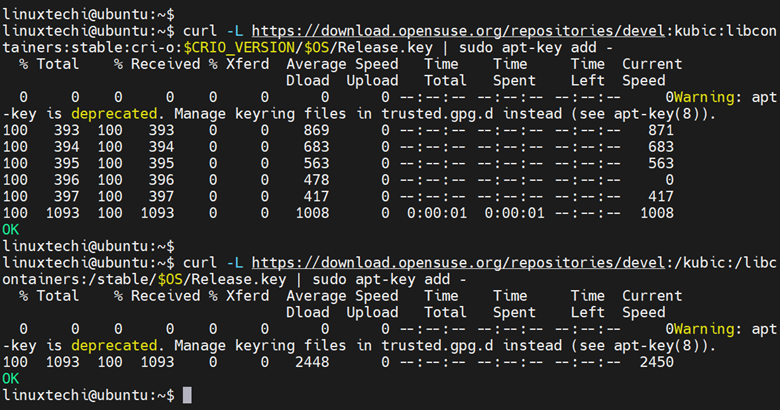
Thereafter, import the GPG key for the CRI-O repository
$ curl -L https://download.opensuse.org/repositories/devel:kubic:libcontainers:stable:cri-o:$CRIO_VERSION/$OS/Release.key | sudo apt-key add -
$ curl -L https://download.opensuse.org/repositories/devel:/kubic:/libcontainers:/stable/$OS/Release.key | sudo apt-key add -
This yields the following output as shown below.
Once again update the package index to synchronize the system with the newly added CRI-O Kubic repositories.
$ sudo apt update
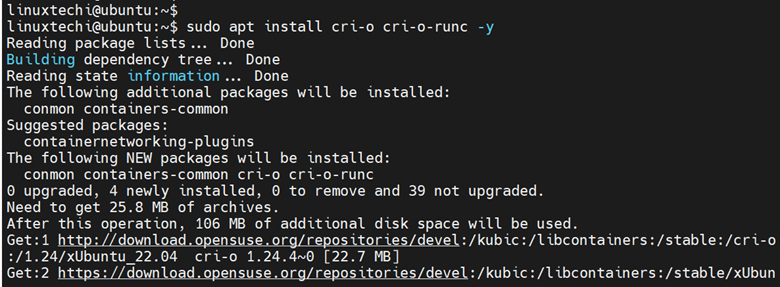
Step 3: Install CRI-O On Ubuntu 22.04
With the repositories added, install CRI-O and the runtime client using the APT package manager.
$ sudo apt install cri-o cri-o-runc -y
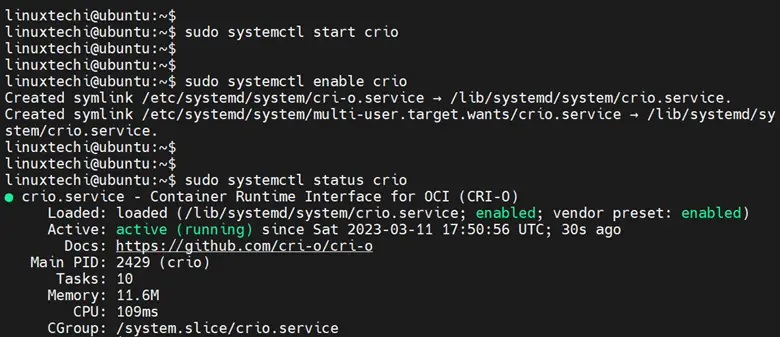
Once installed, start and enable the CRI-O daemon.
$ sudo systemctl start crio
$ sudo systemctl enable crio
Next, verify if the CRI-O service is running:
$ sudo systemctl status crio
You should get the following output which shows that the CRI-O service is running as expected.
Step 4: Install CNI Plugins For CRI-O
Next, you need to install the CNI (Container Network Interface) as well as the CNI plugins. Keep in mind that the loopback and bridge configurations are enabled and sufficient for running pods using CRI-O.
Therefore, to install the CNI plugins, run the following command.
$ sudo apt install containernetworking-plugins -y
Once installed, edit the CRI-O configuration file
$ sudo nano /etc/crio/crio.conf
Uncomment network_dir & plugin_dirs section and also add ‘/usr/lib/cni/’ under plugin_dirs section.
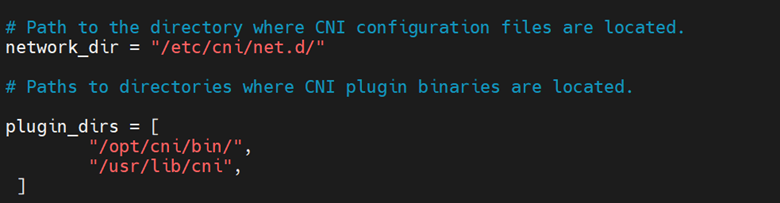
Save the changes and exit the configuration file.
Next, restart the CRIO service.
$ sudo systemctl restart crio
Step 5: Install CRI-O tools
In addition, you also need to install the cri-tools package which provides the crictl command-line utility which is used for interacting and managing containers and pods.
To do so, run the command:
$ sudo apt install -y cri-tools
Once installed, confirm the version of crictl and RunTimeVersion as follows.
$ sudo crictl --runtime-endpoint unix:///var/run/crio/crio.sock version

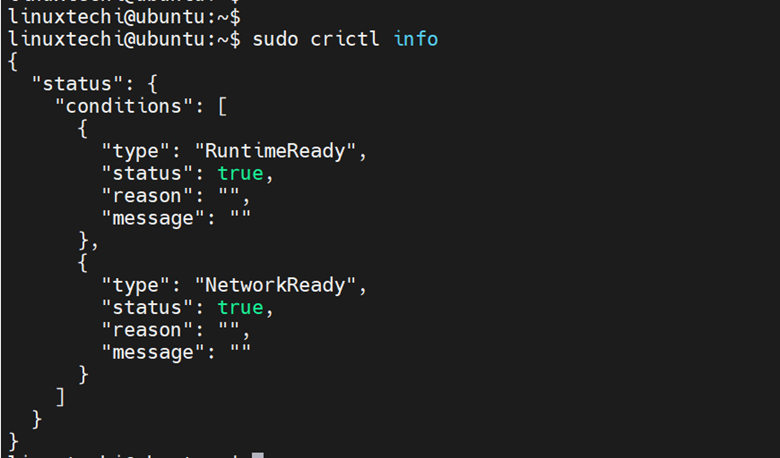
Be sure to also check if CRI-O is ready to deploy pods using the following command:
$ sudo crictl info
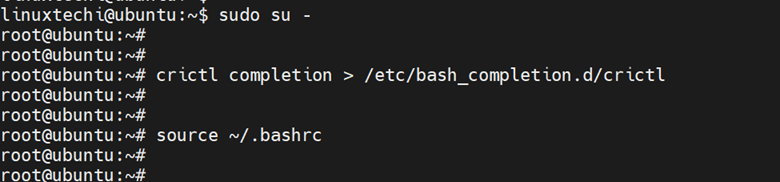
The crictl command provides an autocompletion feature that lets you autocomplete commands by pressing the TAB key. To enable command completion run the following command.
$ sudo su -

# crictl completion > /etc/bash_completion.d/crictl
Then reload the current bash session.
# source ~/.bashrc
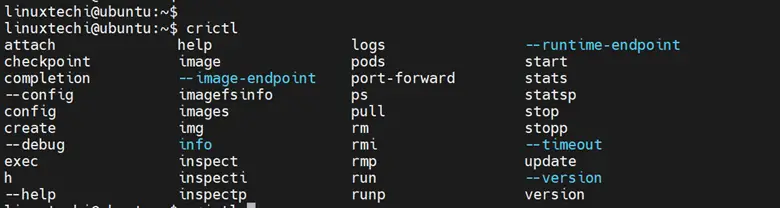
To use the auto-completion feature, you will need to log out or start a new terminal session. Then simply type the crictl command and press the TAB key to view all the options.
$ crictl
Step 6: Create a Pod using crictl utility
Up to this point, CRI-O is fully installed and configured and ready to spin up a pod. In this section, we will create an Apache web server inside a pod and confirm if it is serving requests.
First, we are going to set up a pod sandbox or an isolated environment using a pod configuration file as follows.
$ sudo nano apache_sandbox.json
We will then add the following configuration to the file.
{
    "metadata": {
        "name": "apache-sandbox",
        "namespace": "default",
        "attempt": 1,
        "uid": "hdishd83djaidwnduwk28bcsb"
    },
    "linux": {
    },
    "log_directory": "/tmp"
}
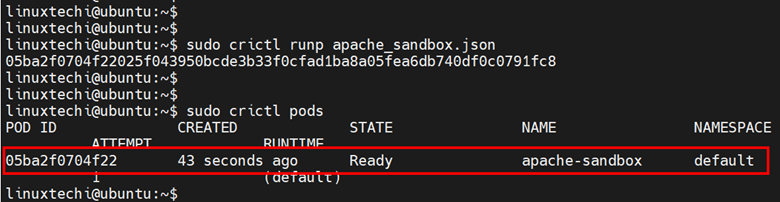
Save and exit. Next create the pod using the following command. This prints out long alphanumeric number which is the pod ID.
$ sudo crictl runp apache_sandbox.json
To confirm that the pod has been created, run the command.
$ sudo crictl pods
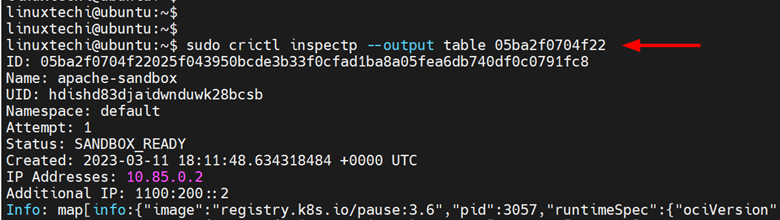
To retrieve more information about the created pod, run the command:
$ sudo crictl inspectp --output table 05ba2f0704f22
This prints out the ID, Name, UID, Namespace, date of creation, internal pod IP among other details.
Step 7: Create a container inside a pod
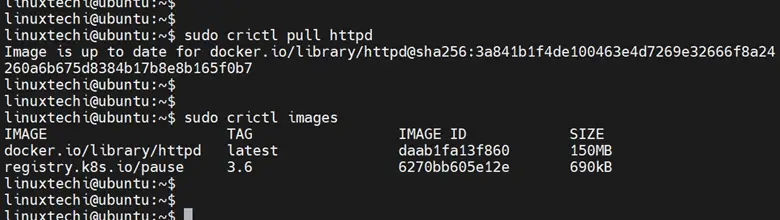
In section we are going to create an Apache web server container inside the pod. So, use the crictl utility to pull an Apache web server image from Docker Hub.
$ sudo crictl pull httpd
You can verify the image pulled as shown.
$ sudo crictl images
Next, we are going to define a container configuration file for the Apache web server.
$ sudo nano container_apache.json
Copy and paste the following code.
{
  "metadata": {
      "name": "apache"
    },
  "image":{
      "image": "httpd"
    },
  "log_path":"apache.0.log",
  "linux": {
  }
}
Save and exit the configuration file.
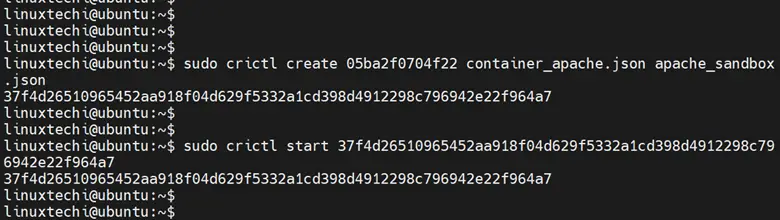
Finally, to attach the container to the sand box pod created earlier, run the command:
$ sudo crictl create 05ba2f0704f22 container_apache.json apache_sandbox.json
This outputs a large alphanumeric ID to the terminal.. Take note of this ID.
Finally, use the ID to start the Apache web server container as follows.
$ sudo crictl start 37f4d26510965452aa918f04d629f5332a1cd398d4912298c796942e22f964a7
To check the container status, run the command:
$ sudo crictl ps

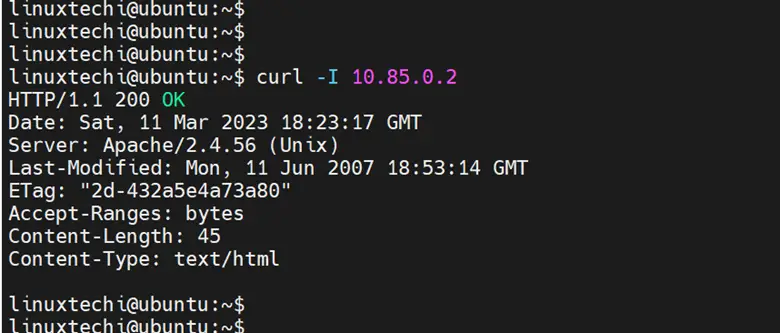
To verify that the Apache web server is running, send a HTTP request to the web server using the curl command and the pod’s internal ID.
$ curl -I 10.85.0.2
The following output confirms that the web server is running.
Conclusion
That’s all from this, guide. We have successfully installed CRI-O on Ubuntu 22.04 and gone ahead to create a pod and container. Your comments and feedback are welcome.
Also Read: How to Install Docker on Ubuntu 22.04 / 20.04 LTS
Fantastic install, thank you so very much, CRI seems like a great alternative to both docker and snap…