In this guide, we demonstrate how to install and configure VNC server on RHEL 9.
Virtual Network Computing, popularly known as VNC, is a network protocol for accessing graphical desktops of remote systems. The protocol transfers the mouse and keyboard inputs back and forth between the server, which is the system being remotely accessed and the client, which is the device used to access or connect to the remote server.
The VNC protocol is beneficial to IT support teams when it comes to offering assistance to remote teams. It’s lightweight and uses negligible CPU and RAM. As such it it can be run on low-specification hardware.
Prerequisites
- Pre-Installed RHEL 9 System with Desktop Environment
- Sudo user with admin rights
- Red Hat Subscription or locally configured yum repository.
Without any delay, let’s deep dive into VNC server installation and configuration steps.
1) Install VNC Server on RHEL 9
The first step is to install TigerVNC (or VNC server) on your instance of RHEL 9. To do so, log in and, first, update the system.
$ sudo dnf update -y
Reboot your system all the updates are installed.
$ sudo reboot
Next, install TigerVNC as shown.
$ sudo dnf install tigervnc-server -y
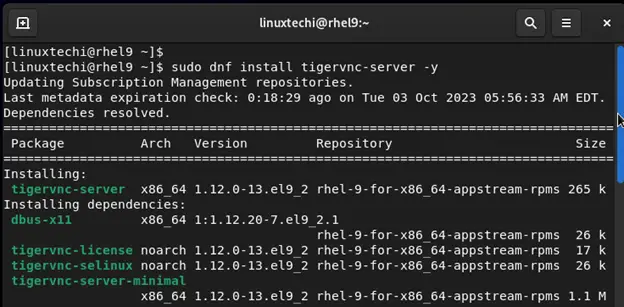
The command installs TigerVNC alongside other additional packages and dependencies.
2) Configure TigerVNC
The next step is to set up TIgerVNC to allow remote users access to our Red Hat desktop environment. To proceed, copy the default configuration file which is the [email protected] file to the /etc/systemd/system directory. Be sure to also include the display number on which to listen to the VNC service.
Here, we will specify the display number as 3.
$ sudo cp /usr/lib/systemd/system/[email protected] /etc/systemd/system/vncserver@:3.service
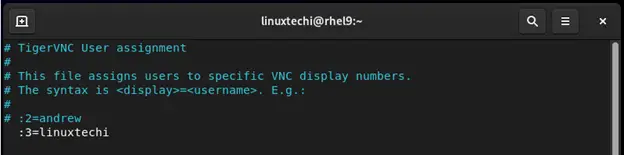
Next, you need to set a username for a regular login user. To do so, edit the VNC users’ file as follows.
$ sudo vim /etc/tigervnc/vncserver.users
Add the display number and user.
:3=linuxtechi
Save the changes and exit the configuration file. Next, set the user’s password using the command:
$ vncpasswd
Provide the password and verify it. When asked whether to enter a view-only password, decline by typing ‘n’ and hit ENTER.

Next, configure GNOME to be the current session. This will be the session for the VNC server.
$ echo gnome-session > ~/.session
Thereafter, create a configuration file inside the VNC hidden directory which resides in the home directory.
$ vim ~/.vnc/config
Add the following configuration.
session=gnome
securitytypes=vncauth,tlsvnc
geometry=1280x720
The first line tells VNC to use the GNOME environment.The second line specifies the standard security for VNC during authentication. In the last line, the ‘geometry‘ flag specifies the screen resolution. You can set this to your preferred resolution.
Save the changes and exit the configuration file.
3) Start and Enable VNC Service
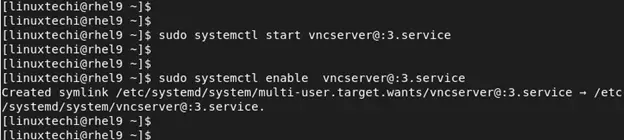
Next, start and enable the VNC service.
$ sudo systemctl start vncserver@:3.service
$ sudo systemctl enable vncserver@:3.service
4) Configure Firewall
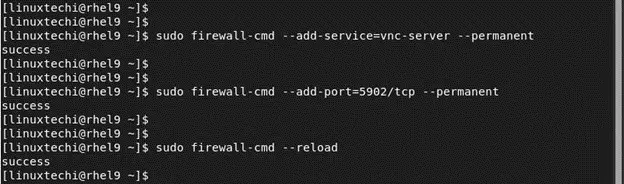
Be sure to also allow the VNC server service across the firewall.
$ sudo firewall-cmd --permanent --add-service=vnc-server
$ sudo firewall-cmd --permanent --add-port=5902/tcp
Next, reload the firewall to apply the changes.
$ sudo firewall-cmd --reload
5) Access the VNC Server From a Remote System
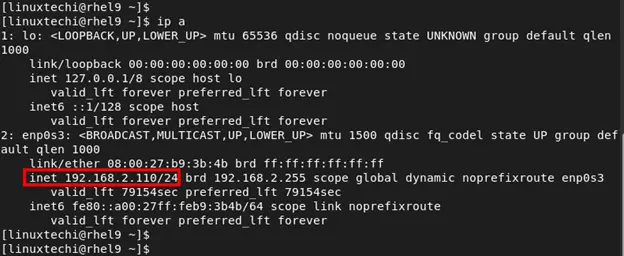
With the VNC server already configured, the last step is to access it remotely from a different system. But first, check the IP address of the VNC server using ip command:
$ ip a
Next, install the TigerVNC client application by downloading the binary file from source Forge
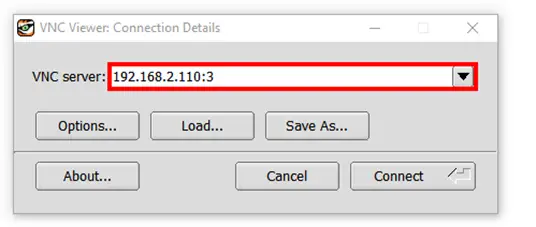
Launch the application and provide the VNC server IP and display number as shown. Then click ‘Connect’.
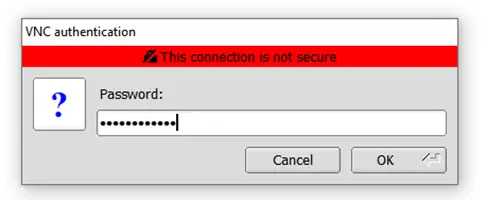
Next, provide the VNC user’s password and hit ENTER.
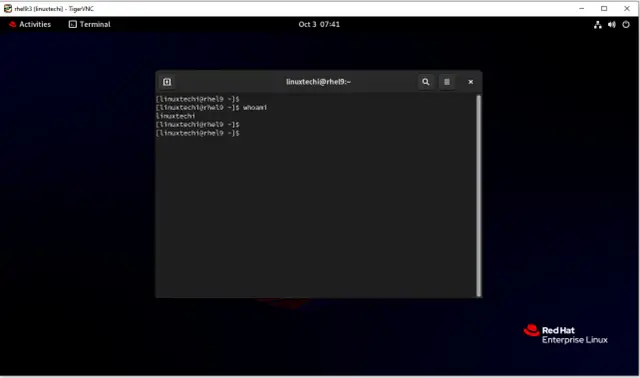
Finally, you will see the login screen shown.
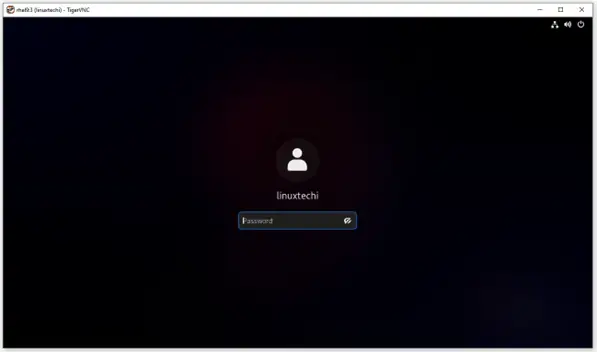
From here you can, straightaway, log in using the user’s login password.
Conclusion
We have demonstrated how to install and set up VNC Server on RHEL 9. We hope you found this useful. Feel free to weigh in with your feedback.