CWP is free and open source web hosting control panel for CentOS Servers. CWP (
CentOS Web Panel) provides a powerful web interface through which we can manage our CentOS Servers and its services, apart from it CWP can also be used to create and manage shared hosting servers.
Whenever we install CWP it automatically install full LAMP stack (Linux, Apache, MySQL/MariaDB, PHP). Apart from LAMP stack followings softwares are being installed during CWP Installation
- Email Server – Postfix, Dovecot, spamassassin, DKIM , Antivirus, Webmail (Round Cube)
- CSF Firewall and SSL generator
- User Management includes followings add and update local users, manage ssh session, FTP Users , User Limits and monitoring of user’s activities
- Live monitoring of system resources and services like Apache, Mail and FTP
- Backup
- AutoFixer for your server configuration.
In this article we will discuss how to install and configure CWP on CentOS 7. Beneath are perquisites of CWP:
- Freshly Installed Minimal CentOS 7
- A Static or fixed IP
- Minimum of 4 GB RAM to install all modules or software otherwise 1 GB RAM for 64-bit system
- Minimum of 10 GB Hard disk Space
- Properly configured Hostname
Note: Once the CWP is installed on your CentOS Servers then we can’t uninstall or remove CWP, the only option is reinstalled your system.
Let’s jump into the Installation Steps:
Step:1 Configure Hostname and update the system
In Case you did not set the hostname of your system while installing CentOS 7 then use hostnamectl command to set hostname.
~]# hostnamectl set-hostname "cwp.linuxtechi.com"
~]# exec bash
Update /etc/hosts file.
[root@cwp ~]# echo "192.168.1.60 cwp.linuxtechi.com cwp" >> /etc/hosts
Update your CentOS 7 server and then reboot.
[root@cwp ~]# yum update -y && reboot
Step:2 Download and Install latest version of CWP
Download latest version of CWP from their official site (http://centos-webpanel.com), Use the beneath wget command
[root@cwp ~]# yum install wget -y
[root@cwp ~]# cd /usr/local/src/
[root@cwp src]# wget http://centos-webpanel.com/cwp-el7-latest
Note : In case above link doesn’t work then use ‘http://dl1.centos-webpanel.com/files/cwp-el7-latest’ with above wget command
Now start CWP installation by executing “cwp-el7-latest”
[root@cwp src]# sh cwp-el7-latest
Script execution time totally depends on your internet connection because it will download and install the required packages of CWP. Once the Script has been executed successfully , we will get the output something like below :
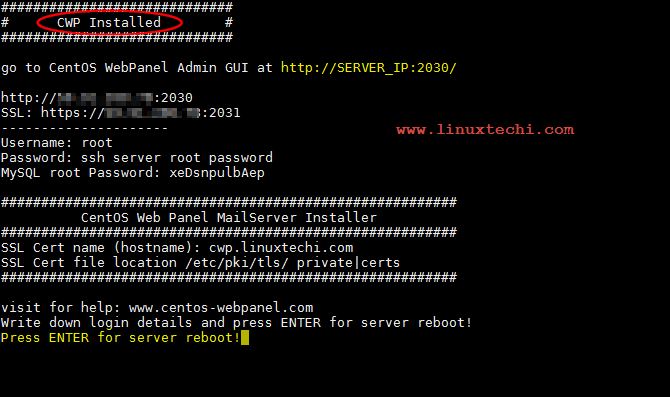
Note down mysql root user password and hit enter to reboot your server.
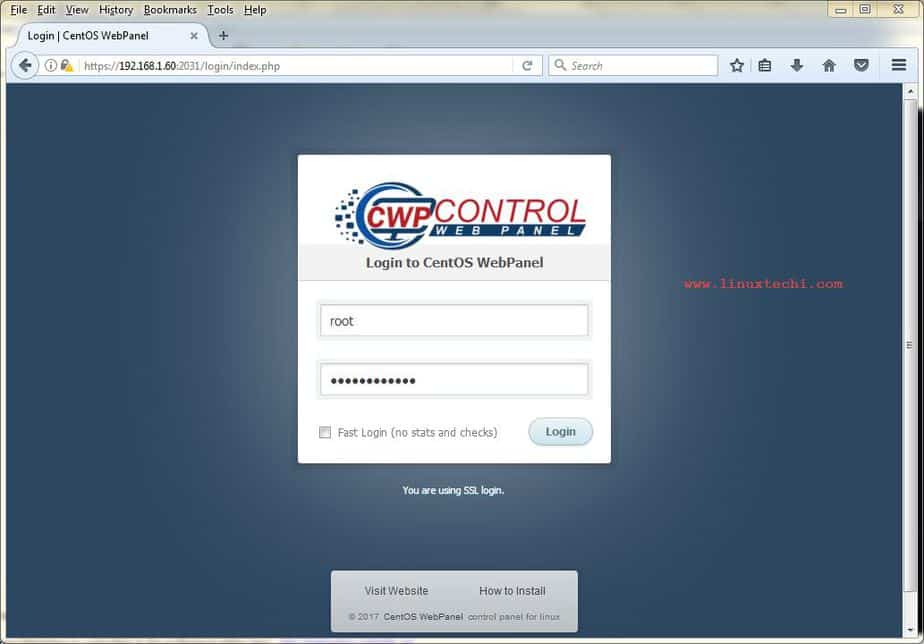
Step:3 Accessing CWP Admin Control Panel
Once the server is online after reboot, try accessing the CWP admin portal from the your web browser
http://Server_IP:2030
Or
https://Server_IP:2031
Use the User Name as root and password would be your server’s root password.
CWP Admin Dashboard would be something like below
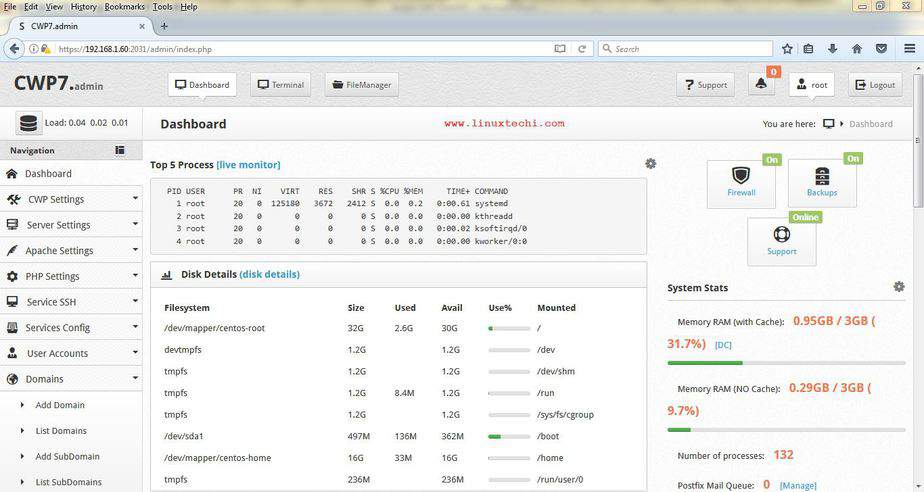
This dashboard confirms that we have successfully installed CWP, Now to make your server ready for domain hosting, you need to perform following tasks.
Configure Your Nameservers
Go to DNS Function –> Click on Edit Nameservers IPs
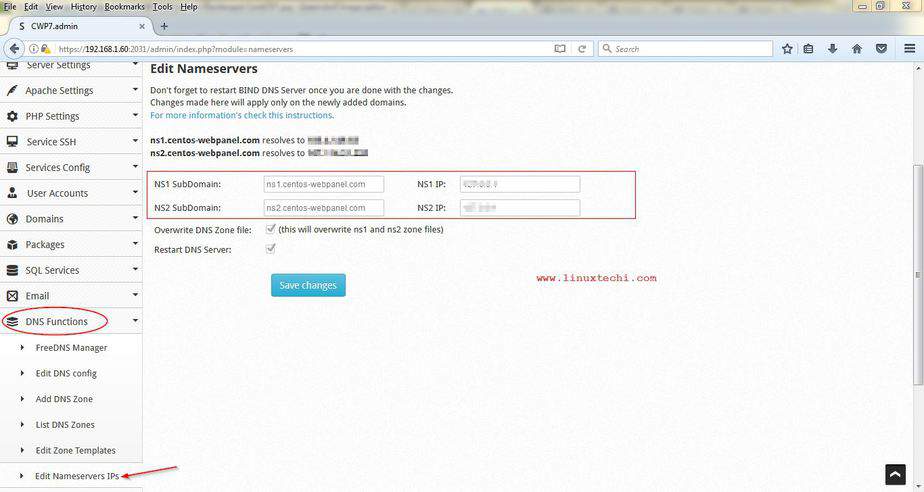
Save the Changes and restart bind service
Configure shared IP and Root email
This step is important for hosting web sites (Shared hosting). So to configure shared IP, Go to CWP settings –> Click on Edit Settings and then specify the shared IP ( it must a public IP).
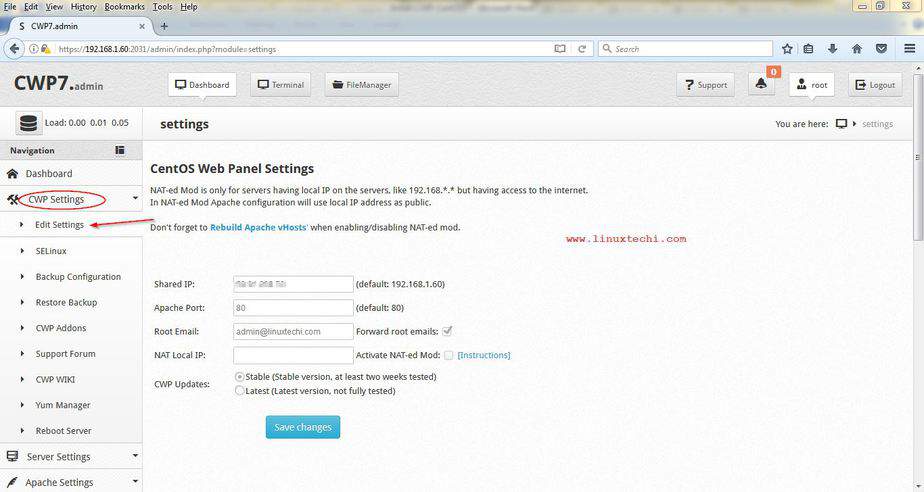
click on save changes
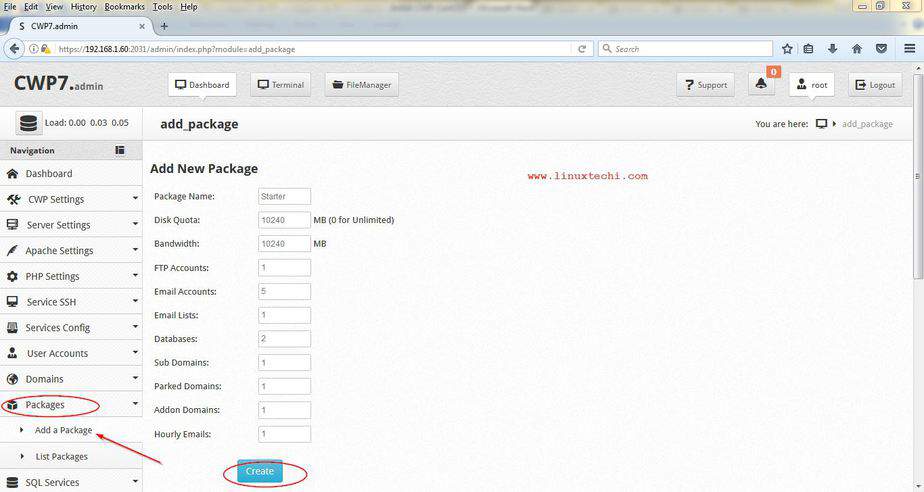
Configure atleast One Web Hosting Package
To Configure web hosting package , Go to Packages –> Select ‘Add a Package’ option and specify the required values and then click on Create option, example is shown below
Add Domain in your CWP
To add domain in CWP, one account needs to be created first. To create an account, goto ‘User Accounts’ –> Select ‘New Account’, Specify the domain on which user will be created, user name, email and package etc

Click on create.
Now let’s try to add a domain, Go to ‘Domains’ –> Click on ‘Add Domain’ , specify the domain name that you want to add, in my case i am adding a domain name “amzlnx.com”
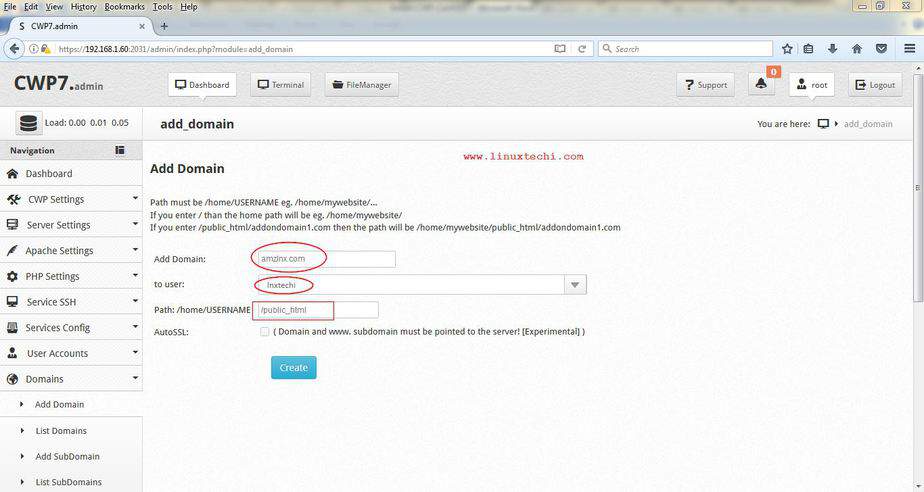
Click on create to add domain.
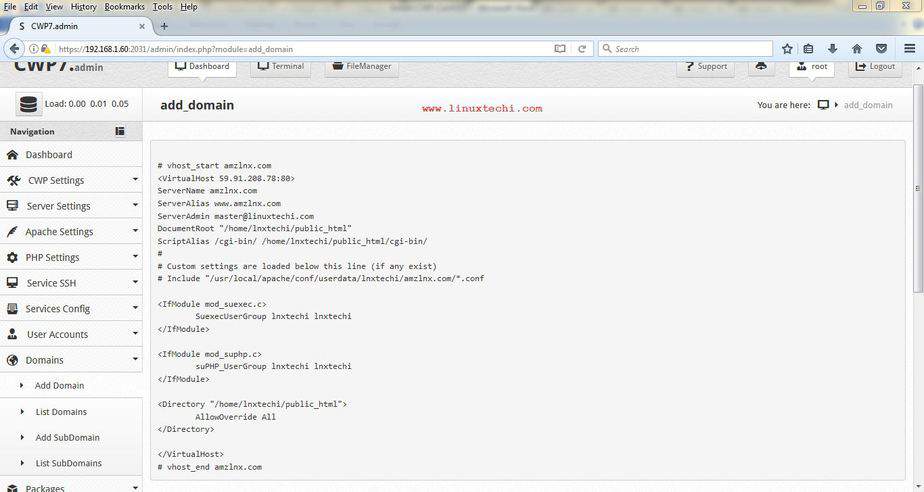
Below windows confirms that domain has been added successfully. Domain’s documents root, Server name, its alias and its other parameters has been updated
That’s all from this article. I hope this article helps you to understand CWP installation on CentOS 7 and its basic configurations, please share your feedback and comments.
When you configure amzlnx.com with your registrar do you point an A record to your public IP or do you point it at the nameservers ns1.centos-webpanel.com/ ns2.centos-webpanel.com?
Hi Alex, As i have tested the CWP in my private network, so i did make A record of amzlnx.com that points to my Private IP, In Case you want to access your web site over internet you should point your web site’s A record to Shared public ip or dedicated public IP.
Hi guys, i think we should remove or comment “echo nameserver 8.8.8.8 and echo nameserver 8.8.4.4” from cwp-el7-latest. it can ruin everything if your ISP doesn’t permit google DNS as your DNS server. 🙂
Him i think i usually get stuck here, Configure Your Nameservers. Which DNS should i put ? Domain registrar point to my dedicated IP or ?
We also can set Nginx in CWP? look like very good control panel with alot of feature and all free.
Thanks for post sharing.
hey, can you say how to install it without database i.e. MySQL
Hi, Can we host windows website on this (CWP) Panel?
Thanks a lot for this value able post. I am new to VPS and like to get one. I was undecided about LAMP option to check or not at configuring the VPS. This article help me a lot.
How can I log in as the first domain to create DB, etc.? I tried but it logout immediately. The others users are find.
Hello, how can I install nginx in CWP?
I asked to google, but there was error
Please help me