Cockpit is free and open-source remote server management web console. Using cockpit web console one can do almost all day to day administrative tasks without login in server’s cli. Apart from administrative tasks, Cockpit provides real time RAM, CPU and DISK utilization report of your system. One of the major advantages of using cockpit tool is that it will not consume much resources from your system. In this article, we will demonstrate how to install and use cockpit web console on Debian 10 (Buster).
Prerequisites for Cockpit:
- Freshly Installed Debian 10
- Local user with sudo rights
- Stable internet connection
Let’s dive into the Cockpit installation steps on Debian 10,
Step 1) Update apt package index
Login to your Debian 10 system and run ‘apt update’ command to update apt package index.
linuxtechi@debian-10:~$ sudo apt update
Step 2) Install Cockpit with apt command
Cockpit package and its modules are available in the default Debian 10 repository, so its installation is quite straight forward, just run the following command,
linuxtechi@debian-10:~$ sudo apt -y install cockpit
Create following directory to suppress warning message displayed in cockpit web console.
linuxtechi@debian-10:~$ sudo mkdir -p /usr/lib/x86_64-linux-gnu/udisks2/modules
To install additional cockpit modules like docker, then run
linuxtechi@debian-10:~$ sudo apt -y install cockpit-docker
Once cockpit and its dependencies are installed then start its service using beneath systemctl command,
linuxtechi@debian-10:~$ sudo systemctl start cockpit
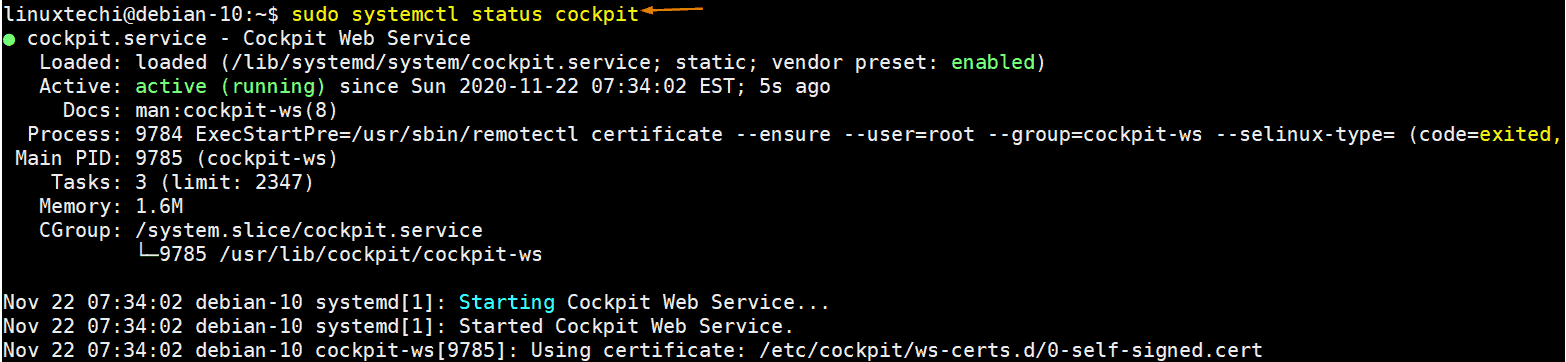
Verify the cockpit service status by running following command
linuxtechi@debian-10:~$ sudo systemctl status cockpit
Step 3) Allow Cockpit port in OS firewall
In case OS firewall is running on your Debian 10 system then allow 80 & 9090 tcp ports in the firewall by running beneath commands,
linuxtechi@debian-10:~$ sudo ufw allow 9090
linuxtechi@debian-10:~$ sudo ufw allow 80
Step 4) Access Cockpit Web Console
To access cockpit web console, type the following URL on your web browser,
https://<Your-Server-IP>:9090
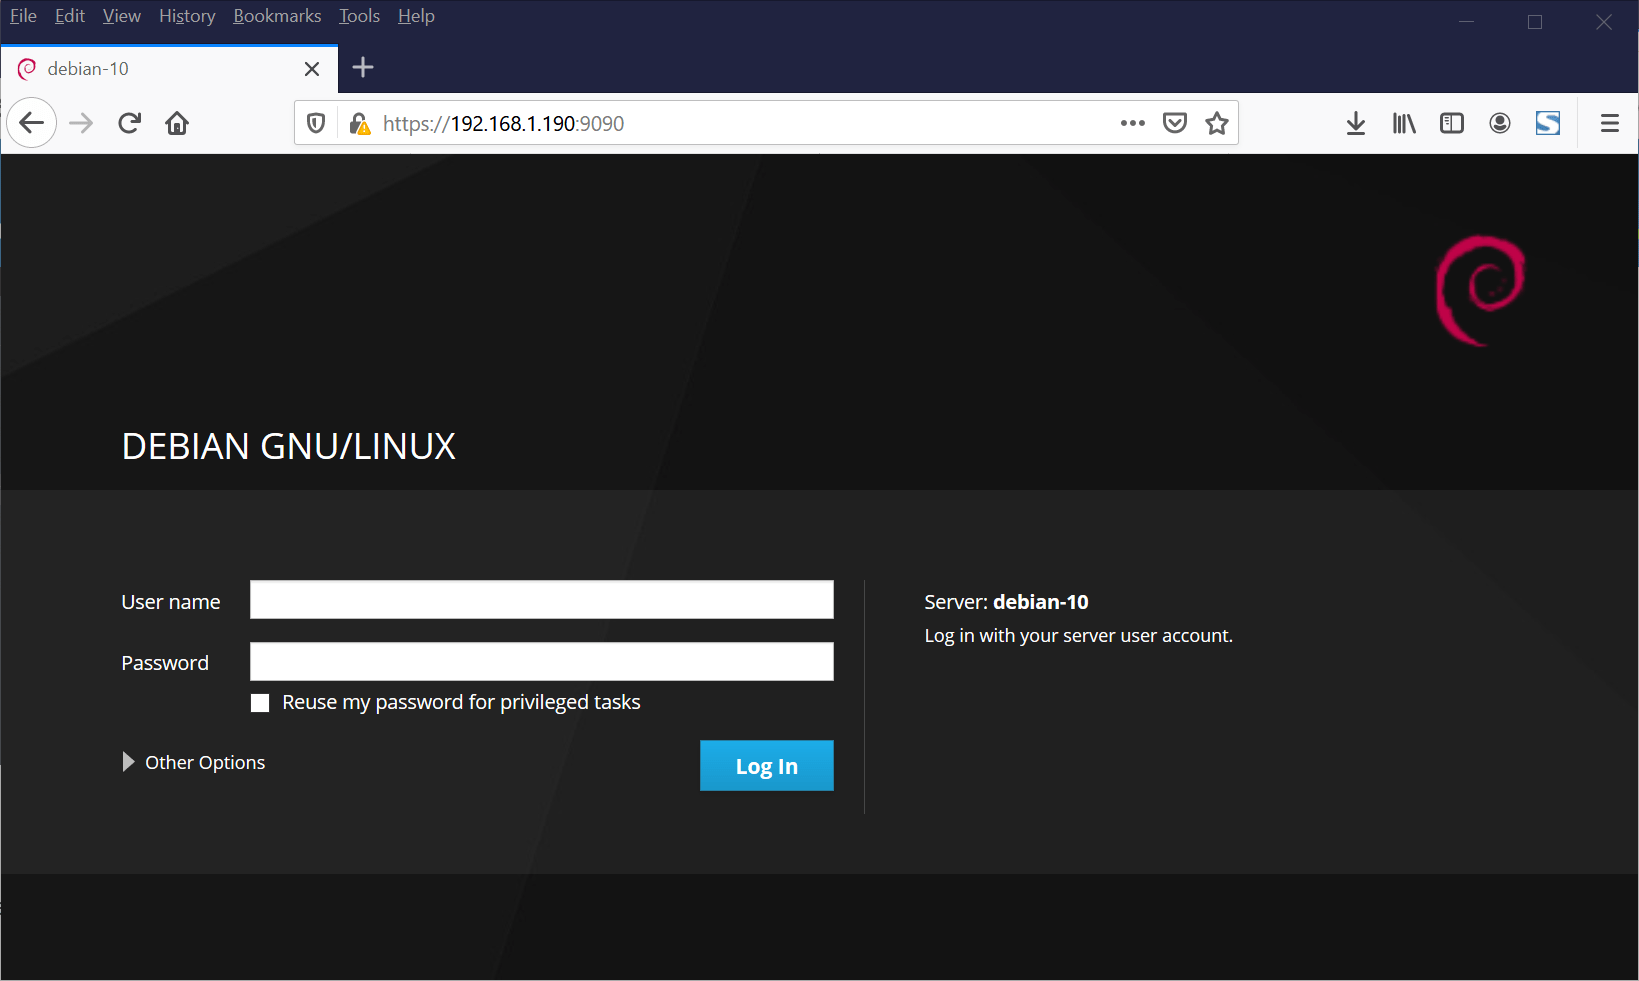
Use root user credentials or local user credentials to login.
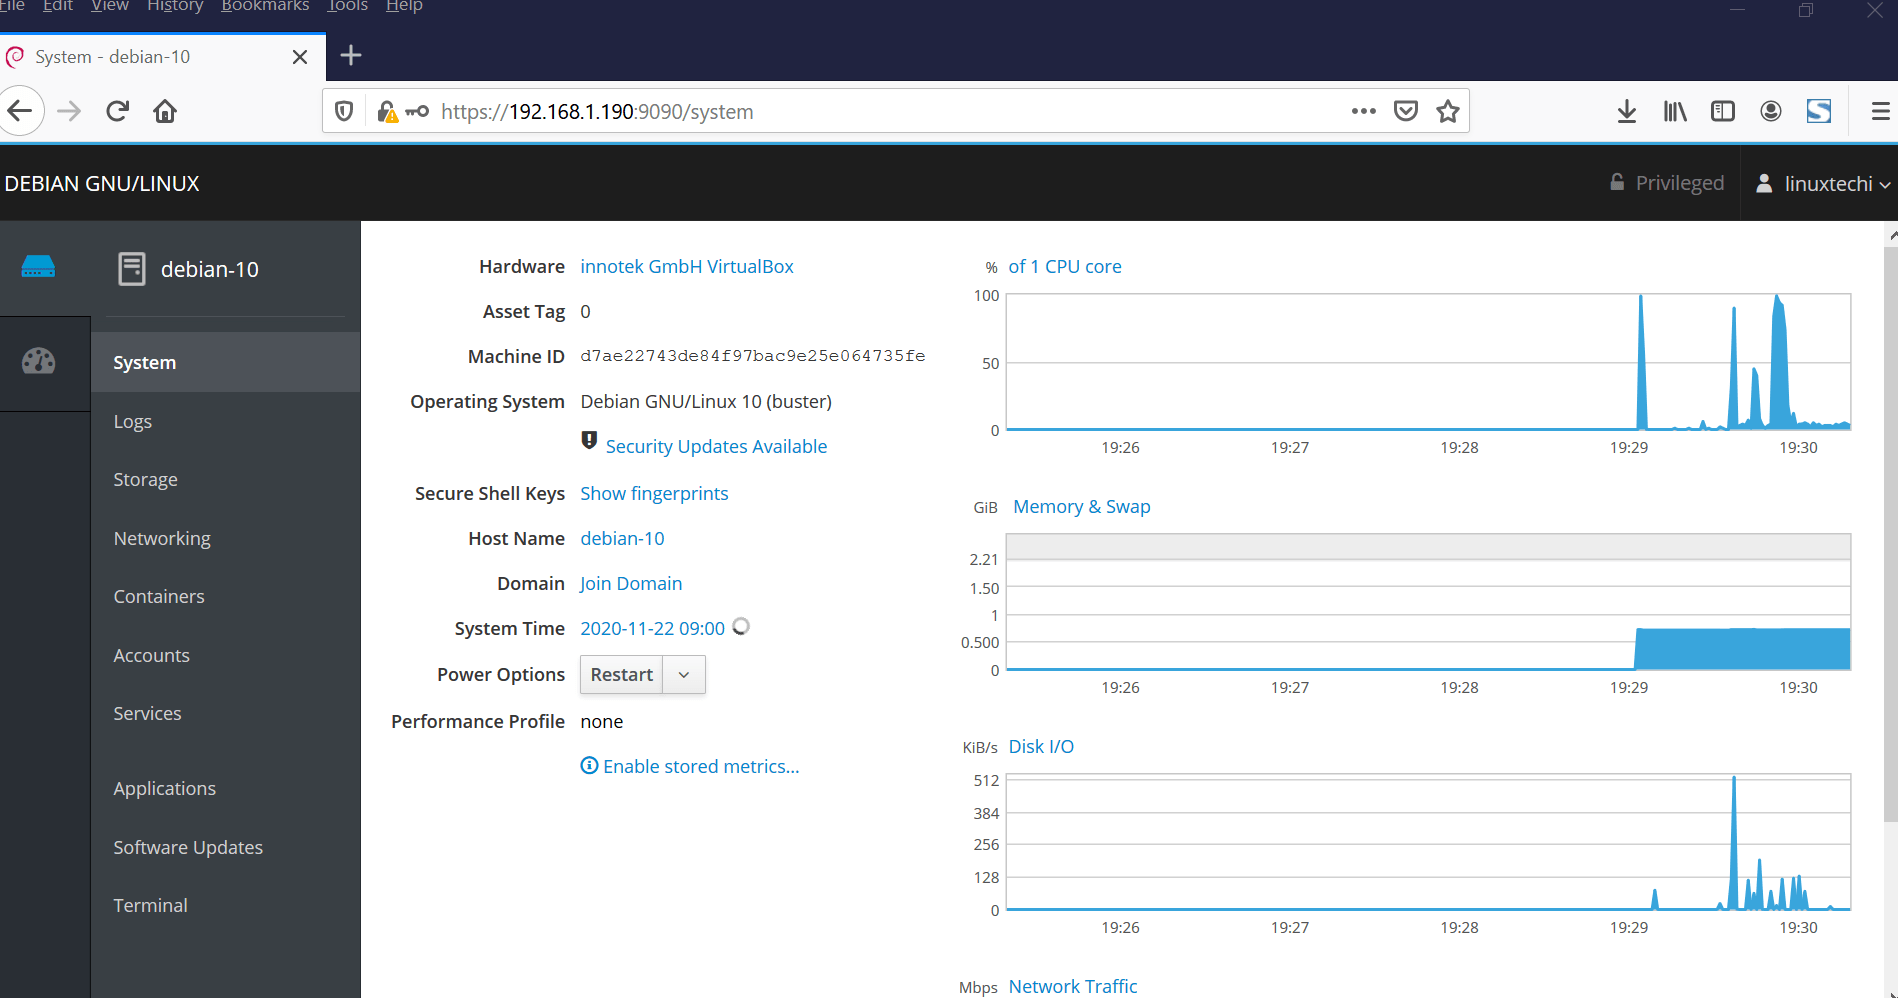
Great, above dashboard confirms that cockpit has been installed successfully on your Debian 10 system. Let’s look at some of the administrative tasks that can be accomplished via cockpit.
Software Updates
From the cockpit dashboard, we can view the available software updates for the system. Click on ‘Software Updates’ Tab

If you wish to install only security related updates, then choose ‘Install Security Updates’ option and if you wish to install all updates then choose second option.
We also have the facility to install application and their update from the ‘Applications’ tab
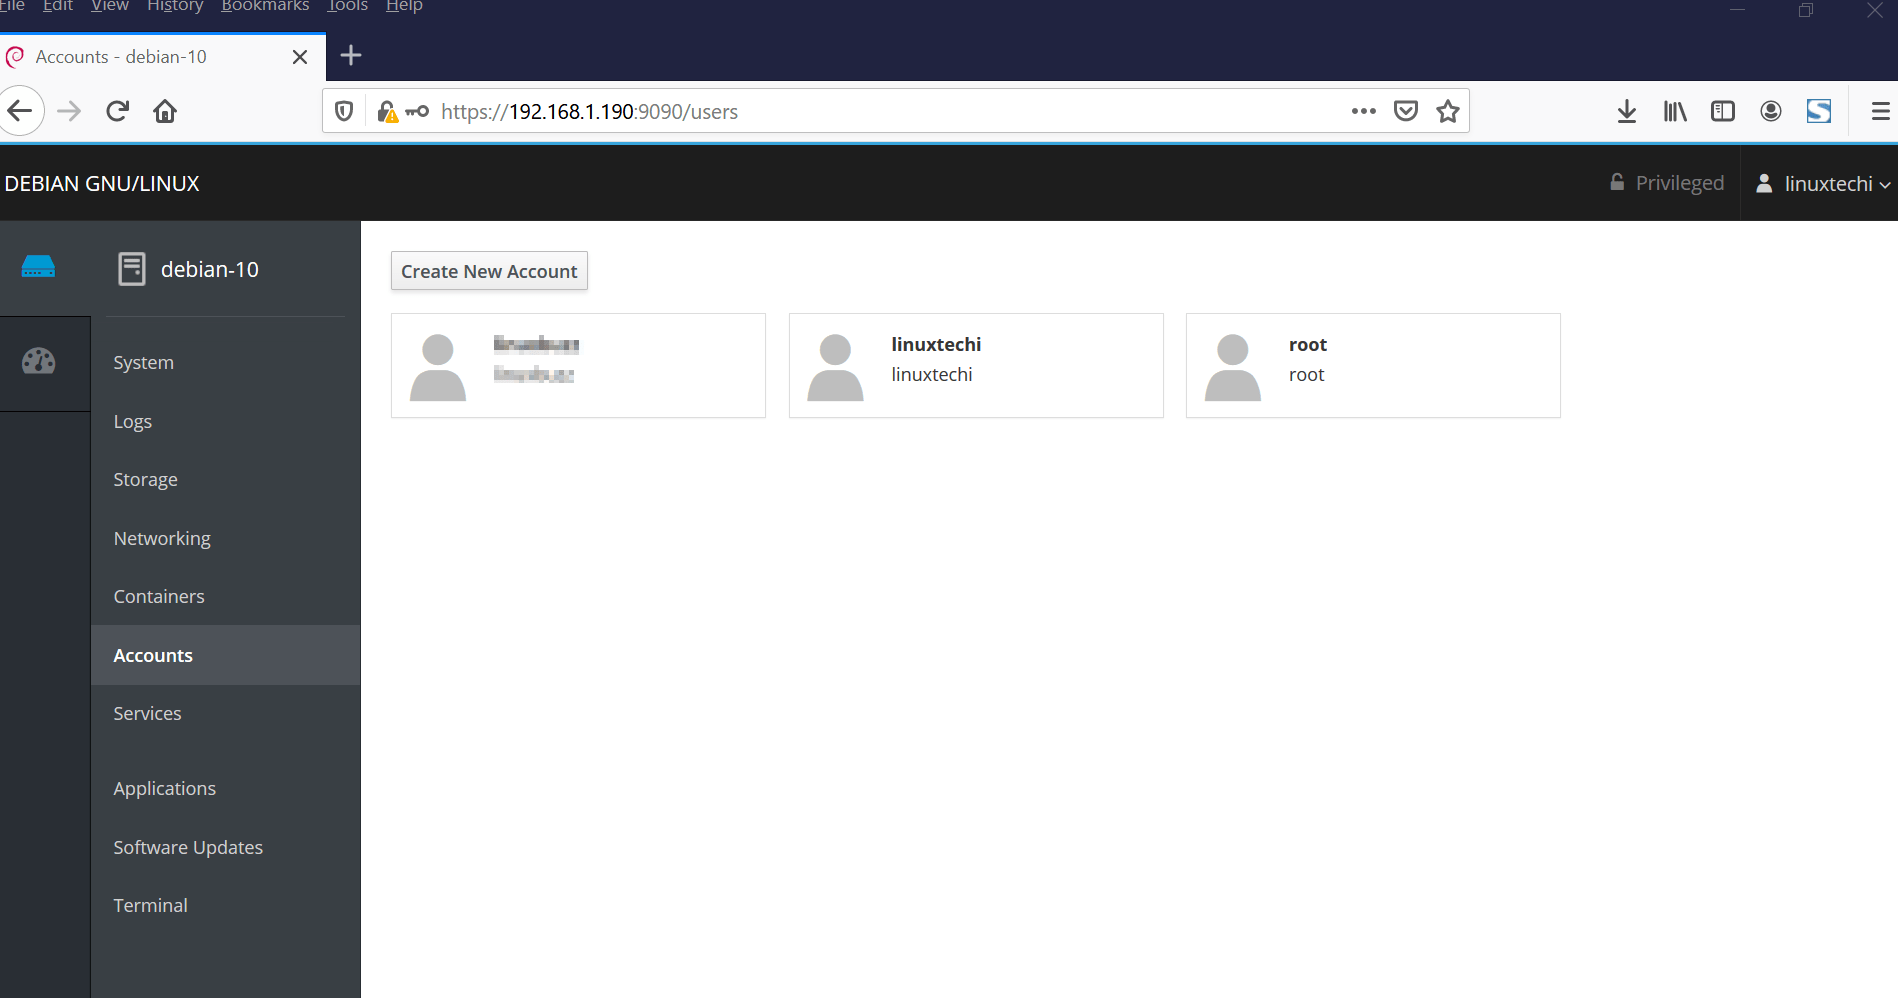
Manage User Accounts
From the cockpit dashboard, we can manage local users. Choose ‘Accounts’ tab
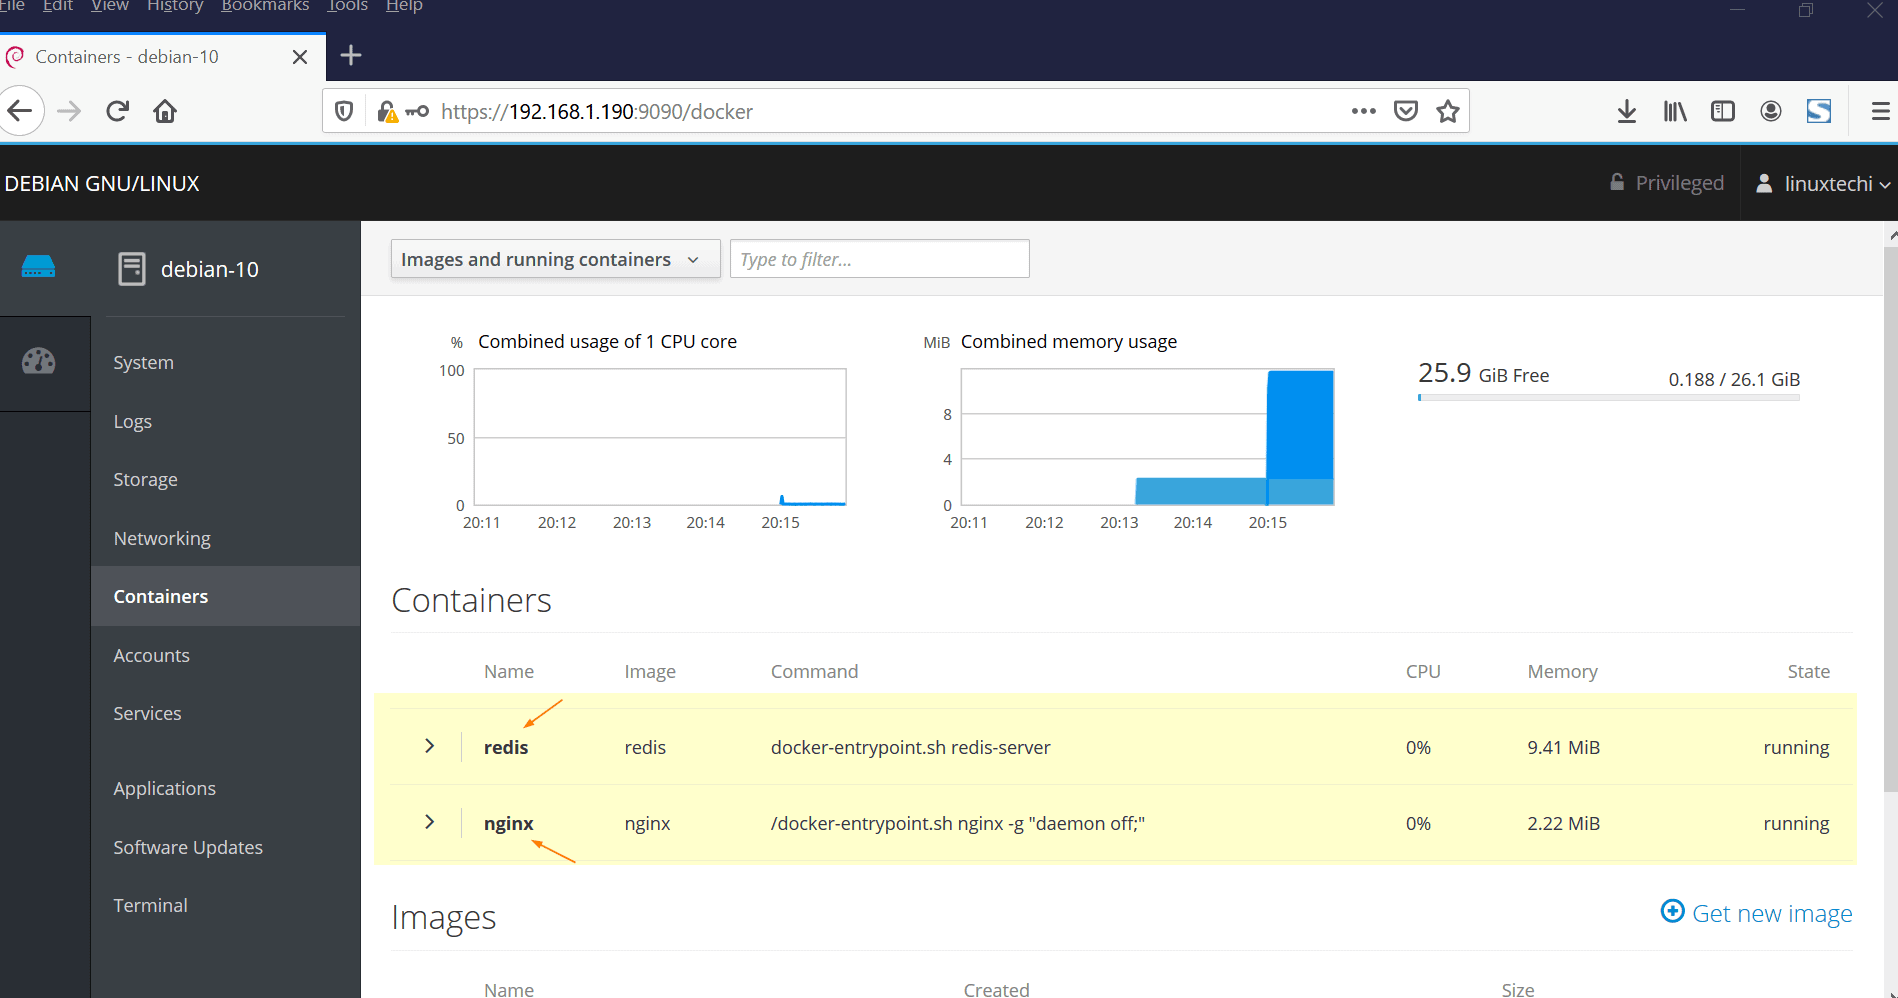
Manage Containers
From the ‘Containers’ tab, we can manage containers, here manage containers means start, stop and provision new containers using docker image.
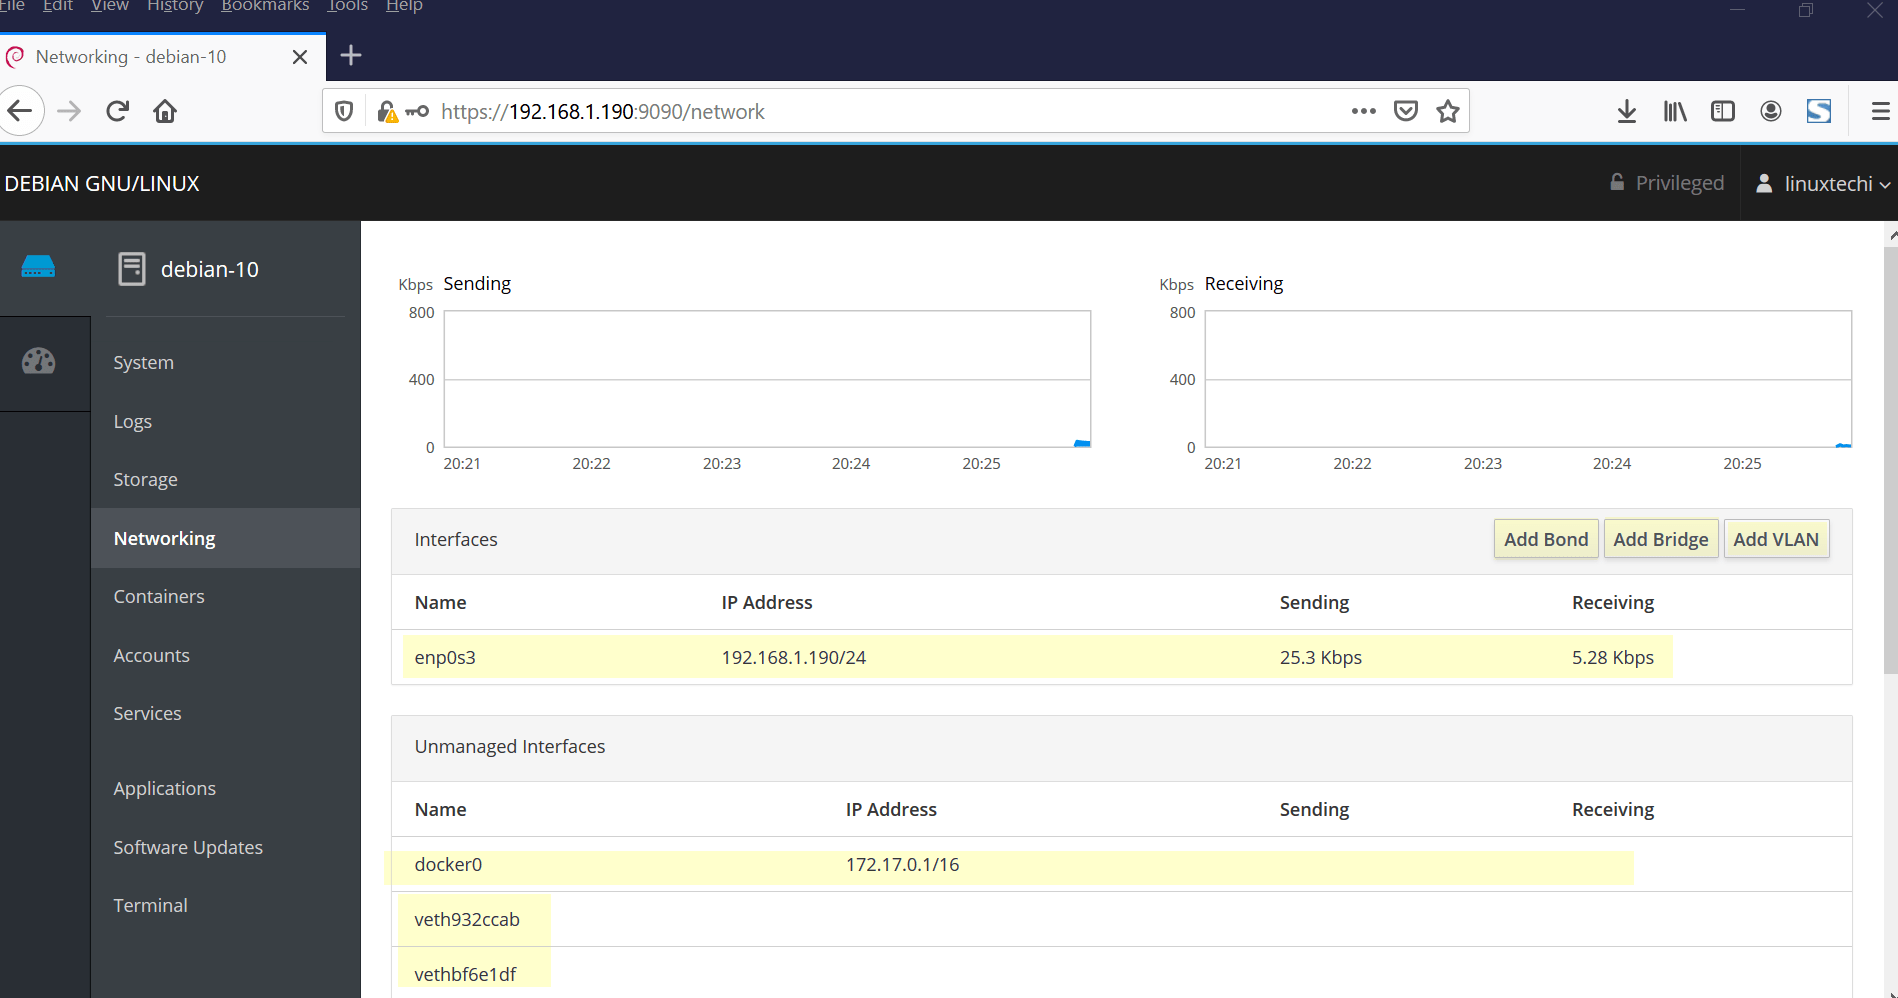
Manage Networking
From ‘Networking’ tab, we can manage networking of our Debian 10 server
Similarly using other tabs like ‘Storage‘ and ‘Logs‘ we can manage storage and logs of your Debian 10 system.
That’s all from this guide. I hope these steps help you to give technical insight on how to install and use Cockpit on Debian 10.
Also Read : Top 8 Things to do after Installing Debian 10 (Buster)