Cobbler is a free and open source Linux provisioning server, it is used for unattended or automatic os installation on multiple systems simultaneously over the network. Cobbler server makes use of services like DHCP, TFTP and DNS. In Cobbler OS installation is based on the Kickstart file and to start installation on clients or systems, one has to boot the systems via network or pxe and rest of things will be taken care by cobbler server.
In this article we will demonstrate how to install and configure Cobbler Server on CentOS 7.x
Refer the Following Steps for Cobbler Installation :
Step:1 Enable the epel repository by running the following yum command
[root@cloudworld ~]# yum install epel-release
Step:2 Install Cobbler and its dependent packages
Run the following command from the terminal to install cobbler and its dependent packages.
[root@cloudworld ~]# yum install cobbler cobbler-web dnsmasq syslinux pykickstart xinetd -y
Step:3 Start the Cobbler and Web Server (httpd) Service
Execute the following systemctl commands to start and enable Cobbler and httpd service
[root@cloudworld ~]# systemctl start cobblerd ; systemctl enable cobblerd
[root@cloudworld ~]# systemctl start httpd ; systemctl enable httpd
In case SELinux is enable then set it in Permissive mode
[root@cloudworld ~]# setenforce 0
To make the SELinux in permissive mode permanently , set the following parameter in ‘/etc/sysconfig/selinux‘
SELINUX=permissive
In Case OS firewall is running then set the following firewall rules.
[root@cloudworld ~]# firewall-cmd --add-port=80/tcp --permanent
success
[root@cloudworld ~]# firewall-cmd --add-port=443/tcp --permanent
success
[root@cloudworld ~]# firewall-cmd --add-service=dhcp --permanent
success
[root@cloudworld ~]# firewall-cmd --add-port=69/tcp --permanent
success
[root@cloudworld ~]# firewall-cmd --add-port=69/udp --permanent
success
[root@cloudworld ~]# firewall-cmd --add-port=4011/udp --permanent
success
[root@cloudworld ~]# firewall-cmd --reload
success
[root@cloudworld ~]#
Step:4 Access Cobbler Web Interface
As installation is completed so try to Access the Cobbler from your web browser.
https://<IP-Address-or-Hostname-Cobbler-Server>/cobbler_web/
In my case IP address of Cobbler Server is “172.168.10.5”, default User Name is ‘cobbler‘ and password is ‘cobbler‘

Cobbler Installation part is completed and now configure it.
Refer the following Steps for Cobbler Configuration:
Step:5 Edit the file /etc/cobbler/settings
Let’s generate the encrypted root password
[root@cloudworld ~]# openssl passwd -1
Password:
Verifying - Password:
$1$j9/aR8Et$uovwBsGM.cLGcwR.Nf7Qq0
 [root@cloudworld ~]#
Update this encrypted string in settings file ‘/etc/cobbler/settings‘ under the parameter ‘default_password_crypted‘ and also enable Cobbler’s DHCP, DNS,PXE and TFTP feature by changing the parameter value from 0 to 1.
Specify the ip address of your TFTP server in ‘next_server’ parameter and Cobbler’s Server ip address in ‘server’ parameter.
[root@cloudworld ~]# vi /etc/cobbler/settings
-------------------------------------------------------
default_password_crypted: "$1$j9/aR8Et$uovwBsGM.cLGcwR.Nf7Qq0"
manage_dhcp: 1
manage_dns: 1
pxe_just_once: 1
next_server: 172.168.10.5
server: 172.168.10.5
--------------------------------------------------------
Step:6 Update ‘/etc/cobbler/dhcp.template’ and ‘/etc/cobbler/dnsmasq.template’ file
Edit the file ‘/etc/cobbler/dhcp.template’ and update subnet for the dhcp server as per your setup
[root@cloudworld ~]# vi /etc/cobbler/dhcp.template
-----------------------------------------------
subnet 172.168.10.0  netmask 255.255.255.0 {
     option routers             172.168.10.5;
     option domain-name-servers 172.168.10.5;
     option subnet-mask         255.255.255.0;
     range dynamic-bootp        172.168.10.80 172.168.10.140;
     default-lease-time         21700;
     max-lease-time             43100;
     next-server                $next_server;

     class "pxeclients" {
          match if substring (option vendor-class-identifier, 0, 9) = "PXEClient";
          if option pxe-system-type = 00:02 {
                  filename "ia64/elilo.efi";
          } else if option pxe-system-type = 00:06 {
                  filename "grub/grub-x86.efi";
          } else if option pxe-system-type = 00:07 {
                  filename "grub/grub-x86_64.efi";
          } else {
                  filename "pxelinux.0";
          }
     }
}
--------------------------------------------
Update the IP address range for pxe clients in the file ‘/etc/cobbler/dnsmasq.template’
[root@cloudworld ~]# vi /etc/cobbler/dnsmasq.template
dhcp-range=172.168.10.80,172.168.10.140
Restart the Cobbler and xinetd service and sync these changes to cobbler.
[root@cloudworld ~]# systemctl restart cobblerd
[root@cloudworld ~]# systemctl restart xinetd ; systemctl enable xinetd
[root@cloudworld ~]# cobbler check ; cobbler sync
Mount the ISO file and import its contents to cobbler.
Download or copy the ISO file of CentOS 7 and run the beneath commands to import ISO to Cobbler
[root@cloudworld ~]# mkdir  /mnt/iso
[root@cloudworld ~]# mount -o loop CentOS-7-x86_64-DVD-1511.iso  /mnt/iso/
[root@cloudworld ~]# cobbler import --arch=x86_64 --path=/mnt/iso --name=CentOS7
Similarly you can import ISO files of other Linux flavors. In case if you are getting signature errors while importing, then run the below command to resolve the issue
[root@cloudworld ~]# cobbler signature update
Step:7 Verify the Distro list from command line and Cobbler Web Interface
Run the below command from the terminal to View the Distros list
[root@cloudworld ~]# cobbler distro list
   CentOS7-x86_64
[root@cloudworld ~]#
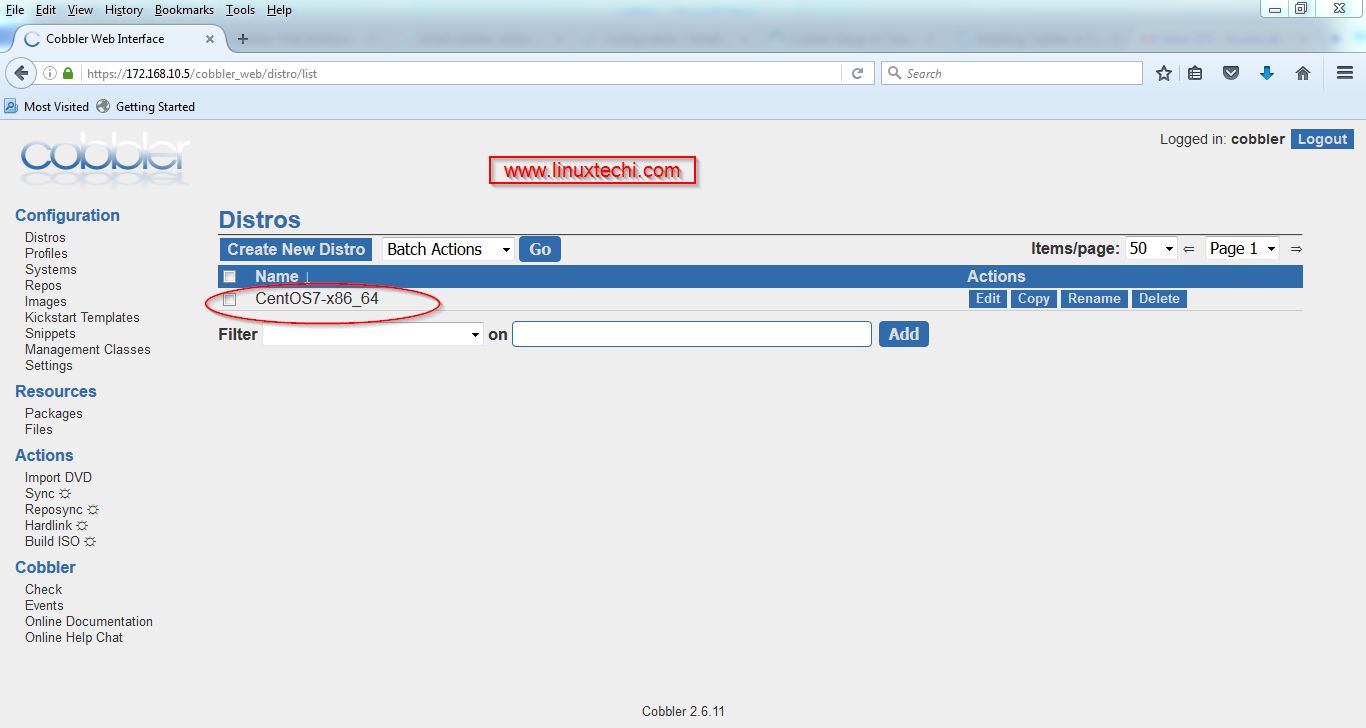
We can also view the distros list from Cobbler Web interface as well.
Login to the interface go to the Configuration Tab –> click on Distros
Distro report can be viewed from the command using below cobbler command:
[root@cloudworld ~]# cobbler distro report --name=CentOS7-x86_64
Name                           : CentOS7-x86_64
Architecture                   : x86_64
TFTP Boot Files                : {}
Breed                          : redhat
Comment                        :
Fetchable Files                : {}
Initrd                         : /var/www/cobbler/ks_mirror/CentOS7-x86_64/images/pxeboot/initrd.img
Kernel                         : /var/www/cobbler/ks_mirror/CentOS7-x86_64/images/pxeboot/vmlinuz
Kernel Options                 : {}
Kernel Options (Post Install)  : {}
Kickstart Metadata             : {'tree': 'http://@@http_server@@/cblr/links/CentOS7-x86_64'}
Management Classes             : []
OS Version                     : rhel7
Owners                         : ['admin']
Red Hat Management Key         : <<inherit>>
Red Hat Management Server      : <<inherit>>
Template Files                 : {}
[root@cloudworld ~]#
Step:8 Create Kickstart File for CentOS 7
Let’s create a kickstart file for CentOS 7 with a name ‘CentOS7.ks‘, Default location of kickstart files is ‘/var/lib/cobbler/kickstarts‘
[root@cloudworld ~]# vi /var/lib/cobbler/kickstarts/CentOS7.ks

#platform=x86, AMD64, or Intel EM64T
#version=DEVEL
# Firewall configuration
firewall --disabled
# Install OS instead of upgrade
install
# Use HTTP installation media
url --url="http://172.168.10.5/cblr/links/CentOS7-x86_64/"

# Root password
rootpw --iscrypted $1$j9/aR8Et$uovwBsGM.cLGcwR.Nf7Qq0

# Network information
network --bootproto=dhcp --device=eth0 --onboot=on

# Reboot after installation
reboot

# System authorization information
auth useshadow passalgo=sha512

# Use graphical install
graphical

firstboot disable

# System keyboard
keyboard us

# System language
lang en_US

# SELinux configuration
selinux disabled

# Installation logging level
logging level=info

# System timezone
timezone Europe/Amsterdam

# System bootloader configuration
bootloader location=mbr

clearpart --all --initlabel
part swap --asprimary --fstype="swap" --size=1024
part /boot --fstype xfs --size=500
part pv.01 --size=1 --grow
volgroup root_vg01 pv.01
logvol / --fstype xfs --name=lv_01 --vgname=root_vg01 --size=1 --grow

%packages
@^minimal

@core
%end
%addon com_redhat_kdump --disable --reserve-mb='auto'
%end

[root@cloudworld ~]#
Final step is to sync the updated profile to cobbler server using below cobbler command:
[root@cloudworld ~]# cobbler profile edit --name=CentOS7-x86_64 --kickstart=/var/lib/cobbler/kickstarts/CentOS7.ks
[root@cloudworld ~]# cobbler sync
Basic Configuration is completed now and boot the systems with pxe or network and do the installation testing.
Step:9 Boot the Clients with PXE
Boot the system with pxe on which you want to perform automatic os installation
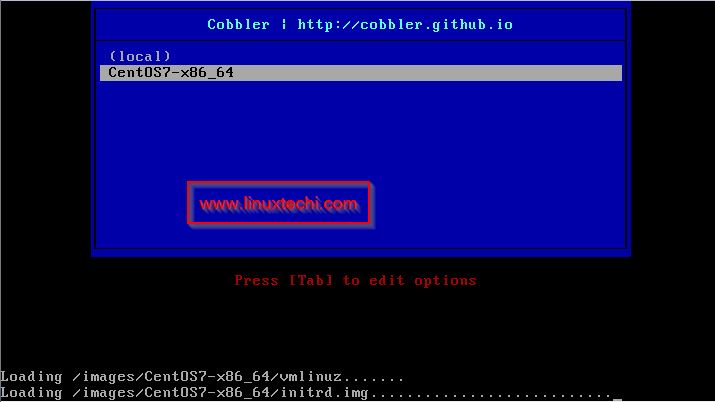
Select the OS as CentOS7 and press enter.
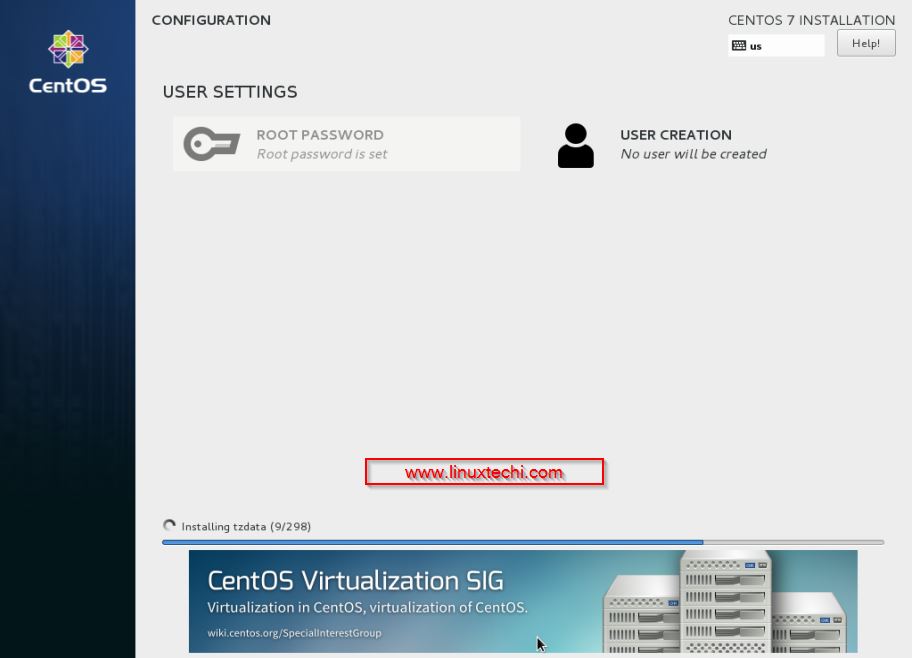
Wow we can see that unattended OS installation has started.
That’s all , hope you have enjoyed installation and configuration steps of Cobbler 🙂
you need to enable /etc/cobbler/modules.conf
[dns]
#module = manage_bind
module = manage_dnsmasq
[dhcp]
#module = manage_isc
module = manage_dnsmasq
Very good sir..
Is this method works for rhel7 installation via PXE and UEFI boot?